
Garage Gym Equipment for Small Spaces: What Actually Works in a One-Car Garage
Discover how to set up a fully functional garage gym in a one-car garage or half-garage using space-saving equipment like wall-mounted foldable racks, vertical storage, and adjustable benches. This guide covers essential gear, budget-friendly picks, and layout strategies to help you train effectively without wasting space or money.
Trust check
This pick is scored against a public rubric, not affiliate revenue. Read the methodology, or check the safety & recall status of items in this build.
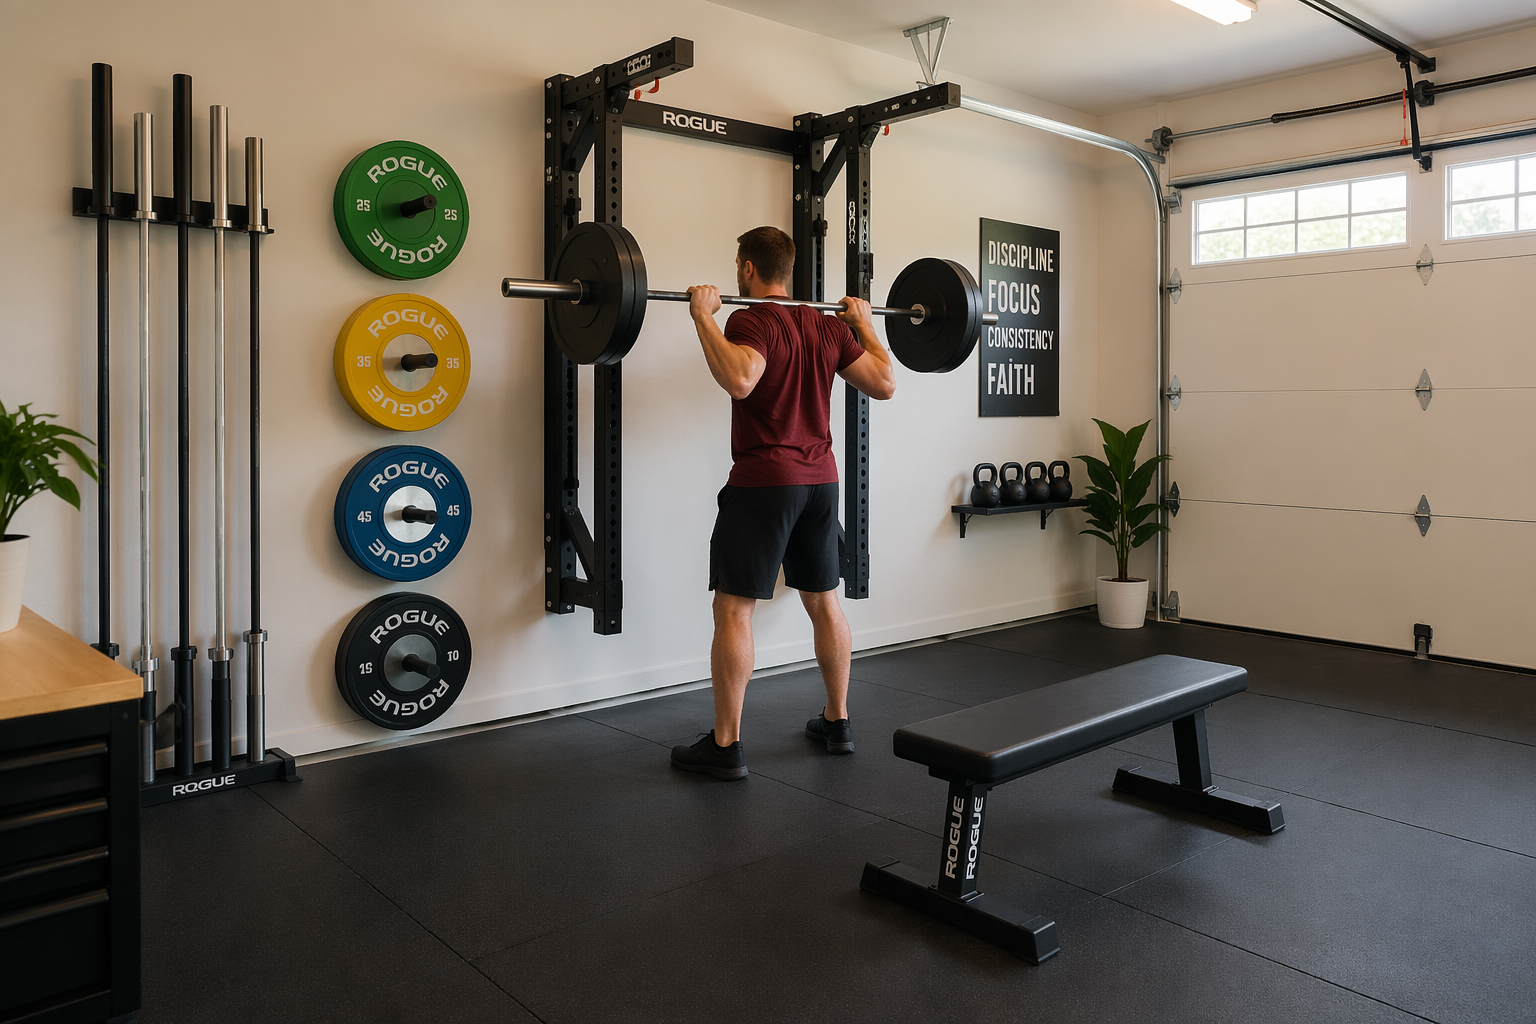
The first question is not which machine looks best in a garage gym photo. It is whether the garage has one clear working rectangle where a barbell can move without clipping a freezer, a lawn mower handle, or the side mirror of a parked car. For the basic strength lifts, a practical minimum is about 8 by 8 feet when using a standard 7-foot barbell, rack, and bench setup.[1] That does not make the rest of the garage irrelevant. It means the lifting area gets protected first, and everything else has to earn its place around it.
A one-car garage, usually around 12 by 20 feet, can work. A half-garage can work too if the non-gym half is not constantly bleeding into the lifting zone. The small garage gym that fails is usually not too small on paper; it is badly claimed. Plates sit on the floor, the bench has nowhere to roll, a cardio machine points into the rack, and the barbell needs to be turned sideways just to load it. Good garage workout equipment for a small space solves those specific annoyances before it solves anything else.
Start with the floor you can actually use
Measure the garage as it lives on a normal week, not after a heroic Saturday cleanout. Open the car door. Pull out the trash bins. Stand where the freezer opens. Check whether the garage door tracks, water heater, shelving, steps, or tool cabinets cut into the area you thought you had. The useful number is not wall-to-wall square footage; it is uninterrupted training clearance.
One useful proof point comes from a mixed-use garage example documented by Gray Matter Lifting: a 22 by 22 foot garage was arranged to fit two cars, a freezer, washer and dryer, and a full gym.[1] That is a larger garage than a single bay, but the lesson scales down: the equipment does not get to sprawl. The gym works because zones are assigned and respected.
For a one-car or half-garage setup, mark three zones before buying anything:
- Strength anchor zone: the rack, bench, barbell path, and deadlift area. This is the protected 8 by 8 foot working space whenever possible.
- Storage zone: plates, bars, collars, bands, handles, and small accessories kept on the wall or in vertical racks.
- Cardio or conditioning zone: one wall-side machine if it truly fits, or a clear patch for jump rope, carries, bands, or bodyweight work.
If those zones overlap too much, do not solve the problem by buying narrower dreams. Solve it by reducing equipment. A compact layout is not a miniature commercial gym. It is a strength station with enough open floor to train safely.
The equipment that belongs in the first build
The best first purchase list is short because the garage is small. Rack, barbell, plates, adjustable bench, and flooring. That foundation supports squats, bench press, deadlifts, rows, overhead pressing, pull-ups if the rack allows them, loaded carries if the floor is clear, and a long list of accessory movements with bands or rings. It also keeps the room understandable. You know what goes where.
| Priority | Buy first | Why it works in a small garage |
|---|---|---|
| 1 | Wall-mounted foldable rack | Creates a real barbell station, then folds away so the floor can be reclaimed. |
| 2 | Standard barbell and plates | Covers the main strength work without needing separate machines for every movement. |
| 3 | Adjustable bench | Handles flat, incline, and seated work with one bench instead of several. |
| 4 | Horse stall mats or similar heavy rubber flooring | Protects concrete, reduces noise, and defines the lifting zone. |
| 5 | Vertical plate and bar storage | Moves heavy clutter off the walking path and keeps loading predictable. |
A foldable wall rack is the piece that changes the whole garage. The PRx Profile PRO, for example, is rated for 1,000 pounds and folds to about 9 inches from the wall.[2] That 9-inch folded depth matters more than the rating for most home lifters. It means a rack can live where a fixed power cage would make parking, storage, or walking through the garage miserable.
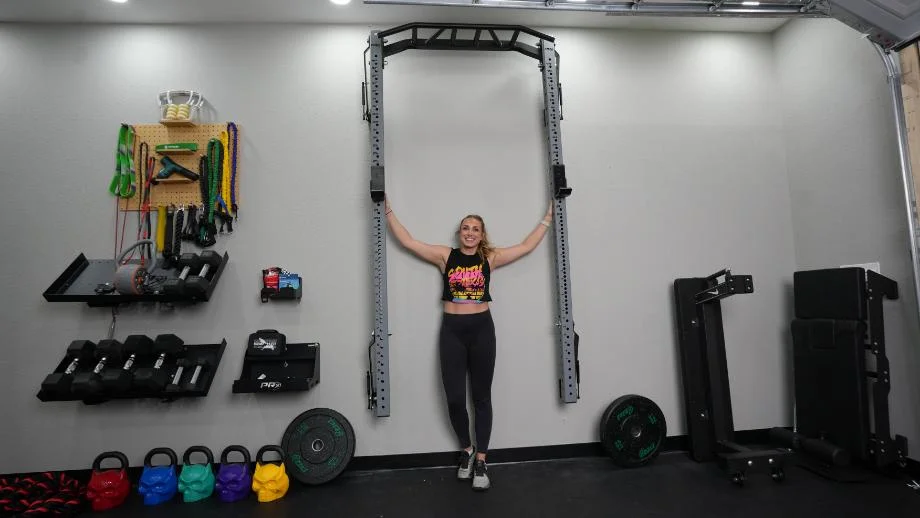
Rogue’s RML-3WC is another common reference point for this category, and both Rogue and PRx show why wall-mounted racks have become the default answer for shared garages.[2][3] The important feature is not the logo. It is whether the rack folds tightly, mounts securely to the wall structure, gives enough depth for squats and benching, and leaves room to load a bar without scraping storage shelves.
Premium racks are nice, but they should not define the budget for everyone. REP Fitness, Bells of Steel, Titan-style alternatives, and used-market finds can lower the cost while preserving the same planning logic: wall-mounted if the garage must be reclaimed, stable enough for the lifts you actually perform, and compatible with the accessories you are likely to use.
The bench deserves the same treatment. In a small garage, an adjustable bench usually beats owning separate flat and incline benches. It is heavier and costs more than a basic flat bench, but it gives more exercise options without adding another object to store. The catch is storage position: if the bench cannot stand vertically or roll tightly against the wall, it becomes the thing everyone trips over while carrying laundry or groceries.
For a broader buying list after the small-space foundation is settled, use a complete checklist such as The Complete Garage Gym Equipment Checklist. Just do not let a checklist talk you into buying the third tier before the first tier has a home.
Build the layout around the rack, not around leftover corners
Put the strength anchor where the ceiling height, wall structure, and bar path all make sense. In many one-car garages, that means the back wall or a side wall near the back, not the middle of the floor. The rack needs solid mounting, enough pull-out room, and space on both sides to load plates. The bench needs to slide in straight. The deadlift area needs rubber under the plates, not bare concrete halfway under a shelf.
A good small-garage layout usually looks boring on paper:
- Rack on the strongest practical wall, folding flat when not used.
- Bench stored vertically beside the rack or rolled against the wall.
- Plates stored vertically within one or two steps of the barbell.
- Bars stored vertically in a corner or horizontally on the wall, away from door swing and car doors.
- Conditioning gear kept along one wall, not across the lifting lane.
That layout works because nothing has to be moved five times before the first warm-up set. If the plates live across the garage, you will leave them on the floor. If the collars are in a drawer under tools, they will disappear. If the bench blocks the freezer, someone in the house will hate the gym even if they never touch a barbell.
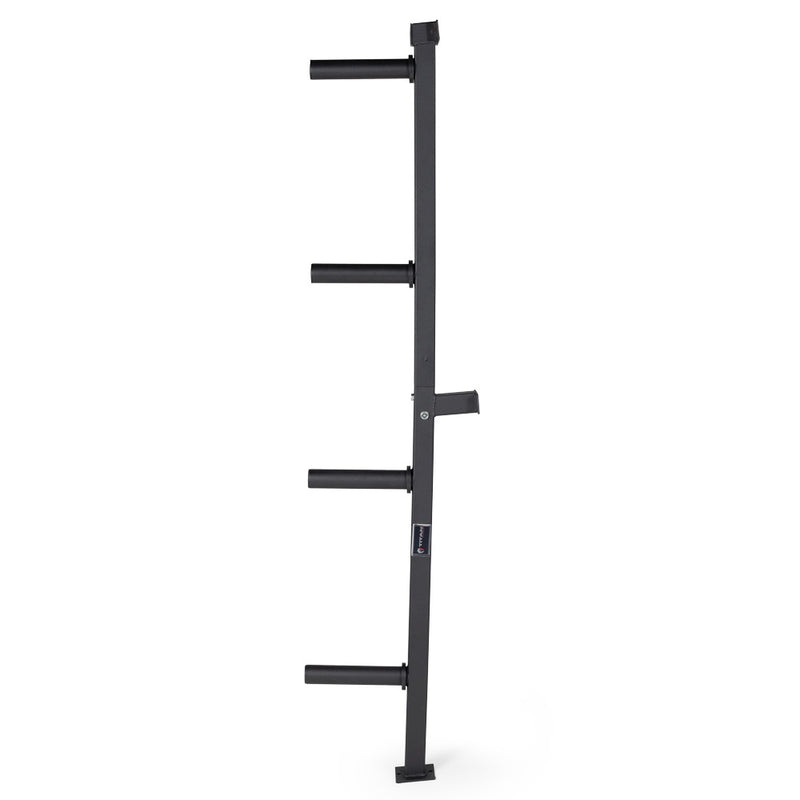
Vertical plate storage is not a finishing touch in this kind of room. It is part of the safety plan. Plates leaning loose against a wall slide, chew up drywall, and migrate into the walking path. Wall pegs, compact plate trees, or rack-mounted storage keep loading simple and keep the floor clear. The same goes for barbells: vertical holders and wall racks are usually better than leaving a bar on J-cups forever, especially if the rack has to fold.
If the garage must still hold a car overnight, plan the parked-car version before installing anything permanent. Fold the rack on paper. Stand the bench up. Measure the mirrors, door swing, and walking gap. For more specific floor-plan examples, see the companion Single-Car Garage Gym Layout Guide, or the shared-garage guide to wall-mounted racks, all-in-one machines, and layout strategies if the vehicle has to come back inside.
Flooring: use the money where it actually protects the room
Bare concrete is a poor training surface. It is loud, unforgiving, and easy to chip when plates land badly. For most small garage gyms, 4 by 6 foot horse stall mats are still the value standard. Garage Gym Reviews lists Tractor Supply stall mats at about $2.38 per square foot, or roughly $57 for a 4 by 6 foot mat, and recommends them as a durable home gym flooring option.[4]
In a tiny setup, you do not necessarily need to cover the entire garage. Cover the lifting zone first. Two or three mats can define the rack and deadlift area; more can be added later if conditioning work, dumbbells, or a cardio piece expand the gym. Tape seams if the mats drift. Let them off-gas before trapping them in a closed garage if the smell bothers the household.
Buy in phases or the garage fills up before the training improves
A small garage punishes optimistic buying. The safer sequence is to build the gym in tiers and stop after each tier long enough to see what you actually use. Garage Gym Athlete’s tier framework puts the essential strength pieces first and pushes more specialized equipment later, while Gray Matter Lifting also supports a phased build approach.[1][5]
| Phase | What to buy | Approximate role in the garage |
|---|---|---|
| Tier 1 | Rack, barbell, plates, bench, mats | The working gym. This is the foundation before machines or duplicates. |
| Tier 2 | Bands, rings, jump rope, basic handles, one small conditioning option | Cheap variety without stealing much floor space. |
| Tier 3 | Adjustable dumbbells, sandbag, sled, specialty bars, or a compact cardio piece | Useful upgrades only after the base layout is proven. |
| Delay or skip | Large cable stations, oversized all-in-one machines, duplicate benches, rarely used specialty machines | Only worth it if the space remains usable after the essentials are placed. |
A practical essentials-first build can land around $1,300 to $1,500 when buying new, depending on brands, sales, and how much weight you need. Gray Matter Lifting’s itemized Rogue-based build reaches $3,243, which is useful as a premium reference point but not a required entry fee.[1] The planning principle is the same at either budget: do not buy around the rack until the rack, bench, bar path, plates, and floor are solved.
This is where a lot of expensive mistakes happen. A compact functional trainer can be excellent in the right room. A cable machine can make accessory work easier. An all-in-one machine can make sense for someone who does not want barbell training. But in a one-car garage, those pieces have to answer hard questions: does the machine block the rack? Can the car still park? Can plates still be loaded? Is there enough room to bench without rolling into the machine’s base? If the answer is vague, delay the purchase.
For a deeper pass at purchases that look useful but crowd the garage fast, see 7 Garage Gym Mistakes That Cost You Money. The short version is that floor space is a budget line. Spend it carefully.
Cardio is a placement problem, not a shopping category
One cardio machine can work in a small garage if it sits along a wall and does not invade the lifting zone. A rower that stores upright, a folding treadmill, or a bike may fit. The test is not whether the footprint looks small in the product photo; it is whether the machine can stay usable while the rack is deployed and the bench is in position.
If it cannot, use smaller conditioning tools first. A jump rope, bands, rings, kettlebell-style work if you have safe clearance, sandbag carries, or bodyweight circuits can cover a lot of conditioning without permanently occupying a parking spot. Cardio equipment is easier to add later than it is to unload after it becomes a coat rack with a power cord.
Humidity control is boring until the bar starts rusting
Unconditioned garages are rough on steel. Temperature swings, damp concrete, wet cars, and poor airflow can turn a new barbell into a maintenance project. Across garage gym owner communities and garage gym climate guides, the common recommendation is to use a dehumidifier and try to keep relative humidity below 50% to reduce rust risk.[6][7] Treat that as practical owner consensus, not a laboratory guarantee.
The basic habits are simple: keep bars off the floor, store plates where air can move around them, wipe down bare steel after sweaty sessions, and do not let damp cardboard, towels, or winter slush live beside the rack. A fan helps comfort and airflow, but it does not remove moisture by itself. For a fuller maintenance pass, use The Garage Gym Environmental Checklist before summer humidity or winter condensation becomes the problem.
What to delay until the garage proves it can handle more
The first year of a small garage gym is mostly a sorting process. Some upgrades will be obvious because you keep reaching for them. Others will look silly once the rack, car, freezer, and storage shelves all have to coexist. Delay anything that creates a permanent footprint before it creates a clear training benefit.
- Delay a large cable machine until you know the wall or corner it occupies will not interfere with barbell work.
- Delay fixed dumbbell sets unless you have a dedicated rack location; adjustable dumbbells usually make more sense first.
- Delay specialty bars unless they solve a real limitation, such as shoulder comfort or a specific lift you perform weekly.
- Delay oversized cardio machines if they force the lifting area to shrink below safe working clearance.
- Delay extra storage cabinets if wall pegs, shelves, and vertical holders can handle the load.
There is nothing noble about an empty garage, and there is nothing practical about a packed one. The working middle is a room where the rack opens cleanly, the bench has a parking spot, plates do not live on the floor, and a person can lift without negotiating with every stored object in the house.
A one-car garage can be a real gym. It just cannot be treated like a commercial floor plan that got shrunk in the wash. Wall space, vertical storage, and open lifting clearance are more valuable than owning more machines.
References
- How To Start Your Home Gym In 2026 - FAQ — Gray Matter Lifting
- Profile PRO Folding Squat Rack — PRx Performance
- RML-3WC Fold Back Wall Mount Rack — Rogue Fitness
- Expert-Tested: The Best Home Gym Flooring Options (2026) — Garage Gym Reviews
- Garage Gym Equipment Tiers: What to Buy First — Garage Gym Athlete
- Tips for Garage Gyms in Extreme Hot or Cold Weather — Fringe Sport
- Garage Gym Ventilation Guide — Garage Gym Builders
Routines this build supports
12-Week At-Home Bodyweight Workout Plan (No Equipment Needed)
This 12-week bodyweight workout plan provides a progressive structure for beginners to build strength at home without any equipment. Each phase includes clear level-up gates so you know exactly when to advance to harder exercises.
12-Week Postpartum Exercise Plan for Core Recovery & Skin Firmness
This 12-week postpartum exercise routine guides you through a phased progression from pelvic floor reconnection to resistance training, designed to rebuild the muscle beneath loose belly skin while setting realistic expectations about what exercise can achieve.
Why 20-Minute Home Workouts Work for Beginners
A 20-minute home workout for beginners can deliver real fitness gains—when structured for intensity. This article explains the science behind short workouts and provides a complete follow-along routine.
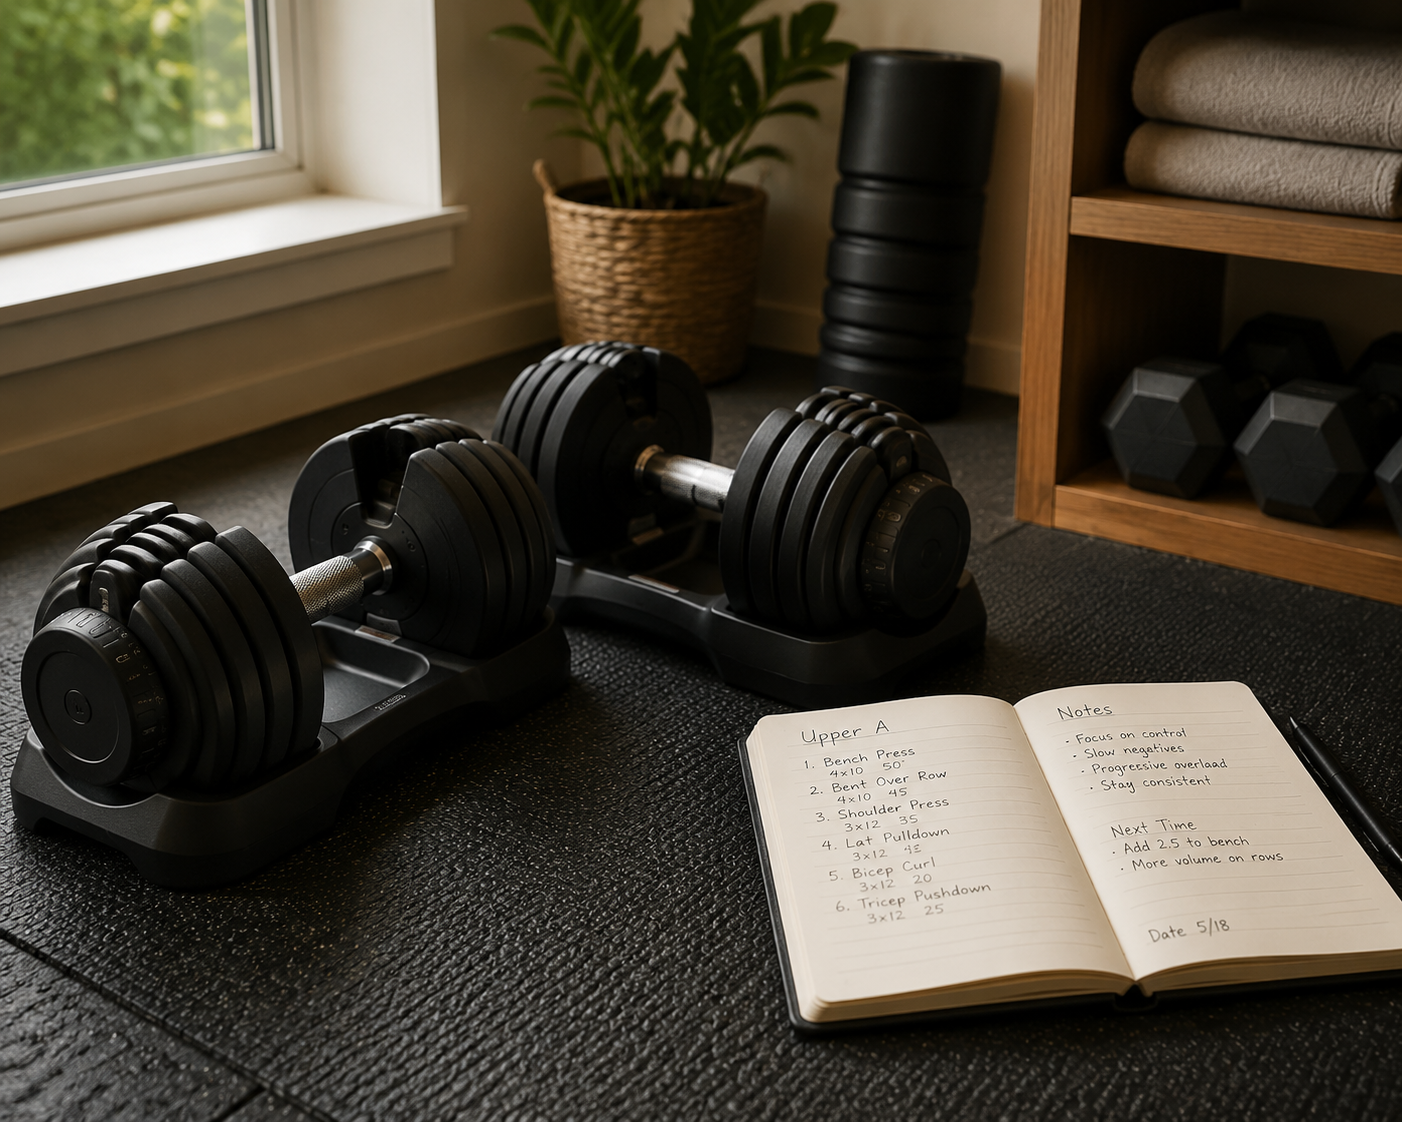
Build Muscle with This 3-Day Dumbbell-Only Full-Body Plan
A complete 3-day full-body dumbbell workout plan with exercise selection, weight guidance, and a double-progression system that helps home gym beginners and intermediates build muscle without needing heavier dumbbells every week.
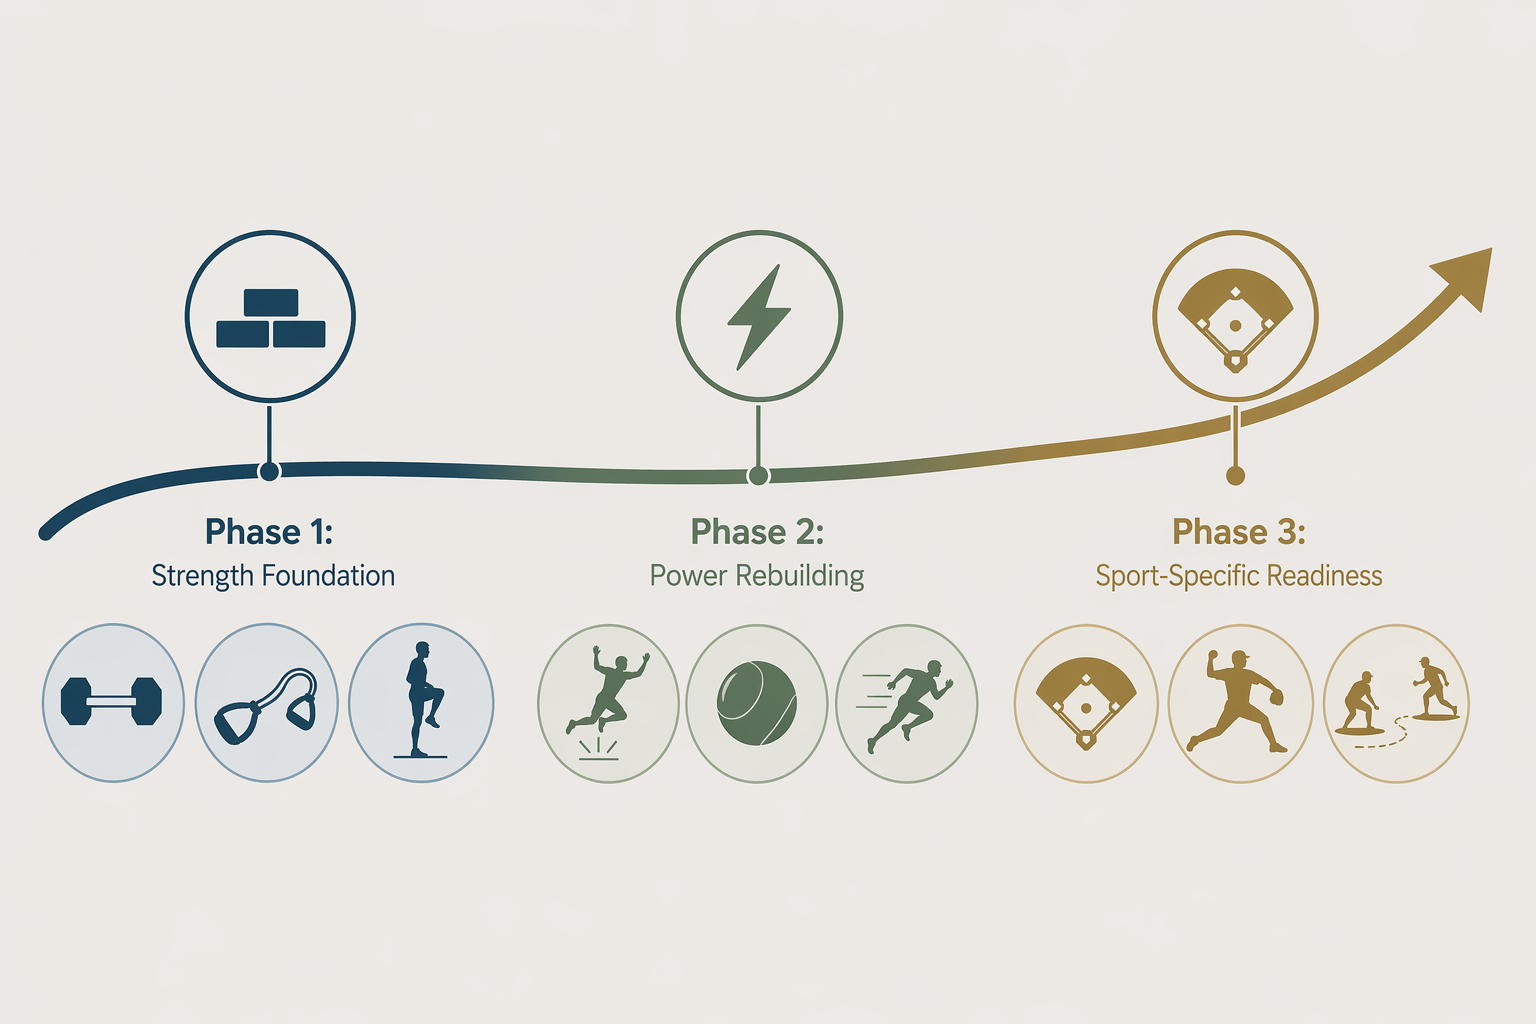
A 3-Phase Routine for Your Baseball Injury Comeback
Most baseball players leave physical therapy cleared to move but not ready to play. This 3-phase training routine bridges the gap from post-rehab to game readiness with progressively loaded strength, power, and sport-specific drills you can do at home with minimal equipment.
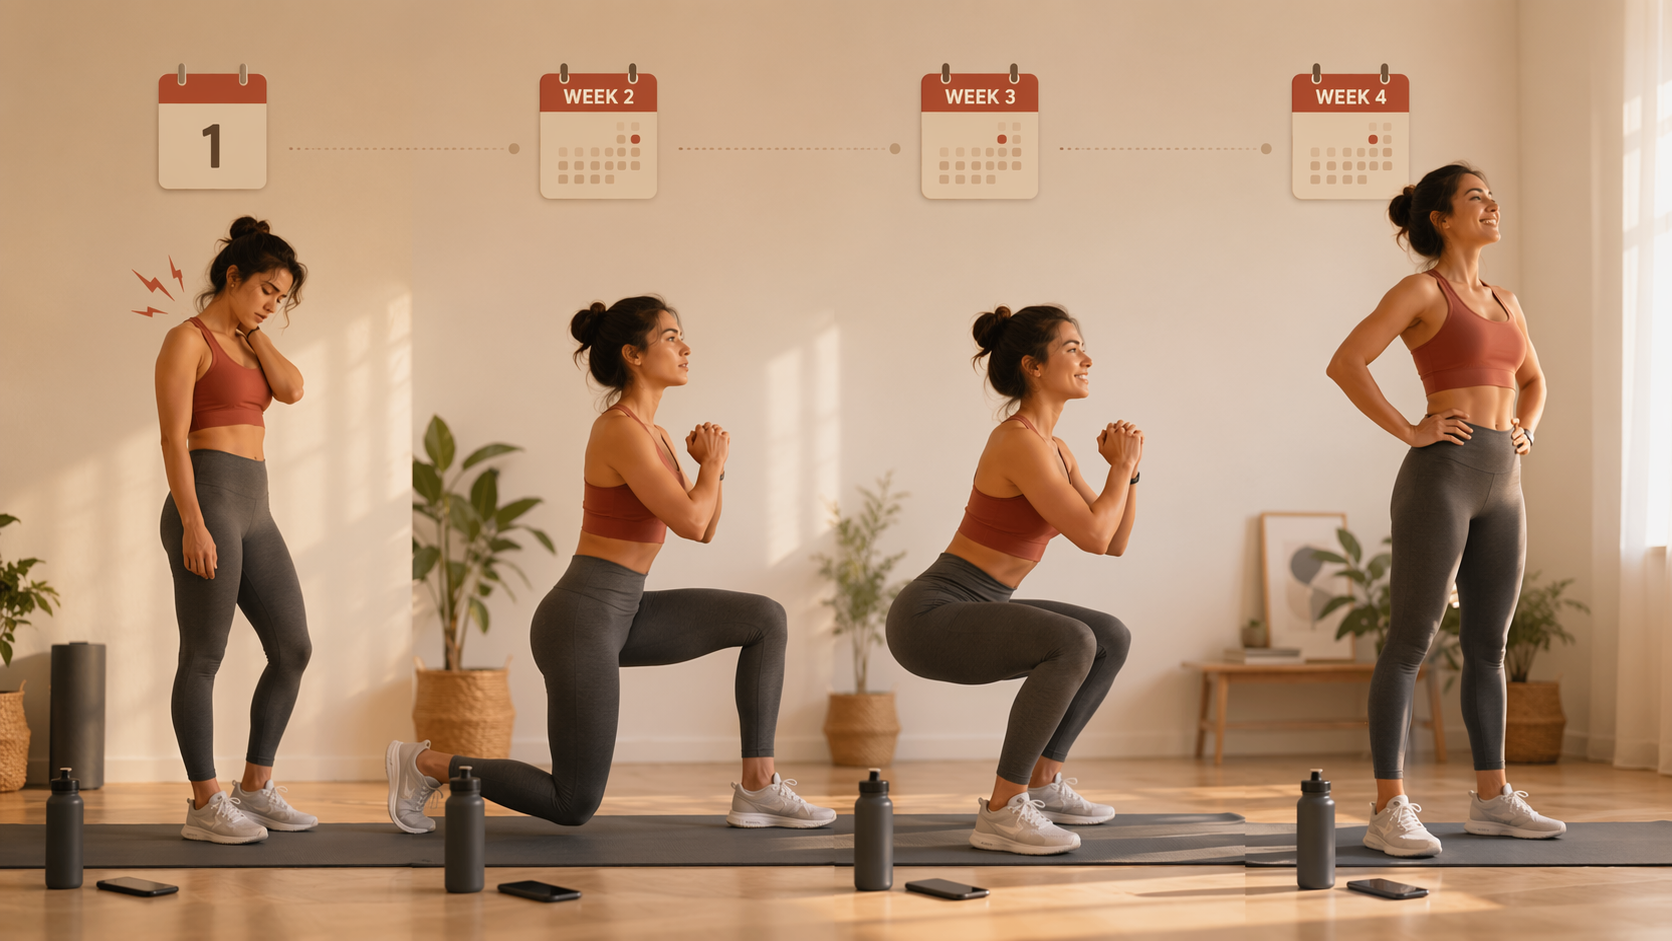
Your First 30 Days with a Workout App: A Week-by-Week Roadmap for Beginners
A week-by-week guide for absolute beginners using a workout app for the first time, covering the typical physical and psychological changes across the first month and how to choose the right session structure and app to build a lasting habit.
Spotted a stale price or an item that's no longer available? Say so below — this is our correction channel, not just a discussion thread.
Comments
Join the discussion with an anonymous comment.