
Phase-by-Phase Home Workout Plan for Foot Injury Recovery
A foot injury doesn't mean losing all fitness. This article provides a phase-based home workout plan that matches exercises to your recovery stage, from non-weight-bearing to return to activity, so you can maintain strength and cardio without delaying healing.
- Citation source
- AAOS
- Evidence level
- general guideline
- Recommended frequency
- 3 to 5 days per week
A foot injury has a way of making every normal workout option feel wrong. Running is out. Jumping is out. Even a casual bodyweight circuit can become a guessing game if one move asks the injured foot to brace, push, or catch your weight. The useful question is not, “How motivated are you to keep training?” It is, “What has your doctor or physical therapist cleared this foot to tolerate today?”
That distinction matters because pounding exercise is not a small stress. Cleveland Clinic notes that each heel strike while running can create roughly three to four times body weight in pressure through the foot, which is why running and jumping usually do not belong in a foot injury recovery home workout until the injured tissue is ready for that load [1]. At the same time, complete inactivity is not emotionally or physically neutral for active people. Runner’s World reports that VO2 max can decline by about 7% after 21 days of complete inactivity and by as much as 20% after 12 weeks, while targeted cross-training can help blunt that loss [2]. Those numbers are not a personal countdown clock; they are a reason to build a calmer plan than “do nothing” or “improvise and hope.”
This plan is general fitness guidance for people cleared for gentle movement. It is not a substitute for fracture instructions, post-surgical precautions, immobilization orders, or a physical therapy plan. If your instructions say non-weight-bearing, that means no pressure through the injured foot during the workout. If they say partial weight-bearing, the amount and context of that pressure are still medical instructions, not a feeling to negotiate mid-set.
Start With the Phase, Not the Exercise
Foot injuries do not move through one universal timeline. A stress fracture, ankle sprain, plantar fascia flare, tendon injury, and post-surgical foot all come with different rules. The cleanest home-workout map is phase-based: zero pressure first, then medically cleared partial loading, then a gradual return to foot-and-ankle conditioning.
| Recovery phase | What the foot is cleared to do | Home-workout focus |
|---|---|---|
| Phase 1: Non-weight-bearing | No pressure through the injured foot | Seated and lying strength, core, upper body, uninjured-leg work |
| Phase 2: Partial weight-bearing | Some supported pressure, within clinician limits | Supported standing work, seated calf work, cleared cycling or rope intervals |
| Phase 3: Return to activity | Progressive loading and balance work | Foot-and-ankle conditioning, calf progression, balance, gradual strength loading |
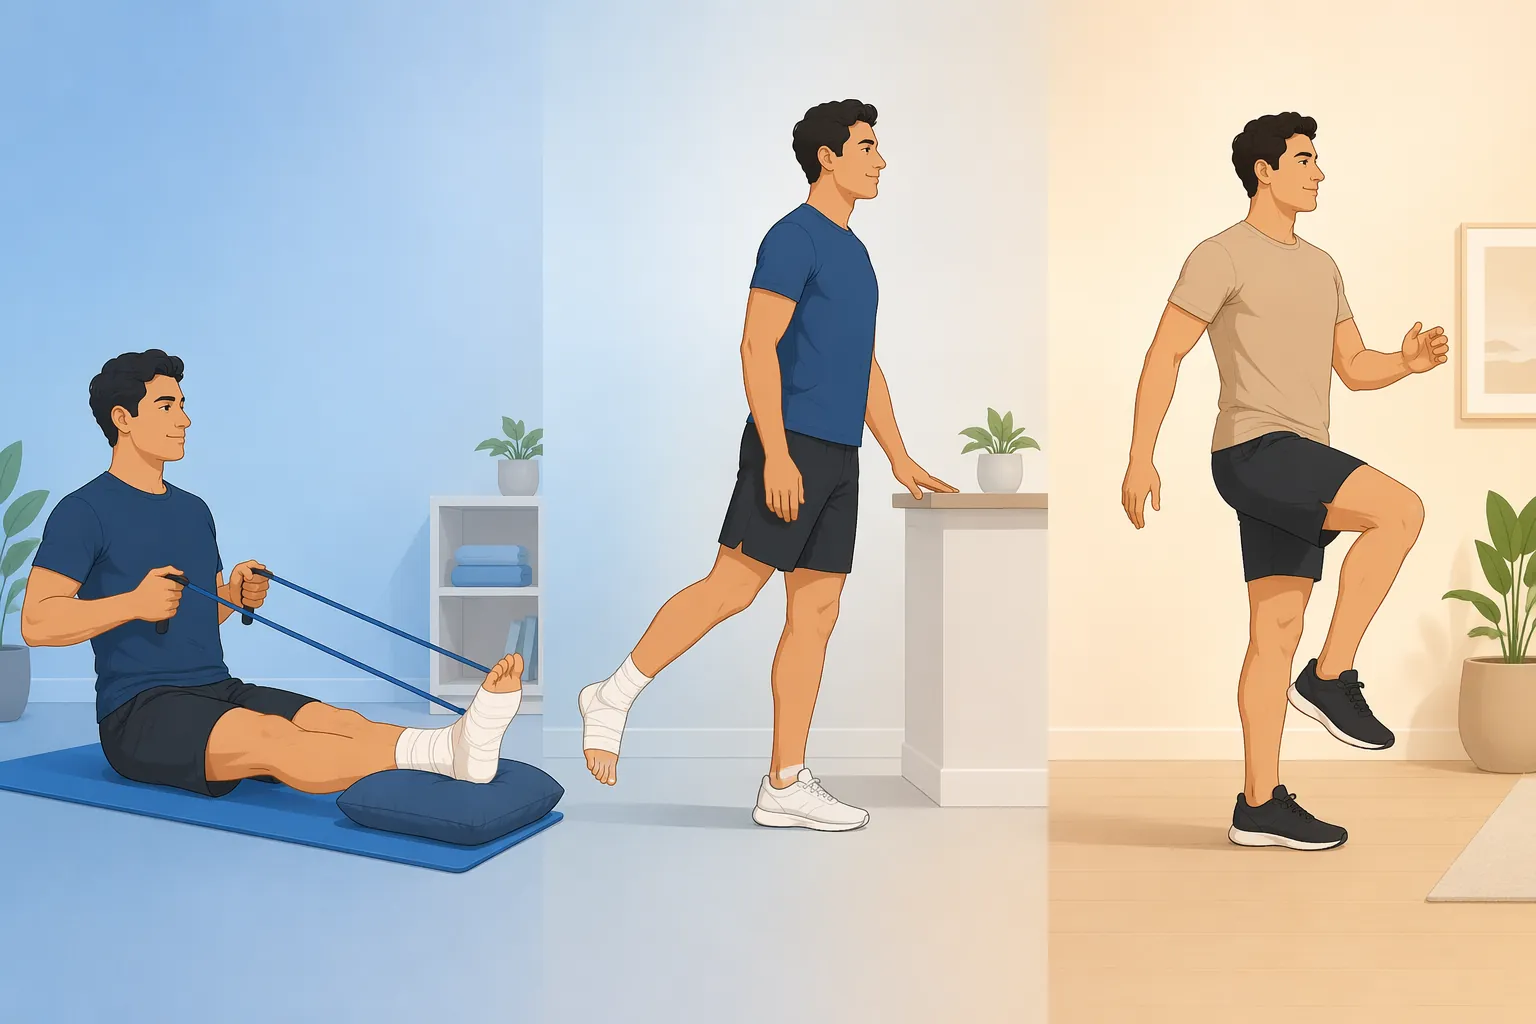
A common dose is a useful starting point, not a law. A 2025 scoping review of 87 studies and 300 foot and ankle exercises found that 3 sets of 10 repetitions, 3 times per week was the most common prescription, but only 2% of programs met ACSM load-intensity recommendations for optimal strength gains [3]. In plain terms: 3 x 10 is a reasonable calibration point for early home programming, but it may not be enough forever if the goal later becomes full strength restoration.
For the phases below, stop or modify if an exercise creates pain at the injury site, changes your gait afterward, increases swelling, or makes you bear weight beyond your clearance. “Listen to your body” only becomes useful when it is paired with the rule that your phase sets the boundary.
Phase 1: Non-Weight-Bearing Workouts for Boots, Crutches, and Zero Foot Pressure
This is the phase where people feel most trapped, and it is also the phase where the workaround needs to be strict. If the injured foot is not cleared to touch down, your workout should happen seated, lying down, or in positions where the injured foot is supported and unloaded. The goal is not to sneak in lower-body training by bracing through the boot. The goal is to keep quads, glutes, hamstrings, core, and upper body working while the foot does not participate.
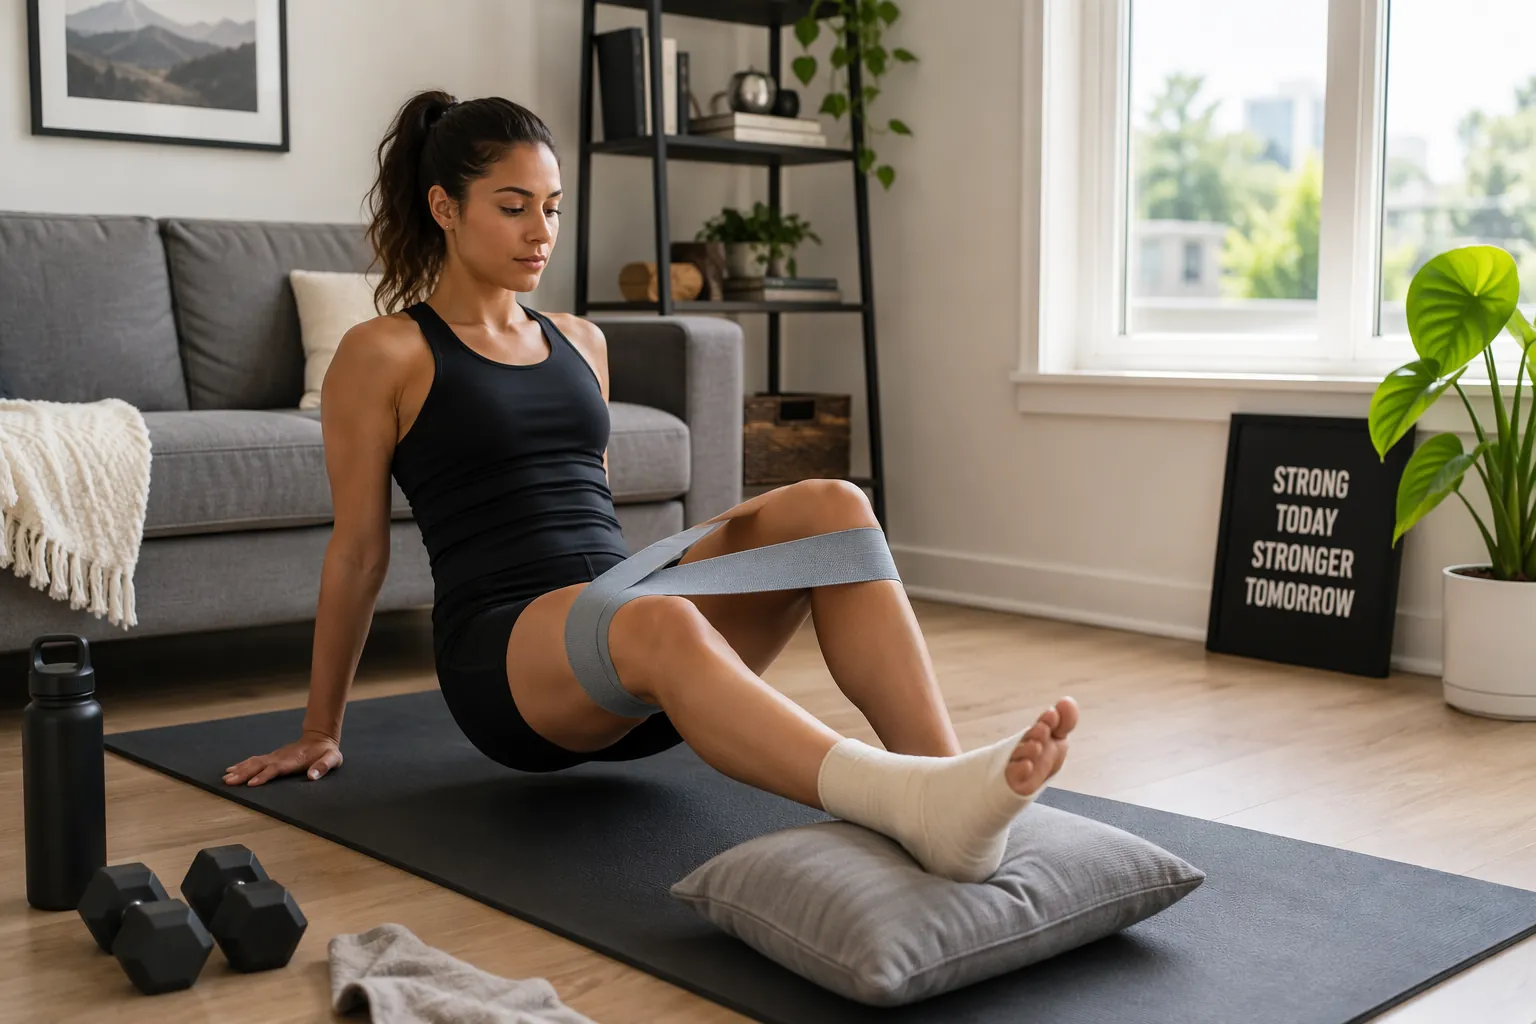
The reassuring part is that this can still be a real session. Longwell Massage Therapy’s non-weight-bearing exercise guidance includes quad sets, straight leg raises, side-lying hip abduction, donkey kicks, fire hydrants, long arc quads, and hamstring curls as options used after ankle and foot injury or surgery [4]. Keep the injured foot relaxed and unloaded; if a movement makes you press the foot into the floor, couch, wall, or mat, it no longer fits this phase.
A Seated and Lying Strength Session
Use this as a template 2 to 3 times per week if it matches your clearance. Start with 1 to 2 sets if you are newly injured, post-surgical, or unusually fatigued from crutch use. Build toward 2 to 3 sets of 10 to 15 controlled reps where appropriate.
- Quad sets: Lie or sit with the leg supported, gently tighten the thigh, hold 3 to 5 seconds, then release. The foot should not push into anything.
- Straight leg raises: Keep the knee straight, lift the leg from the hip, pause briefly, and lower with control. If the hip flexor takes over or the back arches, reduce the range.
- Side-lying hip abduction: Lie on the uninjured side if comfortable, lift the top leg slightly behind the body line, and avoid rolling the pelvis open.
- Donkey kicks or fire hydrants: Use a hands-and-knees setup only if your injured foot can stay completely unloaded and your clinician allows the position. Otherwise, skip them.
- Long arc quads: Sit tall, extend the knee, squeeze the thigh at the top, and lower slowly. The lower leg moves; the foot does not push.
- Hamstring curls: If standing is not allowed, do not use a standing version. Ask your PT whether a prone or seated band version is appropriate.
Single-leg training on the uninjured side can feel almost comically uneven, but it is not pointless. Cleveland Clinic notes that exercising the uninjured limb can produce strength benefits in the injured limb through neural cross-education, citing a 2018 study [1]. That does not mean the injured side is secretly getting a full workout. It means the nervous system responds to unilateral training in a way that can help preserve strength while direct loading is off the table.
Core and Upper Body Without Sneaky Foot Pressure
Core work is only useful here if the foot stays quiet. Cleveland Clinic lists tabletop crunches, bicycle crunches, hollow holds, and dead bugs among core options for people working around an injured foot [1]. For many home exercisers, dead bugs are the easiest place to begin because the back is supported and there is no need to brace through the feet.
- Dead bugs: Keep knees over hips, ribs down, and lower one arm and the opposite leg only as far as you can without arching.
- Tabletop crunches: Lift the shoulders lightly without pulling the neck or driving the feet downward.
- Hollow holds: Use a bent-knee version if the full position pulls the back off the floor.
- Bicycle crunches: Keep them slow; if the injured foot wants to brace or kick hard, choose dead bugs instead.
For upper body, sit on a chair, bench, or floor with the injured foot supported. Use light dumbbells, resistance bands, water bottles, or other stable household items for seated biceps curls, triceps extensions, shoulder presses, lateral raises, rows, and band pull-aparts. If bands are part of your setup, anchor them only in ways that will not slip under tension; a dedicated guide to safe resistance band door-anchor use is worth reviewing before you start pulling from a closed door.
A practical Phase 1 session might look like this: quad sets, straight leg raises, side-lying hip abduction, dead bugs, seated shoulder press, seated rows, curls, and triceps extensions. That is not a consolation prize. It is a real maintenance session with one nonnegotiable rule: the injured foot does not help.
Phase 2: Partial Weight-Bearing Means Supported, Not Casual
Partial weight-bearing is where vague advice becomes especially risky. One person may be cleared to touch the foot down for balance only. Another may be cleared for a specific percentage of body weight, a boot-assisted gait, or short bouts of supported standing. The home workout has to respect that difference.
FootAnkle.com includes seated calf work, standing hamstring curls, battle ropes, and stationary cycling among workout options for people training around a hurt or broken foot, but these choices depend heavily on clearance and setup [5]. A stationary bike, for example, is not automatically safe because it is “low impact.” The foot still contacts the pedal, the ankle may move through range, and the injured area may receive repetitive load.
- Seated calf work: Use only the range your clinician allows. Early versions may be simple ankle motion or very light seated raises, not heavy loading.
- Supported standing hamstring curls: Hold a counter, wall, or sturdy chair. Keep pressure through the injured foot within your prescribed limit.
- Battle ropes: If available, use a seated or supported stance only if it does not cause bracing, shifting, or pounding through the injured foot.
- Stationary cycling: Use only if cleared. Keep resistance low at first, avoid standing climbs, and stop if pain, swelling, or altered walking follows.
This phase can still include most of the Phase 1 seated and lying work. In fact, keeping those exercises in place often makes the transition cleaner: the body gets more permission gradually instead of replacing a safe plan with an ambitious one the first day crutches become less annoying.
Phase 3: Return-to-Activity Conditioning Is Where Patience Pays Off
The return phase is not the moment to test whether the injury is “basically fine.” It is the phase where the foot and ankle relearn load, control, balance, and repeated work. This is also where many active people rush because normal walking starts to feel possible before running, jumping, cutting, or heavy lower-body lifting is actually ready.
The AAOS Foot and Ankle Conditioning Program gives this phase a more disciplined structure: a 4- to 6-week program performed 3 to 5 days per week, built around 10 exercises for the gastrocnemius-soleus complex, anterior and posterior tibialis, peroneals, and plantar fascia [6]. That is the kind of boring-sounding framework that protects the comeback.
| Return-to-activity priority | Exercise emphasis | Progression cue |
|---|---|---|
| Mobility and tissue tolerance | Heel cord stretch, golf ball roll, towel stretch as cleared | No next-day flare in pain, swelling, or walking mechanics |
| Calf and ankle strength | Calf raises, ankle resistance work, tibialis and peroneal-focused drills | Move from two-legged to one-legged versions only when controlled |
| Balance and control | Supported balance, then less hand support, then single-leg balance if cleared | The foot stays stable without gripping, collapsing, or pain |
| General strength rebuilding | Squat, hinge, step, and carry patterns as appropriate | Load increases only after the foot tolerates the previous level |
A sensible home version might begin with the AAOS-style foot and ankle exercises, then add light general strength that does not provoke symptoms: supported squats to a chair, hip hinges with a dowel or light dumbbells, glute bridges if cleared, and upper-body strength work. Compact tools can help later, but equipment should follow the phase. If you are rebuilding a small training corner, save compact home-gym equipment decisions for the point when progressive loading is actually allowed.
Progression should be visible before it is intense. A two-legged calf raise comes before a one-legged calf raise. Supported balance comes before unsupported balance. Low-resistance cycling comes before longer or harder rides if cycling is part of the plan. A short, symptom-free session repeated consistently is more useful than one heroic workout that makes the foot louder for two days.
A Weekly Shape for the Return Phase
If your clinician has cleared return-to-activity conditioning, the AAOS frequency of 3 to 5 days per week gives you a broad lane [6]. You do not need every day to look the same.
- Three days per week: foot-and-ankle conditioning, calf progression, balance, and light full-body strength.
- One or two optional days: cleared low-impact cardio, mobility, or an upper-body session that does not aggravate the foot.
- At least one honest recovery day: no testing, no “just to see” jogging, no adding load because the previous session felt easy in the first 10 minutes.
For a wider evidence discussion on home-based injury recovery, the internal guide to what the 2026 ACSM guidelines say about home injury recovery can help place this kind of programming in context. The key for this article is narrower: your home workout should become more demanding only when the injured foot has earned the next demand.
What to Avoid Until You Are Cleared
Some exercises are easy to mislabel as “modified” because they look less aggressive than running. That does not make them appropriate for every phase. Avoid the following unless your doctor or physical therapist has specifically cleared them for your injury and current weight-bearing status:
- Running, jumping, skipping, burpees, jump rope, plyometrics, and HIIT intervals with foot strikes.
- Standing strength circuits that make you shift weight quickly or catch yourself on the injured side.
- Loaded squats, lunges, step-ups, carries, or hinges before progressive loading is cleared.
- Barefoot balance drills if your current instructions require a boot, brace, shoe, or external support.
- Any cardio machine that creates pain during the session or swelling, limping, or increased symptoms afterward.
The point is not to make recovery smaller than it is. A foot injury changes training. It changes your setup, your exercise menu, and the speed of progression. But it does not automatically erase your whole routine. In the non-weight-bearing phase, train what can be trained without foot pressure. In partial weight-bearing, add only the supported work your clearance allows. In return to activity, let structured foot-and-ankle conditioning lead before performance goals return.
Fitness does not have to disappear during foot injury recovery at home. The plan works when the phase chooses the workout, and impatience does not.
References
- Injured Foot? Try These Cardio, Core and Strength Workouts, Cleveland Clinic
- Non-Weight-Bearing Exercises: How to Maintain Fitness, Runner's World
- Exercise prescription and progression for the foot and ankle: A scoping review, Journal of Foot and Ankle Research, 2025
- Exercises for non-weight bearing after Ankle and Foot injury or surgery, Longwell Massage Therapy
- How to Workout with a Hurt or Broken Foot, Foot & Ankle
- Foot and Ankle Conditioning Program, AAOS OrthoInfo
This is general fitness education, not medical advice. For diagnosis or treatment of pain or injury, consult a qualified clinician.
Pick your next session
Browse all routines to find an appropriately-spaced next session.
Spot something off?
This content sits adjacent to health guidance — tell us if a citation or figure needs a correction.