
Your Grand Teton Hiking Safety Checklist
A complete Grand Teton hiking safety system: pre-trip conditioning benchmarks, on-trail risk management for bears and lightning, and post-hike recovery protocols to keep you safe and hiking day after day.
- Citation source
- REI
- Evidence level
- general guideline
Grand Teton rewards fitness, but it does not grade on fitness alone. A strong stair-climber pace helps on the switchbacks; it does not make bear spray reachable, move a thunderstorm off a ridge, treat creek water, read a paper map when service drops, or keep your legs useful for tomorrow. The National Park Service tells visitors to expect “spotty and unpredictable” cell coverage and to plan for self-reliance; rescue should not be treated as the backup plan that makes a marginal decision acceptable.[1]
| When | Decision | Practical threshold |
|---|---|---|
| Before the hike | Test whether your conditioning matches the route, not just your gym log. | Use Exum Mountain Guides’ 1,000 feet of elevation gain per hour for 2+ hours as a demanding readiness gauge, not a requirement for every day hike.[2] |
| Before the hike | Keep pack weight from turning a fit hiker into an overloaded hiker. | Aim to keep pack weight at or below 20% of body weight, then practice with that load before travel.[3] |
| During the hike | Carry bear spray where your hand can reach it immediately. | Use EPA-registered bear spray with 1–2% capsaicin, at least 7.6 ounces, at least 25 feet of range, and at least 6 seconds of spray duration; carry it in a hip holster, not inside your pack.[4] |
| During the hike | Treat thunder as a timing problem, not a mood change in the weather. | If thunder follows lightning within 30 seconds, seek shelter; wait 30 minutes after the last thunder before resuming.[5] |
| During the hike | Slow your ascent once the air gets thin. | Above 8,000 feet, keep elevation gain conservative; no more than about 1,000 feet per hour is a useful ceiling for many hikers. |
| After the hike | Recover as part of tomorrow’s safety plan. | Rehydrate, keep walking briefly, and eat 200+ carbohydrate calories within 30 minutes to support glycogen replenishment.[6] |
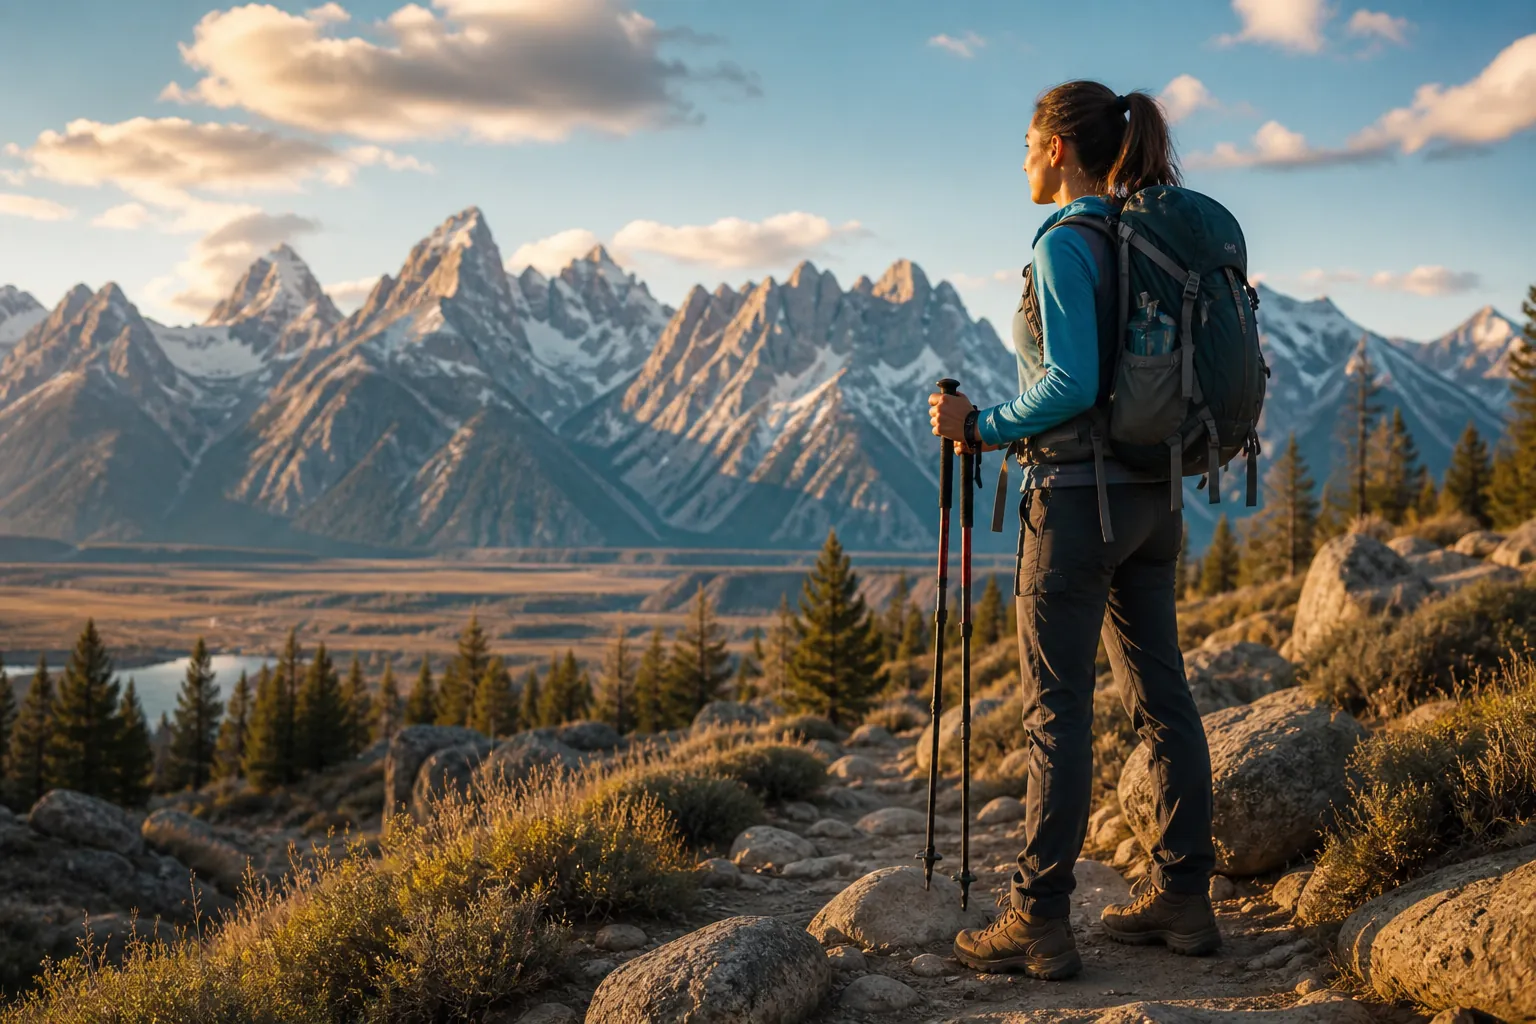
Start With a Readiness Test, Not a Packing List
The easiest mistake is to equate indoor suffering with mountain readiness. A hard interval session on a rower proves you can tolerate discomfort in a controlled room. Grand Teton asks a different set of questions: can you climb steadily with a loaded pack, keep making clean decisions at altitude, descend without trashing your knees, and still sleep well enough to hike again?
Exum Mountain Guides publishes a blunt benchmark for climbers preparing for the Grand Teton summit: the ability to hike 1,000 feet of elevation gain per hour for more than 2 consecutive hours.[2] That benchmark comes from a climbing context, not from an easy lakeshore walk. Use it as a high-end calibration tool. If you can hold that pace with the pack weight you plan to carry, you have useful evidence that your engine and legs are ready for harder objectives. If you cannot, that does not cancel your trip; it should push you toward shorter routes, earlier starts, and more conservative turnaround rules.
The pack changes the test. A 30-pound pack does not feel like a spreadsheet percentage when the trail steepens above Jenny Lake or when the descent starts after several hours on your feet. REI’s common backpacking guideline keeps loaded pack weight at no more than about 20% of body weight.[3] For a Grand Teton day hike, the useful move is not to chase the lightest possible kit at the expense of safety. It is to practice with the weight you will actually carry: water, food, layers, rain gear, first aid, navigation, headlamp, and bear spray on your body.
A simple home test works well three to six weeks before the trip: load your daypack, set a treadmill incline or use stairs, and climb steadily for two hours. Track vertical gain, heart rate drift, and how your calves and quads feel the next morning. If the next-day soreness is severe after a controlled session, a big Teton hike followed by another big Teton hike is not a fitness challenge; it is a fatigue-management problem you have already previewed.
Low-Elevation Visitors Need a Smaller First Day
Arriving fit from sea level or a low-elevation city does not make the first climb feel normal. Above 8,000 feet, keep your ascent rate deliberately modest. A ceiling of roughly 1,000 feet of gain per hour is a practical pacing rule, especially early in the trip. If that pace feels embarrassingly slow, good. The goal is to preserve decision quality and descending legs, not to win the first hour of a vacation.
This is where a disciplined home-gym habit helps: use objective constraints before motivation takes over. Decide your turnaround time before you start. Decide what symptoms or weather changes end the hike. Decide how much water you will carry before relying on treatment. Grand Teton is not the place to improvise the safety plan halfway up a canyon.
Pack for Access, Not Just Possession
A lot of hikers technically “bring” the right item and still make it useless. Bear spray at the bottom of a pack is weight, not protection. A map buried under a rain shell is better than no map, but not by much when a junction is confusing and the phone battery is down. A headlamp without accessible batteries is a small plastic confession that the day went longer than planned.
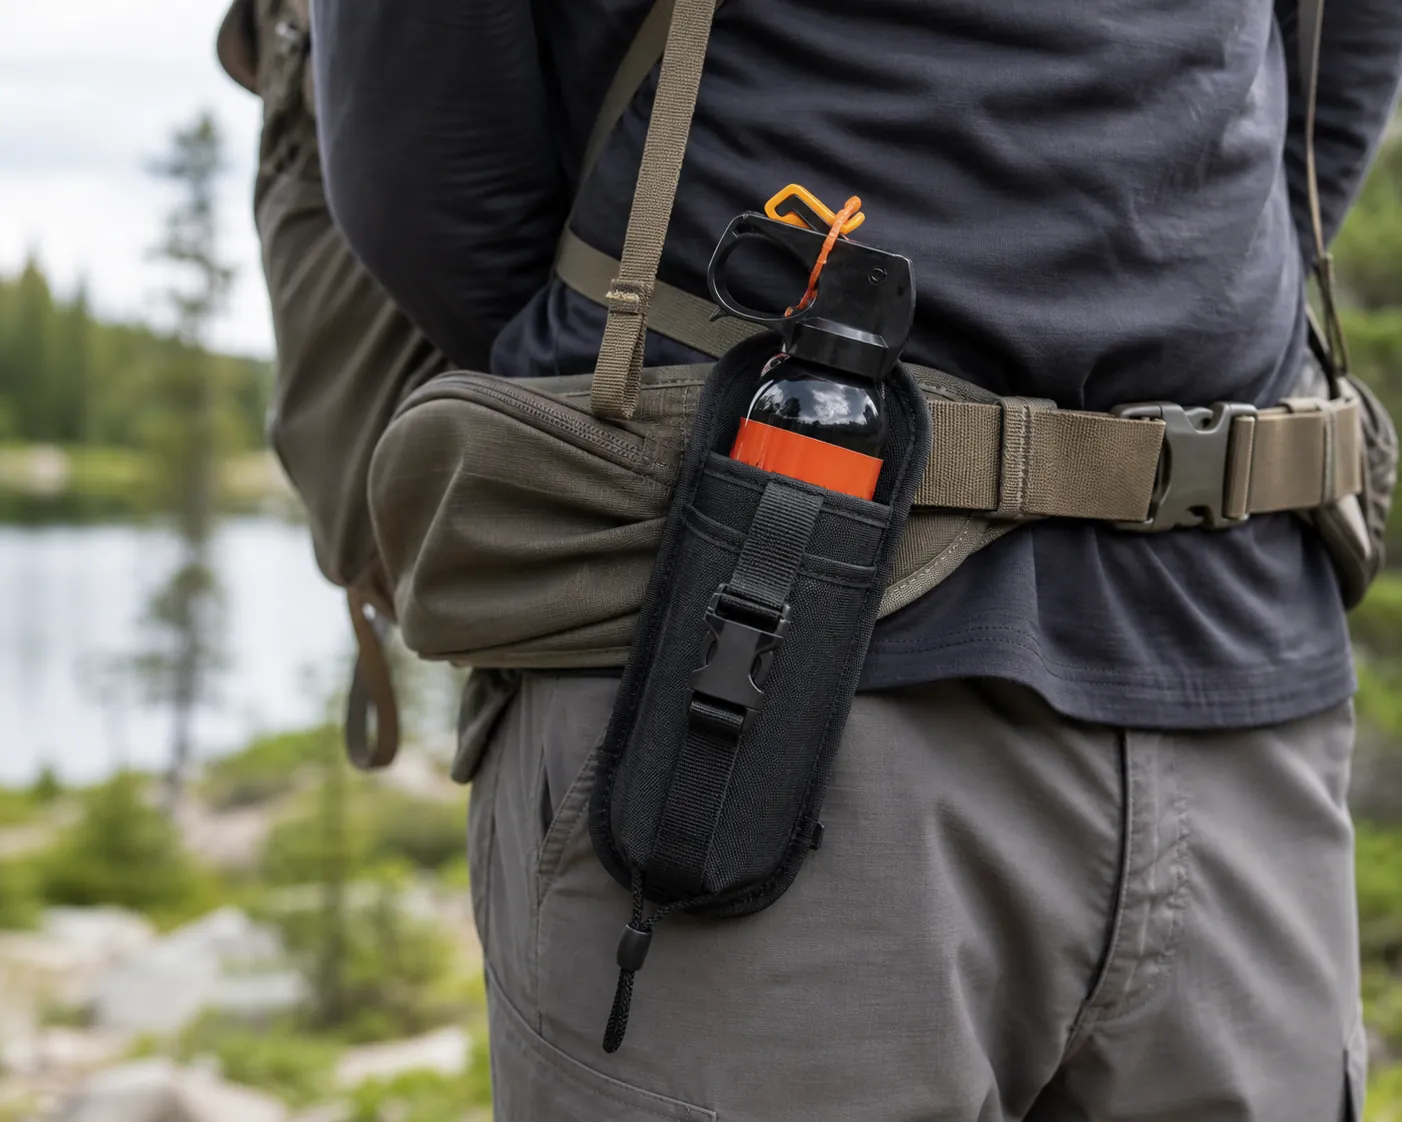
For bear spray, the specifications matter. The NPS says spray should be EPA-registered, contain 1–2% capsaicin and related capsaicinoids, hold at least 7.6 ounces, reach at least 25 feet, and spray for at least 6 seconds.[4] Carry it in a hip or chest holster where either hand can reach it quickly. Do not pack it inside your backpack, strap it under layers, or let a hiking partner carry the only canister while you walk apart.
Navigation deserves the same access standard. Downloaded maps are useful, but the park’s own warning about spotty and unpredictable coverage should be enough to make a paper map feel normal rather than old-fashioned.[1] Before leaving the trailhead, identify the major junctions, water crossings, bailout points, and the direction you should be traveling on the return. A paper map does not need battery life, a signal, or a calm user interface.
- Bear spray: on your hip or chest, safety clip understood, not buried in the pack.
- Map: paper map accessible, with the route marked before the hike starts.
- Water plan: enough carried for the early route, plus a treatment method if refilling.
- Weather layers: reachable without unloading the entire pack.
- Headlamp: carried even for day hikes, because a slow descent can turn into dusk.
Leave Early for Parking, Weather, and Margin
Early starts in Grand Teton are not just about prettier light. They buy parking, cooler climbing, and a better chance of being off exposed terrain before afternoon weather builds. The NPS warns that popular trailhead parking can fill, and one practical hiking guide reports peak-summer fill times around 6:30 AM for Jenny Lake and 6:00 AM for Lupine Meadows; treat those times as non-official field guidance, not park policy.[7]
The more ambitious the hike, the less you should let the morning become casual. Pack the night before. Put bear spray on the belt before leaving the car. Start with the layer you can hike in, not the layer that feels comfortable while standing in a cold parking lot. If a trailhead delay pushes your schedule into the storm window, shorten the hike instead of trying to make up time uphill.
On Trail, Manage the Hazards Grand Teton Actually Has
Grand Teton’s risks are not abstract wilderness ambience. They are specific enough to plan around: grizzly and black bear habitat, fast weather changes, lightning, high-elevation fatigue, unreliable communication, waterborne illness, and lingering alpine snow. The safest hikers do not wait to “feel” unsafe. They run the protocol while conditions still look manageable.
Bears: Make Noise, Create Distance, Keep Spray Deployable
Bear safety starts before an encounter. Hike in a way that reduces surprise: stay aware in brushy areas, near streams, around blind corners, and wherever wind or rushing water masks sound. Keep food secured, do not approach wildlife for photos, and give animals room to move away. If you want a deeper bear-specific refresher, read FitAtHome’s bear-safety guides before the trip rather than trying to learn during an encounter.
The carry position is not a small detail. Bear spray must be reachable faster than fear can freeze your hands. Practice drawing the canister from the holster without discharging it. Know how the safety clip works. Make sure a rain jacket or pack strap does not block access. A canister that meets NPS specifications but rides inside the pack solves the wrong problem: ownership instead of deployment.[4]
Lightning: Use the 30-30 Rule Before the Ridge Decides for You
Wyoming has been identified as ranking first in lightning deaths per capita in NOAA/National Weather Service data summarized by Teton Hiking Trails, and afternoon thunderstorms are a recurring summer concern in the Tetons.[5] That statistic should not be used as scare decoration. Its practical meaning is simple: do not plan a high, exposed section as the part you will “probably” reach after lunch.
Use the 30-30 rule. If the time between lightning and thunder is 30 seconds or less, seek safer shelter. After the last thunder, wait 30 minutes before resuming.[5] In practice, that may mean turning around even when the summit, pass, or lake feels close. A turnaround caused by thunder is not a failed hike; it is the safety system doing what it was built to do.
If you are above treeline or on exposed terrain, move lower before the storm is overhead. Avoid isolated trees, ridgelines, open fields, and metal objects. Separate from others enough to reduce group exposure while staying in communication. The best lightning plan is still the boring one: start early, watch the sky, and avoid needing heroics.
Altitude and Pace: Protect the Descent
A lot of fit hikers pace Grand Teton like the climb is the event. The descent is where tired quads, loose footing, and fading attention collect the bill. Above 8,000 feet, use the 1,000-feet-per-hour ceiling as a governor, especially if you live low, slept poorly, or are stacking hikes across several days. If you need frequent stops to keep that pace, the route is already telling you something useful.
Watch for decision drift: skipping food because the next viewpoint is close, postponing water because the pack is annoying, ignoring a headache because the group wants to continue, or taking a snow shortcut because other boot prints are visible. Fitness can hide the early warnings. It cannot erase the consequences.
Water: Treat It, Even When It Looks Clean
Clear mountain water is not automatically safe water. The NPS warns about Giardia and Campylobacter risk and advises boiling water for 3–5 minutes or using an EPA-registered filter.[1] Streams are available in every canyon, but Fox Creek Pass, Death Canyon Shelf, Mt. Hunt Divide, and Open Canyon may dry in late summer, so do not build a route around a refill point you have not verified.[1]
Carry enough water to avoid gambling early, then treat what you collect. A filter only helps if it is accessible and you have time to use it before the group is cold, hungry, or rushed by weather. Put water stops into the plan the way you would put rest intervals into a workout: before the form breaks down.
Snow: Know When a Hike Has Become Mountaineering
Lingering snow changes the activity. The NPS notes that Paintbrush Divide, Hurricane Pass, and Static Peak Divide can remain snow-covered into late July and may require an ice axe, crampons, and self-arrest skills.[8] The same guidance warns hikers not to trust that tracks or an existing boot-pack mark the correct or safest route.[8]
That boundary matters. Micro-adjusting your route around a muddy patch is hiking judgment. Crossing steep snow without the tools and skills to stop a slide is a different sport. If your route depends on snow travel and you do not have the equipment or self-arrest practice, choose another route or wait for different conditions.
Do Not Outsource the Consequences to Rangers
Rescue numbers are useful only if they make hikers more self-sufficient, not more dramatic. The Grand Teton National Park Foundation reports approximately 90 rescues per year and says roughly 20% of ranger time is spent on search and rescue.[9] Those figures come from the park’s philanthropic partner, not a current NPS incident dashboard, so treat them as context rather than a precise real-time counter.
The same source notes that ages 16–30 account for 38% of rescue calls, based on broader Teton County Search and Rescue data rather than Grand Teton National Park alone.[9] The useful takeaway is not that one age group is careless. It is that energy and confidence do not reliably predict mountain judgment. A hiker can be strong, sincere, and still underprepared for the park’s specific hazards.
Before continuing past a junction, pass, or exposed section, ask the operational questions: if someone twists an ankle here, can we keep them warm? If the phone has no service, can we navigate out? If the storm arrives early, where do we go? If the answer is vague, the risk is not vague; only the plan is.
Recovery Is Part of the Next Day’s Safety
Post-hike recovery sounds soft until you watch a tired hiker misstep on day three because day one never really ended. Grand Teton trips often stack effort: one canyon, then one lake loop, then one bigger objective once confidence rises. Recovery is how you keep ambition from compounding into clumsy decisions.
Start within the first 30 minutes. REI’s recovery guidance recommends 200 or more calories of carbohydrates in that window to help replenish glycogen.[6] This does not need to become supplement theater. A practical snack and fluid you can tolerate after hiking are enough for most healthy adults. If you have medical conditions or specific nutrition needs, follow individualized medical guidance rather than a generic trail article.
- Rehydrate steadily instead of chugging once and forgetting it.
- Walk for 5–10 easy minutes after removing the pack so your legs downshift gradually.
- Eat a carbohydrate-forward snack within 30 minutes, then follow with a normal meal.
- Use compression wear if it helps your legs feel better, but do not let it replace sleep.
- Set up tomorrow’s pack before fatigue turns into bedtime procrastination.
Sleep gets the highest priority because it affects the next day’s pace, balance, mood, and willingness to turn around. A recovery routine that ends with five hours of sleep is not a recovery routine; it is a snack break with consequences. If soreness is changing your gait or you are unusually irritable, slow the next day down. That is not weakness. That is noticing the system before the system fails.
The Complete Trail-Day Flow
| Stage | What to decide | What changes if the answer is weak |
|---|---|---|
| At home | Can I climb with my planned pack for long enough to match the route? | Choose a shorter route, train with load, or add rest before the biggest hike. |
| Night before | Is bear spray accessible, map ready, water plan clear, and weather checked? | Repack before sleep; do not solve essential access problems at the trailhead. |
| Trailhead | Did parking, timing, or weather already shrink the safe window? | Shorten the objective instead of racing the clock. |
| Uphill | Am I keeping altitude pace, eating, drinking, and thinking clearly? | Slow down or turn around before fatigue owns the descent. |
| Exposed terrain | Is thunder, snow, or route uncertainty changing the risk category? | Leave exposed terrain, avoid snow travel beyond your skills, or select another route. |
| After hiking | Am I recovering well enough to make good decisions tomorrow? | Reduce the next day’s distance or intensity. |
Grand Teton hiking safety is built from small, disciplined choices that happen before the trail, during the trail, and after the boots come off. None of them is heroic. That is the point. The hiker who keeps bear spray reachable, starts early, turns around for thunder, treats water, respects snow, paces altitude, and recovers on purpose is not making one grand safety decision. They are keeping the next decision available.
References
- Safety - Grand Teton National Park, National Park Service, updated June 2026, https://www.nps.gov/grte/planyourvisit/safety.htm
- Grand Teton Training, Exum Mountain Guides, https://exumguides.com/grand-teton-training/
- How Much Should Your Backpack Weigh?, REI Expert Advice, https://www.rei.com/learn/expert-advice/backpacking-weight.html
- Bear Safety - Grand Teton National Park, National Park Service, updated June 2025, https://www.nps.gov/grte/planyourvisit/bearsafety.htm
- Lightning Safety, Teton Hiking Trails, https://www.tetonhikingtrails.com/
- How to Recover After a Hike, REI Expert Advice, https://www.rei.com/learn/expert-advice/how-to-recover-from-hike.html
- Hiking in Grand Teton National Park, Hike with Ryan, https://hikewithryan.com/
- Backcountry Know Before You Go - Grand Teton National Park, National Park Service, https://www.nps.gov/grte/planyourvisit/bc_knowbeforeyougo.htm
- Ranger Support, Grand Teton National Park Foundation, https://www.gtnpf.org/initiative/ranger-support/
This is general fitness education, not medical advice. For diagnosis or treatment of pain or injury, consult a qualified clinician.
Pick your next session
Browse all routines to find an appropriately-spaced next session.
Spot something off?
This content sits adjacent to health guidance — tell us if a citation or figure needs a correction.