
Ankle Rehab Exercises for Apartment Dwellers
Sprained your ankle and live in a small apartment? This guide adapts standard medical rehab exercises so you can recover quietly, protect your floors, and avoid chronic instability—all with under $15 of equipment.
- Equipment tier required
- $0-100
- Duration
- 15 min
- Difficulty
- beginner
- Target area
- ankle
- Space footprint needed
- 10x10 ft
- Noise level
- low
Medical Boundary First
This is a wellness guide for Grade 1–2 ankle sprains that have already been judged appropriate for home rehab. It is not a diagnosis, a substitute for medical care, or a way to decide whether a painful, swollen, bruised, unstable, or weight-bearing-limited ankle needs evaluation. If your symptoms are severe, worsening, unusual, or not improving, the apartment setup is not the main problem; getting clinical guidance is.
With that boundary in place: yes, a complete ankle rehab routine can fit in a normal living room. The basic sequence—early swelling control and walking, range of motion, strengthening, balance, then return to more demanding activity—comes from standard rehabilitation guidance, especially Kaiser Permanente’s phased sprained ankle exercise program and Harvard Health’s general recovery guidance for ankle sprains.[1][2] The apartment part is less dramatic: a couch, towel, resistance band, yoga mat, and sometimes a bag of frozen peas solve nearly all of it.
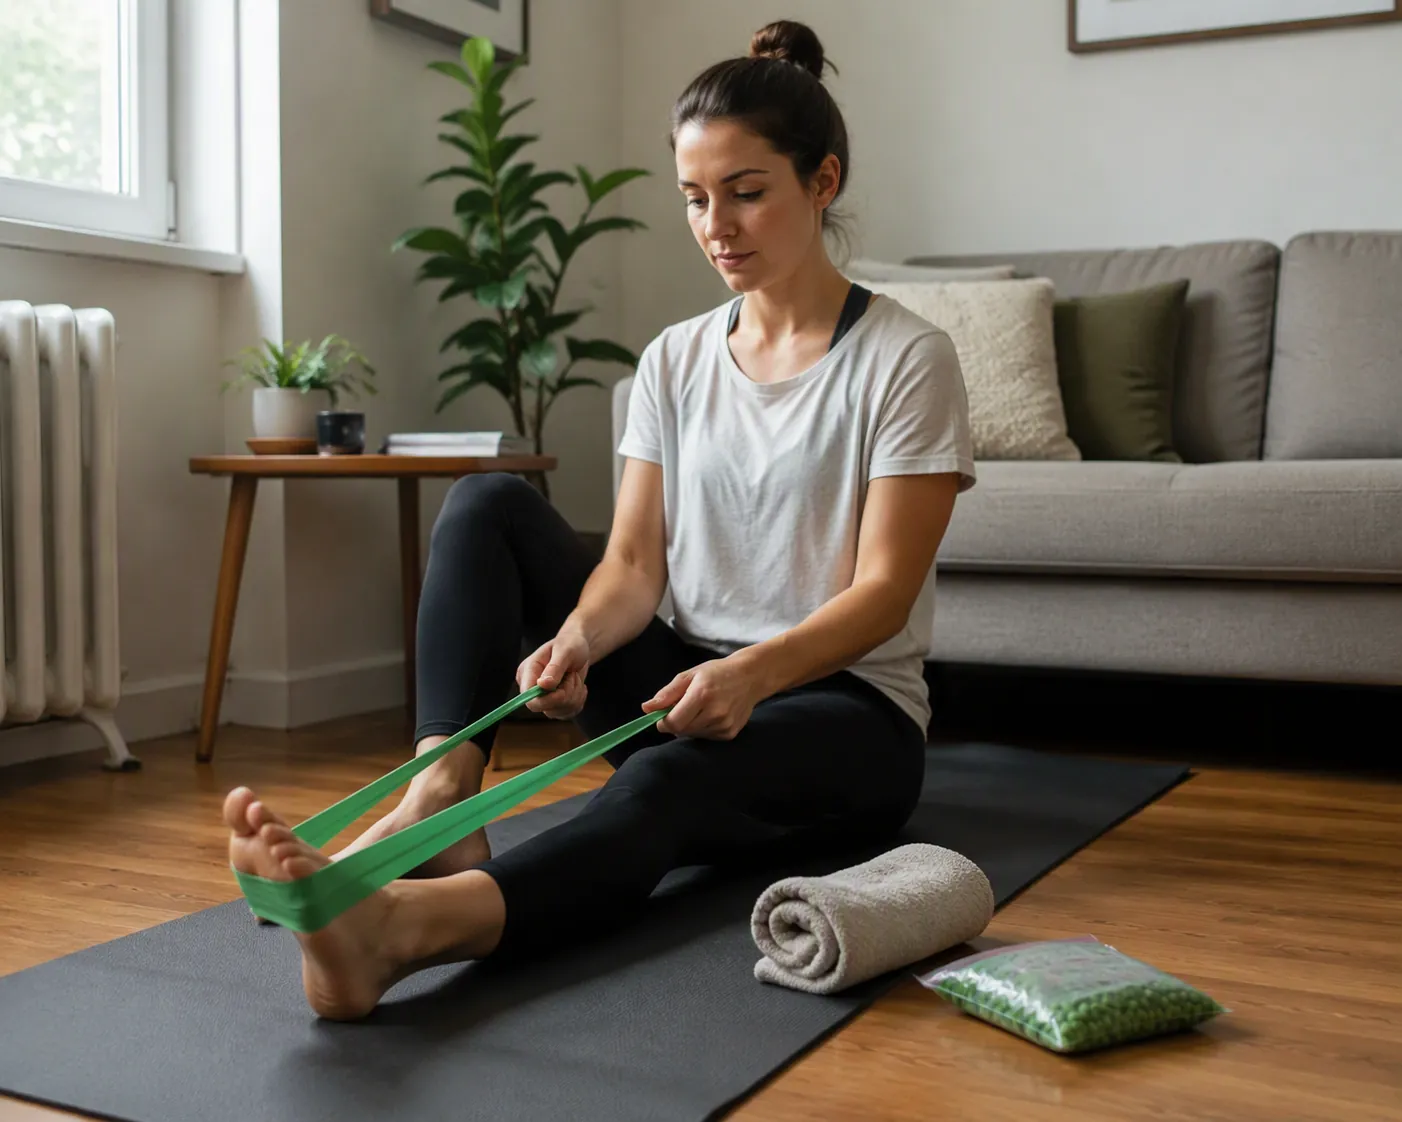
The Whole Apartment Flow at a Glance
| Phase | Usual timing | Main work | Apartment notes | Progress when |
|---|---|---|---|---|
| 1. Protect, calm, walk carefully | Often days 1–3 | Ice, compression, elevation, gentle walking as tolerated | Couch elevation works; frozen peas or an ice pack keeps cleanup simple; no floor space problem | Pain and swelling are controlled enough to move the ankle gently |
| 2. Range of motion and stretching | Often days 3–10 | Ankle alphabet, towel scrunches, seated calf stretch | Silent, seated, floor-safe; about the footprint of a chair and towel | Motion is improving and exercises do not increase symptoms afterward |
| 3. Strengthening | Often weeks 2–4 | Resistance-band work, seated calf raises, standing calf raises | Band work is silent; standing calf raises can thud on hard floor, so use a yoga mat | You can do controlled reps without limping, sharp pain, or swelling flare |
| 4. Balance and return | Often weeks 4–6 | Single-leg balance, folded-towel balance, gradual return to activity | No wobble board needed; stay near a wall or couch; towel adds challenge without equipment | Balance, walking, and daily movements feel stable before adding speed or sport demands |
The timing is approximate. Harvard Health describes Grade 1 ankle sprains as often recovering in 1–3 weeks and Grade 2 sprains in 3–6 weeks, but those ranges are not promises.[2] The useful question is not “What day am I on?” as much as “What can my ankle do today without paying for it tonight?”
The total equipment list can stay close to zero dollars if you already own a towel and a couch. A basic resistance band is the one item worth buying if you do not have one; Verywell Health’s ankle-strengthening guide also treats bands as a common, simple tool for rebuilding ankle strength after injury.[5] A yoga mat is not medically magical, but in an upstairs apartment it changes one exercise from “sorry, downstairs neighbor” to “barely noticeable.”
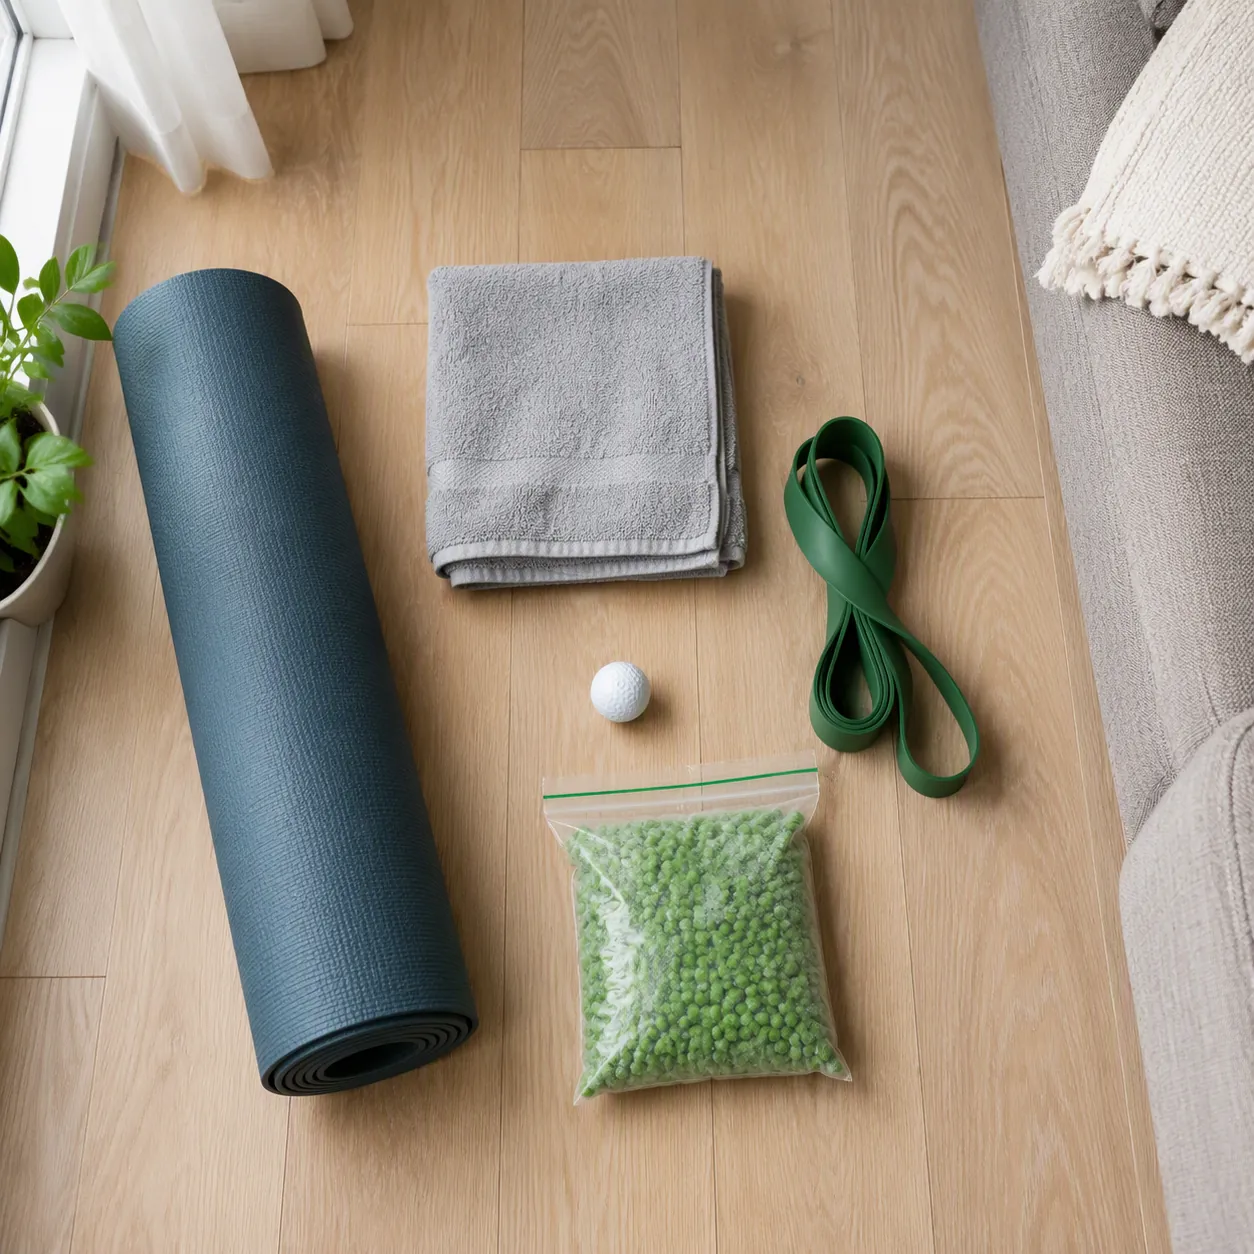
Phase 1: Make the Ankle Easier to Live With
The first few days are not the exciting part of rehab. They are the part where you make the ankle quiet enough to begin rehab. Kaiser’s sprained ankle instructions include early care and a progression into exercises, while Harvard Health emphasizes that walking is one of the most important early exercises once it is tolerated.[1][2] In an apartment, the job is to keep this practical enough that you actually do it.
- Ice without mess: use an ice pack or a bag of frozen peas wrapped in a thin towel; keep another towel under the ankle if condensation is a problem.
- Elevation without special furniture: lie on the couch and stack pillows so the ankle rests above the level of the heart when possible.
- Compression without turning it into a project: use a wrap if it has been recommended and remove or loosen it if it feels too tight, numb, or uncomfortable.
- Walking without pretending nothing happened: take short, controlled trips around the apartment only as tolerated; limping through pain is not a useful apartment workaround.
This phase uses almost no space. A couch, freezer, and towel do the work. The harder part is resisting the false choice between total stillness and “I can walk, so I’m done.” Early walking can matter, but it does not replace the later range, strength, and balance work.
Phase 2: Quiet Range of Motion That Still Counts
This is the apartment-friendly phase people sometimes undervalue because it looks too small to be rehab. Kaiser and AAOS both include familiar early exercises such as ankle alphabet-style movement, towel work, and stretching in ankle rehabilitation and conditioning guidance.[1][3] None of them require bouncing, stomping, or clearing a spare room.
| Exercise | How it behaves in an apartment | Equipment | Noise and floor note |
|---|---|---|---|
| Ankle alphabet | Sit on the couch or a chair and trace letters with the foot, moving from the ankle rather than the whole leg | None | Silent; no floor contact needed |
| Towel scrunches | Place a towel under the foot and gather it with the toes while seated | Hand towel or bath towel | Silent; safe for hardwood or laminate if the towel is clean |
| Seated calf stretch | Loop a towel around the ball of the foot and gently draw the foot toward you | Towel | Silent; works from a couch, chair, or mat |
| Gentle ankle circles | Move slowly through comfortable circles while seated or lying down | None | Silent; useful when standing work is not ready yet |
The apartment test here is almost boring, which is good. The towel does not scrape the floor. The alphabet does not announce itself to anyone downstairs. The only real mistake is rushing through these as if they are warmups for the “real” exercises. If motion is still guarded, stiff, or painful, strengthening has less to work with.
Phase 3: Strengthening Without Turning the Living Room Into a Gym
Strengthening is where home rehab starts to feel less like resting and more like work. It is also where a small apartment can quietly become an excuse: no machines, no cable stack, no clinic table, no room. For a Grade 1–2 sprain, the standard home exercises do not require any of that. AAOS includes resistance-band ankle movements in its foot and ankle conditioning program, and Kaiser’s sprained ankle rehabilitation sequence also progresses into strengthening work.[1][3]
Resistance-band work: the best apartment exercise in the whole routine
A resistance band gives the ankle something to push against without requiring standing, weights, or impact. The usual directions are dorsiflexion, plantarflexion, inversion, and eversion: pulling the foot up, pressing it down, turning it inward, and turning it outward. Those directions match the broad ankle-strengthening approach used in orthopedic conditioning guidance.[3]
| Band direction | Plain-English action | Apartment setup | Quiet alternative |
|---|---|---|---|
| Dorsiflexion | Pull the toes toward the shin against band resistance | Sit with the leg extended; anchor the band around a sturdy couch leg only if it is stable | Hold both band ends in your hands instead of anchoring to furniture |
| Plantarflexion | Press the foot down like a slow gas pedal | Loop the band around the ball of the foot while seated | Use lighter band tension and slower reps if the ankle feels jumpy |
| Inversion | Turn the sole gently inward against resistance | Keep the knee still so the ankle does the work | Use a towel under the heel so the foot glides quietly |
| Eversion | Turn the sole gently outward against resistance | Move slowly; this direction often feels weaker after a lateral sprain | Reduce band stretch before reducing control |
Noise level: essentially silent. Floor footprint: about the length of your leg. Floor risk: low, unless a band anchor slips and snaps back, which is why a hand-held setup is often simpler in a rental. Cost: usually under $15 for a basic band, and sometimes zero if one is already in a drawer.
Calf raises: the one exercise that needs a mat
Seated calf raises are easy to make apartment-safe: sit tall, feet flat, lift the heels, lower with control. They are quiet, small, and not embarrassing to do while watching a show. Standing calf raises are different. On a hard floor, even careful lowering can make a dull thud, especially when the uninjured side gets impatient and the body drops the last inch.
The fix is not a special rehab platform. Put a yoga mat under both feet and stand near a wall, counter, or couch back for balance. Rise slowly onto both toes, pause, and lower slowly. If that is comfortable and controlled, later progressions may shift more work toward the injured side, but the first apartment goal is simple: no bounce, no slap, no wobble that makes you grab furniture.
| Strength move | Noise | Floor footprint | Equipment | Progression cue |
|---|---|---|---|---|
| Band ankle movements | Silent | Chair or mat length | Resistance band | Increase band tension only after control stays smooth |
| Seated calf raises | Silent | Chair footprint | None | Add slow lowering before adding load |
| Standing calf raises | Low on mat, mildly thuddy on hard floor | Yoga mat width | Yoga mat helpful | Progress when reps are controlled and symptoms do not flare |
This phase deserves patience because strength does not return just because walking around the kitchen feels normal. Everyday walking can hide small deficits: you shorten a step, lean away, or let the other leg do more. Band work and calf raises make those shortcuts visible in a way that is mildly annoying and useful.
Phase 4: Balance Work Without a Wobble Board
Balance is the phase most likely to be skipped because it looks optional. It is not just a circus trick after the “real” rehab. AAOS includes balance progression in ankle conditioning, Kaiser’s sequence moves into more functional return work, and E3 Rehab emphasizes progression decisions that consider pain, ability, accessory impairments, stability, and sport or activity demands through its PAASS framework.[1][3][4]
The apartment version starts almost too simply: stand on the injured leg near a wall, counter, or couch. Keep the foot tripod—heel, base of big toe, base of little toe—on the floor. Hold long enough to notice whether the ankle is making tiny corrections. If the toes claw the floor, the hip swings wildly, or the ankle collapses inward, that is information, not failure.
| Balance level | Apartment setup | Noise and floor note | Move on when |
|---|---|---|---|
| Two-leg stance, even weight | Stand near a couch or counter | Silent; bare floor is fine | You can stand comfortably without guarding |
| Single-leg balance, eyes open | Lift the uninjured foot slightly; keep a hand near support | Silent; use a mat only if the floor feels slippery | You can hold steady without grabbing support repeatedly |
| Single-leg balance on folded towel | Fold a towel into a small pad under the injured foot | Silent; towel protects floor and adds instability | Corrections are controlled rather than panicked |
| Eyes-closed or head-turn variations | Stay close to support; reduce time before increasing challenge | Silent but harder than it looks | Daily walking and stairs feel stable afterward |
A folded towel is not the same as a clinic balance pad, but for a renter trying to finish rehab, it is good enough to introduce a softer, less predictable surface. It also avoids the two worst apartment balance ideas: buying a wobble board you may use for three weeks, or trying unstable work in the middle of the room with nothing to catch yourself.
Return-to-activity decisions should be narrower than motivation. E3 Rehab’s progression lens is useful here because it does not treat pain alone as the whole story; it also looks at ability, accessory impairments, stability, and the demands of the activity you are returning to.[4] Walking to the mailbox, carrying laundry downstairs, jogging, and basketball do not ask the same thing from an ankle.
How to Know Which Phase You Are Probably In
Calendar timing helps, but it is a blunt tool. A Grade 1 sprain may settle faster than a Grade 2 sprain, and Harvard Health’s general timeline reflects that difference: roughly 1–3 weeks for Grade 1 and 3–6 weeks for Grade 2.[2] Inside an apartment, the better test is how the ankle behaves after normal tasks: getting up from the couch, showering, walking across hard flooring, taking out trash, or standing long enough to cook.
- Stay in Phase 1 if swelling, pain, or weight bearing still dominates the day.
- Spend time in Phase 2 if the ankle still feels stiff, guarded, or reluctant to move through comfortable range.
- Build Phase 3 if walking is improving but pushing, rising onto the toes, or controlling band movement exposes weakness.
- Take Phase 4 seriously if the ankle feels fine in straight-line walking but uncertain on stairs, turns, soft surfaces, or quick weight shifts.
Progression should feel a little boring. Add challenge after control is repeatable, not after one good rep. If symptoms flare after a new exercise, that does not automatically mean the exercise is forbidden; it may mean the dose, range, speed, or timing was too much. If the ankle repeatedly feels unstable, painful, or worse, that is where home testing stops being the right tool.
What the Apartment Test Actually Changed
The medical exercise list did not need much reinvention. The environment did. On paper, “standing calf raise” is a line item. In an upstairs apartment, it is the only movement in this routine that can make the floor announce your rehab. On paper, “balance exercise” can look like equipment. In a small living room, a folded towel and a couch edge are enough to start.
| Problem in a rental | Simple fix | What not to overbuy |
|---|---|---|
| Hard floor makes heel lowering noisy | Use a yoga mat and slow the lowering phase | Special calf-raise platform |
| No balance pad | Fold a towel under the foot | Wobble board for early rehab |
| No rehab table | Use couch edge, chair, or floor mat | Massage table |
| No ankle weights | Use a resistance band and slower tempo | Large weight set |
| Ice pack leaks or sweats | Wrap frozen peas or an ice pack in a towel | Special icing system |
Verywell Health’s practical ankle-strengthening guidance is helpful here because it keeps the equipment modest: resistance bands and simple home tools are enough for many basic ankle exercises.[5] The point is not to make the apartment feel like a clinic. It is to remove the small frictions that make someone stop after the ankle becomes merely tolerable.
The Real Risk Is Quitting When Walking Feels Normal
An ankle sprain can feel like a small injury once the swelling calms and walking returns. That is exactly when rehab becomes easy to abandon. E3 Rehab cites a 2016 prospective study finding that up to 40% of first-time lateral ankle sprain patients developed chronic ankle instability, though the actual rate varies by population and definition.[4] That number should not be read as a personal prediction. It is a warning against treating pain relief as the same thing as full recovery.
Incomplete rehab is not usually dramatic. It looks like skipping band eversion because it is tedious, stopping calf raises because the floor is loud, never practicing balance because there is no wobble board, or returning to quick turns because straight-line walking feels fine. Those are apartment-sized decisions, and they are fixable.
A 10×10 living room is enough for the standard home sequence: calm the ankle, restore motion, rebuild strength, retrain balance, and progress only when the ankle can handle the next demand. The apartment constraints are solvable. The part that follows you out of the living room is whether you finished the boring middle.
References
- Sprained Ankle: Rehabilitation Exercises, Kaiser Permanente.
- Recovering from an Ankle Sprain, Harvard Health.
- Foot and Ankle Conditioning Program, AAOS OrthoInfo.
- Lateral Ankle Sprain Rehab, E3 Rehab.
- How to Rebuild Ankle Strength After Injury, Verywell Health.
What a small equipment investment adds
Cable Machine Alternatives That Save Space and Money
Compare the best cable machine alternatives for home gyms – from resistance bands and pulley systems to suspension trainers and compact digital units – and find the right option for your space and budget.
Small Treadmill Buying Guide: 7 Critical Specs to Check Before You Buy
A cross-category spec primer for apartment and small-space dwellers comparing walking pads, ultra-compact folding treadmills, and full-size folding treadmills. Learn the concrete thresholds for motor HP, deck length, noise, warranty, and subscription lock-in so you can compare apples to apples.
How to Practice Basketball at Home Without Noise Complaints
Learn how to run a full basketball workout in a small apartment without noise complaints. This guide covers no-dribble handling drills, wall form shooting, and silent ball options that let you train without disturbing neighbors.
How often should you repeat this?
See our recovery and rest reference for citation-anchored rest-interval guidance.
Spot something off?
Tell us if a movement, tier assumption, or duration didn't match your experience.