
Bowling Comeback Training You Can Do at Home
Returning to the lanes after a few months off is rougher than most bowlers expect. This at-home, two-tier plan rebuilds conditioning first, then bowling-specific strength and stability, so your comeback is safe and your old game comes back faster.
- Equipment tier required
- $0-100
- Duration
- 30 min
- Difficulty
- beginner
- Target area
- full body
- Noise level
- low
The first bad night back usually does not feel like a mystery. It feels like frame seven, when the slide knee starts talking. It feels like the thumb swelling just enough to make the third game annoying. It feels like the shoulder can still get the ball forward, but cannot quite slow the arm down cleanly afterward. The spare shot you used to trust starts depending on legs that are already tired.
Ron Clifton put the comeback problem plainly: “You never realize how physical the sport of bowling is until you take a break from it for a couple of months.” His first practical advice is not a magic drill or a release tweak. It is daily walks and stairs, because the body has to tolerate the work again before the bowling-specific pieces matter.[1]
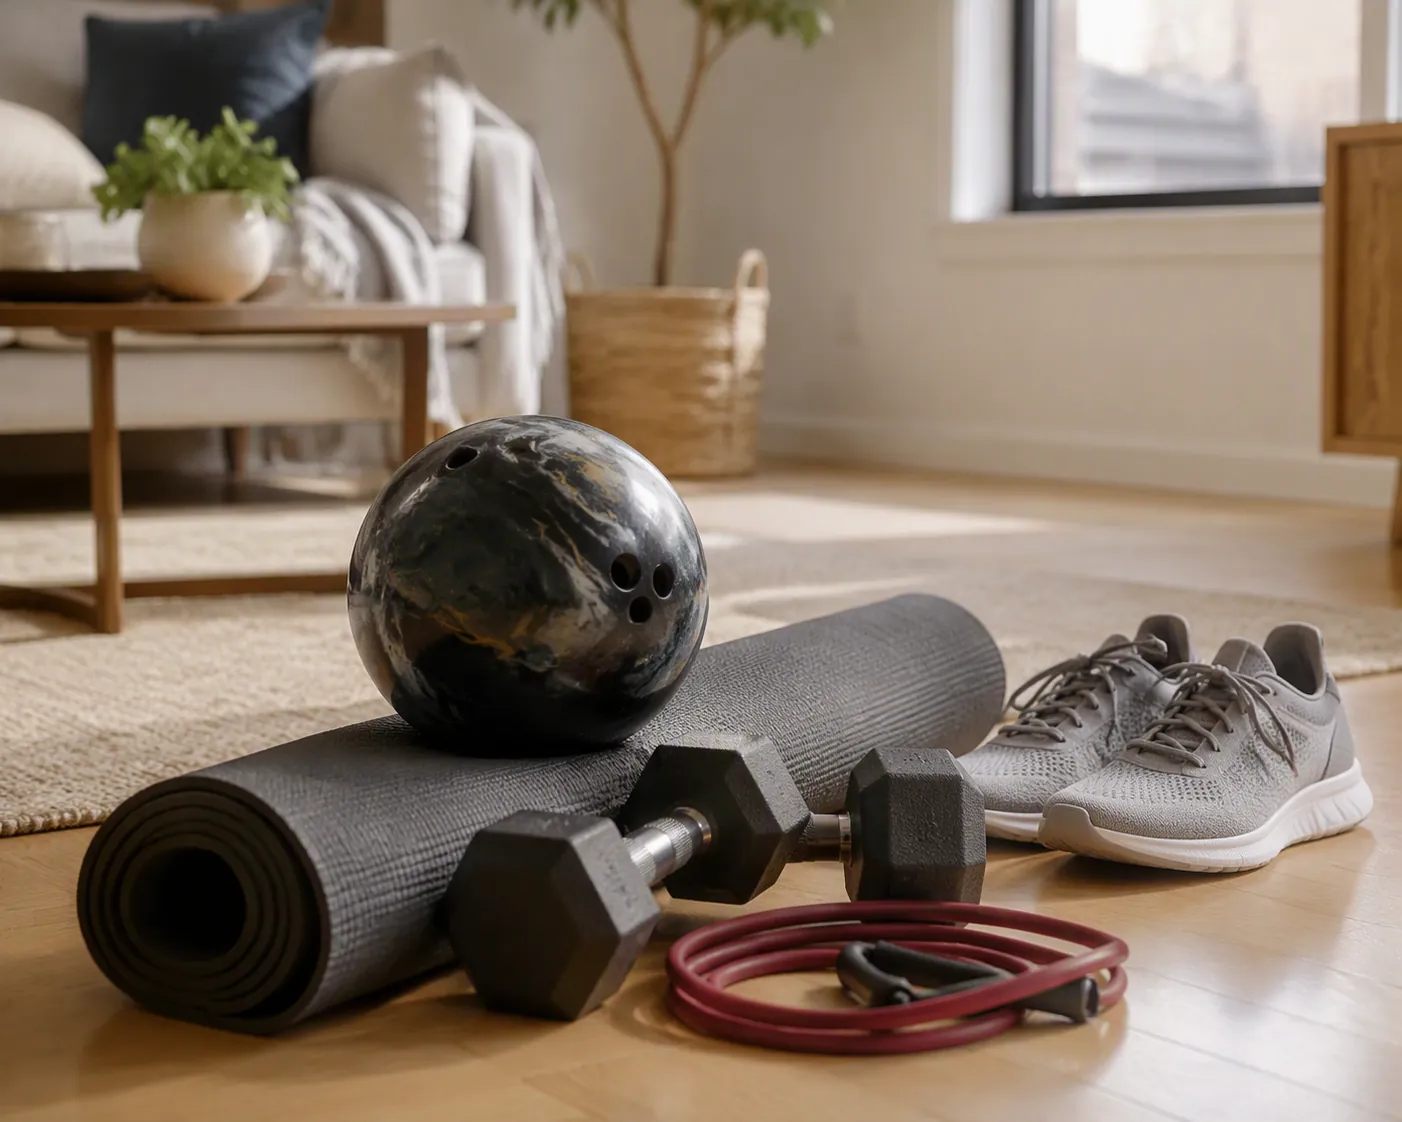
That is the right place to start bowling fitness training at home for a comeback. A few weeks away from the lanes does not erase skill, but it does take the edge off conditioning, leg strength, trunk control, grip tolerance, and the little deceleration muscles that keep a shot from yanking on the shoulder. Trying to bowl all of that back into shape in one league night is how pride gets sore before the standings even matter.
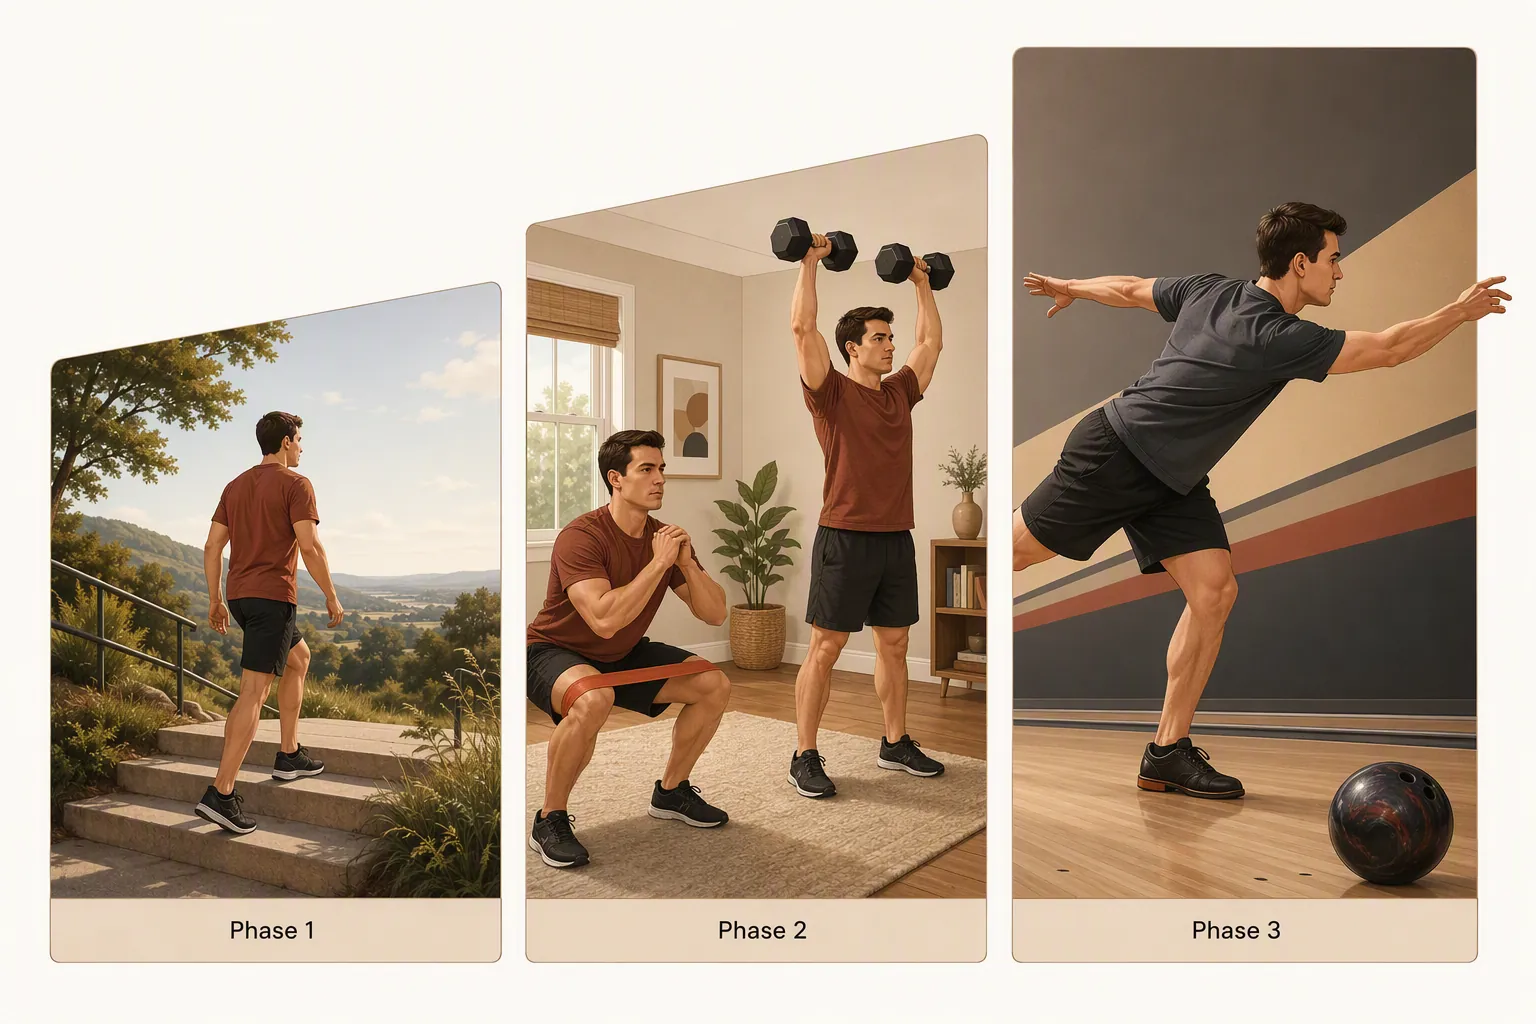
This is FitAtHome’s 4–6 week comeback structure for workout-routines: conditioning first, bowling-specific strength second, stability and power last. The timeline is a practical training framework, not a promise that your average snaps back by a certain Thursday. If you are returning from pain, surgery, a diagnosed injury, or symptoms that change your gait or release, treat this as general strengthening only and get professional guidance before loading it.
The Comeback Flow
Verywell Fit’s bowling weight-training guidance gives the useful rule for anyone coming back after a layoff longer than about a month: restart gradually, and keep strength training to about three sessions per week with rest days between.[2] That is enough structure to keep you honest without pretending you are in spring training.
| Phase | When | Main job | Home work |
|---|---|---|---|
| Phase 1 | Week 1, or longer if you are very detrained | Rebuild basic conditioning and joint motion | Walks, stairs, dynamic warm-ups, easy mobility, light core |
| Phase 2 | Weeks 2–3 | Build bowling-specific strength | Squat pattern, hip hinge, lateral work, rows, grip, trunk control |
| Phase 3 | Weeks 4–6 | Make strength usable at the line | Single-leg stability, controlled carries, light power, finish-position holds |
| League re-entry | First session back | Bowl below ego speed and leave with usable joints | Dynamic warm-up, reduced intensity, no score chasing |
If you only have a band and a hallway, you can run the plan. If you have dumbbells, you can load it more precisely. The point is not to build a garage gym around a bowling ball; it is to arrive at the approach with legs, hips, shoulders, and hands that can repeat shots. For a broader small-space setup, the same tiered logic appears in this small apartment home gym build.
Phase 1: Earn the Right to Train Harder
Week 1 should feel almost too plain. Walk daily if you can. Add stairs if your knees and feet tolerate them. Before any strength work, warm up dynamically: light jogging in place or jumping jacks, torso twists, leg swings, arm swings, and side bends are all part of a short no-equipment pre-competition warm-up from BOWL.com/USBC.[7] Heather Sterner’s warm-up guidance points the same direction: a thorough 10–15 minute warm-up should raise heart rate, blood flow, and body temperature while mobilizing joints, and dynamic work is preferred over static stretching before bowling.[8]
That early work matters because the first comeback failure is often not a single weak muscle. It is the whole approach getting less repeatable under fatigue. Your steps shorten, your slide gets guarded, your torso opens early, and suddenly the hand is trying to save shots the legs stopped supporting. Conditioning is not glamorous, but it keeps the spare shooter from getting lazy.
- Daily: 20–30 minutes of easy walking, broken into shorter walks if needed.
- Three days per week: 5–10 minutes of stairs or step-ups at a conversational pace.
- Before training: 5–10 minutes of dynamic warm-up work, not long static holds.
- After training: easy walking, breathing, and light mobility rather than collapsing on the couch.
Keep the friction low. Bodyweight squats should be comfortable before you chase depth. Lunges should be short before they get lateral and loaded. If your feet or ankles are the limiting factor, borrow the cautious re-loading mindset from this phased foot-injury home exercise guide: protect the structure first, then add range, then add load.
Phase 2: Rebuild the Bowling Parts, Not Just the Gym Parts
Bowling punishes the same joints over and over: shoulder, knee, hip, elbow, and wrist injury concerns show up often enough that conditioning needs to address those areas directly.[9] But the slide-leg knee deserves special respect. Sterner identifies the slide-leg knee as the most common bowling pain complaint and frames knee health as a kinetic-chain problem: ankles, knees, and hips all have to do their share.[3]
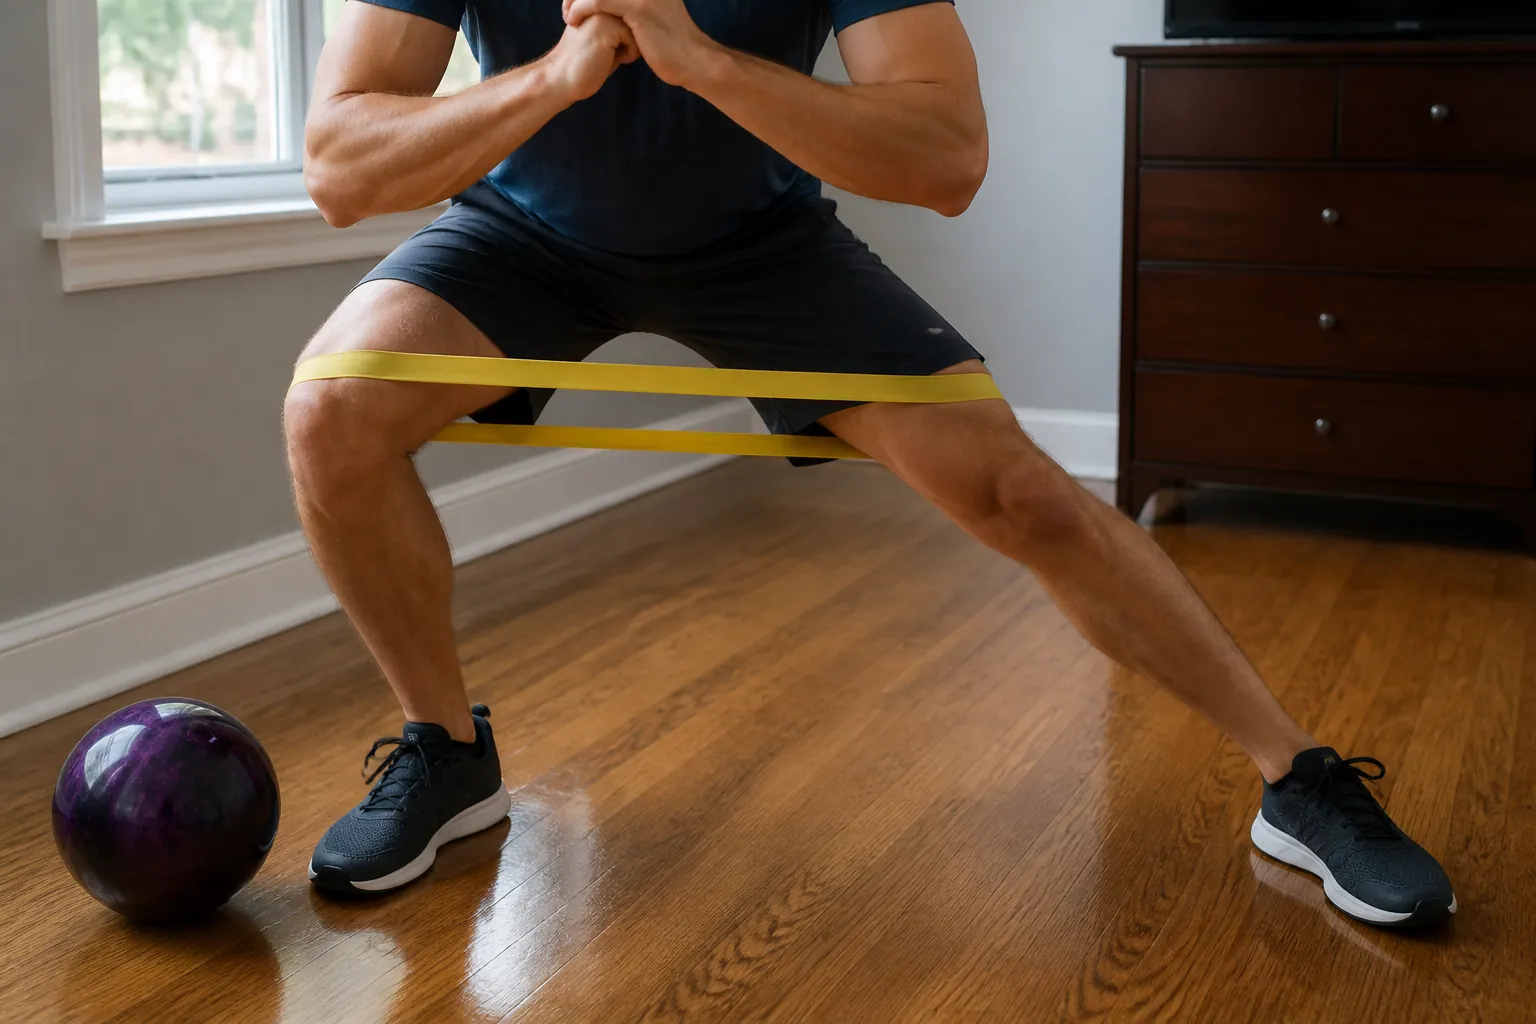
That is why this phase does not start with heavy goblet squats and good intentions. It starts with ankles that move, calves that can control the slide-side foot, hips that do not dump the knee inward, and hamstrings that can brake the body instead of letting the joint absorb everything. Sterner’s knee-health exercise library includes ankle mobilization, calf raises, goblet squats, lateral lunges, eccentric hamstring slides, hip CARs, and clamshells.[3]
$0–100 Tier: Bodyweight and Bands
Run this three days per week, with a rest day between. Keep two or three reps in reserve on every set. If you finish feeling like you could do a little more, you probably hit the right comeback effort.
| Movement | Sets and reps | Why it is here |
|---|---|---|
| Ankle rocks or ankle mobilization | 2 sets of 8–10 per side | Restores usable motion before squatting or sliding patterns |
| Calf raises | 2–3 sets of 10–15 | Builds lower-leg support for the slide-side chain |
| Bodyweight squat to a chair | 2–3 sets of 8–12 | Rehearses knee and hip coordination without chasing depth |
| Lateral band walk | 2 sets of 8–12 steps each way | Trains hip control so the knee is not left alone |
| Short-range lateral lunge | 2 sets of 6–8 per side | Introduces side-to-side loading used in the approach and finish |
| Glute bridge or hamstring slide | 2–3 sets of 8–10 | Builds posterior-chain braking strength |
| Band row | 2–3 sets of 10–15 | Balances the shoulder work of swinging and decelerating |
| Dead bug | 2 sets of 6–10 per side | Teaches the trunk to resist movement while limbs move |
The shoulder work is deliberately simple. Rows are not a bowling release drill; they are insurance for the upper back and shoulder blade so the arm swing has something stable to attach to. The same goes for dead bugs. They look too easy until you do them without letting the ribs flare or the low back take over. If your lower back tends to complain during comebacks, keep the emphasis on controlled trunk work and use this home lower-back strengthening routine for more options that stay in the general-strengthening lane.
$100–300 Tier: Add Dumbbells Carefully
Dumbbells are useful once the bodyweight version feels repeatable. They are not a shortcut. Add load to the cleanest patterns first: goblet squat, split squat, deadlift, row, and loaded carry. Sterner’s bowling-specific strength and stability exercise lists include split squats, goblet squats, lateral band walks, deadlifts, rows, Turkish get-ups, dead bugs, rotational medicine ball slams, and loaded carries.[5][6]
| Movement | Sets and reps | Comeback note |
|---|---|---|
| Goblet squat | 3 sets of 6–10 | Use a range where knees track cleanly and heels stay planted |
| Dumbbell Romanian deadlift | 3 sets of 8–10 | Train hips and hamstrings to brake the approach |
| Split squat | 2–3 sets of 6–8 per side | Keep the first week shallow and controlled |
| One-arm dumbbell row | 3 sets of 8–12 per side | Build upper-back support for shoulder control |
| Suitcase carry | 3 carries of 20–40 seconds per side | Challenge trunk control without needing much floor space |
| Grip hold with dumbbells | 2–3 holds of 20–30 seconds | Rebuild hand and forearm tolerance without squeezing a bowling ball for volume |
The dumbbell tier should still obey the three-strength-days rule. Strength training is in the plan because a detrained athlete is at higher risk for problems such as fractures, strains, sprains, tendinitis, and arthritis, and Sterner notes that strength training builds resiliency and is the only form of exercise that increases bone density.[4] That does not mean more is better during a comeback. It means the loading has to be steady enough to matter and spaced well enough to recover.
Phase 3: Stability at the Line Comes From More Than Holding a Pose
“Hold your finish” is good advice only if the body can actually hold it. Stability at the line depends on ankle, knee, and hip strength plus a stable trunk, not on freezing a bad position and hoping the ball listens.[6] In the last part of the ramp, the goal is to make the strength you built show up while one leg is loaded, the torso is resisting rotation, and the arm is moving.
This phase can be short, especially if league night is close. Add one or two stability finishers after the strength work rather than turning every session into a balance circus.
- Single-leg balance hold: 3 rounds of 20–30 seconds per side, barefoot only if safe on your floor.
- Bowling finish hold: step into a controlled finish position and hold for about 3 seconds, then reset.
- Suitcase carry: walk slowly with one dumbbell at your side, keeping ribs and hips stacked.
- Light rotational band press: press or rotate against band tension without letting the knees cave.
- Optional power work: small medicine-ball or band rotational drills only if the knees, back, and shoulder are quiet.
AMF’s bowling drill guidance includes holding the finish position for about 3 seconds and using single-leg balance holds to reinforce stability at the line.[11] Those are useful because they are specific without being dramatic. You can do them in a small room, stop before fatigue wrecks the position, and repeat them often enough to notice whether one side is lying to you.
A Simple Weekly Layout
The plan works best when the hard days are obvious and the easy days are actually easy. A bowler with limited space and a normal workweek can use this layout without turning home training into a second job.
| Day | Session |
|---|---|
| Monday | Dynamic warm-up, strength session A, short cool-down |
| Tuesday | Walk, stairs if tolerated, mobility |
| Wednesday | Dynamic warm-up, strength session B, grip or carry finisher |
| Thursday | Walk, easy balance holds, recovery work |
| Friday | Dynamic warm-up, strength session C, finish-position practice |
| Saturday | Longer easy walk or light practice games if already back on lanes |
| Sunday | Rest, mobility, prepare for the next week |
Strength session A can emphasize squat and row. Session B can emphasize hinge, lateral work, and trunk control. Session C can keep the loads lighter and give more attention to single-leg stability, carries, and finish holds. If the legs are still heavy after Wednesday, Friday becomes a mobility-and-balance day. That is not quitting; that is how you keep the comeback moving.
For recovery habits after these sessions, use a complete post-workout recovery routine at home rather than adding more work just because the workout was short. Comeback training is supposed to leave you better for the lanes, not proud of how wrecked you got in the living room.
Stop Signals Matter More Than Toughness
Normal training discomfort is one thing. Sharp pain, joint swelling, limping, numbness, pain that changes your release, or symptoms that worsen from session to session are different. Stop the plan and get qualified help if those show up. A home comeback plan should build capacity; it should not become a workaround for an injury you already know is there.
Also watch the quiet signs. If your slide leg starts collapsing inward during lateral lunges, lower the range or remove load. If the shoulder feels fine during rows but cranky after finish holds, reduce the volume and check whether the trunk is rotating instead of staying controlled. If grip work makes the thumb or wrist irritated before you even pick up a bowling ball, back off. The first league night will expose whatever you ignored at home.
League Night One: Bowl Like You Want a Week Two
The first session back is not the night to prove the layoff did not matter. Richmond 40 Bowl’s comeback advice is blunt enough: after weeks or months away, do not expect peak form immediately, and consider fun games before score-chasing.[10] For league bowlers, that means treating the first night as re-entry even if the standings are live.
- Arrive early enough for a real 10–15 minute dynamic warm-up: light pulse-raising movement, torso twists, leg swings, arm swings, side bends, ankle work, and a few controlled finish holds.
- Use practice shots to feel timing and slide, not to rip at full speed until one shot looks good.
- Bowl below ego speed for the first game. Let the legs and shoulder tell you when to add effort.
- Watch the slide knee, thumb, wrist, shoulder, and low back between games. Do not negotiate with sharp pain.
- Judge the night by whether you finish stable, pain-free, and able to train again, not by whether the old average showed up immediately.
References
- A Guide for Returning to the Lanes, Bowling This Month
- Get Fit for Bowling Through Weight Training, Verywell Fit
- Keeping Bowling Knees Healthy, Bowling This Month
- The 10 Exercises That Every Bowler Should Do, Bowling This Month
- Bowling-Specific Strength Training, Bowling This Month
- Seven Exercises to Improve Your Stability, Bowling This Month
- Intermediate Conditioning Tips, BOWL.com/USBC
- Warming Up for Bowling, Bowling This Month
- 5 Ways Bowling Helps You Stay Healthy, Pin Chasers
- Get Back to Bowling After a Long Hiatus with These Warmup Tips, Richmond 40 Bowl
- Simple Bowling Stretches & Drills to Improve Your Game, AMF
What a small equipment investment adds
Cable Machine Alternatives That Save Space and Money
Compare the best cable machine alternatives for home gyms – from resistance bands and pulley systems to suspension trainers and compact digital units – and find the right option for your space and budget.
Small Treadmill Buying Guide: 7 Critical Specs to Check Before You Buy
A cross-category spec primer for apartment and small-space dwellers comparing walking pads, ultra-compact folding treadmills, and full-size folding treadmills. Learn the concrete thresholds for motor HP, deck length, noise, warranty, and subscription lock-in so you can compare apples to apples.
How to Practice Basketball at Home Without Noise Complaints
Learn how to run a full basketball workout in a small apartment without noise complaints. This guide covers no-dribble handling drills, wall form shooting, and silent ball options that let you train without disturbing neighbors.
How often should you repeat this?
See our recovery and rest reference for citation-anchored rest-interval guidance.
Spot something off?
Tell us if a movement, tier assumption, or duration didn't match your experience.