
Foot Injury Recovery Exercises You Can Do at Home
A three-phase home exercise system for maintaining upper body and core strength during foot injury recovery, then safely reintroducing foot loading — all with minimal equipment in a small living space.
- Equipment tier required
- $0-100
- Duration
- 20 min
- Difficulty
- beginner
- Target area
- full body
- Noise level
- —
Most lists of foot injury recovery exercises for home start too late. They open with ankle circles, towel scrunches, and heel raises, as if the only question is what the injured foot should do next. The harder problem is usually sitting right beside you: a protected foot, a nervous training habit, and the rest of your body waiting around for permission to move.
A better home plan separates foot recovery into phases. First, you protect the injured foot while training what can still train. Then you restore motion and low-level foot control. Only after that do you earn back load through heel raises, balance, walking, and eventually impact. The difference matters because published foot and ankle exercise programs are often underdosed: a 2025 scoping review of 87 studies and 300 exercises found that only 2% of programs met American College of Sports Medicine load-intensity guidelines, and the most common prescription was the familiar 3 sets of 10 reps, 3 times per week [1].
That does not mean every sore foot needs heavier exercises right now. It means a recovery plan should know the difference between protection, practice, and training. If you want the broader guideline context, FitAtHome’s 2026 ACSM home injury recovery breakdown is the useful companion read. This article stays practical: what to do in a small room, with a chair, towel, band, frozen water bottle, golf ball, and step.
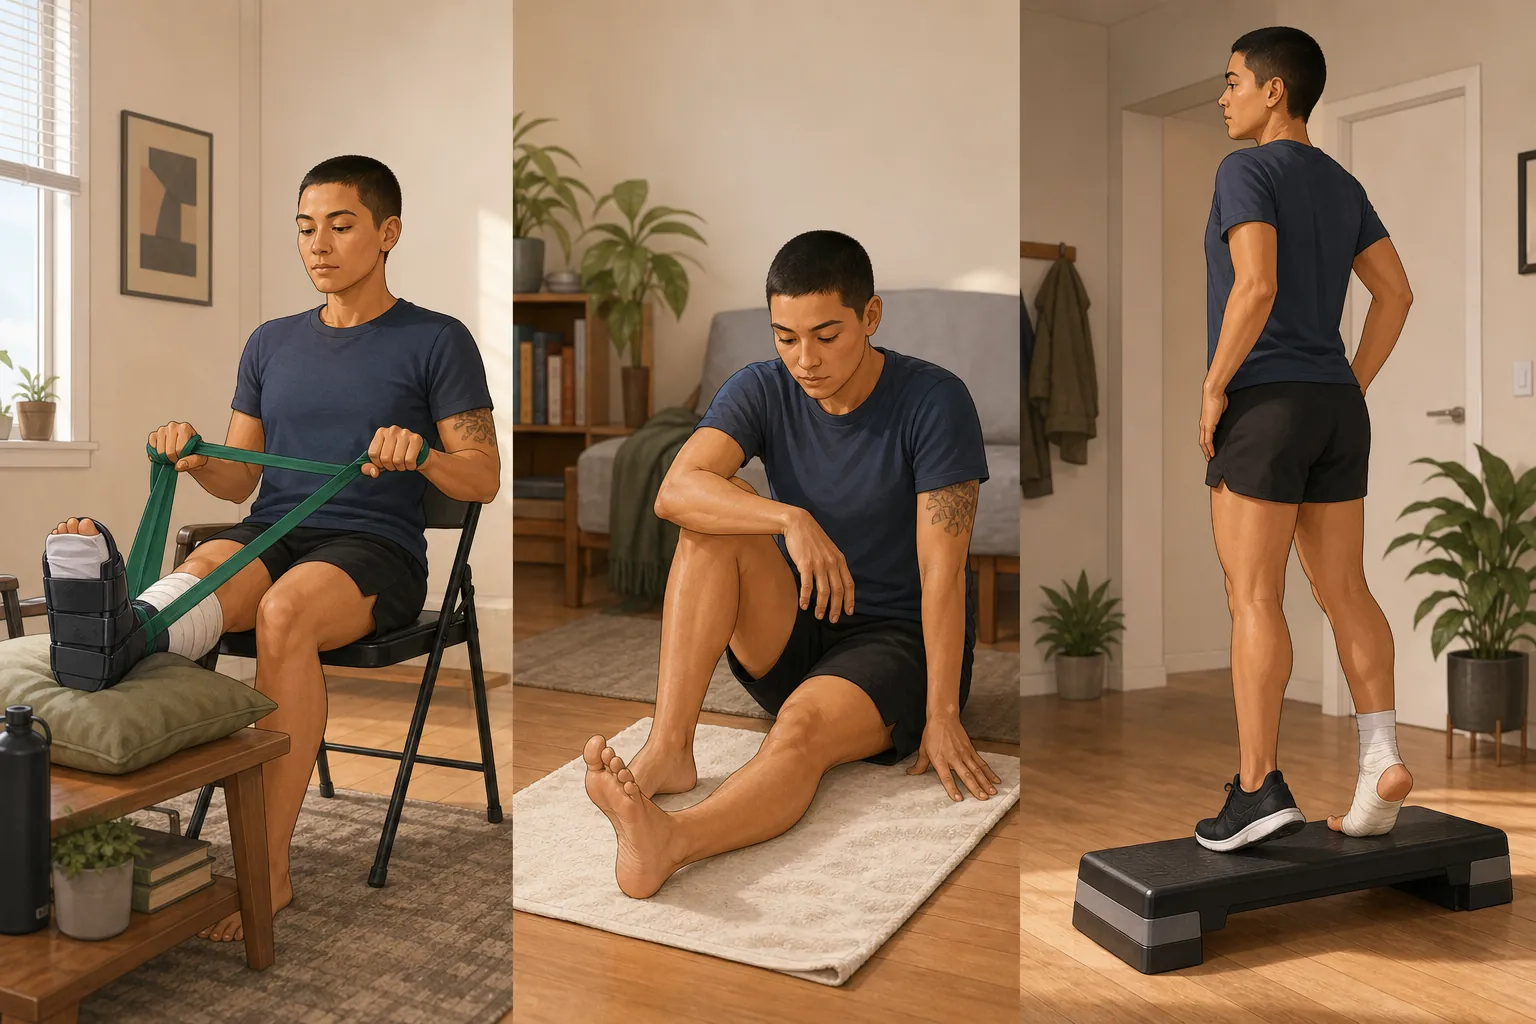
Start With the Boundary, Not the Exercise
This is not medical care, and it should not be used to diagnose a foot or ankle injury. Get professional evaluation if you suspect a fracture, cannot bear weight, have severe pain, major swelling, obvious deformity, numbness, worsening symptoms, or an unclear diagnosis. For ankle injuries, the Ottawa Ankle Rules are widely used to decide when X-rays are needed and have been reported as more than 95% accurate for ruling out fracture when applied correctly [3].
Timelines are also not promises. Harvard Health describes typical ankle sprain recovery windows as 1 to 3 weeks for Grade 1, 3 to 6 weeks for Grade 2, and up to several months for Grade 3 [3]. Those ranges are useful because they stop you from treating every limp as a one-week annoyance. They are not a license to jump phases because a calendar box got checked.
| Phase | Foot Status | Main Training Job | Progression Signal |
|---|---|---|---|
| Phase 1: Protect and maintain | No loading or limited loading as directed | Train upper body, core, and the healthy leg without stressing the injured foot | Pain and swelling are stable or improving; you have clearance for gentle foot motion |
| Phase 2: Restore motion and control | Gentle movement and light foot-specific work | Rebuild range of motion, toe control, and calf flexibility | Exercises feel controlled; symptoms settle within the expected response window from your clinician |
| Phase 3: Reload gradually | Progressive weight bearing and loading as cleared | Add heel raises, balance, eccentric calf work, walking, then impact | No sharp pain, no next-day flare, and no compensation that changes your gait |
The Small-Room Setup
You do not need a rehab corner that looks like a clinic. A folding chair gives you seated strength and cardio options. A towel handles toe work and elevation. A resistance band covers rows, presses, curls, triceps work, and later ankle strengthening; resistance bands were also the most common load type in the Osborne review of published foot and ankle exercise research [1]. A frozen water bottle or golf ball can support symptom-management routines for some plantar foot problems. A stair or step becomes useful only when the foot is ready for controlled loading.
If you anchor a band to a door, set it up as if the band snapping loose would be a real event, because it would be. Use the hinge side when appropriate, check the latch, inspect the band, and avoid pulling toward your face. FitAtHome’s resistance band door anchor safety guide is worth reading before you turn a hallway door into a training station.
Phase 1: Protect the Foot, Train the Rest
Phase 1 is the part most generic rehab lists barely acknowledge. If the foot is in a boot, brace, wrap, or simply not cleared for loading, the job is not to sneak in foot work. The job is to keep training available without making the injury negotiate every rep.
The injured foot should stay neutral, supported, and quiet. That might mean elevated on a folded towel, resting on a stool, or positioned exactly as your clinician instructed. If a drill makes you brace through the injured side, press the toes into the floor, or twist the ankle to stabilize yourself, it does not belong in this phase.
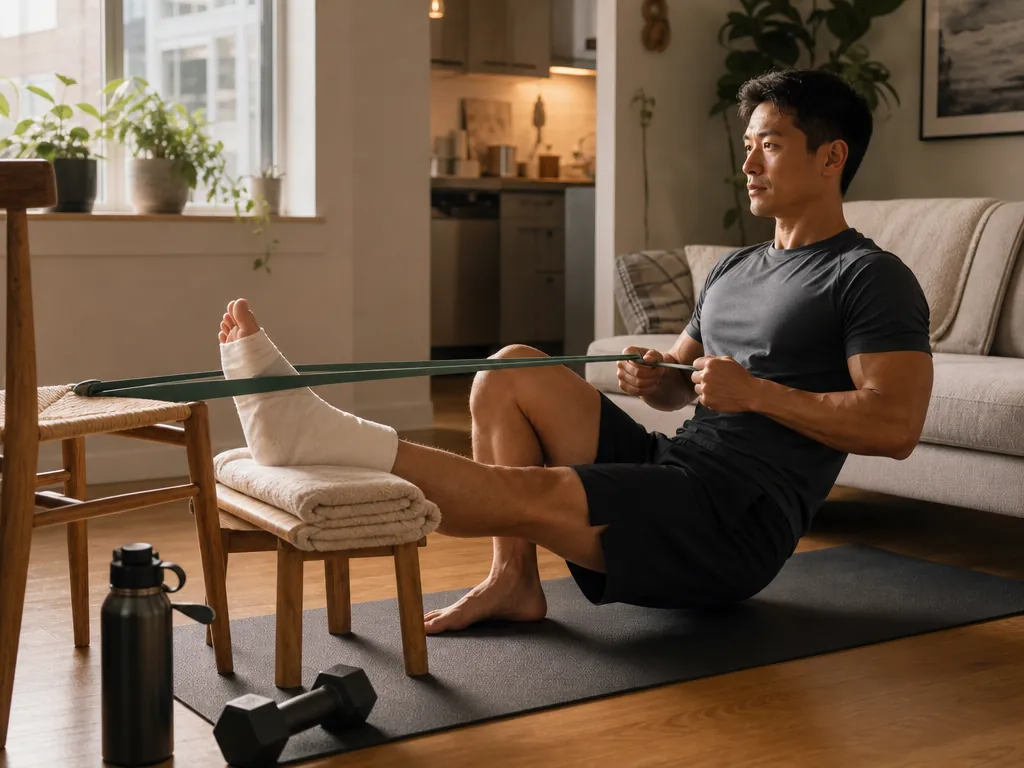
Upper-body strength that does not borrow from the foot
Seated upper-body training is the cleanest starting point. Sit tall on a chair or the floor, keep the injured foot supported, and choose exercises where your trunk does not sway and your feet do not need to drive into the ground.
- Seated band row: Anchor the band in front of you, pull elbows back, pause, and return under control.
- Seated band chest press: Anchor behind you or wrap the band around a stable chair back if safe, then press without arching.
- Seated shoulder press: Use light dumbbells or a band under the uninjured foot only if that setup does not disturb the injured side.
- Seated curls and triceps extensions: Keep these strict; this is not the moment for full-body momentum.
- Arm-only intervals: Use a hand cycle if you have one, or alternate quick seated punches and band pulls while keeping the lower body still.
There is a conditioning reason to bother with this, not just a morale reason. Cleveland Clinic notes that upper-body workouts can help maintain fitness while a foot is injured and describes seated cardio options such as an arm ergometer [2]. Everyday Health also cites exercise physiologist guidance that upper-body endurance training alone can improve oxygen uptake even without leg work [4]. That is not the same as preserving running fitness perfectly, but it is far better than declaring the whole body off-limits.
Core work that keeps the foot neutral
Good Phase 1 core work does not ask the injured foot to stabilize. Dead bugs, hollow holds, seated Pallof presses, and side planks from the knees can all work if the foot stays relaxed and protected. Skip mountain climbers, plank jacks, bear crawls, loaded carries, and anything that turns into accidental toe push-off.
A simple session might be three rounds of seated band rows, seated presses, dead bugs, and seated curls. Keep the effort honest in the muscles you are training, but boring around the injured foot. The foot should not be the limiting factor.
Healthy-leg work and the cross-education effect
Training the uninjured leg can also help, as long as transfers and setup are safe. Cleveland Clinic describes the cross-education effect: working the uninjured limb can produce an estimated 8% to 12% strength gain on the injured side through neural pathways [2]. That is useful. It is not magic, and it does not replace direct rehab once the injured foot is cleared.
In a small apartment, the safest options are usually seated knee extensions, seated hamstring curls with a band, side-lying hip abductions, and single-leg glute bridges on the healthy side if getting into position does not stress the injury. Avoid hopping, awkward one-legged standing circuits, or anything that makes you rush to catch balance.
Phase 2: Restore Motion Before You Chase Load
Phase 2 begins when you are cleared for gentle foot movement and symptoms are stable enough to tolerate it. This is the bridge: not full training, not total rest. The foot starts practicing range of motion, toe coordination, and light intrinsic strength while the rest of your program continues in modified form.
- Ankle pumps: Move the foot up and down within a comfortable range, without forcing end range.
- Ankle alphabet: Trace letters slowly with the foot to explore controlled motion in multiple directions.
- Short foot: Gently draw the ball of the foot toward the heel without curling the toes.
- Towel scrunches: Pull a towel toward you with the toes, then reset without cramping.
- Toe spread: Spread the toes apart, relax, and repeat with low effort.
- Calf wall stretches: Use both straight-knee and bent-knee versions only if the position is cleared and does not increase symptoms.
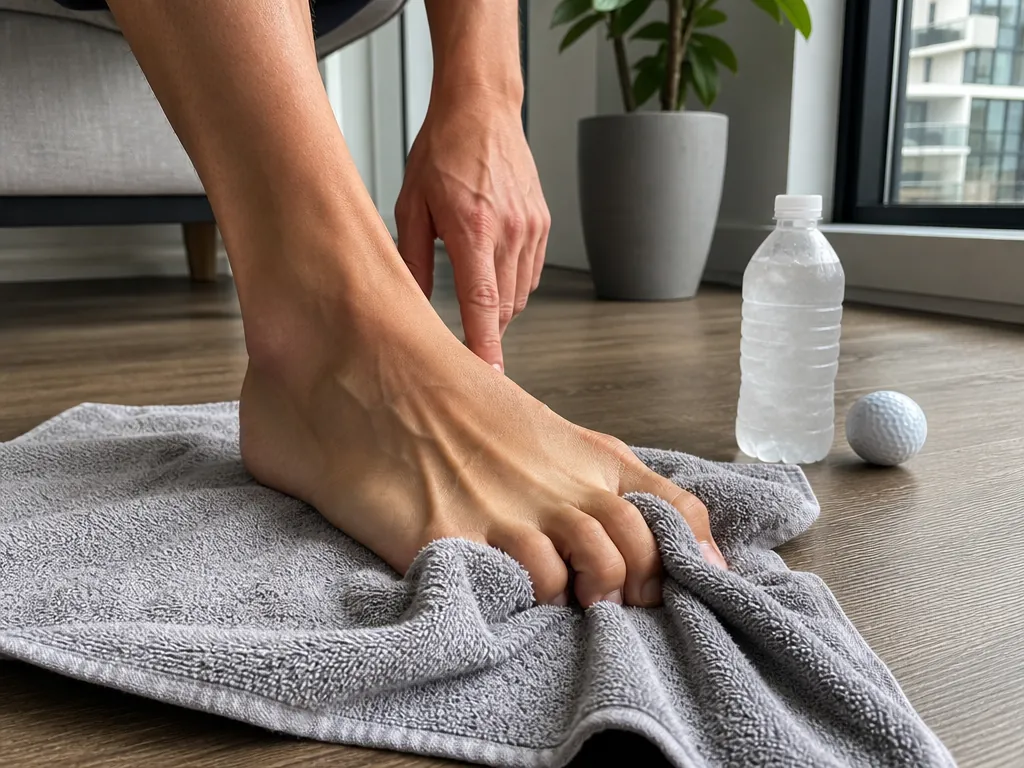
For plantar fasciitis-style problems, this is where stretching-only advice starts to look thin. A 2019 randomized controlled trial found that both stretching and strengthening programs significantly reduced pain and improved gait in people with plantar fasciitis [5]. Rathleff and colleagues also reported that high-load strength training may improve plantar fasciitis symptoms faster than stretching alone, with results sustained at 12-month follow-up [6]. The practical read is not “load aggressively today.” It is that stretching and strengthening belong in the same plan once the tissue is ready.
If your injury is ankle-specific, keep the broader system here and use a more targeted ankle plan for drill selection. FitAtHome has separate guides for ankle rehab exercises in an apartment, a phased ankle sprain recovery plan, and phase-based ankle injury rehab exercises. Use those for ankle detail; use this plan to keep the whole-body structure intact.
Progression out of Phase 2 should be based on response. Mild effort during a drill may be acceptable if your clinician has allowed it, but sharp pain, swelling that increases afterward, limping that worsens, or symptoms that are clearly worse the next day are signs to reduce load and get guidance.
Phase 3: Reload Without Turning One Good Day Into a Setback
Phase 3 is where active people get tempted to negotiate. The foot feels less fragile, the boot may be gone, and normal walking starts to look close enough. This is exactly when the plan needs clearer rules, not more enthusiasm.
Start with load you can control slowly. A two-leg heel raise from the floor is different from a single-leg heel raise off a stair. A quiet balance hold near a wall is different from hopping. A ten-minute walk on flat ground is different from “testing” a run because the weather is good.
| Exercise | Start Here | Progress Only When |
|---|---|---|
| Heel raises | Two feet on the floor, slow up and slow down | You can complete the set without sharp pain, limping, or next-day flare |
| Balance | Two feet, then staggered stance, then single-leg near a wall | The injured side can hold position without toe gripping or ankle collapse |
| Eccentric calf work | Rise with two feet, lower with more weight on the recovering side if cleared | Basic heel raises are controlled and symptom response is predictable |
| Walking | Short, flat, planned walks | Gait stays even during and after the walk |
| Jumping or running | Only after clearance and after walking is boringly tolerated | Small impact does not cause pain, swelling, or compensation |
Heel raises are often treated as the default foot rehab exercise, but they are not one exercise. Floor-based double-leg raises are early loading. Single-leg raises are a much bigger demand. Heel drops from a step add range and eccentric stress. If the injured area is the Achilles, plantar fascia, metatarsals, or big toe joint, those differences matter. Clearance matters more than ambition.
Balance work should also earn its way in. Begin near a wall or countertop. If you cannot stand quietly without gripping the floor with your toes, rolling to the outside of the foot, or hiking the hip, the drill is telling you something. Make it easier before you make it longer.
Walking reintroduction should be almost disappointingly measured. Choose a flat route, decide the duration before you start, and stop while your gait still looks normal. The next day matters. A walk that feels fine in the moment but leaves swelling, sharp soreness, or a limp afterward was too much for that stage.
Jumping, running, and sport-specific work come last. They add speed, impact, and less predictable foot positions. If you are recovering from a stress fracture, severe sprain, turf toe, or a diagnosis with specific loading restrictions, do not use a generic home article to overrule those restrictions.
A Home Week Can Mix Phases, but the Foot Gets the Final Vote
Real recovery rarely moves in perfectly separate blocks. You may still be doing seated upper-body training from Phase 1 while adding Phase 2 foot drills. Later, you may keep the towel work because it helps you feel organized before Phase 3 loading. That overlap is fine. What you should not do is borrow the hardest exercise from the next phase because the easier work feels dull.
A small-space session during the middle of recovery might look like this: seated band row, seated press, dead bugs, short foot, towel scrunches, ankle pumps, and a gentle calf stretch. Later, the same room might hold rows, presses, heel raises, balance by the counter, and a short planned walk outside. The room did not change. The permission to load did.
If recovery makes you rethink your setup beyond this injury, a compact bench, adjustable dumbbells, or safer band station may be worth planning after symptoms settle. FitAtHome’s compact home gym budget builds can wait until you are building for training again, not compensating for pain.
The best home plan is not a longer list of foot exercises. It is a staged system: protect the foot when it needs protection, keep the rest of the body engaged, rebuild motion and control, then reload gradually enough that the foot can actually adapt.
References
- Exercise prescription for foot and ankle conditions: a scoping review, Journal of Foot and Ankle Research, 2025,
- How To Work Out With an Injured Foot, Cleveland Clinic,
- Recovering from an ankle sprain, Harvard Health Publishing,
- A Workout Plan With a Broken Foot, Everyday Health,
- Effects of strengthening and stretching exercises on the temporospatial gait parameters in patients with plantar fasciitis: A randomized controlled trial, PMC, 2019,
- High-load strength training improves outcome in patients with plantar fasciitis: A randomized controlled trial with 12-month follow-up, PubMed, 2014,
What a small equipment investment adds
Cable Machine Alternatives That Save Space and Money
Compare the best cable machine alternatives for home gyms – from resistance bands and pulley systems to suspension trainers and compact digital units – and find the right option for your space and budget.
Small Treadmill Buying Guide: 7 Critical Specs to Check Before You Buy
A cross-category spec primer for apartment and small-space dwellers comparing walking pads, ultra-compact folding treadmills, and full-size folding treadmills. Learn the concrete thresholds for motor HP, deck length, noise, warranty, and subscription lock-in so you can compare apples to apples.
How to Practice Basketball at Home Without Noise Complaints
Learn how to run a full basketball workout in a small apartment without noise complaints. This guide covers no-dribble handling drills, wall form shooting, and silent ball options that let you train without disturbing neighbors.
How often should you repeat this?
See our recovery and rest reference for citation-anchored rest-interval guidance.
Spot something off?
Tell us if a movement, tier assumption, or duration didn't match your experience.