
Lower Back Exercises for Home Workout by Equipment Tier
Learn which lower back exercises work with bodyweight only, a resistance band, or a pair of dumbbells so you can strengthen your back at home without a gym full of machines, and understand how to progress safely between tiers.
- Equipment tier required
- none
- Duration
- 15 min
- Difficulty
- beginner
- Target area
- lower back
- Space footprint needed
- yoga mat footprint
- Noise level
- quiet
If your home setup is a mat, a resistance band, or one pair of dumbbells, that is enough to start lower back exercises for a home workout. The useful question is not which gym machine you are missing. It is which tier you are in today, how much control you can show there, and whether adding load would make the movement cleaner or sloppier.
One safety rule sits above every tier: this is general strengthening, not treatment for an acute back injury. Hospital for Special Surgery physical therapists, citing guidance that includes the North American Spine Society, advise stopping lower back exercise that causes acute pain or increases pain.[1] That means no bargaining with a sharp twinge because a program says you have two sets left.
The topic deserves care because low back pain is not a niche problem. A Global Burden of Disease 2021 analysis estimated 619 million cases of low back pain worldwide in 2020 and projected 843 million cases by 2050, a 36.4% increase.[2] Those numbers do not turn a home routine into medical care, but they do explain why lower back strength belongs in the same practical category as squats, push-ups, and daily walking.
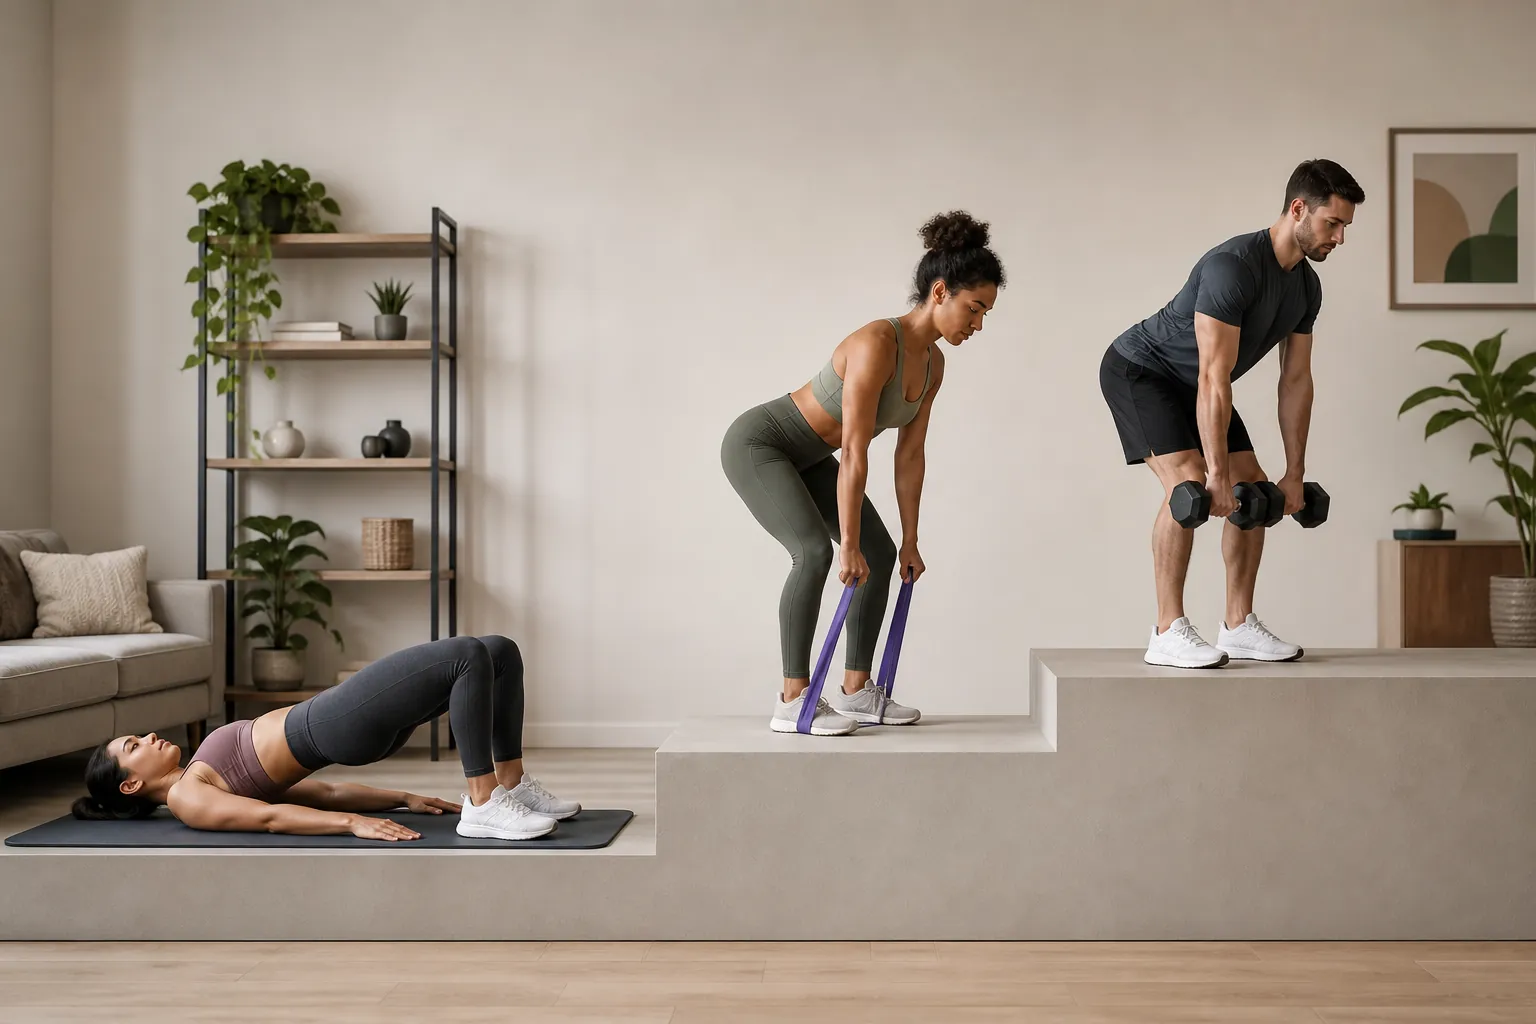
Choose Your Starting Tier
A lower back routine at home should begin where your space and equipment actually are. A yoga-mat footprint is enough for the first tier. A loop or long resistance band adds tension without asking you to store a bench. Dumbbells or a kettlebell let you load the hip hinge more directly, but only after the pattern is stable.
| Equipment tier | Best starting exercises | What it unlocks | Stay here if |
|---|---|---|---|
| Bodyweight only | Glute bridge, bird dog, dead bug, side plank, superman | Control of trunk, hips, and spinal position without external load | You are still learning to brace, hinge, or move without discomfort |
| Resistance band | Banded deadlift, banded good morning, band pull-through | Light loading and progressive tension in a small space | You can control bodyweight work but dumbbells pull you out of position |
| Dumbbells or kettlebell | Dumbbell Romanian deadlift, single-leg RDL, bent-over row, kettlebell swing | Heavier hip-hinge and posterior-chain work | You can keep the movement at the hips instead of turning it into a low-back yank |
Tier 1: Bodyweight Lower Back Exercises
Bodyweight work is not the consolation prize. It is where you learn whether your hips, ribs, and pelvis can stay organized before anything pulls on your hands. Harvard Health lists exercises including the glute bridge, bird dog, superman, side plank, and dead bug for building a stronger back, with a starting framework of 8–12 repetitions, 1–3 sets, and 30–90 seconds of rest between sets.[3]
For a small apartment routine, that guidance is more useful than a long exercise catalog. Start with one set of each movement. When the last few reps look like the first few, add a second set. When two sets feel controlled and repeatable, move toward three. That progression is boring in the best way: it gives you a way to improve without shopping.
Glute Bridge
Lie on your back with knees bent and feet on the floor. Press through the feet, lift the hips, and stop when your body forms a straight line from shoulders to knees. The point is not to arch as high as possible; it is to feel the glutes and hamstrings lift the pelvis without the low back taking over.
Use the glute bridge early in the session. It teaches hip extension from the floor, which later makes banded pull-throughs and Romanian deadlifts easier to understand.
Bird Dog
Start on hands and knees. Extend one arm and the opposite leg, then return with control before switching sides. A good bird dog looks quieter than people expect. The pelvis does not roll open, the ribs do not sag toward the floor, and the reach comes from length rather than speed.
:max_bytes(150000):strip_icc()/Bird-DogExcercise_annotated-b5dc709422df45589a9cb06730213b43.jpg)
This is one of the better no-equipment tests before progressing. If extending an arm and opposite leg makes your lower back twist or dip, adding a band or dumbbells will probably amplify the same leak.
Dead Bug
Lie on your back with arms up and knees bent over the hips. Slowly lower one arm and the opposite leg, then return and switch sides. Keep the movement small enough that your lower back does not peel away from your starting position. If it does, shorten the reach before you add reps.
Dead bugs are especially useful for home exercisers who sit a lot and then jump straight into hinging. They make the brace visible: if you cannot control your trunk on the floor, standing load is not the next fix.
Side Plank
Set up on one forearm with knees bent or legs straight, then lift the hips and hold a clean line. The side plank trains the muscles that keep the torso from collapsing sideways, which matters when you later carry uneven loads or try single-leg hinge variations.
Use the easier knee-supported version if the full version turns into shoulder strain or hip sagging. A shorter, steadier hold is more useful than a longer hold spent negotiating with poor position.
Superman
Lie face down and lift the arms and legs slightly from the floor, then lower with control. Keep this one modest. The goal is a controlled back-extension effort, not a dramatic lift that jams the movement into the low back.
If the superman feels pinchy or compressive, skip it and build the session around bridges, bird dogs, dead bugs, and side planks. The exercise list serves the body in front of you; it is not a loyalty test.
When to Move Beyond Bodyweight
Progression should show up as control before it shows up as equipment. You are ready to consider a band when you can finish one to three sets of the bodyweight movements without increasing pain, rushing the reps, or losing your trunk position. You are not ready just because the exercises feel familiar.
- Stay at bodyweight if bird dogs make your hips rotate or your lower back dip.
- Stay at bodyweight if glute bridges feel mostly like low-back arching instead of hip extension.
- Stay at bodyweight if you cannot tell the difference between bracing your trunk and holding your breath.
- Move to a band when the bodyweight work feels controlled and you want gentle resistance through a hinge pattern.
This bridge matters because lower back training often jumps from floor exercises to loaded deadlift variations with nothing in between. A resistance band gives you a middle step: enough tension to practice against, not so much load that every mistake becomes expensive.
Tier 2: Resistance Band Lower Back Exercises
A band is the first upgrade I would make for many small-space lower back routines. It stores in a drawer, works without a rack, and adds tension to the same hip and trunk control you practiced on the floor. Because band tension changes as it stretches, the load will not feel identical at every point in the movement; use that as feedback, not as permission to snap through the hard part.
Banded Deadlift
Stand on the band with feet about hip-width apart and hold the ends or handles. Soften the knees, push the hips back, keep the band close to your legs, then stand tall by driving the floor away and bringing the hips through. The movement should feel like the standing cousin of the glute bridge.
Choose a band that lets you keep your spine position steady. If the band pulls your shoulders down so hard that you round forward before the first rep starts, it is too much for this tier.
Banded Good Morning
Anchor the band under your feet and position it across the upper back or shoulders, depending on the band style and comfort. Hinge at the hips, then stand back up without turning the movement into a squat. The knees bend slightly, but the hips do most of the traveling.
This is a useful teaching drill for people who struggle to feel the hip hinge with dumbbells in their hands. The band encourages you to stand tall against tension, while the hands are not busy gripping weights.
Band Pull-Through
Anchor the band low behind you, step forward until there is light tension, and hold the band between your legs. Push the hips back toward the anchor, then stand by squeezing the glutes and bringing the hips forward. In a small apartment, the hard part is usually finding a safe anchor point, not learning the movement.
Do not improvise with a door, table leg, or railing unless it is genuinely secure. A loose anchor turns a strengthening drill into a household incident.
The Hip-Hinge Check Before Dumbbells
Before you pick up dumbbells, test the hinge without load. Stand a short step in front of a wall, soften the knees, and push the hips back until they touch the wall. Your torso tilts because the hips move backward, not because you fold through the waist. Step a little farther away only if you can keep the same shape.
That simple wall drill solves a common home-workout problem: many people own dumbbells before they own the pattern that makes dumbbells useful. If the hinge is still vague, the band tier is not a delay. It is the bridge.
- Progress if the banded deadlift feels smooth and your lower back is not more irritated afterward.
- Progress if you can hinge without the knees drifting into a squat pattern every rep.
- Progress if you can stop each rep with control instead of bouncing out of the bottom.
- Do not progress if heavier tension makes you round, twist, or chase range of motion you cannot control.
Tier 3: Dumbbell and Kettlebell Lower Back Exercises
A pair of dumbbells changes the routine because the load is no longer elastic or forgiving. That is useful when you are ready for it. NASM describes the dumbbell Romanian deadlift as a compound hip-hinge exercise that targets the hamstrings, glutes, and lower back together.[4] In home-training terms, it is the main reason a basic dumbbell pair can do more for your posterior chain than a long list of novelty floor moves.
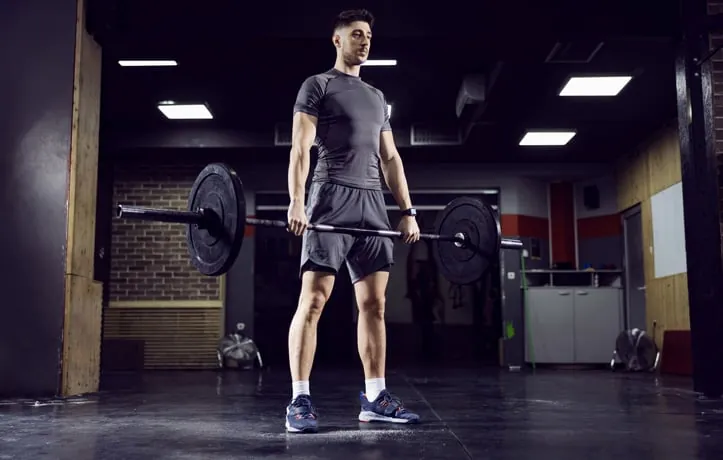
Dumbbell Romanian Deadlift
Hold the dumbbells in front of your thighs. Soften the knees, push the hips back, and let the weights travel close to the legs. Stop when you can no longer keep the hinge organized, then stand by driving the hips forward. You do not need the dumbbells to reach the floor. In many apartments, the best rep ends somewhere around mid-shin because that is where control ends.
The Romanian deadlift should feel like hamstrings, glutes, and trunk control sharing the work. If it feels like the lower back is doing everything, reduce the weight, shorten the range, or go back to banded deadlifts for a few sessions.
Single-Leg Romanian Deadlift
The single-leg RDL is not automatically harder in the useful way. It adds balance, hip control, and anti-rotation demands, which can be productive after the two-leg version is steady. Start with bodyweight or one light dumbbell, and use a wall or chair for balance if that lets the hinge stay cleaner.
If you spend the whole set hopping, twisting, and rescuing the rep, the lower back is not getting better training. It is just getting more chaos.
Bent-Over Row
A bent-over row is usually thought of as an upper-back exercise, but the lower back and hips still have to hold the hinged position while the arms row. That makes it useful once your hinge is stable. Use lighter weights than your ego suggests, keep the torso angle consistent, and end the set when holding the position becomes the limiting factor.
Kettlebell Swing
The kettlebell swing belongs late in the progression, not at the beginning. It is a fast hinge, and speed punishes uncertainty. If you have not already built a calm Romanian deadlift and a clean banded hinge, there is no reason to make the same pattern ballistic.
For many home exercisers, the dumbbell Romanian deadlift is enough. The swing is an option if you own a kettlebell, have space in front of you, and can keep the movement driven by the hips rather than by lifting with the arms or snapping through the low back.
Build a Simple Home Lower Back Routine
You do not need every exercise in the same workout. Pick one trunk-control movement, one hip-extension or hinge movement, and one optional support movement. Then use the one-to-three-set progression instead of changing everything every week.
| Your equipment | Routine example | How to progress |
|---|---|---|
| Bodyweight only | Glute bridge, bird dog, dead bug, side plank | Start with one set; work toward three controlled sets before adding band tension |
| Resistance band | Glute bridge, bird dog, banded deadlift or pull-through, side plank | Keep one or two bodyweight drills and add one banded hinge |
| Dumbbells or kettlebell | Bird dog or dead bug, dumbbell Romanian deadlift, bent-over row or single-leg RDL | Load the hinge only while range and control stay consistent |
For rep-based movements, the Harvard Health range of 8–12 reps, 1–3 sets, and 30–90 seconds of rest is a practical default.[3] Holds such as side planks do not need to be forced into that exact rep structure; keep them short enough that position stays honest, then add time gradually.
A twice-a-week setup is usually easier to repeat than a dramatic lower-back day that leaves you wary of bending over tomorrow. Leave at least enough recovery that your next session starts with normal movement, not guarded negotiation. If pain increases during or after the work, use the stop rule and get appropriate professional guidance rather than trying to program around it.[1]
What to Buy Next, If Anything
If you own nothing, buy nothing until the bodyweight tier is repeatable. A mat or carpeted floor is enough to learn the bridge, bird dog, dead bug, side plank, and superman. If you can already control those and want more resistance, a band is the most space-efficient upgrade. If banded hinges feel clean and you want a more direct loading path, a pair of dumbbells makes sense.
The practical win is not staying equipment-free forever. It is knowing what each tier is for: bodyweight teaches control, bands bridge the hinge pattern, and dumbbells load it. That is enough structure to train the lower back at home without pretending your hallway is a commercial gym.
References
What a small equipment investment adds
We don't have a build tagged to this exact tier yet. Browse all builds.
How often should you repeat this?
See our recovery and rest reference for citation-anchored rest-interval guidance.
Spot something off?
Tell us if a movement, tier assumption, or duration didn't match your experience.