
Train for a National Park Hike at Home in 8 Weeks
An 8-week at-home plan that works backward from your trail's distance and elevation gain, converting both into weekly stair, incline-treadmill, and step-up sessions with pack weight ramping to roughly 80% of trip load before the final taper. You get concrete weekly mileage, vertical, and pack-weight targets — so you can train for a national park hike without a mountain in sight.
- Equipment tier required
- none
- Duration
- 45 min
- Difficulty
- intermediate
- Target area
- legs
- Space footprint needed
- Small; low step-up platform with protective mat
- Noise level
- Low
To train for a national park hike at home, start with two trail-page numbers: distance and elevation gain. For Zion’s Angels Landing, the National Park Service lists 5.4 miles round trip and 1,488 feet of elevation gain; that is the workload you are trying to approximate, not a vague “get your legs ready” feeling.[1] Your 8-week target is to build toward roughly 75–80% of that distance and vertical gain in training, ramp your pack toward roughly 80% of your expected trip load, then reduce volume in the final week instead of panic-training.
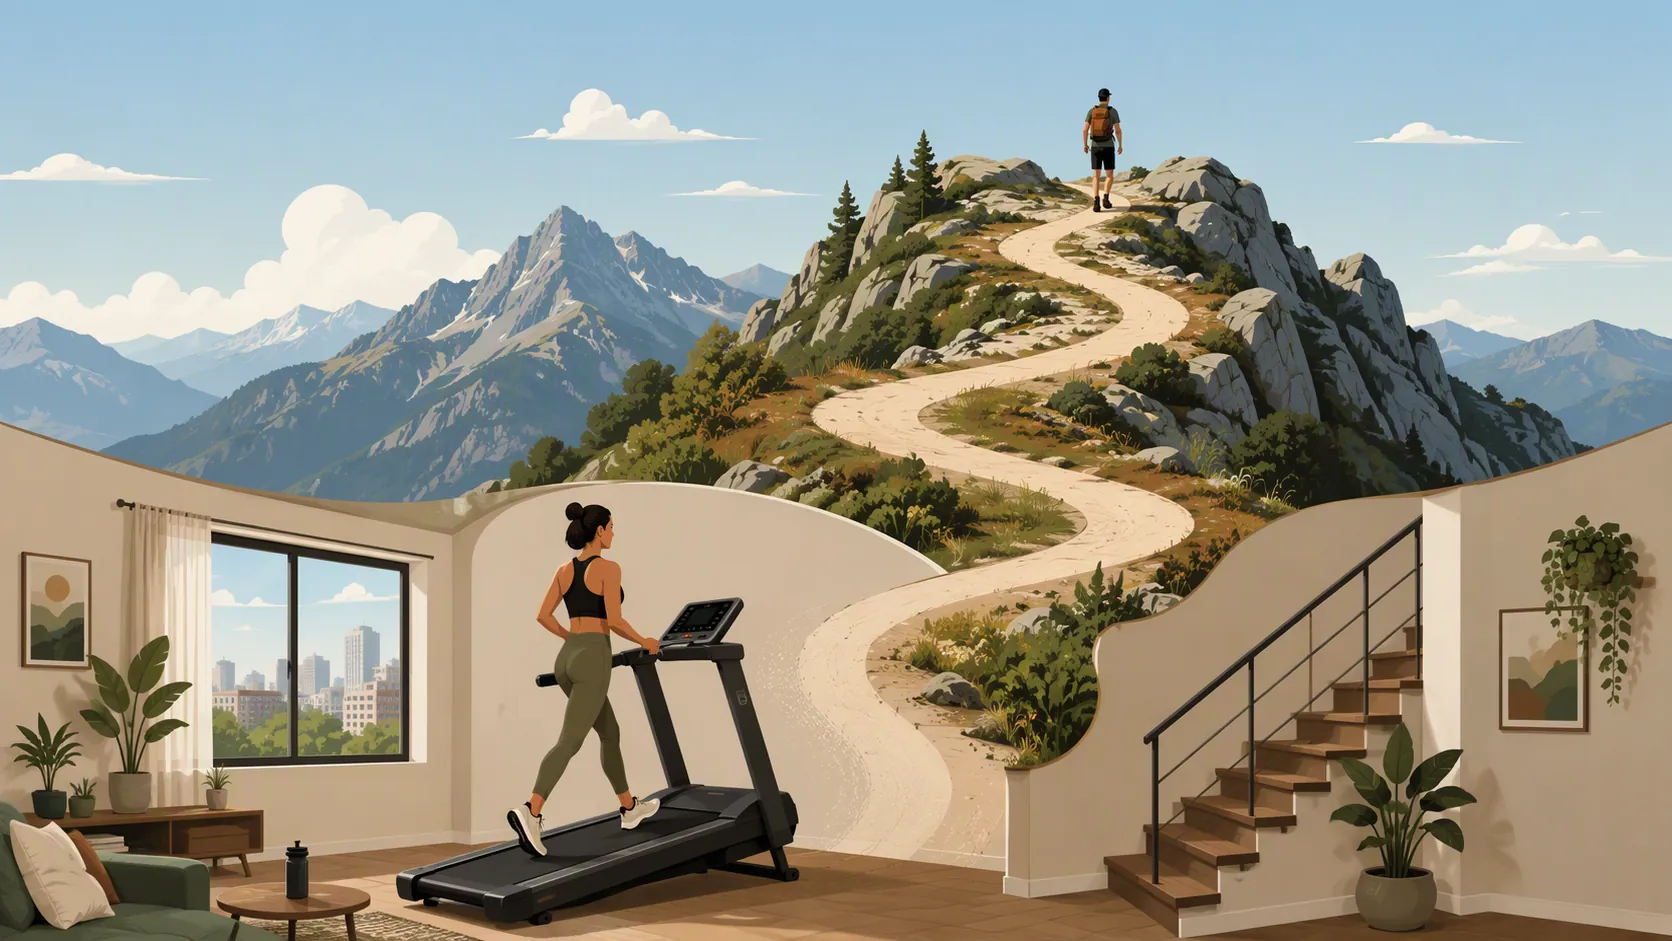
For Angels Landing, 80% of the listed trail is about 4.3 miles and 1,190 feet of gain. That does not mean you need one perfect mountain-shaped workout. It can mean a week with several indoor cardio sessions, two quiet strength sessions, and one longer weekend simulation that gets close enough to the real demand without turning your apartment stairs into a punishment device.
A bigger trail changes the arithmetic. Glacier’s Highline Trail is listed by the National Park Service as 11.8 miles one way, with 2,388 feet of gain and 4,773 feet of loss.[2] That is not just “more hiking.” It asks for more total time on feet, more downhill tolerance, and a larger weekly vertical budget. If your booked route looks closer to Highline than Angels Landing, use the same method below but scale the numbers and give yourself more room if the 8-week ramp gets too steep.
The home-training equation
The simple version looks like this:
- Trail distance becomes weekly walking, treadmill, bike, or stair-cardio time, with one longer session each week.
- Trail elevation gain becomes incline-treadmill feet, stair flights, stepper floors, or step-up reps.
- Trip pack weight becomes a gradually loaded backpack, not a surprise on hike day.
- The final week becomes a taper, not a desperate attempt to make up missed work.
REI’s hiking-training template uses an 8-week structure with two nonconsecutive strength days, two rest days, three nonconsecutive cardio sessions, and a longer weekend hike or hike-simulation.[3] Upward PT’s ramp guidance is a useful guardrail for the numbers: increase weekly mileage and elevation by about 10–20%, cut volume by about 25–40% every 4–6 weeks, and train up to roughly 75–80% of the goal stats rather than trying to reproduce the entire objective before the trip.[4]
Those are coaching standards, not a universal lab formula. No single source gives a perfect weekly elevation prescription for every park trail. The weekly vertical targets below are a practical synthesis: start with the NPS trail stats, use a controlled 10–20% ramp where possible, insert a cutback week, and stop the build once the longest simulation is close to the 75–80% range.
Convert the trail page into indoor work
For the Angels Landing example, the math starts with 5.4 miles and 1,488 feet. A good final long simulation does not need to be 5.4 miles and 1,488 feet; that would leave no margin for recovery before travel. Aim for about 4.0–4.3 miles and 1,100–1,200 feet during the hardest weekend simulation, while the rest of the week supplies additional easy cardio and strength.
| Trail number | 80% training target | Home equivalent |
|---|---|---|
| 5.4 miles round trip | About 4.3 miles | One longer treadmill walk, outdoor flat walk, or mixed walk plus stair session |
| 1,488 feet gain | About 1,190 feet gain | Incline treadmill feet, stair/stepper floors, or step-up reps split across sessions |
| Expected day pack | About 80% of trip load | Loaded backpack during step-ups, incline walks, or weekend simulation |
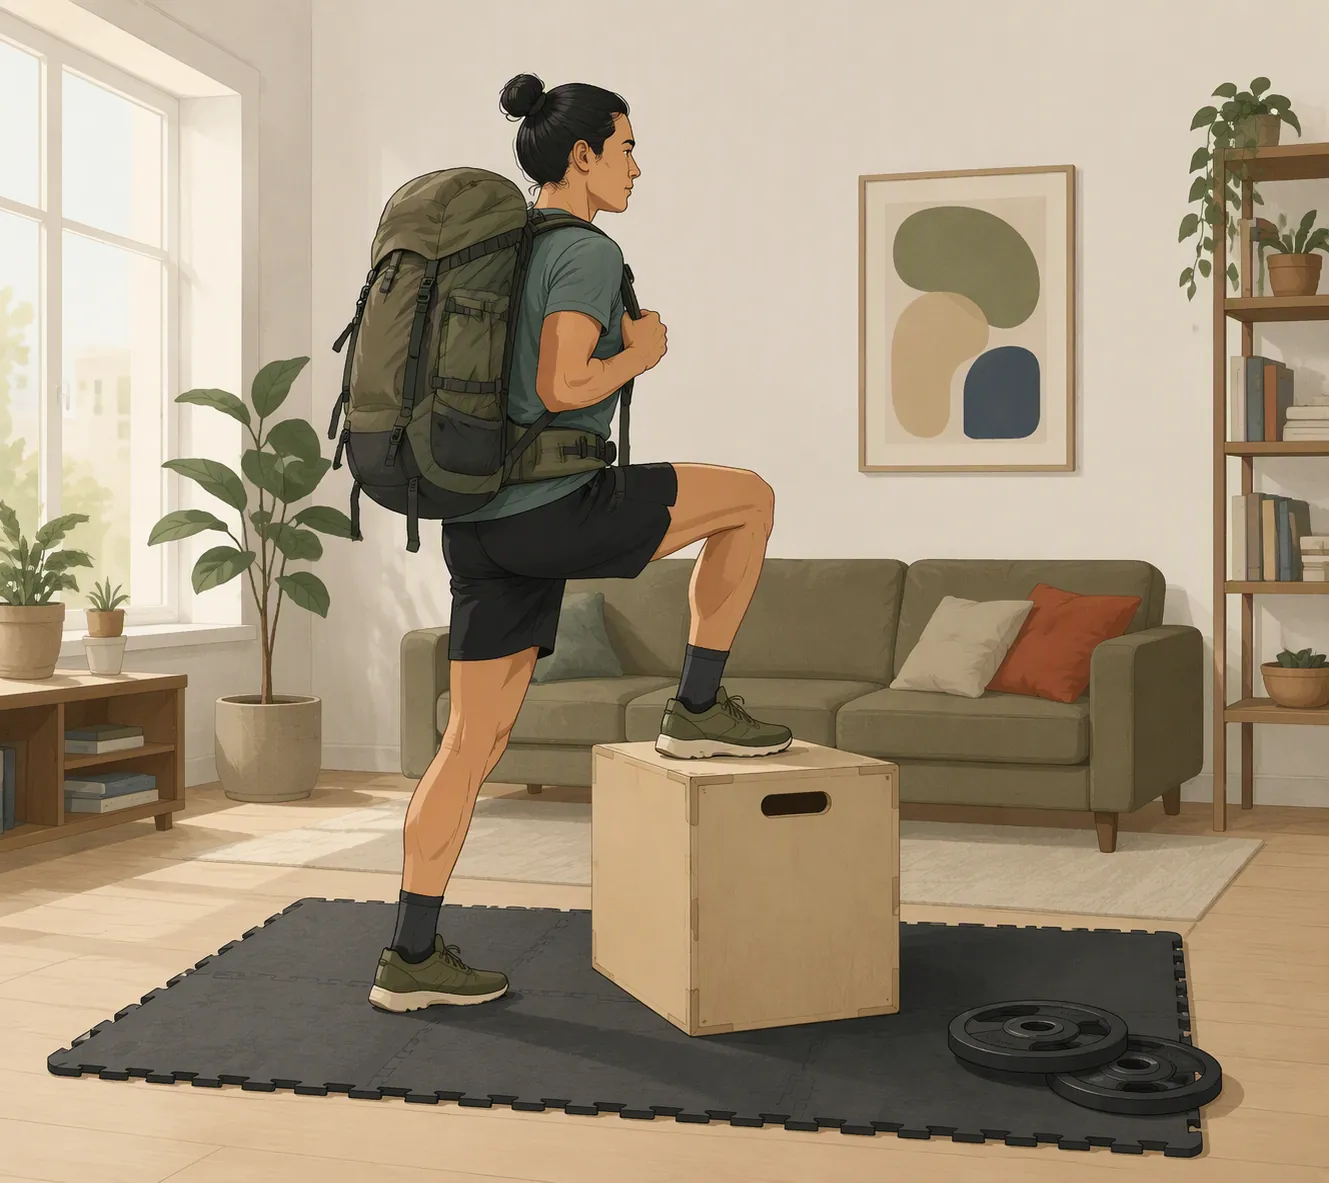
Pack load should be treated as training load. REI’s conditioning guidance starts weighted step-up work around 10 pounds and adds a few pounds weekly until the pack reaches about 80% of the anticipated trip weight.[5] REI’s pack-weight guidance also gives useful ceilings: around 10% of body weight for day hiking and around 20% for backpacking, with individual adjustment for fitness, trip length, and conditions.[6] For this article’s day-hike plan, use your expected day pack, not a backpacking load.
Incline treadmill math
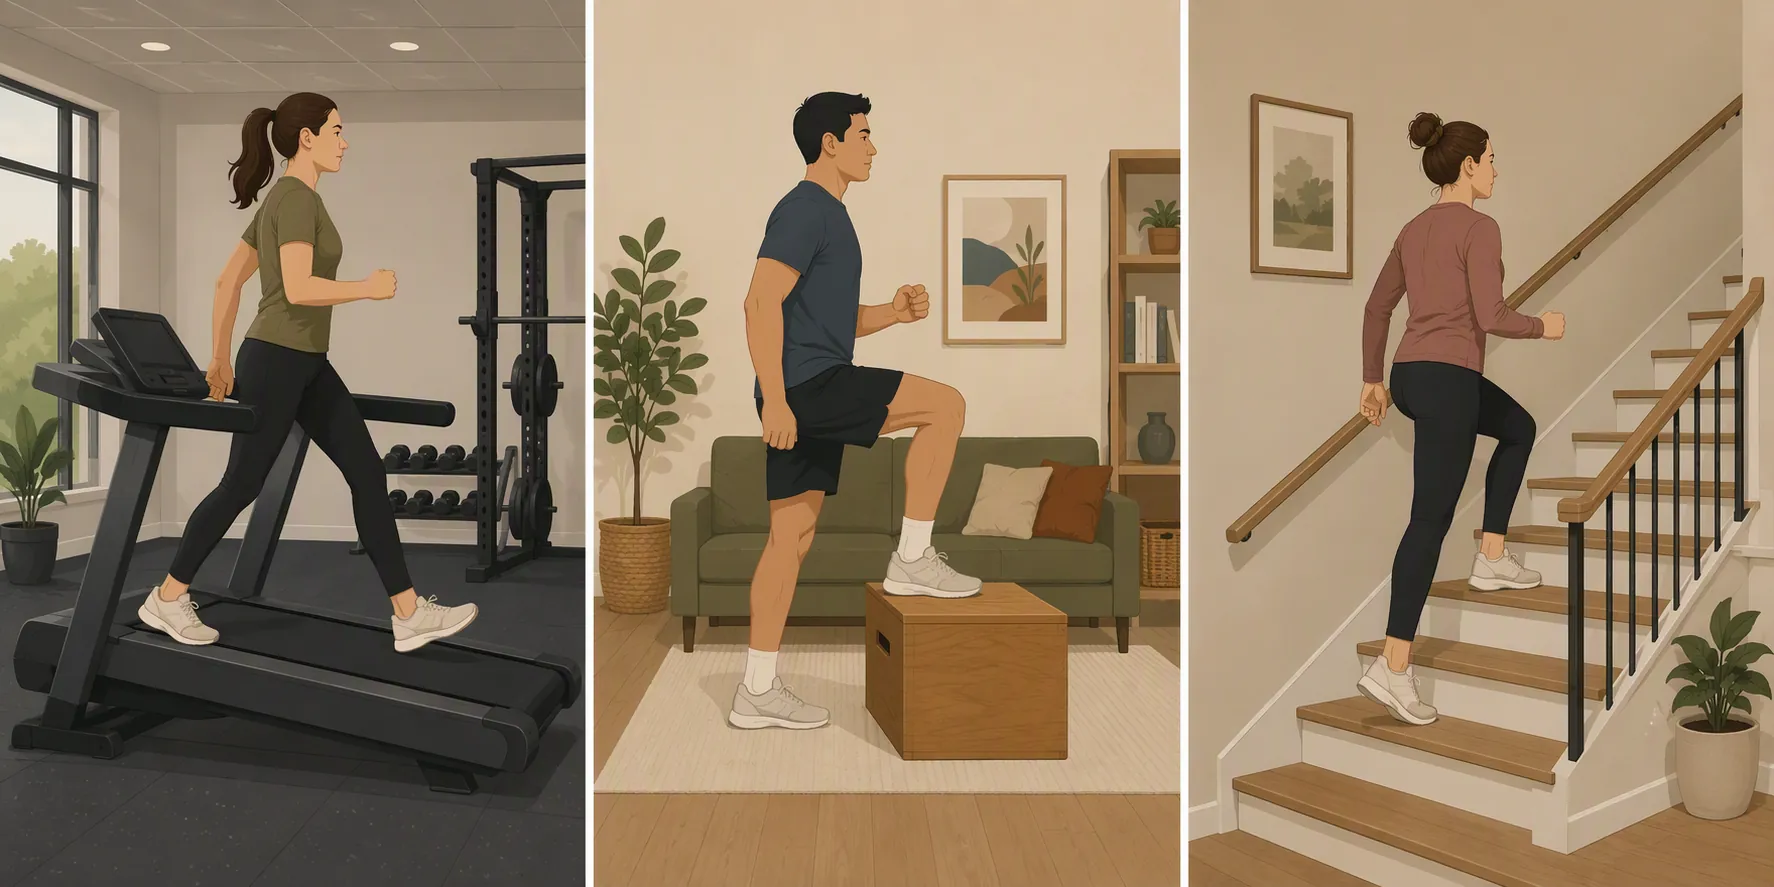
Incline treadmill work is the cleanest home substitute because distance and grade turn directly into vertical feet. Fit For Trips gives the useful examples that 3 miles at 5% grade equals about 792 feet of gain, while 3 miles at 10% grade equals about 1,584 feet.[7] The rough formula is:
miles × 5,280 × grade percentage = vertical feet

Example:
2.0 miles × 5,280 × 0.10 = 1,056 vertical feet
You do not need to live at 12% grade for an hour. If your knees or calves complain, split the vertical: 20 minutes at 8–10% on Tuesday, step-ups on Thursday, and a longer incline walk on Saturday. The weekly total matters more than winning one indoor suffer session.
Stairs, stepper floors, and step-ups
Fit For Trips uses a simple stair-machine estimate of about 10 vertical feet per floor.[7] Under that estimate, 50 floors is about 500 feet, and 100 floors is about 1,000 feet. That is useful if you have a gym stepmill or a quiet stairwell, but it gets less friendly in a third-floor walk-up where every descent thumps through someone else’s ceiling.
For apartments, low step-ups are usually easier to control. A hypothetical 8-inch step gives 8 inches of vertical per rep. Since 150 reps at 8 inches equals 1,200 inches, that is about 100 vertical feet. Ten sets of 30 total step-ups would be about 200 vertical feet. Put a dense mat under the platform, keep the step low enough that the working knee stays controlled, and step down quietly instead of dropping off the box.
If you need help choosing a stable platform and setting up weighted-pack work without turning your living room into a wobble test, the home-gym version is covered in Your Home Gym Training Plan for Mount Olympus. For this plan, the equipment requirement is modest: a treadmill or cardio substitute, a low step or stair option, a backpack, and enough floor protection that you can train more than once without annoying everyone below you.
The 8-week Angels Landing-style home plan
Use this as the default plan for a reasonably fit person preparing for a non-technical national park day hike with trail stats in the Angels Landing range. Angels Landing itself has exposure, chains, and a permit system; this plan addresses conditioning, not comfort with heights, crowd management, or route-specific hazards. Re-check the park page close to your trip because trail conditions and access rules can change.
The weekly rhythm stays consistent: two strength days, three cardio days, two rest days, and one longer weekend simulation, matching REI’s basic training-week layout.[3] The numbers below use the trail-stat conversion and ramp-rate guidance already described; adjust down if Week 1 is already a stretch.
| Week | Weekly mileage target | Weekly vertical target | Longest simulation | Pack load target |
|---|---|---|---|---|
| 1 | 7 miles total | 600 ft total | 2.5–3.0 miles with 250–300 ft | Bodyweight to 25% of trip load |
| 2 | 8 miles total | 750 ft total | 3.0 miles with 350–400 ft | 25–35% of trip load |
| 3 | 9.5 miles total | 900 ft total | 3.25–3.5 miles with 500–600 ft | 35–45% of trip load |
| 4 | 6.5–7 miles total | 550–650 ft total | 2.5–3.0 miles easy | 25–35% of trip load |
| 5 | 10.5 miles total | 1,050 ft total | 3.5–3.75 miles with 700–800 ft | 50–60% of trip load |
| 6 | 12 miles total | 1,250 ft total | 3.75–4.0 miles with 900–1,000 ft | 60–70% of trip load |
| 7 | 13 miles total | 1,400 ft total | 4.0–4.3 miles with 1,100–1,200 ft | About 80% of trip load |
| 8 | 6–7 miles total | 450–600 ft total | 2.0–2.5 miles easy early in week | Light pack only; no heavy testing |
Week 4 is not a failure week. It is the planned cutback. Upward PT recommends a 25–40% reduction in training volume every 4–6 weeks, which is exactly the slot where most people start feeling their calves, knees, or sleep quality argue back.[4] Cut the volume, keep the habit, and arrive at Week 5 with joints that still want to participate.
What one week actually looks like
Here is a practical Week 6 example for the 12-mile, 1,250-foot target. The point is not to copy the exact days; the point is to avoid cramming all the vertical into Saturday.
| Day | Session | Example workload |
|---|---|---|
| Monday | Rest | No loaded legs; short walk is fine if it feels restorative |
| Tuesday | Strength + step-ups | 35–45 minutes; include 250–300 ft of step-up vertical with 60–70% trip pack |
| Wednesday | Cardio | 2.5–3 miles easy treadmill, outdoor walk, or bike equivalent |
| Thursday | Strength | Squat or sit-to-stand pattern, hinge, calf work, core, controlled step-downs |
| Friday | Rest | No make-up intervals |
| Saturday | Long hike simulation | 3.75–4.0 miles with 900–1,000 ft using treadmill incline, stairs, or mixed route |
| Sunday | Easy cardio | 2–3 easy miles flat, or low-intensity bike if feet need a break |
The strength days do not need to become a bodybuilding split. For this hike, they are there to make climbing, descending, and loaded walking less surprising: step-ups, controlled step-downs, split squats or supported lunges, hip hinges, calf raises, and trunk work. Keep two strength days nonconsecutive so the longer simulation is not buried under sore legs.
How to hit the vertical target without a mountain
A weekly vertical number is only useful if it can survive real life. Below are workable ways to build a 1,000-foot week at home or in a flat neighborhood.
| Method | How to count it | Example |
|---|---|---|
| Incline treadmill | Miles × 5,280 × grade | 1 mile at 10% ≈ 528 ft |
| Stair machine | About 10 ft per floor | 50 floors ≈ 500 ft |
| 8-inch step-ups | 150 reps ≈ 100 ft | 300 reps across sets ≈ 200 ft |
| Outdoor flat walk | Counts toward mileage, not meaningful vertical | Useful for time on feet and recovery |
| Bike or elliptical | Counts as cardio substitute, not vertical unless your machine estimates climbing | Useful when smoke, weather, or joint irritation keeps you indoors |
If outdoor air quality or weather knocks out your planned walk, swap the cardio session indoors instead of abandoning the week. The same logic used in Smoky Air? Swap Outdoor Workouts for Indoor Alternatives applies here: preserve the training role of the session. Easy aerobic day stays easy. Climbing day keeps some vertical. Long simulation keeps time on feet.
A quiet 600-foot apartment session
If you do not have a treadmill, a 600-foot vertical day can be built from controlled pieces: 300 step-ups on an 8-inch platform for about 200 feet, a stair-machine session for 30 floors if you have gym access for about 300 feet, and another 150 step-ups later for about 100 feet. If all you have is a platform, split the step-ups into small blocks across the day. The math is dull. That is why it works after work.
For renters, the descent matters as much as the climb. Step down under control, use a low platform, put dense foam or rubber under the contact area, and avoid late-night stair repeats with a loaded pack. The goal is repeatable training, not proving to your downstairs neighbor that you own boots.
Pack weight: add it late enough to control, early enough to matter
Do not make the first two weeks harder by loading every session. Get the movement volume stable first. Once the step-ups and incline walking feel repeatable, add pack weight to one or two sessions per week, usually a strength day and part of the long simulation. REI’s 10-pound starting point and gradual weekly additions are a sensible framework for most day-hike preparation, especially when paired with the 80% anticipated-pack target.[5]
Use percentages if you already know your trip load. If your expected day pack is 12 pounds, 80% is about 10 pounds. If your expected day pack is 18 pounds, 80% is about 14–15 pounds. If that exceeds the day-hiking pack-weight guidance for your body size or feels awkward on stairs, reduce the load and keep the vertical controlled.[6]
| If your trip day pack is... | 80% training load is about... | Practical note |
|---|---|---|
| 10 lb | 8 lb | A light pack is enough; do not add weight just to feel serious |
| 12 lb | 10 lb | Matches REI’s common starting point for weighted step-ups |
| 15 lb | 12 lb | Good upper range for many day-hike simulations |
| 20 lb | 16 lb | Check whether you are overpacking for a day hike before training with it |
If Week 1 feels too hard, scale the plan before you scale your ambition
An 8-week plan assumes you are not starting from zero. If 7 total miles and 600 vertical feet in Week 1 makes your knees ache for two days, do not force Week 2. Drop the first week to whatever you can repeat comfortably, then rebuild with the same 10–20% ramp. A smaller honest starting point beats a perfect spreadsheet that collapses by Thursday.
- If mileage is the problem, keep the vertical lower and build walking time first.
- If vertical is the problem, use lower treadmill grades, shorter stair blocks, and more flat walking.
- If descents bother your knees, reduce stair down-climbing and use controlled step-downs as strength work instead.
- If your calves or Achilles feel overloaded, stop adding grade and pack weight in the same week.
- If you miss a week, repeat the last completed week rather than jumping to the calendar’s next target.
For a technical summit attempt or a much larger objective, 8 weeks may be too compressed. The harder-version follow-up, Can You Really Train for Grand Teton at Home?, is built around a 12–16 week timeline for a technical summit context. This plan is narrower: non-technical park day hikes where the main problem is distance, vertical gain, pack load, and time on feet.
How the plan changes for a bigger trail like Highline
For Glacier’s Highline Trail, the same 80% calculation produces a much larger target: about 9.4 miles, 1,900 feet of gain, and a lot of downhill tolerance from the listed 4,773 feet of loss.[2] You can still train indoors, but the plan needs more time on feet and more descent preparation than the Angels Landing-style schedule.
| Trail type | Training emphasis | What changes at home |
|---|---|---|
| Shorter, steep day hike | Vertical density | More incline treadmill, step-ups, and stair-machine work |
| Longer one-way or shuttle hike | Time on feet | Longer weekend simulations and more easy walking volume |
| Large descent | Eccentric leg control | Controlled step-downs, downhill treadmill if available, and no reckless stair-descending volume |
| Heavy day pack or weather-variable route | Load tolerance | Earlier pack practice, but still ramped gradually |
This is where timeline advice varies. REI and some hiking plans use 8-week structures; PureGym presents a shorter hiking-workout timeline; Wildland Trekking uses longer preparation guidance for guided trekking contexts and recommends reducing volume before the trip.[3][8][9] Treat 8 weeks as the default for a reasonably fit hiker and a moderate, non-technical day hike. If the trail stats are much larger, the descent is severe, altitude is a major factor, or consequences are higher, add weeks rather than squeezing the same math harder.
The final week: taper, don’t test
By Week 8, the useful work is already done. Wildland Trekking and PureGym both point toward reducing training volume in the final week before a hiking objective.[9][8] In this plan, that means cutting total mileage roughly in half, keeping a little easy movement, doing no heavy step-up test, and letting the legs freshen up.
- Do one short incline or stair session early in the week, easy enough that you finish wanting more.
- Keep one light strength session if it is already familiar; skip it if it causes soreness.
- Walk easily to stay loose, but do not chase missed vertical.
- Use the actual shoes, socks, and pack setup briefly, not for a last-minute endurance trial.
- Sleep, travel logistics, food, and water planning now matter more than another 500 feet on the treadmill.
Readiness criteria
For a non-technical national park day hike, your home preparation is in the right place if you have reached roughly 75–80% of the trail’s distance and elevation gain in your longest simulation, handled the weekly mileage and vertical without lingering joint pain, carried about 80% of your expected day-pack load comfortably, and tapered instead of trying to prove fitness in the final week.
References
- Angels Landing Hiking Permits, National Park Service
- Highline Trailhead, National Park Service
- How to Train for Hiking, REI
- How to Safely Ramp Up Your Hiking/Backpacking Mileage, Upward PT
- Conditioning for Backpacking & Hiking, REI
- How Much Should Your Pack Weigh, REI
- How to Simulate Hiking on a Treadmill, Fit For Trips
- Hiking Workout Plan, PureGym
- Training for Your Wildland Trip, Wildland Trekking
What a small equipment investment adds
We don't have a build tagged to this exact tier yet. Browse all builds.
How often should you repeat this?
See our recovery and rest reference for citation-anchored rest-interval guidance.
Spot something off?
Tell us if a movement, tier assumption, or duration didn't match your experience.