
10 No-Equipment Knee Rehab Exercises for Athletes at Home
A guide to 10 PT-approved, zero-equipment knee rehab exercises for athletes recovering at home, including set/rep schemes and a week-by-week progression table to safely rebuild strength and stability.
- Equipment tier required
- none
- Duration
- 20 min
- Difficulty
- beginner
- Target area
- knee
- Space footprint needed
- small (rug-sized area)
- Noise level
- low
If your knee is irritated and you have a rug-sized patch of floor, you can start with more than ankle circles and good intentions. The useful at-home question is specific: which knee rehab exercises can an athlete do today with no bands, no weights, no machines, and no hallway lunges that annoy the people downstairs?
For early-to-mid recovery, the answer is a compact bodyweight routine: quad sets, heel slides, straight leg raises, prone hamstring curls, side-lying leg lifts, glute bridges, half squats, calf raises, single-leg balance, and wall slides. That set overlaps strongly with the AAOS knee conditioning program, HSS guidance on knee-strengthening frequency, and no-equipment PT exercise guidance built around low-load movements such as wall slides and mini squats.[1][2][3]
This belongs in the world of workout routines, but with recovery-category restraint. It is not a diagnosis, and it is not a return-to-sport clearance. It is a structured way to rebuild quad activation, knee motion, glute strength, hip control, calf support, and balance at home while your knee tells you whether the dose is right.
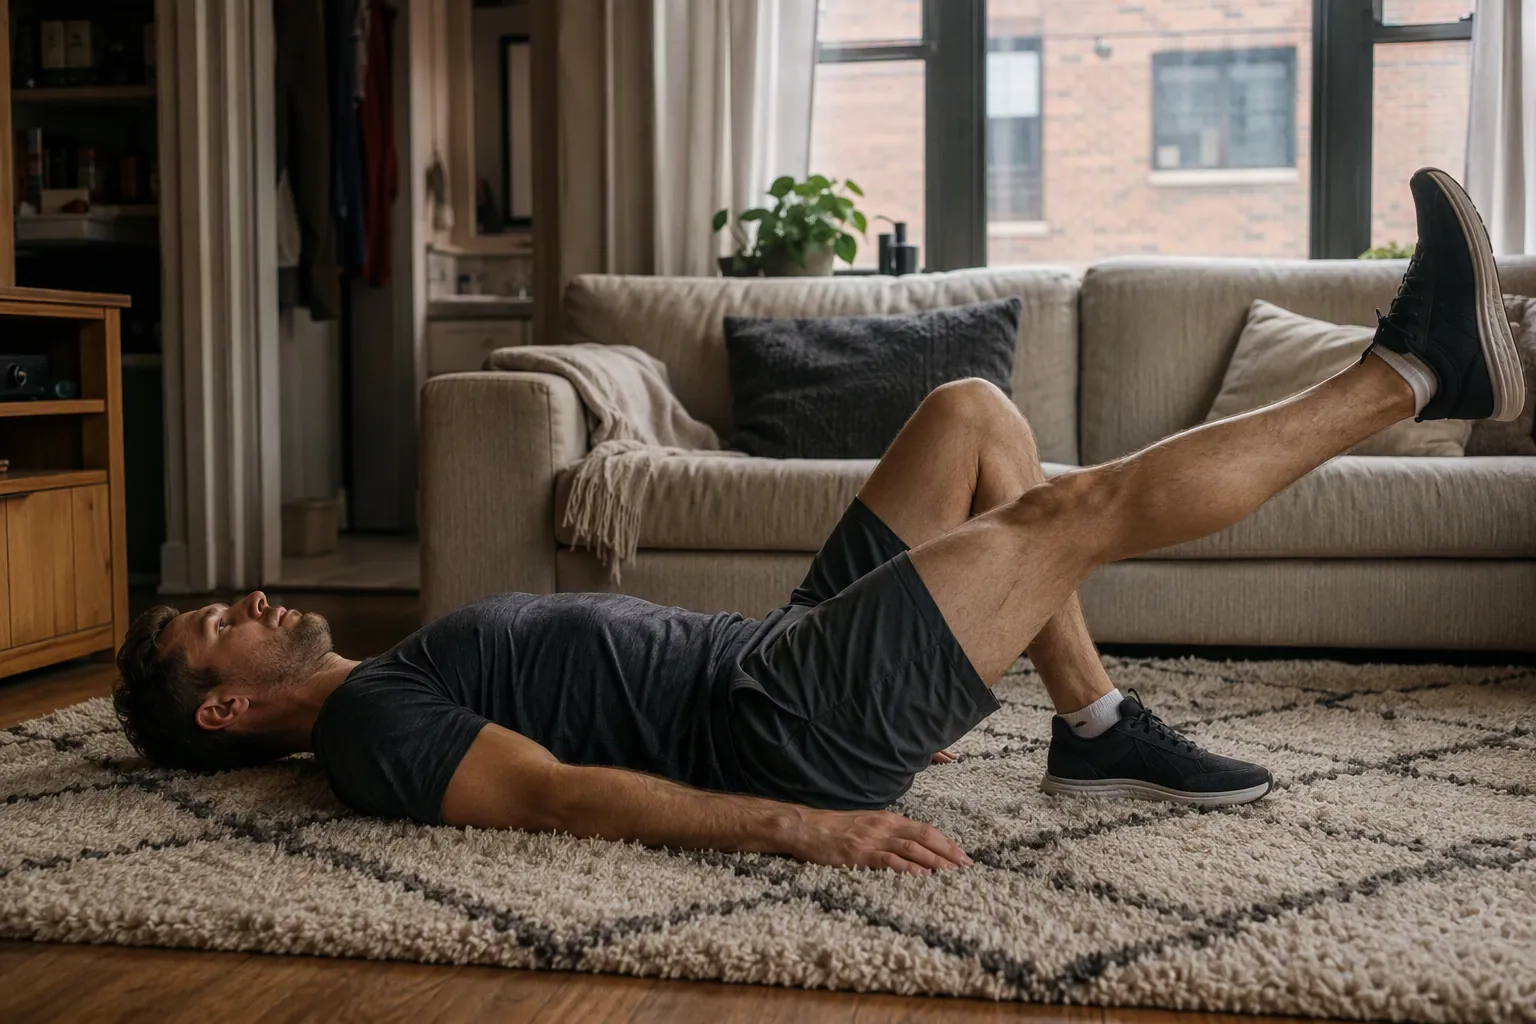
The No-Equipment Knee Rehab Routine
A knee does not get steadier because an exercise looks athletic. It gets steadier when the right muscles accept load again, the joint tolerates motion, and the next day does not punish the session. The routine below uses body weight and floor space only. A wall is helpful for wall slides and balance, but there is no band, ankle weight, step, bike, or gym corner hiding in the plan.
| Exercise | Main job | Starting dose |
|---|---|---|
| Quad set | Re-teach quad contraction without moving the knee | 2 sets of 10, hold 5 seconds |
| Heel slide | Restore comfortable knee bending and straightening | 2 sets of 10 |
| Straight leg raise | Train the quad while the knee stays locked straight | 2 sets of 10 |
| Prone hamstring curl | Strengthen the back of the thigh through easy range | 2 sets of 10 |
| Side-lying leg lift | Build hip abductor control for knee alignment | 2 sets of 10 |
| Glute bridge | Strengthen glutes without standing knee load | 2 sets of 10 |
| Half squat | Introduce controlled weight-bearing strength | 3 sets of 10 |
| Calf raise | Strengthen lower-leg support for walking and running mechanics | 2 sets of 10 |
| Single-leg balance | Rebuild quiet knee and hip control | 3 holds of 20 seconds |
| Wall slide | Train squat pattern with controlled depth | 2 sets of 10 to about 45 degrees |
The exact dose does not need to be heroic. HSS physical therapist Mohammad Saad describes 2–3 strength sessions per week plus 3–5 flexibility sessions per week as enough for measurable improvement, and the AAOS knee conditioning program gives bodyweight-friendly set and repetition schemes for movements such as half squats, calf raises, leg raises, and hamstring curls.[1][2]
1. Quad Sets
Start here when your knee feels unreliable. A quad set is not flashy, but it solves a real early-rehab problem: after knee injury, the quadriceps can reflexively shut down, which makes even a straight-leg task feel oddly difficult. Quad sets and straight leg raises are useful because they activate the quadriceps without requiring knee joint movement.[2]
- How to do it: Sit or lie with the injured leg straight. Tighten the front of the thigh as if pressing the back of the knee gently toward the floor. Keep the kneecap facing the ceiling.
- Dose: 2 sets of 10 contractions, holding each for 5 seconds.
- Make it easier: Use a shorter hold, or place a small folded towel under the knee if full straightening is uncomfortable.
- Make it harder: Increase the hold to 8–10 seconds before adding more exercises.
- Form check: You should see or feel the thigh tighten. If the hip flexor, calf, or glute is doing all the work, reset and make the contraction smaller.
2. Heel Slides
Heel slides are the living-room version of asking the knee, “How much bend do you have today?” They are mobility work, not a toughness test. The heel stays on the floor, the range stays smooth, and the athlete learns where stiffness begins before forcing the joint into a cranky end range.
- How to do it: Lie on your back with both legs straight. Slide the heel of the recovering leg toward your glutes, bending the knee as far as comfortable, then slide it back out.
- Dose: 2 sets of 10 slow reps.
- Make it easier: Stay in a smaller range and pause before the knee feels pinchy or swollen.
- Make it harder: Add a 2-second pause at the deepest comfortable bend.
- Form check: Do not let the hip hike or the foot twist sideways to fake more knee bend.
3. Straight Leg Raises
The straight leg raise is where quad activation becomes visible. If you cannot keep the knee straight while lifting the leg, the movement is telling you something useful: the quad is not ready for that dose yet. Do not turn it into a hip-flexor exercise with a bent knee and a grimace.
- How to do it: Lie on your back. Bend the uninjured knee with that foot flat on the floor. Keep the recovering leg straight, tighten the quad, then lift the leg to about the height of the opposite knee. Lower slowly.
- Dose: 2 sets of 10 reps.
- Make it easier: Return to quad sets, or lift only a few inches while keeping the knee fully straight.
- Make it harder: Slow the lowering phase to 3 seconds, but only if the knee stays locked straight.
- Form check: The quad tightens first, then the leg lifts. If the knee bends during the lift, end the set.
4. Prone Hamstring Curls
Hamstrings help control the tibia and support the knee from the back side. For a no-equipment version, the load is just the weight of your lower leg.
- How to do it: Lie face down. Bend the recovering knee, bringing the heel toward your glutes as far as comfortable. Lower slowly.
- Dose: 2 sets of 10 reps.
- Make it easier: Work through half range.
- Make it harder: Pause for 2 seconds at the top without arching your low back.
5. Side-Lying Leg Lifts
A knee that caves inward during squats, landings, or cutting often has a hip-control problem upstream. Side-lying leg lifts train the outside hip without asking the injured knee to absorb much load.
- How to do it: Lie on your side with the recovering leg on top. Keep the top leg straight and slightly behind your body line. Lift it, pause briefly, then lower.
- Dose: 2 sets of 10 reps.
- Make it easier: Use a smaller lift.
- Make it harder: Hold the top position for 3 seconds.
- Form check: Keep the toes facing forward or slightly down. If the toes roll toward the ceiling, the hip flexors are stealing the exercise.
6. Glute Bridges
Bridges let the glutes work hard while the knee stays in a predictable, quiet position. They are especially useful before an athlete is ready to make squats the centerpiece.
- How to do it: Lie on your back with knees bent and feet flat. Squeeze the glutes and lift the hips until your body forms a straight line from shoulders to knees. Lower with control.
- Dose: 2 sets of 10 reps.
- Make it easier: Lift only halfway.
- Make it harder: Pause for 3 seconds at the top while keeping both hips level.
7. Half Squats
The half squat is the point where many motivated athletes get greedy. A controlled shallow squat is useful. A deep squat performed because it feels more like training is a different demand. The AAOS knee conditioning program includes half squats at 3 sets of 10, 4–5 days per week.[1]
- How to do it: Stand with feet hip- to shoulder-width apart. Sit the hips back slightly and bend the knees only into a shallow range. Return to standing by pushing through the whole foot.
- Dose: 3 sets of 10 reps when standing exercises are tolerated.
- Make it easier: Hold the back of a chair or countertop for balance, or reduce the range.
- Make it harder: Slow the descent to 3 seconds before increasing depth.
- Form check: Stop before the knees dive inward, the heels lift, or pain changes your mechanics.
8. Calf Raises
Calves matter because athletes do not return to running, jumping, or court movement on quads alone. The calf helps manage force through the ankle and lower leg before that force reaches the knee.
- How to do it: Stand tall with fingertips on a wall or counter if needed. Rise onto the balls of both feet, pause, then lower slowly.
- Dose: 2 sets of 10 reps.
- Make it easier: Use both hands for balance and reduce the height.
- Make it harder: Use a slower lower or longer top pause before trying single-leg versions.
9. Single-Leg Balance
Balance work should look almost boring early on. That is the point. The goal is not to wobble dramatically; it is to teach the foot, hip, and knee to hold position without the knee searching around under you.
- How to do it: Stand near a wall. Shift weight onto the recovering leg and lift the other foot slightly. Keep the pelvis level and the kneecap facing forward.
- Dose: 3 holds of 20 seconds.
- Make it easier: Keep one fingertip on the wall or let the lifted foot touch down lightly as needed.
- Make it harder: Increase to 30-second holds, then reduce hand support. Save eyes-closed balance and unstable surfaces for later guidance.
- Form check: If the knee collapses inward or the foot claws the floor, the hold is too long or too advanced.
10. Wall Slides
Wall slides are a good bridge between floor work and squatting because the wall gives feedback and limits chaos. Keep the range shallow. Forefront PT notes that wall slides or mini squats to about 45 degrees keep patellofemoral joint load lower than full-depth squats, which is why they fit early rehab better than deep squat variations.[3]
- How to do it: Stand with your back against a wall and feet slightly forward. Slide down only to a shallow angle, roughly 45 degrees at most, then press back up.
- Dose: 2 sets of 10 reps.
- Make it easier: Slide only a few inches and pause less.
- Make it harder: Add a 3–5 second hold at the bottom while staying above 45 degrees.
- Form check: The knees track over the middle toes. If the knee pain sharpens as you slide down, shorten the range immediately.
A Week-by-Week Progression You Can Actually Follow
Progression is not a reward for being disciplined. It is a response to the knee tolerating the previous dose. Use this table as a conservative structure, not a race. Strength work fits 2–3 days per week, while flexibility and range-of-motion work can appear 3–5 days per week if the knee stays calm.[2]
| Phase | Main focus | Do this | Progress when |
|---|---|---|---|
| Week 1 | Quad activation and comfortable motion | Quad sets, heel slides, straight leg raises if the knee stays straight | You can complete sets without sharper pain, limping afterward, or next-day swelling |
| Week 2 | Add hip and posterior-chain support | Continue Week 1 work; add prone hamstring curls, side-lying leg lifts, and glute bridges | The knee tolerates floor work and daily walking feels no worse the next day |
| Week 3 | Introduce controlled standing strength | Add calf raises and shallow half squats; keep range small | You can squat shallowly without knee collapse, heel lift, or symptom increase later |
| Week 4 | Build balance and controlled squat pattern | Add single-leg balance and wall slides to about 45 degrees | Balance holds stay quiet and wall slides do not create next-day swelling |
| Weeks 5–6 | Increase time under tension before adding difficulty | Lengthen holds, slow lowering phases, or add one set to selected exercises | The knee stays in the green zone for 7 days of normal life plus rehab |
The mistake is not starting too easy. The mistake is changing four variables at once: deeper range, more reps, more exercises, and more weekly sessions. Pick one. For most athletes, the cleanest upgrade is slower tempo or longer holds before adding depth.
Green, Yellow, and Red Signals
Pain-guided progression is more useful than a motivational calendar. Orthopedic & Sports Medicine guidance on exercising after knee injury emphasizes avoiding exercise through significant pain and using swelling, limping, or worsening symptoms as signs to back off.[4]
| Signal | What it looks like | What to do |
|---|---|---|
| Green | Mild effort, no sharp pain, normal walking afterward, no next-day swelling increase | Continue the plan; progress only one variable at a time |
| Yellow | Discomfort rises during the set, form changes, or the knee feels more irritated later that day | Shorten range, reduce reps, remove the newest exercise, or take an extra recovery day |
| Red | Sharp pain, giving way, locking, visible swelling increase, new limp, or symptoms worse the next day | Stop the exercise and get clinician guidance before progressing |
Completing the table while your knee is quietly swelling is not discipline. It is bad feedback management. The next-day response matters because some knees behave politely during the session and complain after you have already logged the win.
Where This Routine Fits—and Where It Does Not
The AAOS and HSS materials used here are knee conditioning and strengthening resources, not injury-specific prescriptions for every diagnosis.[1][2] That distinction matters. The exercise choices transfer well to many early-to-mid home rehab situations because they train the major support areas around the knee with low equipment demands. They do not replace a physical therapist’s range restrictions after surgery or a diagnosis-specific plan after a significant injury.
Be especially careful with meniscus tears, patellar dislocations, multi-ligament injuries, major swelling, locking, buckling, or post-operative instructions. Those situations may require modified depth, delayed weight bearing, or a different progression. If you already know your diagnosis, a diagnosis-specific plan is a better fork than guessing from a general routine.
The no-equipment promise also has a natural endpoint. Bodyweight work can rebuild early strength, alignment, and confidence at home. It cannot prove that a basketball player is ready to cut, a runner is ready for hills, or a soccer player is ready for contact. Later return-to-sport work may need external resistance, impact progression, change-of-direction drills, or surfaces that go beyond an apartment routine.
For a broader staged framework, use a phased knee rehab plan. For a known meniscus injury, use a meniscus recovery timeline. For post-surgical limits in an apartment, use a surgery-specific home workout plan. Once this strength phase is no longer enough, the next question is return-to-sport progression, not how to make wall slides feel more dramatic.
References
- Knee Conditioning Program, AAOS OrthoInfo
- Exercises to Strengthen Knees, HSS
- Knee Rehab Exercises You Can Do at Home Without Equipment, Forefront PT
- Exercising After Knee Injury: Do's and Don'ts, Orthopedic & Sports Medicine
What a small equipment investment adds
We don't have a build tagged to this exact tier yet. Browse all builds.
How often should you repeat this?
See our recovery and rest reference for citation-anchored rest-interval guidance.
Spot something off?
Tell us if a movement, tier assumption, or duration didn't match your experience.