
What Actually Cools You Down in a Heatwave Home Workout
During a heatwave home workout, the simple stuff — a fan aimed at wet skin, hand and forearm immersion, a cold drink — outperforms most cooling gadgets. This evidence-ranked rundown separates the methods that work from the money-wasters and maps the budget gear that earns its place.
- Equipment tier required
- $0-100
- Duration
- 25 min
- Difficulty
- beginner
- Target area
- full body
- Space footprint needed
- small
- Noise level
- quiet-friendly
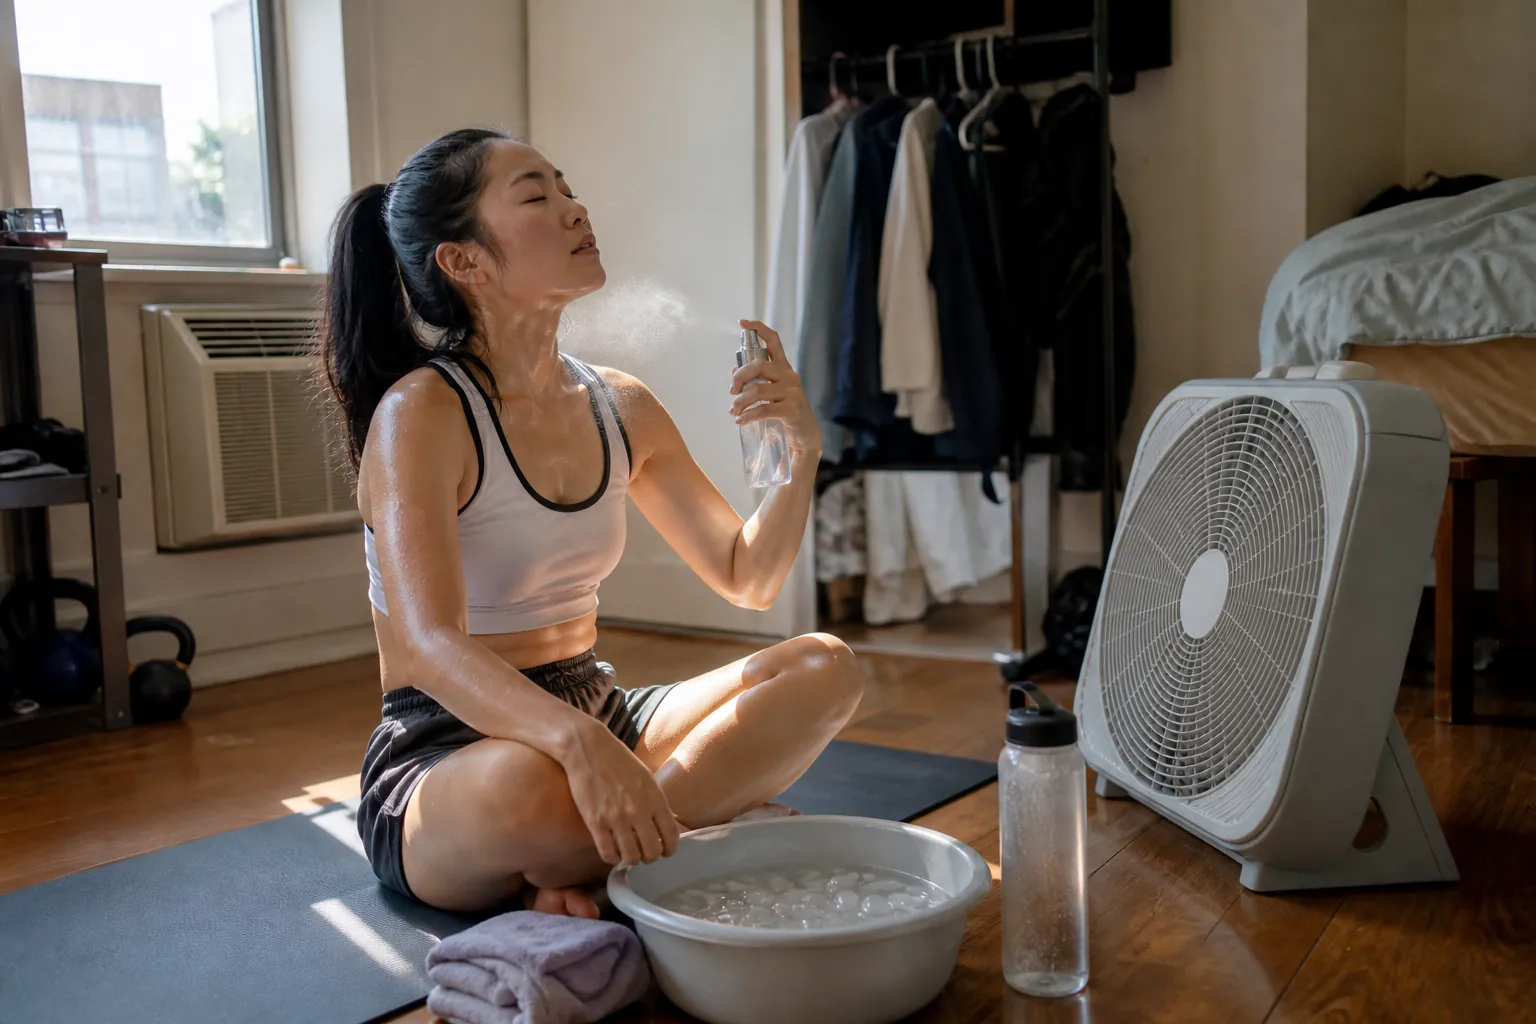
If you are trying to get through heatwave home workouts and stay cool without turning your rental into a sports-science chamber, start here: buy or borrow a fan, keep your skin wet, use workout breaks to cool your hands and forearms, and keep cold fluids nearby. Do that before spending money on cooling sleeves, tiny ice packs, or wearable “recovery” gadgets that look impressive online and then occupy one more awkward corner of a closet.
The best-supported home setup is not glamorous: moving air over wet skin, a basin or sink for forearm immersion, towels you are willing to launder, and something cold to drink. The stronger evidence comes mostly from trained male athletes in controlled heat, not from beginners doing dumbbell circuits next to a tired window unit, so the ranking below is a practical translation, not a guarantee. Still, the hierarchy is clear enough to save money.
The evidence-ranked cooling table
| Cooling method | What it does | Evidence strength for heatwave workouts | Home setup | Budget tier | Caveat |
|---|---|---|---|---|---|
| Fan on wet skin | Moves air across water on the skin so evaporation can carry heat away | Strong practical signal: fan cooling plus skin wetting reduced skin temperature, heart rate, and thermal sensation between and after exercise bouts in hot-humid conditions [1] | Box fan or circulator aimed at bare, damp skin; spray bottle or wet hands | $0–100 | Works best when air can actually hit wet skin; in very humid rooms evaporation is less efficient, but still often more useful than sitting still and sweating into a mat |
| Hand and forearm immersion | Uses high blood flow in the hands and forearms to dump heat during breaks | Good practical support: heat experts cited by BBC Future recommend hand/forearm immersion and rotating wet towels as alternatives to small ice packs [3] | Sink, bowl, bucket, or plastic basin with cool water; ice if available | $0–100 | It is a break-time tool, not a permission slip to push through dangerous symptoms |
| Cold drink or ice slurry | Cools internally and can make repeated hard efforts feel more manageable | Promising but specific: 450 g of -2°C ice slurry during a 15-minute break lowered tympanic temperature and improved repeat-sprint total peak power in a controlled study at 28.8°C and about 50% relative humidity [2] | Cold water, chilled electrolyte drink, or homemade slushy-style drink if your blender/freezer situation allows | $0–100 | The strongest cited ice-slurry result was in trained male athletes doing repeat sprints, not every home workout |
| Wet towels | Adds skin wetting and local conductive cooling, especially when rotated | Useful, low-tech support; discussed as a practical cooling option by heat experts in BBC Future’s reporting [3] | Two small towels: one on skin, one cooling in water or freezer-safe bag | $0–100 | A towel left on you until it turns warm and soggy becomes mostly laundry |
| Hydration plan | Supports sweating and helps prevent avoidable fluid deficits | Foundational support: older ACSM guidance recommends about 500 ml, or about 17 oz, roughly two hours before exercise, fluids cooler than ambient, and carbohydrate/sodium for sessions longer than one hour [5] | Water bottle in reach; cold fluids; sodium/carbohydrate if the session is long enough to justify it | $0–100 | Drinking is not the same thing as active cooling, and overdrinking is its own problem |
| Heat acclimatization | Gradually improves heat tolerance over repeated exposure | System support: KSI describes heat acclimatization over 7–14 days, with higher sweat rate and lower heart-rate and core-temperature responses [6] | Several days of conservative exposure and scaled workouts | $0–100 | It does not rescue a reckless workout today |
| Small ice packs | Cools a small patch of skin | Weak as a primary method: experts note the problem is limited skin coverage [3] | Gel pack wrapped in cloth on neck, chest, or wrists | $0–100 | Nice for comfort; poor as the center of the plan |
| Cooling wearables and specialty packs | Usually provide local cooling or perceived comfort | Variable and often weaker than the marketing implies; cooling garments were less compelling than broader fanning approaches in work discussed by Otani et al. [1] | Vest, neck fan, cooling towel, sleeve, or pack | $100+ | Only earns space if it solves a specific problem your cheaper setup cannot |
That table is the buyer’s version of the answer. If your room is hot and your money is limited, the first purchase is not a clever wearable. It is a fan strong enough to move air across your body, plus a spray bottle you will actually use.
Why wet skin plus moving air beats most apartment “cooling tech”
Sweat cools you when it evaporates. In a small apartment, sweat often just sits there: on your forearms, on a rubber mat, under a shirt, or in the towel you keep stepping over between sets. A fan helps by moving air across the skin. Wetting the skin gives that moving air more water to evaporate.
Otani and colleagues tested fan cooling with skin wetting between exercise bouts and after exercise in hot-humid conditions. In that controlled setting, the approach lowered skin temperature, heart rate, and thermal sensation compared with less active cooling conditions [1]. The exact setup was not a renter’s box fan beside a kettlebell, but the useful part translates cleanly: make the skin wet, then move air across it.
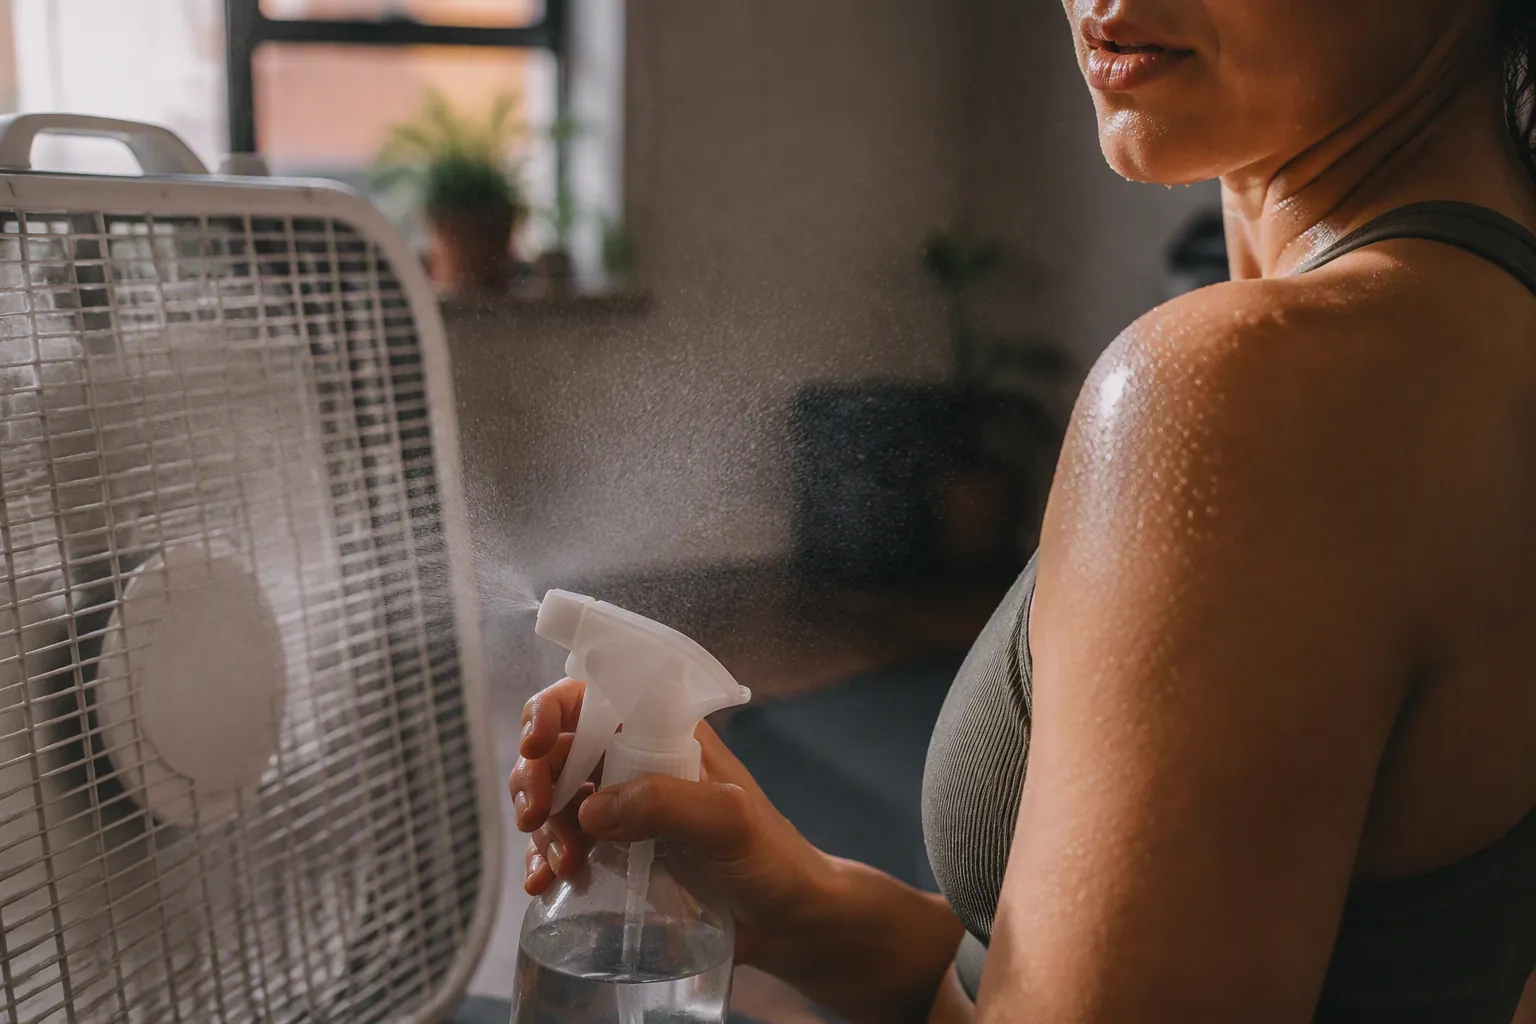
The home version is almost insultingly simple. Put the fan where it hits your torso, arms, and face during rest periods. Expose more skin if you can do that comfortably and safely. Keep a spray bottle within reach. During breaks, mist your arms, shoulders, upper chest, or back of the neck, then stand or sit where the fan can do its work.
This is also where many cooling accessories lose the plot. A small ice pack may feel dramatic because one spot gets cold fast. But cooling one small patch is not the same as helping the body shed heat across a lot of skin. Experts quoted by BBC Future make that same point: small ice packs are limited because they cover too little surface area [3].
For apartment training, the practical difference is obvious after five minutes. A fan and wet skin can work every break. A tiny pack has to be held in place, wrapped so it does not irritate skin, rotated before it warms, and then stored somewhere that is already full of freezer bags and leftovers.
Use breaks as cooling time, not dead time
The biggest change is behavioral. Most people treat rest periods as phone time. In a heatwave workout, rest periods are cooling opportunities. You do not need to turn every set into a ritual, but you do need to make cooling easier than ignoring it.
- Before the session: fill a spray bottle, place a towel near the mat, put a basin or bowl near the fan, and chill your drink.
- Between harder blocks: mist exposed skin, face the fan, sip cold fluid, and use the basin if your hands and forearms are hot.
- After the last set: keep the fan on, keep skin wet, and cool down before you start cleaning equipment or cooking dinner in the same hot room.
This is one reason pre-cooling gets too much attention in home-gym conversations. A cold drink before training or a cold towel before the warm-up can feel good. But if the workout is happening in a hot room, the heat problem is not over when the timer starts. Mid-session and post-session cooling are easier to repeat, easier to adjust, and more relevant to the person who still has three rounds left.
Hand and forearm immersion is the cheap trick that actually makes sense
A plastic basin on the floor looks ridiculous until you use it during a hot interval session. Then it becomes one of the few pieces of “cooling equipment” that justifies its footprint, because it uses body parts that are easy to access during a break.
BBC Future’s heat-exercise reporting highlights hand and forearm immersion as a practical alternative, with expert discussion around blood flow and heat exchange [3]. The home translation is straightforward: between blocks, put your hands and forearms into cool water. You do not need a branded recovery tub for this. A sink, mixing bowl, storage bin, or dishpan can do the useful part.
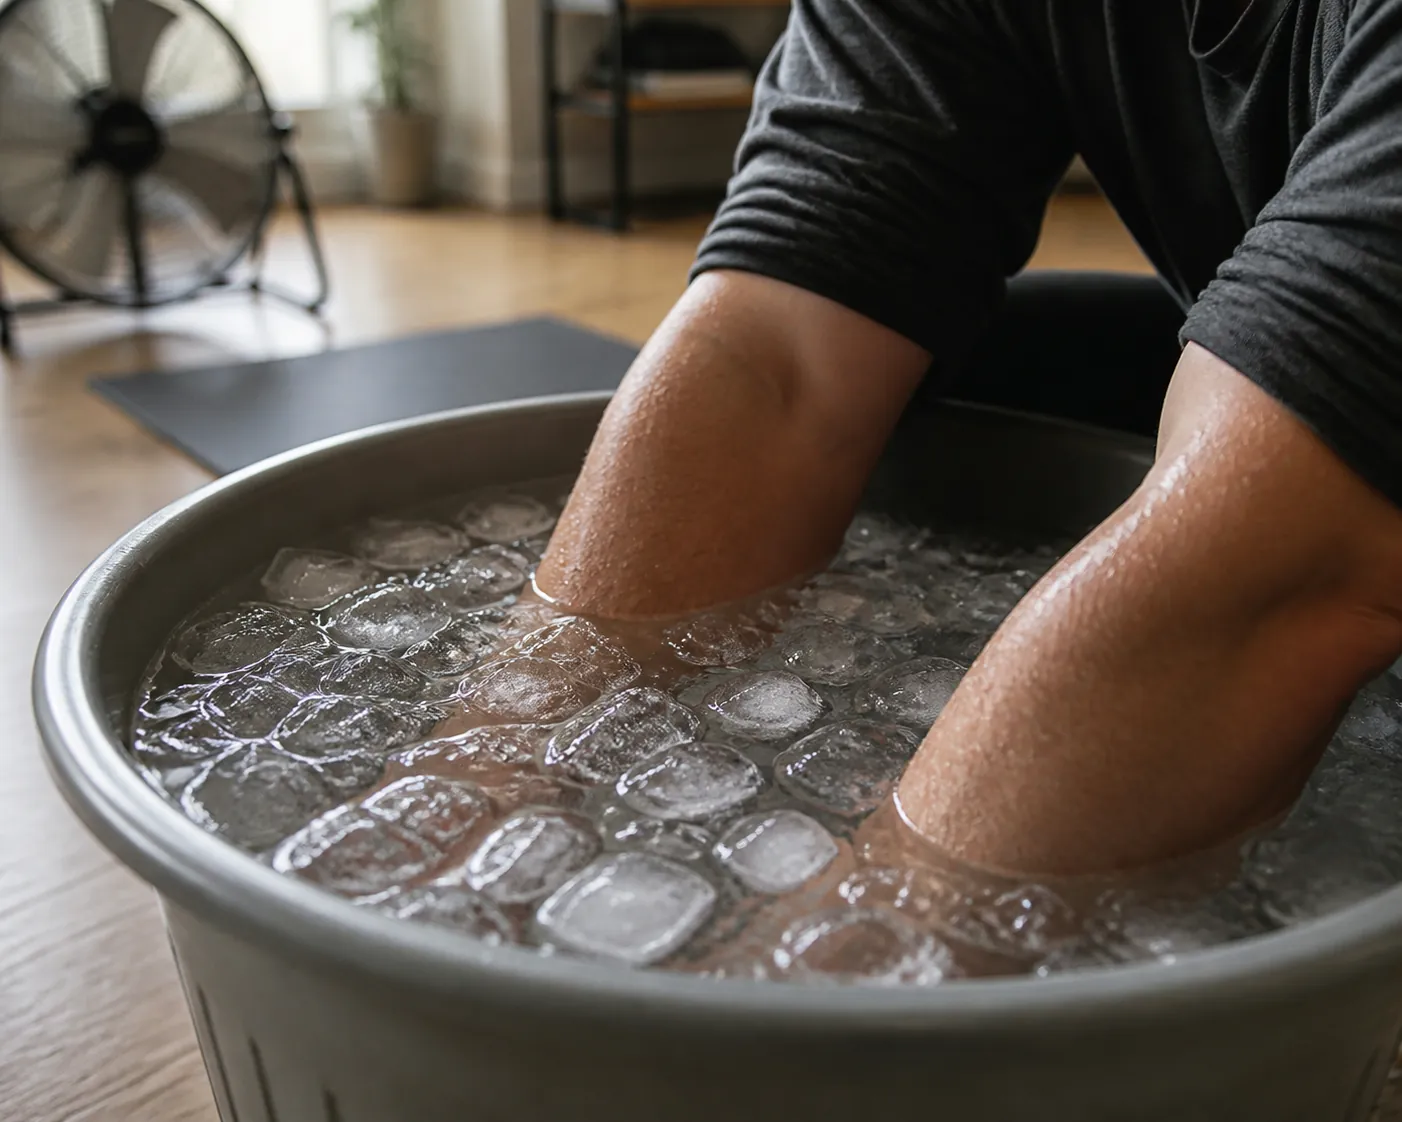
Cool water is usually enough. Ice can help keep the basin cold, but turning it into a pain-tolerance contest is missing the point. If the water is so cold that you yank your arms out immediately, you have made a less usable tool. The goal is a repeatable cooling break, not a stunt.
The renter version has one catch: spillage. Put the basin where you will not kick it during transitions. If you train on a mat, place the basin just off the working area, not in the path between dumbbells and fan. A towel underneath is less photogenic than a recovery-tech station, but it is kinder to floors and downstairs neighbors.
Cold drinks and ice slurry: useful, but do not oversell the lab result
Cold fluids are the most practical internal cooling option because most people already have the gear: a bottle, a fridge, maybe ice. Ice slurry is the more aggressive version. It can work, but the evidence should be read at its actual size.
In Morito and colleagues’ PLOS ONE study, trained male athletes consumed 450 g of -2°C ice slurry during a 15-minute break. In a chamber at 28.8°C and about 50% relative humidity, the ice slurry lowered tympanic temperature and improved total peak power during repeated sprints [2]. That is a concrete finding, and it is relevant if your home session includes repeated hard efforts with real breaks.
It is not proof that every person doing a 25-minute bodyweight circuit will perform better after a homemade slushy. Repeat sprints by trained athletes are not the same thing as a beginner trying not to overheat while doing lunges in a top-floor apartment. The safer takeaway is narrower: cold internal cooling can help, especially around hard work and longer breaks, but it should sit beside fan cooling and skin wetting rather than replace them.
Older ACSM fluid-replacement guidance recommends drinking about 500 ml, or roughly 17 oz, around two hours before exercise, using fluids cooler than ambient temperature at about 15–22°C, and adding 30–60 g per hour of carbohydrate plus 0.5–0.7 g/L sodium for exercise lasting longer than one hour [5]. Because that position stand is older, check exact numbers against newer guidance if you are using them for a formal protocol. For a hot apartment workout, the plain-language version still holds: start reasonably hydrated, keep cool fluid within reach, and do not pretend a tiny sip after the workout can fix an hour of sweating.
Why output drops in hot rooms
Hot rooms do not just feel worse; they can change what you can produce. A Building and Environment review on gym air temperature discusses performance declines in the 30–40°C range and cites work on how heat affects exercise output and comfort [4]. That matters because many home workouts are already compromised by low ceilings, poor airflow, shared walls, and equipment that has to be moved between sets.
Cooling methods are not magic performance enhancers in this context. They are damage control. They help you keep a tolerable session tolerable. If the room is too hot for the workout you planned, the answer is still to cut, modify, or skip the session; the fan does not negotiate with heat illness.
For session-scaling numbers, use How Much Should You Cut Indoor Workouts in Extreme Heat?. For no-jump programming in hot apartments, use No-Jump Apartment Home Workouts During a Heat Dome. This article is only ranking cooling methods; it is not a full go/no-go heat plan.
Budget gear that earns its square footage
The cooling kit should match the way a small apartment actually works: limited outlets, limited storage, shared walls, and a floor you have to mop afterward. If a product cannot beat the basic fan-water-towel setup for your use case, it can wait.
| Budget tier | Buy or use first | What to skip at this tier | Best fit |
|---|---|---|---|
| $0–100 | Box fan or circulator, spray bottle, basin or sink setup for hand/forearm immersion, two towels, cold bottle or insulated cup | Cooling sleeves, novelty ice packs, tiny wearable fans that do not move air across much skin | Most renters, no-AC rooms, small-space strength circuits, low-noise modified conditioning |
| $100–300 | Better air mover, quieter fan, second fan for cross-breeze, larger insulated bottle, freezer-safe containers for slushy drinks | Recovery-branded cooling accessories bought before airflow is solved | People who train often in the same hot room and need less noise or better placement |
| $300–800 | Portable AC or dehumidification only if your lease, window type, noise situation, and power setup make it realistic | Premium cooling wearables as a substitute for room control | Dedicated home-gym corners where climate control changes the whole training environment |
That $0–100 tier is the center of the plan, not the consolation prize. It is also consistent with how small apartment gyms tend to improve: first solve the constraint that affects every workout, then consider nicer gear. If you want the broader build logic, the tiered tour in Tour a Small Apartment Home Gym at $100, $300, and $800 maps the same kind of tradeoff across equipment, storage, and floor space.
The fan choice matters more than the fan branding
A good apartment fan does three jobs: it moves enough air to matter, it can be aimed at the body during breaks, and it does not create a noise problem that makes you stop using it. A cheap box fan can be ugly and effective. A sleek fan that quietly waves air somewhere above your shoulder may be attractive and useless for cooling wet skin.
If you already own a fan, test placement before buying another one. Sit or stand where you actually rest between sets. Mist one forearm. If the fan cannot make that arm feel cooler within a short break, the issue may be angle, distance, blocked airflow, or fan power.
The basin is not glamorous, which is part of the point
You do not need a dedicated recovery bin. Use what fits your room: a dishpan, storage tote, mixing bowl, or sink. The important details are boring: stable base, enough depth for hands and forearms, a towel underneath, and placement outside your movement path.
If setup friction makes you avoid it, downgrade the plan. Use the sink between blocks. Keep a wet towel rotating in cool water. The best cooling method on paper loses to the one you can repeat while breathing hard and trying not to drip across the hallway.
When a cooling gadget might be worth it
There are real use cases for higher-priced gear. A quieter fan can matter if you train early, live above someone, or need to hear a coaching app. A portable AC can change the entire room if your window, lease, power draw, and noise situation allow it. A cooling towel may be useful if you hate spray bottles or need something you can carry between rooms.
The weak purchase is the one that adds a small cold patch while leaving the main heat problem untouched. If your skin is dry, the air is still, and your water bottle is warm, a specialty pack has been promoted into a job it cannot do well.
Where acclimatization fits
Heat acclimatization is useful, but it belongs in the system-support category. The Korey Stringer Institute describes heat acclimatization as a 7–14 day process that can raise sweat rate and lower heart-rate and core-temperature responses [6]. That is not the same thing as a hack you apply five minutes before a hard workout.
For a home exerciser, acclimatization means conservative exposure over days, not proving toughness on the first brutal afternoon of a heat dome. It works best alongside scaled sessions, cooler timing, and active cooling breaks. If you need the no-AC version of that decision tree, use How to Do Indoor Workouts During a Heat Wave With No AC.
A simple cooling flow for a hot apartment session
| Workout moment | Cooling action | Why this is the priority |
|---|---|---|
| Before warm-up | Drink normally, set fan position, fill spray bottle, place basin or towel | Setup has to happen before you are sweaty, rushed, and annoyed |
| During easy sets | Keep fan on you when possible; sip cold fluid as needed | Small cooling inputs are easier to maintain than emergency fixes |
| During hard-set breaks | Mist skin, face the fan, immerse hands/forearms if heat is building | This is where active cooling can interrupt rising thermal strain |
| During longer breaks | Use cold drink or ice slurry if practical; rotate wet towels | Internal cooling and wet-skin cooling can work together |
| Immediately after | Do not shut everything down; stay by the fan, keep skin wet, keep sipping | Post-session heat does not vanish just because the timer ended |
Stop signs still matter. Dizziness, confusion, faintness, hot dry skin, worsening cramps, vomiting, or symptoms that do not improve with cooling are not gear problems. For thresholds and symptom response, use How Hot Is Too Hot to Work Out at Home? and Heat Cramps to Heat Stroke: The Home Workout Symptom Ladder.
For room setup beyond cooling tools — curtains, timing, airflow paths, and equipment placement — use How to Work Out Safely at Home in Heat Dome Weather. Here, the narrower question is which cooling methods deserve attention once you are already managing the session.
The practical verdict
For heatwave home workouts, the most useful cooling kit is still the least impressive-looking one: wet skin plus moving air, hand and forearm immersion during breaks, and cold fluids when they fit the session. Ice slurry is promising for repeated hard efforts, but the best evidence is narrower than the way it often gets talked about. Heat acclimatization helps over days, not on demand.
Small ice packs, cooling sleeves, and specialty wearables can be comfort items. They are not the foundation. If the budget decision is between a better fan and a clever cooling accessory, buy the fan.
References
- Cooling Between Exercise Bouts and Post-exercise With the Fan Cooling Jacket on Thermal Strain in Hot-Humid Environments — Frontiers in Physiology, 2021
- Ice slurry ingestion during break times attenuates the increased tympanic temperature and improves repeated-sprint exercise capacity in the heat — PLOS ONE, 2022
- How to exercise safely in hot weather — BBC Future
- On the gym air temperature supporting exercise and comfort — Building and Environment, 2021
- American College of Sports Medicine position stand. Exercise and fluid replacement — PubMed
- Heat Acclimatization — Korey Stringer Institute, UConn
What a small equipment investment adds
Cable Machine Alternatives That Save Space and Money
Compare the best cable machine alternatives for home gyms – from resistance bands and pulley systems to suspension trainers and compact digital units – and find the right option for your space and budget.
Small Treadmill Buying Guide: 7 Critical Specs to Check Before You Buy
A cross-category spec primer for apartment and small-space dwellers comparing walking pads, ultra-compact folding treadmills, and full-size folding treadmills. Learn the concrete thresholds for motor HP, deck length, noise, warranty, and subscription lock-in so you can compare apples to apples.
How to Practice Basketball at Home Without Noise Complaints
Learn how to run a full basketball workout in a small apartment without noise complaints. This guide covers no-dribble handling drills, wall form shooting, and silent ball options that let you train without disturbing neighbors.
How often should you repeat this?
See our recovery and rest reference for citation-anchored rest-interval guidance.
Spot something off?
Tell us if a movement, tier assumption, or duration didn't match your experience.