
Why Pogačar's $25 Home Workout Brings Pure Joy
Discover the three-move resistance band activation routine Tadej Pogačar uses before every ride, why it costs under $25 and fits in an apartment, and how this simple practice fuels his motivation and joy on the bike.
- Equipment tier required
- $0-100
- Duration
- 6 min
- Difficulty
- beginner
- Target area
- glutes and hips
- Space footprint needed
- 6x6 ft
- Noise level
- low
The useful part of the viral Pogačar warm-up clip is not that the world’s best cyclist owns a resistance band. It is that, before racing and training, he is doing something so small it could happen beside a car, in a hallway, or on the patch of floor between a trainer bike and a couch.
The routine reported by Bicycling, with confirmation and rationale from UAE Team Emirates physiotherapists, is a three-move activation sequence: banded glute bridge, monster walk, and banded split squat. The point is not to turn a pre-ride warm-up into a workout. It is to wake up the hips, glutes, and trunk before the bike starts asking the quads to do everything.[1]
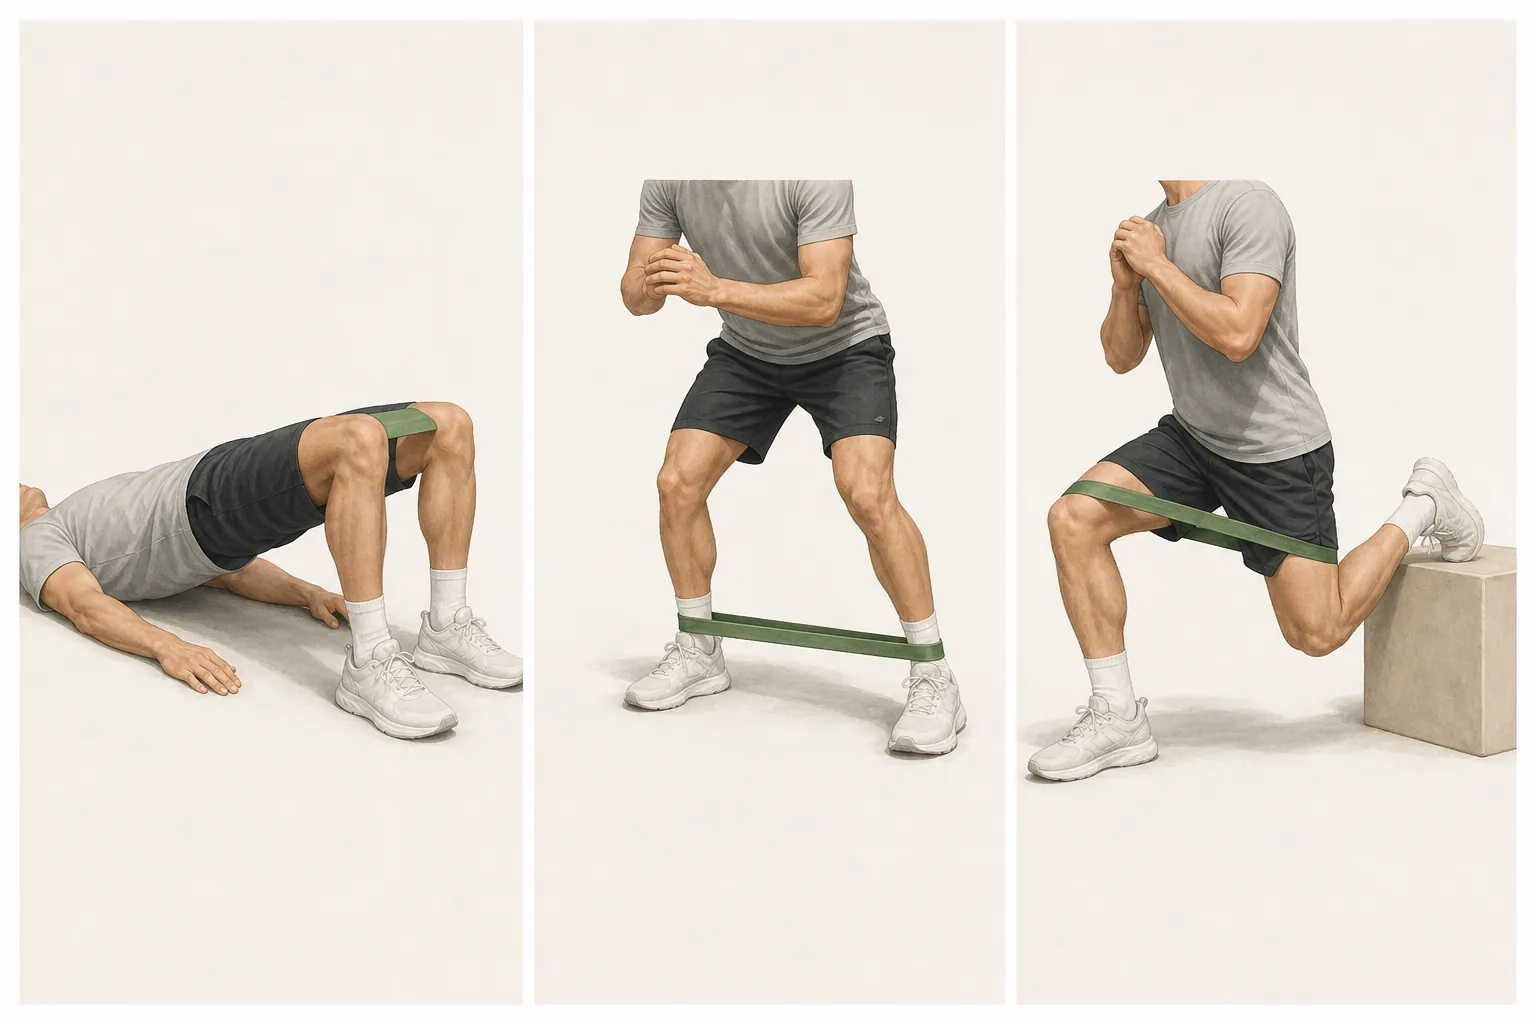
That is what makes it more interesting than another “train like Pogačar” promise. A band set can cost about $8–25, stores in a drawer, and gives enough resistance options for the whole sequence.[2] The working space is roughly 6×6 ft: not a home gym, not a garage bay, not a spare room with rubber flooring. Just enough floor to lie down, take a few lateral steps, and split your stance without kicking the coffee table.
The three-move routine, without the mythology
The sequence is short enough to do before the ride, which is the whole advantage. In apartment terms, think of it as a 5–7 minute ignition routine, not a strength session. Use a light band first. If the band makes your knees collapse inward, your hips twist, or your lower back take over, the band is too strong for activation work.
| Move | Main job | Small-space version |
|---|---|---|
| Banded glute bridge | Turns on the posterior chain, especially the glutes, before pedaling | Lie on your back with the band above the knees; lift the hips without arching the lower back |
| Monster walk | Targets the glute medius and lateral hip stabilizers | Use short side steps or diagonal steps; keep tension in the band without needing a long hallway |
| Banded split squat | Connects single-leg control, hips, and core | Use a shallow range and light band tension; hold a wall or chair if balance is the limiter |
1. Banded glute bridge
Start on your back, knees bent, feet on the floor, band looped above the knees. Press the knees gently outward so the band is not slack, then lift the hips until the body forms a line from shoulders to knees. The cue that matters is not “get high.” It is “feel the glutes do the lifting.”
Cyclists spend a lot of time with the hips flexed and the torso folded toward the bars. The bridge reverses that shape for a moment. It asks the back of the hip to contribute before the ride begins, instead of waiting until the lower back or quads complain that they have been carrying too much of the job.
For a small room, this is the easiest win. You need only the length of your body on the floor. If the bike is already on the trainer, slide a mat or towel beside it. If the band pulls your knees wide enough that your feet roll outward, choose a lighter band and make the movement cleaner.
2. Monster walk
The monster walk looks silly until you feel how quickly it exposes lazy hips. With the band around the legs, take controlled steps while keeping the knees from collapsing inward. Depending on the band and your control, the loop can sit above the knees or lower on the legs; the lower it sits, the more demanding the move usually becomes.
The target here is lateral stability, especially the glute medius. That matters because cycling looks straight-line from the outside, but the rider is constantly managing side-to-side forces: knees tracking over feet, pelvis staying level, torso staying quiet while the legs turn underneath it.
You do not need a driveway. Two or three careful steps to the side, then back, can be enough for a pre-ride activation flow. If you live above someone, make the steps quiet. A good monster walk should not sound like a boot camp class leaking through the ceiling.
3. Banded split squat
The split squat brings the routine closer to the bike because each leg has to work with the pelvis and trunk at the same time. Set one foot forward and one foot back, keep the stance stable, and bend both knees only as far as you can control. The band adds a hip-control demand rather than a bodybuilding challenge.
This is the move most worth scaling down. A pro rider can make band tension and range look casual because his control is already highly trained. For a home cyclist, the better version may be shallow, slow, and assisted with fingertips on a wall. If balance is eating all your attention, the hips are not getting the clean activation you came for.
Keep it pre-ride appropriate. You should finish feeling more available to ride, not as if you have already done leg day.
Why cyclists need this particular kind of warm-up
Cycling rewards repetition, but repetition has a cost. The riding position keeps the hips flexed, the pedals constrain the feet, and the work happens in a narrow path over and over. That is part of what makes the bike efficient. It is also why riders can become quad-dominant and stiff through the hips when they skip the work that keeps the glutes and lateral stabilizers participating.
Cycling media often calls this “dead butt syndrome.” It is a useful shorthand for the feeling many riders recognize: the glutes do not seem to show up, the quads take over early, and the lower back starts acting like a support beam. It should not be treated as a formal diagnosis. In this context, it simply names the practical problem the band routine is trying to solve.
The bridge asks the glutes to extend the hip. The monster walk asks the outer hip to stop the knees and pelvis from drifting around. The split squat asks one leg to produce force while the trunk stays organized. Together, the three moves cover the pieces that indoor riders often neglect because the trainer makes the bike stable and the apartment makes extra movement feel optional.
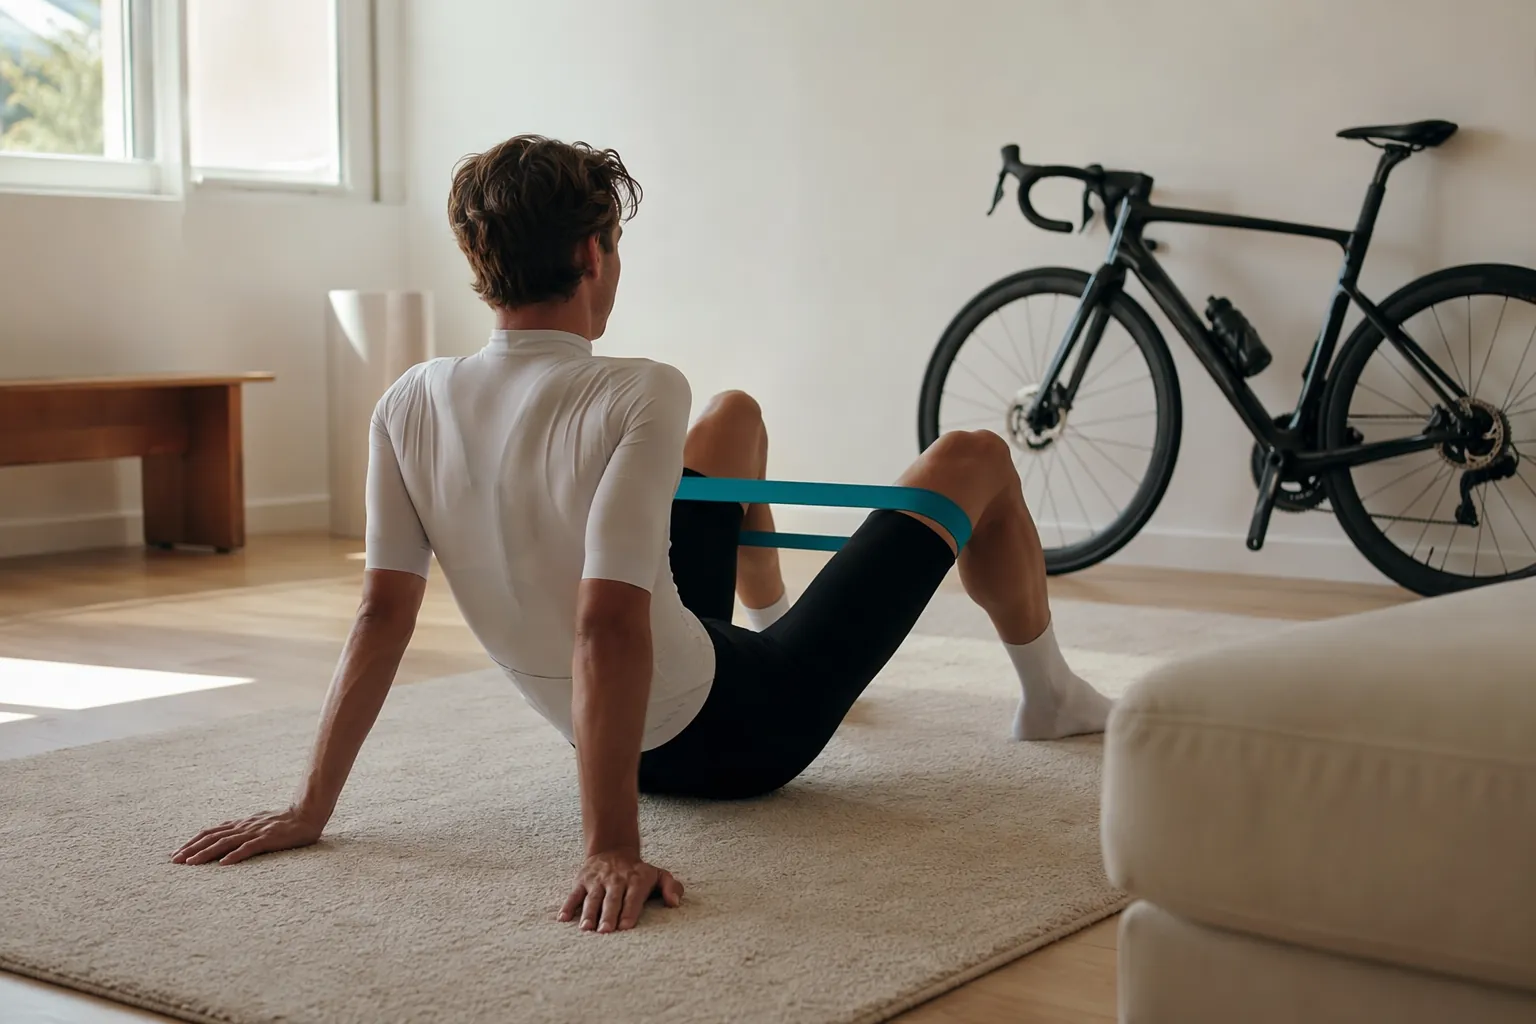
This is also why the routine carries more motivational weight than it first appears to. The hardest part of many home rides is not the final interval. It is the transition from normal life to training life: closing the laptop, changing clothes, moving one chair, finding the fan, deciding whether the warm-up is worth the bother. A band routine that takes minutes and does not require rearranging the room lowers the cost of starting.
What the evidence can—and cannot—say
There is performance support for activation work, but it needs to be kept in its lane. Cycling Weekly cites research in trained cyclists showing that a pre-ride warm-up including activation improved 3 km time trial performance by 2.6–2.8%.[3] That is meaningful in a short effort, where small margins are not cosmetic.
It does not prove that Pogačar’s exact three exercises produce that exact improvement. It is not UAE Team Emirates race data. It is not a direct test of banded glute bridges, monster walks, and banded split squats as a package. The narrower, fairer conclusion is still useful: activation before riding has evidence behind it, and Pogačar’s team uses a simple version that targets cycling-relevant muscles.
The strongest claim here is procedural, not magical. A confirmed elite routine, a plausible cycling mechanism, a low equipment cost, and supporting warm-up research all point in the same direction. None of them turn a resistance band into a shortcut around fitness, skill, sleep, nutrition, or years of training.
The apartment version
For most home cyclists, the best version is deliberately underdramatic. Put one loop band where you can see it: next to the trainer, in your helmet, or in the drawer where your cycling shoes live. If the band has to be found, unwrapped, or dug out from under winter gear, it will lose to friction on tired days.
- Use the lightest band that lets you feel the target muscles without changing your form.
- Run the sequence once before easy rides; repeat only if you still feel stiff and the ride demands it.
- Keep the bridge smooth, the monster walk quiet, and the split squat controlled.
- Stop the warm-up before it becomes fatigue. The bike ride is still the main work.
If you are building a small-space setup from scratch, resistance bands belong near the top of the list because they solve more problems than they create. They are cheap, quiet, portable, and easy to store. For broader small-apartment gear choices, the compact home gym equipment guide for apartments is the natural next stop.
A simple pre-ride flow might look like this: bridge on the floor, stand up into monster walks, then finish with split squats beside a wall or chair. No timer needs to become sacred. The useful test is whether the first minutes on the bike feel less abrupt.
Where the joy actually comes from
The joy in this routine is not the fantasy that a banded bridge makes anyone ride like Pogačar. It is the relief of having a start button. The work is specific enough to feel purposeful, short enough to repeat, and small enough that a renter does not need to negotiate with the room.
That matters for motivation because consistency is often defeated by setup, not ambition. A rider can own the trainer, know the workout, and still skip the first useful thing because it feels like one more task. A band beside the bike changes the opening move from “prepare the workout space” to “do the first bridge.”
For riders who want to pair the activation with actual bike work, the next layer is not more warm-up gear. It is a ride plan that fits the same constraints. A budget indoor time-trial setup can live in a compact footprint too; the indoor cycling training for time trials on a budget routine is a better match for that than another pile of accessories.
Pogačar’s band sequence is not his full strength program, and it will not turn a home cyclist into a Tour contender. Its value is smaller and more usable: a low-cost, low-friction activation ritual that makes the body feel more ready and the ride easier to begin.
References
What a small equipment investment adds
Cable Machine Alternatives That Save Space and Money
Compare the best cable machine alternatives for home gyms – from resistance bands and pulley systems to suspension trainers and compact digital units – and find the right option for your space and budget.
Small Treadmill Buying Guide: 7 Critical Specs to Check Before You Buy
A cross-category spec primer for apartment and small-space dwellers comparing walking pads, ultra-compact folding treadmills, and full-size folding treadmills. Learn the concrete thresholds for motor HP, deck length, noise, warranty, and subscription lock-in so you can compare apples to apples.
How to Practice Basketball at Home Without Noise Complaints
Learn how to run a full basketball workout in a small apartment without noise complaints. This guide covers no-dribble handling drills, wall form shooting, and silent ball options that let you train without disturbing neighbors.
How often should you repeat this?
See our recovery and rest reference for citation-anchored rest-interval guidance.
Spot something off?
Tell us if a movement, tier assumption, or duration didn't match your experience.