
Put the vest on, but do not start by proving anything. For a beginner, the safest weighted vest walking workout starts light, stays short, and progresses in this order: duration first, then incline, then weight. A useful starting point is about 5% of body weight; UCLA Health gives that as a practical entry load, and ISSA’s beginner guidance is even more conservative, suggesting 2–5 pounds, 10–15 minutes, flat terrain, and 2–3 weeks before increasing anything.[1][2]
This 4-week plan is for someone who already walks without pain for about 20–30 minutes, 3–4 times per week, but has never trained in a weighted vest. If walking itself is still new, build that habit first. If you have a back or neck injury, diagnosed arthritis, osteoporosis, balance problems, or you are pregnant, get medical clearance before using the vest; physical therapist guidance from Hinge Health treats weighted vests as a supplement, not a substitute for a broader strength and mobility routine.[5]
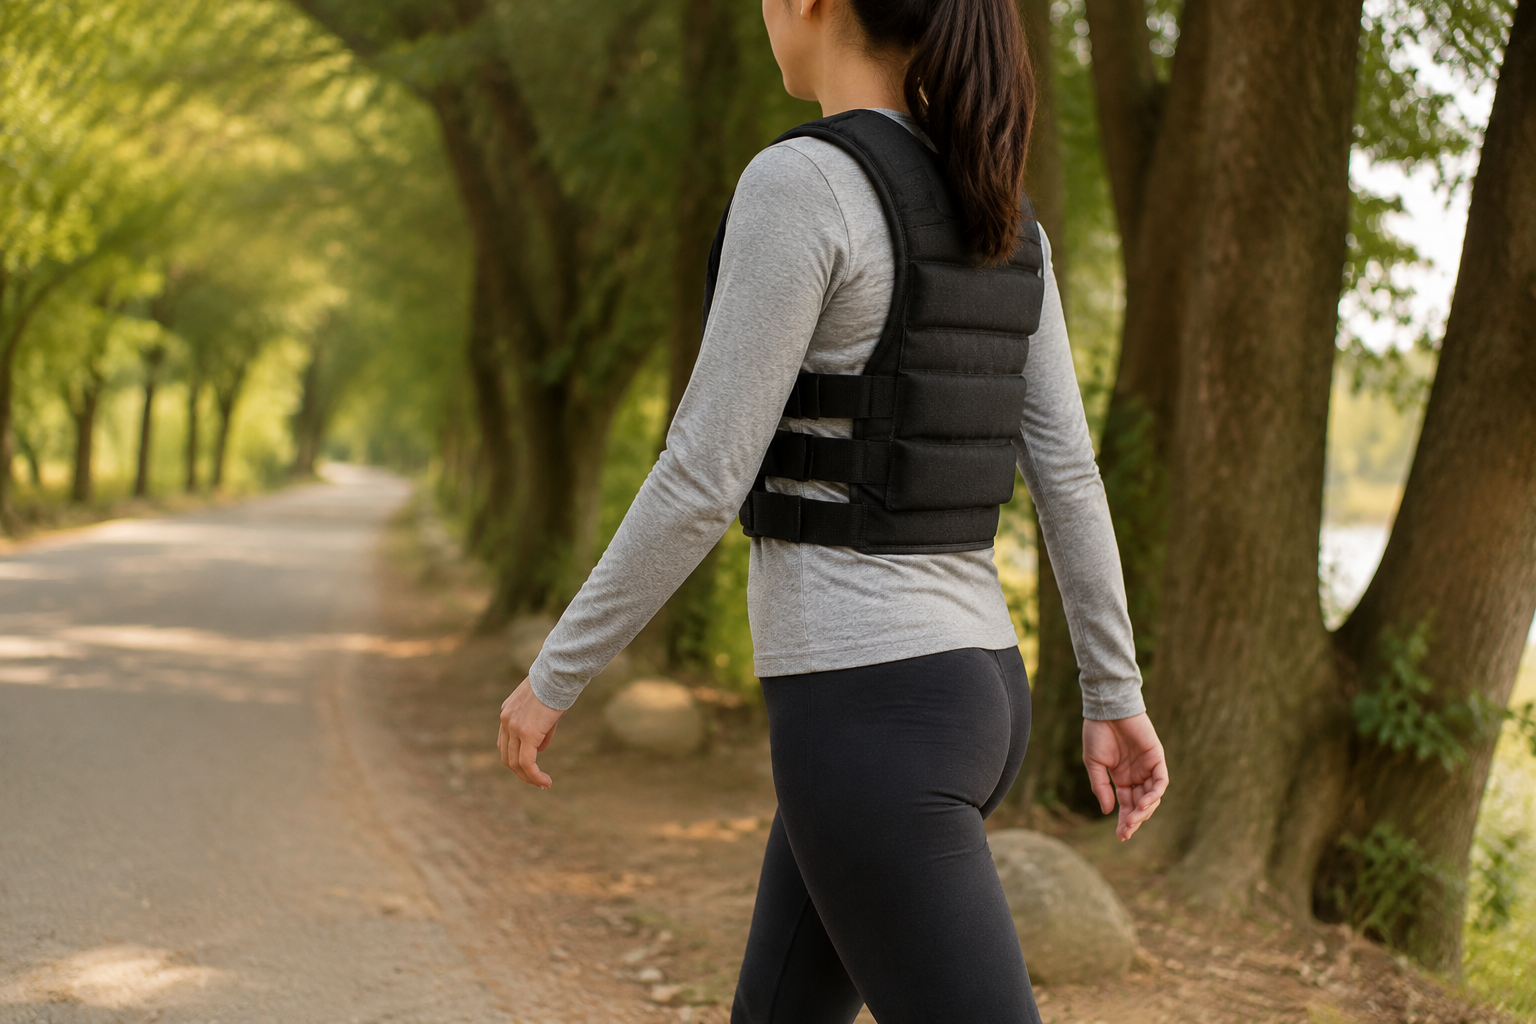
Before Week 1: Set the Vest Up So It Does Not Make Decisions for You
A vest that is too heavy will turn a simple walk into a negotiation with your knees, low back, shoulders, and confidence. Start with roughly 5% of body weight, then round down if your vest does not allow an exact match. For a 150-pound person, that is about 7–8 pounds; if your choices are 5 or 10 pounds, choose 5 for week one.[1]
| Your Body Weight | 5% Starting Load | Beginner Choice |
|---|---|---|
| 120 lb | 6 lb | Use 5–6 lb if available |
| 150 lb | 7.5 lb | Use 5–8 lb if available |
| 180 lb | 9 lb | Use 8–10 lb if available |
| 220 lb | 11 lb | Use 10–11 lb if available |
Before the first outdoor session, wear the vest around the house for several minutes. Lake Country Physio recommends this kind of home trial so you can check the fit, feel how the load sits, and notice rubbing or balance changes before you are halfway around the block.[3]
- The vest should sit snugly without bouncing, pressing into your neck, or pulling your shoulders forward.
- You should be able to breathe normally and swing your arms without shrugging.
- Your first route should be flat, familiar, and easy to shorten.
- An out-and-back route is better than a loop because you can turn around early without adding distance; Lake Country Physio specifically favors this kind of safer route choice for beginners.[3]
Keep your usual walking shoes. Do not add new shoes, a new route, hills, speed intervals, and a weighted vest in the same week. When something feels off, you need to know what caused it.
The 4-Week Weighted Vest Walking Plan
Use this plan inside your normal walking week. The weighted vest sessions are the only walks that need to follow the times below. On other days, walk without the vest if you want more easy movement.
| Week | Vest Load | Sessions | Weighted Time | Terrain | Advance Only If |
|---|---|---|---|---|---|
| 1 | About 5% body weight, or lighter | 2 sessions | 10 minutes | Flat, familiar route | No joint pain, no balance concerns, no next-day soreness that changes your normal walk |
| 2 | Same as week 1 | 2–3 sessions | 10–15 minutes | Flat route | You finish feeling like you could have done a little more, and the next day feels normal |
| 3 | Same load | 3 sessions | 15–20 minutes | Mostly flat; optional gentle incline once | You tolerate the longer time before adding more hill |
| 4 | Same load for most beginners | 3 sessions | 20–25 minutes | Flat or gentle rolling route | You complete all sessions comfortably before considering any weight increase |
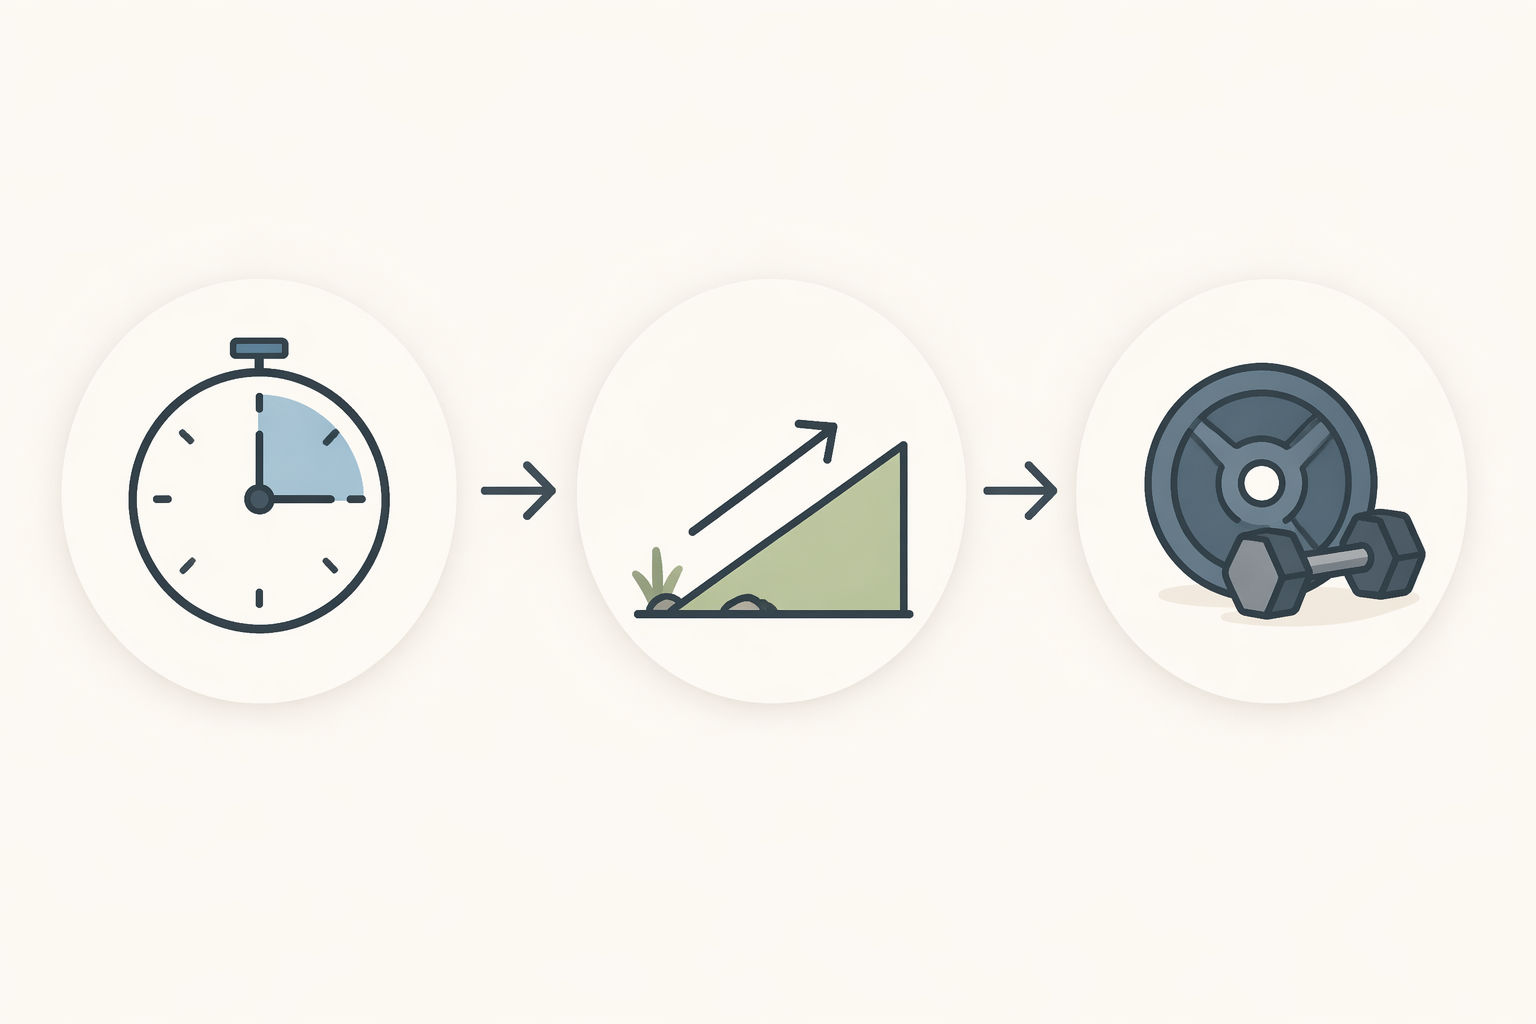
Notice what does not change quickly: the weight. Hyperwear’s weighted-vest walking guidance reinforces the same basic rule used in safer beginner plans: change one variable at a time.[4] In this plan, time earns the first increase. Terrain comes next. Weight waits.
Week 1: Learn the Load
Do two vest walks this week, each 10 minutes long, on flat ground. Keep the rest of your walk unloaded if you want a longer outing: walk 5–10 minutes without the vest, put it on for the planned 10 minutes, then remove it and finish easy. That is often smoother than asking your body to treat the entire walk as a new workout.
Your job in week one is to notice whether the vest changes your posture or stride. If you start leaning back, hunching forward, shortening one step, gripping your hands, or staring at the ground for balance, the load is too much for today. Take it off. The plan still counts if you stopped early for the right reason.
Week 2: Add a Little Time, Not Drama
Stay at the same weight. Walk with the vest 2–3 times, for 10–15 minutes each. If week one felt easy, use 15 minutes. If one walk felt awkward, repeat 10 minutes. ISSA’s beginner guidance keeps early walks in the 10–15 minute range on flat terrain and recommends waiting 2–3 weeks before increasing anything, which is exactly the restraint most beginners need here.[2]
Do not use speed as a hidden progression. Walk at a pace where conversation would still be possible. If your heart rate climbs or your breathing feels noticeably sharper than usual, that is not automatically bad, but it is a sign to keep the route simple and the session short.
Week 3: Extend the Walk Before You Add Hills
Keep the vest at the same load and aim for three sessions of 15–20 minutes. Most of the week should still be flat. If both week two and your first week-three walk feel comfortable, you may include one gentle incline during one session. Think driveway, mild neighborhood slope, or a short gradual path, not a hill workout.
This is the week when many people get impatient because the vest starts to feel familiar. Familiar is not the same as fully adapted. If your calves, hips, knees, low back, or neck complain the next morning, remove the incline and repeat the previous successful session.
Week 4: Make It Repeatable
Do three vest walks of 20–25 minutes. Stay with the same weight unless the first three weeks were completely uneventful. A few gentle rolling sections are fine if you already handled one mild incline in week three. If you are still thinking about the vest the whole time, keep the terrain flat and let the longer duration be enough.
At the end of week four, the best outcome is not exhaustion. It is a boring sentence: “I can do this three times a week and still feel normal the next day.” That is the base you can build from.
How to Progress After the 4 Weeks
After four weeks, use a simple decision rule: increase only one thing, then hold everything else steady for at least a week. The usual order is duration, then incline, then weight. That order gives your joints and balance more time to adapt before the vest gets heavier.
- If 20–25 minutes feels easy, add 5 minutes to one or two sessions.
- If longer flat walks feel easy, add one gentle hill section to one session.
- If duration and mild incline both feel easy for at least a week, consider adding a small amount of weight.
- If anything hurts, go back to the last version that felt comfortable.
A weight increase should be small enough that the walk still looks like your normal walk. If the heavier vest makes you brace your torso, tip forward, shorten your stride, or feel pressure through the neck and shoulders, the number is too high for now.
When to Hold Steady or Stop
The vest should make walking more demanding, not suspicious. Hold steady for another week if a session feels harder than expected, your sleep or recovery is poor, or you notice mild muscle soreness that fades within a day. Stop the session and remove the vest if you feel sharp pain, joint pain, numbness, tingling, dizziness, new balance trouble, chest pain, or pain that changes your gait.
Be especially conservative with neck, back, hip, knee, and foot symptoms. A weighted vest loads the body from the trunk, so discomfort may show up somewhere other than your shoulders. If a symptom repeats, do not troubleshoot by pushing through; return to unloaded walking and ask a clinician for guidance.
What the Vest May Change—and What It Does Not Promise
A vest can make an ordinary walk more intense. That is the honest appeal. Some sources report that weighted walking may raise energy expenditure by roughly 10–15% at moderate loads, and Men’s Health reported 2024 study data showing a 12.4% increase in energy burn at 22% of body weight and 25.7% at 44% of body weight.[6] Those loads are far above this beginner plan, so the numbers are context, not a forecast for week one.
Heart rate can also rise when you add load, but that does not mean a beginner should chase a higher number. The plan works because the vest quietly raises the cost of a walk you already know how to do. Once you start turning every session into a test, the risk-reward balance changes.
Bone density claims deserve the same restraint. UCLA Health notes that while the idea makes sense—extra load could theoretically stimulate bone—the proof that weighted vest walking improves bone density is still lacking.[1] If bone health is your main goal, treat vest walking as one possible addition, not as a replacement for a clinician-approved strength, balance, and impact plan.
Where This Fits in a Beginner Routine
For the first month, two or three vest walks per week are enough. Keep at least one day between them when possible, and let your other walks stay easy. If you want a simple strength routine alongside this plan, use the 4-week beginner home workout plan as a complementary option rather than adding more weight to every walk.
Weighted vest walking is useful because it respects the routine you already have. It is still walking. It still fits into a morning, a lunch break, or the same route you already trust. The difference is that the load needs rules. Start light, keep the first sessions short, progress duration before incline before weight, and let the next week depend on how your body handled this one.
References
- Should you walk with a weighted vest? UCLA Health.
- Beginner Guide to Rucking and Weighted Vest Training ISSA.
- How to Use a Weighted Vest: Safe Training Guide for Beginners Lake Country Physio.
- Weighted Vest for Walking: Benefits, Weight Guide & Best Vests Hyperwear.
- Weighted Vest Benefits: How to Wear One and Tips for Getting Started Hinge Health.
- Weighted Walking Increases Energy Burn Men’s Health, 2024.
Comments
Join the discussion with an anonymous comment.