
How to Recover From a Wrist Injury at Home With Phased Exercises
Learn a safe, evidence-backed phased exercise progression for mild-to-moderate wrist injuries that you can do at home with basic equipment, from mobility to strengthening, guided by pain levels.
Trust check
This pick is scored against a public rubric, not affiliate revenue. Read the methodology, or check the safety & recall status of items in this build.
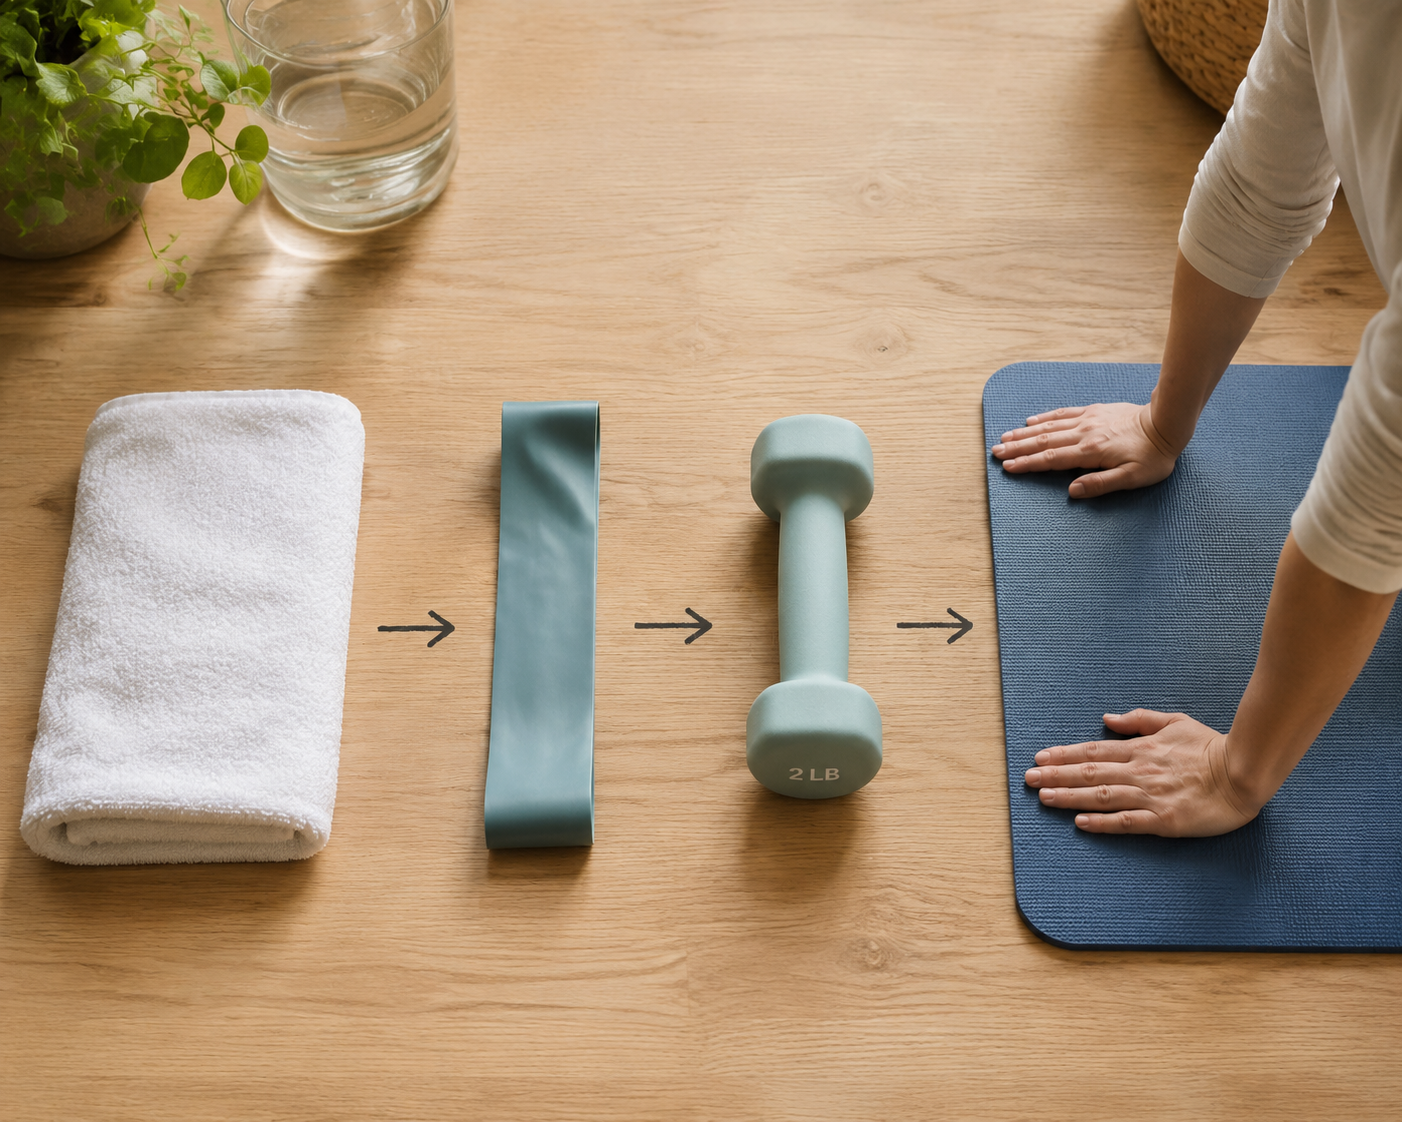
Wrist injury recovery exercises at home are useful only if the wrist is ready for them. This guide is for mild-to-moderate wrist sprains, tendon irritation, and stiffness after immobilization. It is not for a suspected fracture, major trauma, obvious deformity, severe swelling, numbness, worsening symptoms, or wrist pain that has not been diagnosed when symptoms suggest more than a minor injury. If pain or swelling is still hanging around after 7-10 days of home care, pause the home plan and see a clinician.
The main gate is simple: do not start wrist exercises if resting pain is above 3-4 out of 10. Cleveland Clinic uses that threshold as the point where exercising should wait and a clinician should be involved first.[1] Once resting pain is at or below that range, progress by how the wrist responds, not by crossing off a fixed number of days.
First, Decide Whether Today Is a Movement Day
A mild wrist sprain may tolerate pain-free range-of-motion work as early as 24 hours after injury, but that does not mean every sore wrist should be mobilized on day one. Mass General Brigham gives broad recovery ranges by sprain grade: Grade 1 sprains often take 1-3 weeks, Grade 2 sprains 3-6 weeks, and Grade 3 sprains can take months.[2] Those ranges are useful mostly because they warn against treating every wrist injury like the same small inconvenience.
Use this quick screen before each session:
- Resting pain is 3-4/10 or lower.
- Swelling is not increasing compared with yesterday.
- The wrist can move gently without sharp, catching, or electric pain.
- Symptoms settle back to baseline during the session or soon after.
- The next morning is not clearly worse.
Mild discomfort is not automatically a failure. A controlled ache that stays low, does not change your movement pattern, and is gone by the next day is different from pain that rises during each set, makes you guard the wrist, or leaves the joint more swollen later. The first can usually stay in the plan. The second means stop, regress, or get help.
The Home Progression
The order matters more than the equipment. A towel, a soft ball or rolled sock, a resistance band, and a 1-5 lb dumbbell or household object are enough for most early-to-middle home rehab work.
| Phase | Main goal | Home exercise examples | Move on when |
|---|---|---|---|
| 1. Range of motion | Restore comfortable movement | Wrist flexion and extension, side-to-side deviation, circles | Motion is improving and pain stays controlled |
| 2. Stretching | Reduce stiffness at end range | Gentle palm-down and palm-up wrist stretches | Stretch feels mild, not sharp, and does not increase next-day symptoms |
| 3. Isometrics | Load the wrist without visible movement | Towel presses, resisted holds, gentle squeezing | You can create effort without pain rising above the gate |
| 4. Light resistance | Rebuild controlled wrist movement against load | Band flexion, extension, radial deviation, ulnar deviation | You can complete easy sets with steady form |
| 5. Strengthening | Improve grip, wrist capacity, and stability | Light dumbbell curls/extensions, pronation/supination, grip work | Daily tasks and training prep feel predictable |
| 6. Return to weight-bearing | Prepare for push-ups, planks, lifting, and floor work | Wall push-ups, incline push-ups, quadruped rocking, modified planks | The wrist tolerates partial body weight without flare-ups |
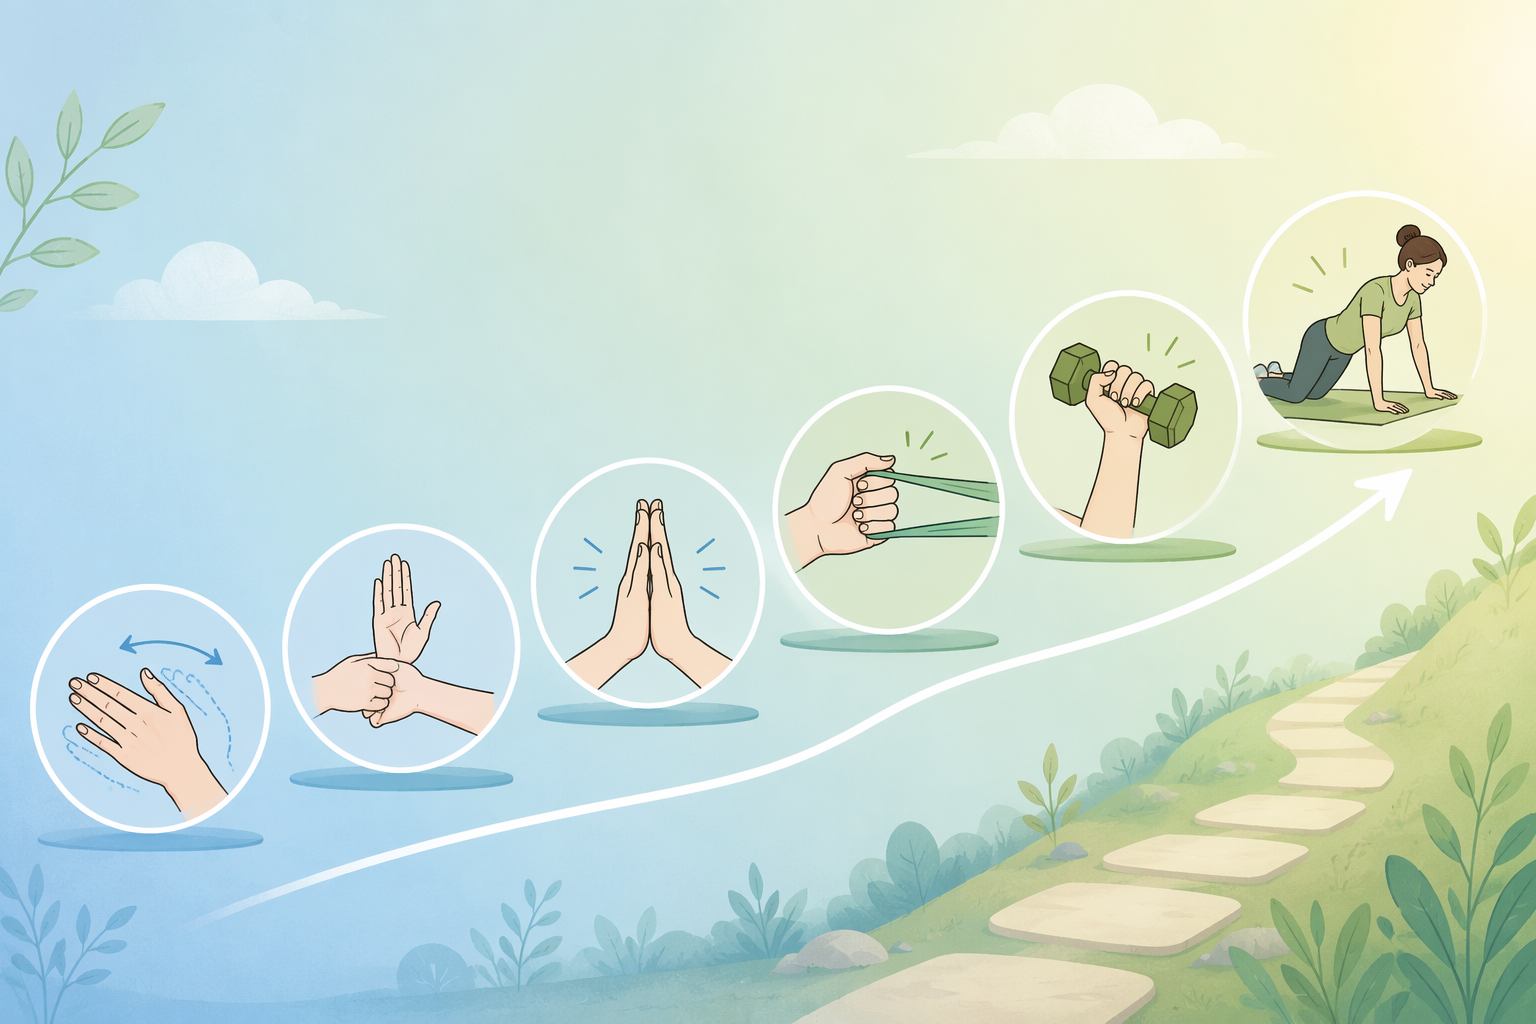
Phase 1: Range of Motion Before Stretching
Start with motion you can control. Sit with your forearm supported on a table or your thigh, hand hanging just past the edge. Move the wrist up and down slowly, then side to side. Add small circles only if they feel smooth. Keep the movement easy enough that you are not bracing your shoulder or curling your fingers into a fist to protect the wrist.
Normal wrist range of motion is often listed around 0-85 degrees of flexion, 0-75 degrees of extension, 0-20 degrees of radial deviation, and 0-40 degrees of ulnar deviation, with the practical goal being close comparison to the uninjured side.[3] At home, you do not need to chase a number with a protractor. You are looking for a steady return toward your own normal without swelling or pain climbing afterward.
A reasonable starting dose is 5-10 slow reps in each direction, one to three times per day. More is not automatically better. If the wrist feels looser after the set and the next morning is unchanged or better, the dose is probably appropriate. If it throbs afterward, reduce the range, reduce the reps, or take a rest day.
What Counts as Enough Motion?
For early recovery, enough motion means you can move through a comfortable arc repeatedly without sharp pain and without swelling increasing later. For later recovery, enough motion means the injured side is close enough to the other side that normal tasks are not forcing compensation. If the uninjured wrist can extend comfortably for a tabletop position but the injured side barely reaches neutral, push-ups are not the next project yet.
Phase 2: Add Gentle Stretching When Motion Is No Longer Irritated
Stretching belongs after basic motion has calmed down. It should feel like a mild pull, not a test of pain tolerance.
- Wrist extensor stretch: Hold the arm in front of you with the elbow straight or slightly bent. Turn the palm down. Use the other hand to gently bend the wrist so the fingers point toward the floor. Hold 10-20 seconds.
- Wrist flexor stretch: Hold the arm out with the palm facing up. Use the other hand to gently draw the fingers back toward the floor. Hold 10-20 seconds.
- Prayer-style extension stretch: Bring palms together near the chest and lower the hands slightly until you feel a gentle stretch at the front of the wrist. Skip this if it compresses the painful area.
Do one to three rounds. The stretch should fade when you stop. If it lingers as joint pain, pinching, or a hot ache, return to range of motion only for a few sessions.
Phase 3: Isometrics, the Bridge Between Rest and Loading
Isometrics let you ask the wrist muscles to work without moving through a painful range. This is often the first phase that makes recovery feel active without jumping straight to bands or dumbbells.
- Towel press down: Place the forearm on a table, palm down, with a folded towel under the hand. Gently press the hand into the towel as if starting a wrist extension or flexion effort, but do not let the wrist move. Hold 5 seconds.
- Side press: Put the hand beside a table leg, wall edge, or your other hand. Press gently to the thumb side, then to the pinky side, holding each direction without movement.
- Gentle squeeze: Hold a soft ball, rolled sock, or towel. Squeeze to a mild-to-moderate effort, hold 3-5 seconds, then relax fully.
Start with 5 reps per direction. The effort should feel controlled, around easy to moderate, and should not push pain past the 3-4/10 ceiling. If squeezing is the only thing that irritates the wrist, keep the directional presses and postpone grip work. Tendons and irritated joints do not always vote the same way.
Phase 4: Light Resistance With Bands or a Very Light Weight
Move to light resistance when range of motion and isometrics are boring in the best way: predictable, low pain, no next-day flare. A thin resistance band is helpful because it lets you start with less load than most dumbbells. If you do not have one, a light water bottle or soup can may work, but only if you can keep the movement smooth.
- Banded wrist extension: Anchor the band under your foot or opposite hand. Rest the forearm on a table, palm down, and lift the back of the hand toward you. Lower slowly.
- Banded wrist flexion: Turn the palm up and curl the palm toward the forearm against light band tension. Lower slowly.
- Radial and ulnar deviation: Hold a light dumbbell, hammer, or bottle with the thumb side up. Move the wrist slightly toward the thumb side and pinky side through a small controlled range.
- Pronation and supination: Hold a light object like a hammer close to the head of the handle. Rotate the forearm palm-up to palm-down slowly, keeping the elbow supported.
Use one or two exercises at first, not the whole menu. Try 1-2 sets of 8-12 reps, every other day. The wrist should feel worked, not provoked. If your form changes to avoid a painful angle, the load is too heavy or the range is too large.
Phase 5: Strengthening Grip and Wrist Stability
Strengthening has a real role, but it is not a shortcut around the earlier phases. In a 2024 randomized controlled trial of 31 people with chronic wrist pain, a program combining grip-strengthening exercises with wrist stability training for 20 minutes per day, twice weekly, over 4 weeks reduced visual analog scale pain from 4.23 to 1.87 and increased grip strength from 27.01 kg to 35.40 kg.[4] That is encouraging, especially for the idea that grip and stability belong together. It is still a small, single-site, short-duration study in chronic wrist pain, not proof that the same plan fixes every fresh sprain.
At home, the practical version is to pair one grip drill with one wrist control drill:
- Grip drill: Squeeze a towel, soft ball, or gripper at a moderate effort for 5 seconds, then relax for 5 seconds. Do 8-10 reps.
- Wrist control drill: Hold a light dumbbell or bottle and perform slow wrist extension or flexion for 8-12 reps.
- Stability drill: Hold the wrist neutral while the other hand lightly taps the band, dumbbell, or forearm from different directions. The job is to resist wobbling, not to lock the whole arm.
- Carry drill: Hold a light grocery bag, dumbbell, or water jug at your side for a short carry while keeping the wrist neutral.
Increase one variable at a time: more reps, slightly more resistance, longer holds, or more demanding wrist positions. Do not increase all four in the same week. A wrist that tolerates a 2 lb dumbbell in a supported position is not automatically ready for planks, push-ups, or heavy kettlebell carries.
Phase 6: Return to Weight-Bearing Without Surprising the Wrist
Weight-bearing is where many home plans get too casual. Push-ups, yoga positions, burpees, crawling drills, and getting up from the floor can load the wrist in extension with body weight behind it. That is a different demand from holding a light dumbbell.
Work from least to most demanding:
- Wall lean: Stand facing a wall, place both hands on it, and gently shift body weight forward and back. Keep the wrist angle comfortable.
- Wall push-up: Use a short range at first. Stop before the wrist feels compressed or sharp.
- Counter or bench incline push-up: Move to a lower surface only when the wall version is quiet during and after.
- Quadruped rocking: On hands and knees, rock slightly forward and back. Use a folded towel under the heel of the hand if full extension is too much.
- Modified floor push-up or plank: Keep the range small, consider handles or dumbbells to keep the wrist more neutral, and treat the first few sessions as tests.
A good return-to-loading session feels almost underwhelming. The wrist accepts the position, your shoulders and trunk do not have to twist around it, and symptoms are not louder the next morning. If floor work causes a flare, go back to incline work and continue strength training rather than forcing the exact exercise you miss.
How to Adjust the Plan When Symptoms Talk Back
The most useful home rehab skill is not knowing 20 exercises. It is knowing which dial to turn down.
| What happens | What to change |
|---|---|
| Pain rises above 3-4/10 during the session | Stop that exercise; return to the previous phase or reduce range and effort |
| Wrist feels fine during exercise but worse that night | Cut volume next time and avoid adding new exercises that week |
| Morning stiffness improves after gentle movement | Keep range-of-motion work and delay heavier loading until it is consistent |
| Swelling increases | Pause strengthening and get medical guidance if it does not settle |
| Grip work irritates symptoms but wrist motion is fine | Keep motion and light wrist control; reintroduce squeezing later at lower effort |
| Weight-bearing hurts but dumbbell work is tolerated | Stay with supported strengthening and use wall or incline loading only |
The calendar still gives context. A Grade 1 sprain may reasonably move through the early phases faster than a Grade 2 sprain, and a Grade 3 sprain belongs in clinician-directed care, not a home checklist.[2] Tendon irritation can also be stubborn: it may tolerate controlled strengthening before it tolerates repeated typing, gripping, or floor pressure for long stretches. Let the wrist prove readiness in the activity that matters, not only in the exercise that looks neat on paper.
A Simple Weekly Shape
For an early-stage wrist, daily gentle motion may be enough. Once you are in isometrics and strengthening, alternate loading days with easier mobility days. A small-apartment version can look like this:
| Day type | Session |
|---|---|
| Mobility day | Range of motion in each direction, then one or two gentle stretches |
| Light loading day | Range of motion, isometric presses, gentle squeeze work |
| Strength day | Range of motion, one band or dumbbell drill, one grip drill, one stability drill |
| Return-to-loading day | Range of motion, incline or wall weight-bearing practice, easy strengthening if symptoms stay quiet |
You do not need all four day types every week. Match the week to the phase you are actually in. Early on, most days are mobility days. Later, strength days become the center, and return-to-loading work appears in small doses.
When Home Exercise Is No Longer the Responsible Choice
Stop self-managing and seek care if you suspect a fracture, had a fall or impact with severe pain, cannot use the hand normally, notice deformity, numbness, spreading bruising, or worsening swelling, or if symptoms do not improve after 7-10 days of careful home care. Also get help if the wrist repeatedly fails the same phase even after you reduce load, range, and frequency.
For the right kind of wrist problem, home recovery can be structured and inexpensive: restore motion, add gentle stretch, build isometric tolerance, move into light resistance, strengthen grip and stability, then return to weight-bearing gradually. The plan is useful because each phase earns the next one.
References
- Wrist Pain Exercises, Cleveland Clinic, https://health.clevelandclinic.org/wrist-pain-exercises
- Wrist Sprain, Mass General Brigham, https://massgeneralbrigham.org/.../wrist-sprain
- Wrist Pain Rehab, E3 Rehab, https://e3rehab.com/wrist-pain-rehab/
- Effects of Grip Strengthening Exercises and Wrist Stability Training on Pain, Function, and Grip Strength in Patients with Chronic Wrist Pain, Medicina, 2024, https://pmc.ncbi.nlm.nih.gov/articles/PMC11278657/
Routines this build supports

12-Week At-Home Bodyweight Workout Plan (No Equipment Needed)
This 12-week bodyweight workout plan provides a progressive structure for beginners to build strength at home without any equipment. Each phase includes clear level-up gates so you know exactly when to advance to harder exercises.

12-Week Postpartum Exercise Plan for Core Recovery & Skin Firmness
This 12-week postpartum exercise routine guides you through a phased progression from pelvic floor reconnection to resistance training, designed to rebuild the muscle beneath loose belly skin while setting realistic expectations about what exercise can achieve.

Why 20-Minute Home Workouts Work for Beginners
A 20-minute home workout for beginners can deliver real fitness gains—when structured for intensity. This article explains the science behind short workouts and provides a complete follow-along routine.
Build Muscle with This 3-Day Dumbbell-Only Full-Body Plan
A complete 3-day full-body dumbbell workout plan with exercise selection, weight guidance, and a double-progression system that helps home gym beginners and intermediates build muscle without needing heavier dumbbells every week.
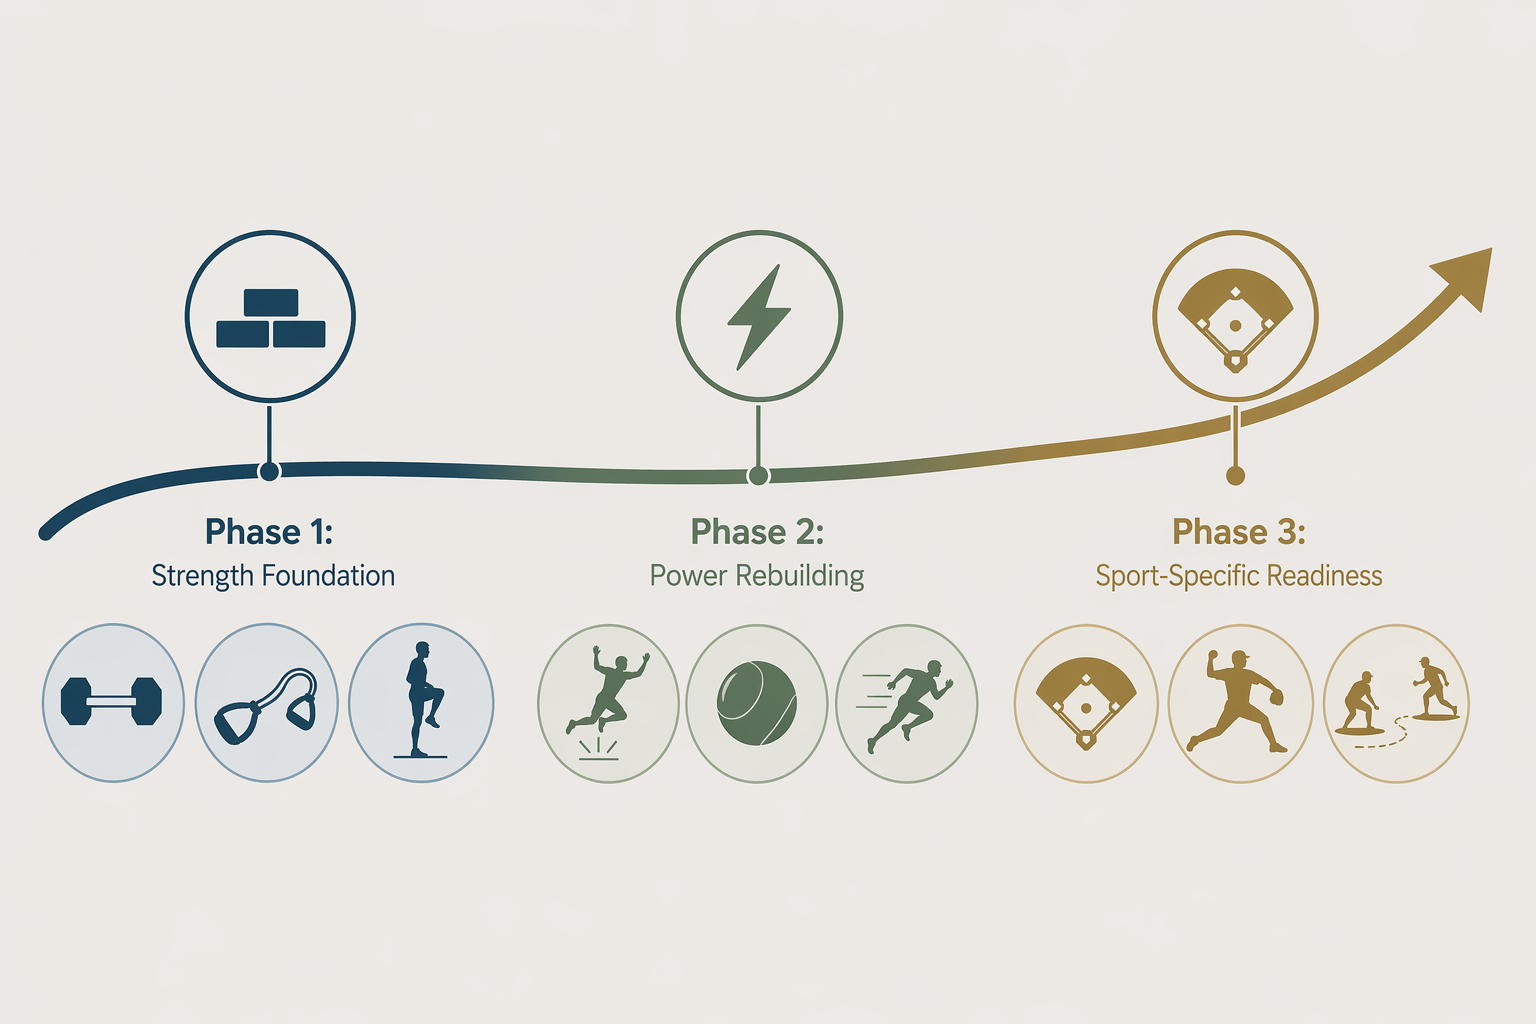
A 3-Phase Routine for Your Baseball Injury Comeback
Most baseball players leave physical therapy cleared to move but not ready to play. This 3-phase training routine bridges the gap from post-rehab to game readiness with progressively loaded strength, power, and sport-specific drills you can do at home with minimal equipment.
Your First 30 Days with a Workout App: A Week-by-Week Roadmap for Beginners
A week-by-week guide for absolute beginners using a workout app for the first time, covering the typical physical and psychological changes across the first month and how to choose the right session structure and app to build a lasting habit.
Spotted a stale price or an item that's no longer available? Say so below — this is our correction channel, not just a discussion thread.
Comments
Join the discussion with an anonymous comment.