
Cycling Injury Recovery Exercises You Can Do at Home
Recover from common cycling overuse injuries like knee pain, lower back tightness, and IT band discomfort with a set of bodyweight exercises that require nothing but a floor mat. Learn which exercises target each injury zone and why they work for cyclists.
Trust check
This pick is scored against a public rubric, not affiliate revenue. Read the methodology, or check the safety & recall status of items in this build.
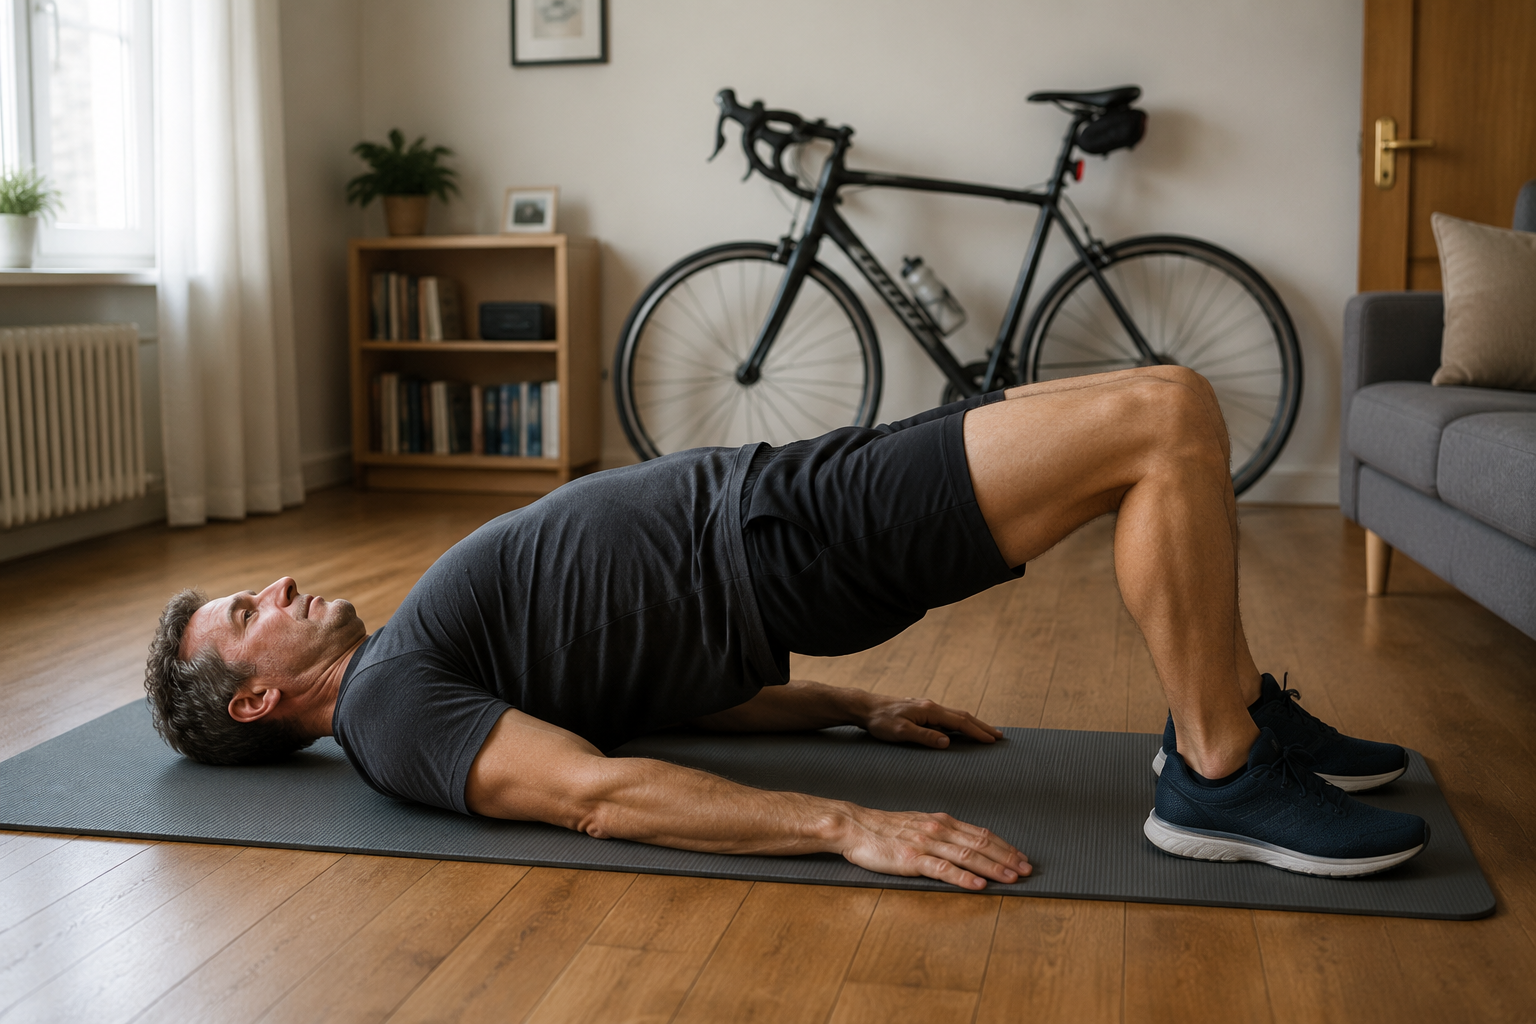
Cycling injury recovery exercises at home should start with a boundary, not a pep talk: this guide is general education, not a diagnosis or a substitute for a physical therapy evaluation. Stop any movement that makes pain sharper, spreading, or worse afterward. Do not try to self-treat persistent pain, swelling, numbness, traumatic injury, locking, instability, or symptoms that make you suspect a tendon, meniscus, nerve, or other specific pathology.
That said, soreness after cycling is not a character flaw. A large U.S. emergency-department review found that upper and lower extremities accounted for 47% of bicycle-related injury visits from 2017 through 2021, and knee pain is common enough that one report on professional cyclists cited 23% reporting it in a study of 116 riders.[1][2] This article stays in the safer lane: common overuse patterns from repeated riding posture, not crash injuries or formal rehab protocols.
The repeated pattern is simple. Hours on a bike keep the hips flexed, the spine rounded or braced, the head reaching forward, and the legs repeating the same path thousands of times. Hip flexors get cranky and shortened. Glutes may stop doing their share. The core is asked to hold position long after it is tired. Then the knee, low back, neck, or foot announces the problem first, even when the source is farther up the chain.
| If the sore area is... | Start with... | What it is trying to change |
|---|---|---|
| Knee or IT band area | Glute bridge, clamshell, single-leg deadlift, wall-sit | Hip control, glute strength, knee tracking, tolerance to load |
| Hip or lower back | Side plank with hip abduction, bird-dog, cat-cow, 90/90 hip stretch | Glute medius strength, trunk endurance, hip mobility |
| Neck or shoulders | Chin tucks, tucked-elbow push-ups, chest opening | Forward-head posture, shoulder support, chest tightness |
| Foot or ankle | Calf raises, ankle circles | Calf capacity, ankle motion, lower-leg circulation |
The Knee Zone: Start Above the Knee
Knee pain in cyclists is not one thing. Patellofemoral pain, patellar tendinopathy, iliotibial band friction, meniscus irritation, and referred pain can feel similar to a non-clinician. That is why the first home move is not to name the injury. It is to reduce the most common mechanical demand: a knee trying to track well while the hip and trunk are underprepared.
Physiotherapy sources consistently point cyclists back to hip flexor tightness, glute strength, and single-leg control when discussing knee and lower-back complaints.[3] The IT band deserves one correction here: it is tough connective tissue, not a rope you can simply stretch longer. Work around the band can calm the muscles that attach nearby, but the better long-term target is usually hip control, not yanking at the outside of the thigh.[3]
Glute Bridge
Lie on your back with knees bent, feet flat, and arms relaxed on the floor. Set the feet about hip-width apart. Press through the heels, squeeze the glutes, and lift the hips until the body forms a straight line from shoulders to knees. Lower slowly instead of dropping.
For cyclists, the glute bridge is not filler. It reminds the hips to extend after a ride spent in flexion, and it gives the glutes a low-threat way to work before the knee has to handle deeper bending. Use 2 to 3 sets of 10 to 15 reps, staying below pain and avoiding a hard arch through the lower back. Bodyweight glute bridges are repeatedly recommended in cyclist-focused physiotherapy and recovery exercise sets.[3][5][6]
Clamshell
Lie on one side with knees bent and feet stacked. Keep the pelvis quiet, then open the top knee like a hinge without rolling the whole body backward. Pause briefly, lower with control, and stop the set when the movement starts coming from the low back instead of the side of the hip.
The clamshell is a small movement, but it is useful when the outside hip needs a gentle entry point. Aim for 2 sets of 10 to 15 reps per side. If the side of the hip burns and the knee itself stays calm, that is usually the right neighborhood.
Bodyweight Single-Leg Deadlift
Stand near a wall or chair back only for balance if needed, but do not lean on it. Soften one knee, hinge at the hips, and let the opposite leg drift behind you as your torso tips forward. Keep the pelvis level enough that both hip points would face the floor. Return by pressing the standing foot into the ground and squeezing the glute.
This is the knee section’s reality check. Cycling happens one leg at a time, and a knee that looks fine in a two-leg squat can wobble when the hip has to control rotation alone. Start with 2 sets of 6 to 8 slow reps per side. The movement is commonly used in cyclist strengthening guidance, and [P]rehab discusses the single-leg Romanian deadlift in the context of posterior-chain strength and hamstring-related symptoms.[4]
Wall-Sit
Slide your back down a wall until the knees are bent to a comfortable angle. It does not need to be a deep 90-degree hold. Keep the knees pointing roughly over the middle toes and hold steady breathing. Start with 2 or 3 holds of 20 to 30 seconds, then build toward 45 seconds if symptoms stay calm.
The wall-sit gives the quadriceps load without the up-and-down repetition that can irritate a sensitive knee. If it causes front-of-knee pain that sharpens as the hold continues, come out early and treat that as information, not as a test to pass. For a fuller knee-only progression, use FitAtHome’s phased knee injury recovery exercises at home.
The Hip and Lower-Back Zone: Open the Hips, Then Make the Trunk Useful
Lower-back tightness after cycling often feels like a back problem, and sometimes it is. But for many riders, the back is the place that complains after the hips have spent too long folded and the glutes have contributed too little. Propel Physiotherapy and other cycling-focused rehab sources describe hip flexor tightness from sustained seated posture as a contributor to both low-back discomfort and knee tracking issues in cyclists.[3][5][6]
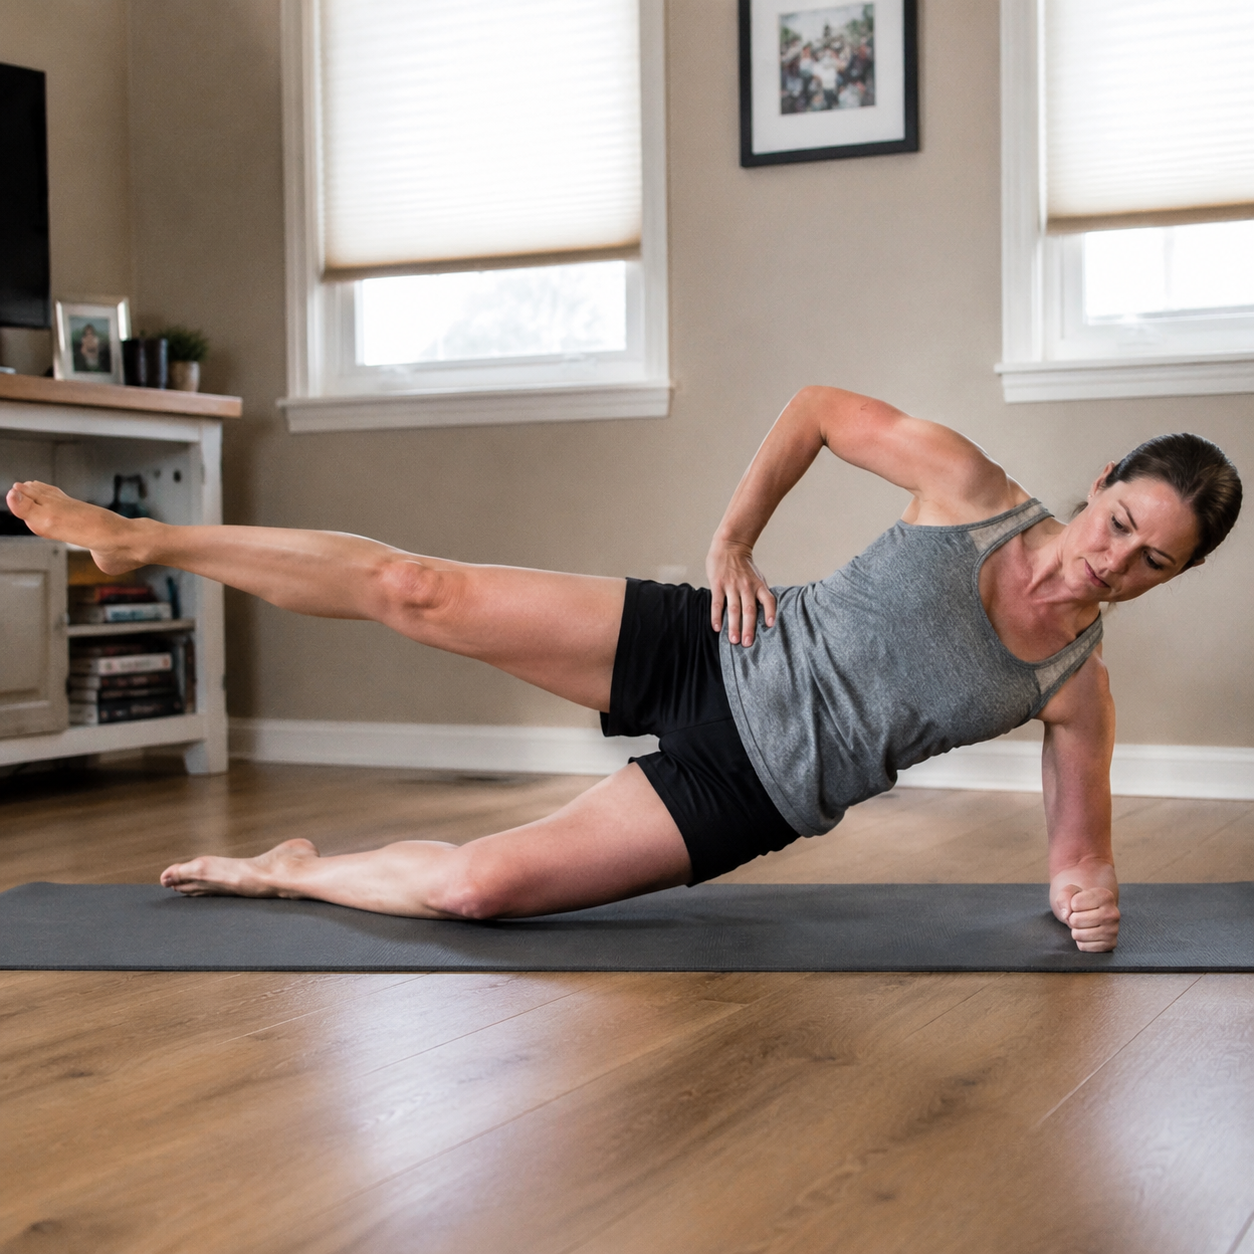
Side Plank With Hip Abduction
Set up on one forearm with the elbow under the shoulder. Bend the bottom knee if the full version is too much. Lift the hips, make a straight line through the ribs and pelvis, then raise the top leg a few inches without turning the toes up toward the ceiling. Hold the body still while the top leg moves.
This one earns its floor space. [P]rehab cites Distefano et al. 2009 in noting that side plank with hip abduction produced higher gluteus medius activation than clamshell variations.[4] The gluteus medius helps keep the pelvis from dropping and the knee from drifting inward when one leg is doing the work. Start with 2 holds of 15 to 25 seconds per side, or 6 to 8 controlled top-leg lifts if holds are too demanding. Build toward 30 to 45 seconds only if your form stays quiet.
Bird-Dog
Begin on hands and knees. Brace gently as if preparing for a cough. Reach one arm forward and the opposite leg back, then pause without letting the low back sag or the pelvis twist. Bring them back underneath you and switch sides.
Bird-dogs train the trunk to resist movement while the limbs move, which is closer to what the torso does on a bike than a dramatic crunch routine. Use 2 to 3 sets of 6 to 10 slow reps per side. If the movement feels easy, slow it down before adding more reps.
Cat-Cow
From hands and knees, round the spine upward, then slowly let the chest and tailbone move the other way. Keep it gentle. This is not a flexibility contest; it is a way to reintroduce motion after the back has held one cycling shape for too long.
Do 6 to 10 slow cycles before the strengthening work or after a ride. If extension pinches the low back, reduce the range and keep the movement smaller.
90/90 Hip Stretch
Sit on the floor with one leg bent in front of you and the other bent to the side or slightly behind, both knees roughly at right angles. Stay tall first. If that is comfortable, hinge slightly forward over the front thigh. Hold 20 to 30 seconds, then switch sides.
A small apartment is enough for this. You are not trying to force the hip open; you are giving it a position that cycling rarely provides. If sitting upright already feels like the stretch, stay there.
The Neck and Shoulder Zone: Undo the Reach
Cyclist’s neck usually has a simple visual: hands forward, chest closed, shoulder blades tired, chin poking ahead so the eyes can still see the road or screen. Propel Physiotherapy recommends chin tucks to strengthen the deep neck flexors that counter forward-head posture in cyclists.[3]
Chin Tucks
Lie on your back or stand against a wall. Keep the eyes level and slide the head straight back, as if making a double chin. Do not look down. Hold 3 to 5 seconds, then relax. Try 2 sets of 8 to 10 reps.
Tucked-Elbow Push-Up
Use the floor, a wall, or a countertop depending on strength and symptoms. Keep elbows closer to the ribs rather than flared wide. Lower only as far as the shoulders feel controlled, then press away and let the shoulder blades glide around the rib cage.
Start with 2 sets of 5 to 8 reps. The goal is not a hard chest workout; it is to restore pushing strength and shoulder-blade control after long rides spent propped on the bars.
Chest Opening Without a Studio Setup
Use a doorway if you have one free: place a forearm on the frame and gently turn the chest away until you feel a stretch across the front of the shoulder or chest. If a doorway is awkward, lie on your side, bend the top knee for support, and open the top arm toward the floor behind you like a book. Hold 20 to 30 seconds per side.
The Foot and Ankle Zone: Keep the Lower Leg Honest
Feet and ankles can be overlooked because the bike controls so much of their path. Stiff ankles and underprepared calves still matter, especially when a rider returns to walking, stairs, or standing after a long session.
Calf Raises
Stand with feet hip-width apart and lightly touch a wall for balance if needed. Rise onto the balls of the feet, pause, and lower slowly. Start double-leg with 2 sets of 10 to 15 reps. If both sides feel even and symptom-free, progress later to single-leg sets of 6 to 10 reps per side.
Ankle Circles
Sit or lie down, lift one foot, and draw slow circles from the ankle rather than the whole leg. Do 8 to 10 circles each direction per side. This is a small reset for motion and awareness, useful before calf raises or after a ride.
How to Put the Exercises Together
You do not need to do every exercise every day. Pick the zone that matches the problem you are trying to calm, then include one hip or trunk movement even if the pain is elsewhere. That is the point of this kind of home recovery work: the sore body part may be downstream from the body part that needs capacity.
| Session type | Use this when... | Example |
|---|---|---|
| Knee-focused, 10 to 15 minutes | The knee or outside thigh is the main complaint | Glute bridge, clamshell, wall-sit, gentle calf raises |
| Back-and-hip-focused, 10 to 15 minutes | The low back feels tight after rides or sitting | Cat-cow, 90/90 hip stretch, bird-dog, side plank variation |
| Neck-and-shoulder reset, 5 to 8 minutes | The upper body feels locked after riding | Chin tucks, tucked-elbow wall push-ups, chest opening |
| Light full-chain day, 12 to 18 minutes | Symptoms are mild and you want maintenance | Glute bridge, bird-dog, side plank, calf raises, chin tucks |
A reasonable starting rhythm is 3 short sessions per week, with at least a day between harder holds if the area is sensitive. Cycling Weekly’s injury-prevention guidance, drawing on chartered physiotherapist Sam Mak, frames cyclist strength and mobility work as something that can fit into a limited weekly dose rather than a second sport.[5] That is the right scale for most recreational riders trying to recover at home.
During a flare, keep the first session almost too easy: one set per movement, no sharp pain, no next-day punishment. If the body responds well for a week, add a second set. If it responds badly, reduce range, reduce holds, or stop and get assessed. A home routine should make daily movement feel more available, not turn the living room into a place where you negotiate with pain.
If riding itself needs a temporary change, look at lower-irritation cardio options in The Complete Guide to Cardio at Home, or compare indoor-bike setups with Which Type of Exercise Bike Is Right for You? if bike fit and training control are part of the problem. If you later decide to add a band or foam roller, use the Best Home Exercise Equipment buying guide rather than buying around frustration.
The modest promise is enough: a short, consistent, no-equipment routine can address common cycling-related imbalances at home. It can make hips, glutes, trunk, neck, and lower legs better prepared for the position cycling asks them to hold. It cannot confirm which injury you have, and it should not delay care when symptoms persist.
References
- A Five-Year Overview of Bicycle Injuries in the United States Between the Years 2017 and 2021, Cureus, 2024.
- 7 Knee Strengthening Exercises, Bicycling.
- Exercises to Prevent the Most Common Cycling Injuries, Propel Physiotherapy.
- 5 Must Do Strengthening Exercises For Cyclists, [P]rehab.
- Injury free in one hour per week, Cycling Weekly.
- 6 Common Cycling Injuries and What You Can Do to Recover, Summit Physical Therapy.
Routines this build supports
12-Week At-Home Bodyweight Workout Plan (No Equipment Needed)
This 12-week bodyweight workout plan provides a progressive structure for beginners to build strength at home without any equipment. Each phase includes clear level-up gates so you know exactly when to advance to harder exercises.
12-Week Postpartum Exercise Plan for Core Recovery & Skin Firmness
This 12-week postpartum exercise routine guides you through a phased progression from pelvic floor reconnection to resistance training, designed to rebuild the muscle beneath loose belly skin while setting realistic expectations about what exercise can achieve.
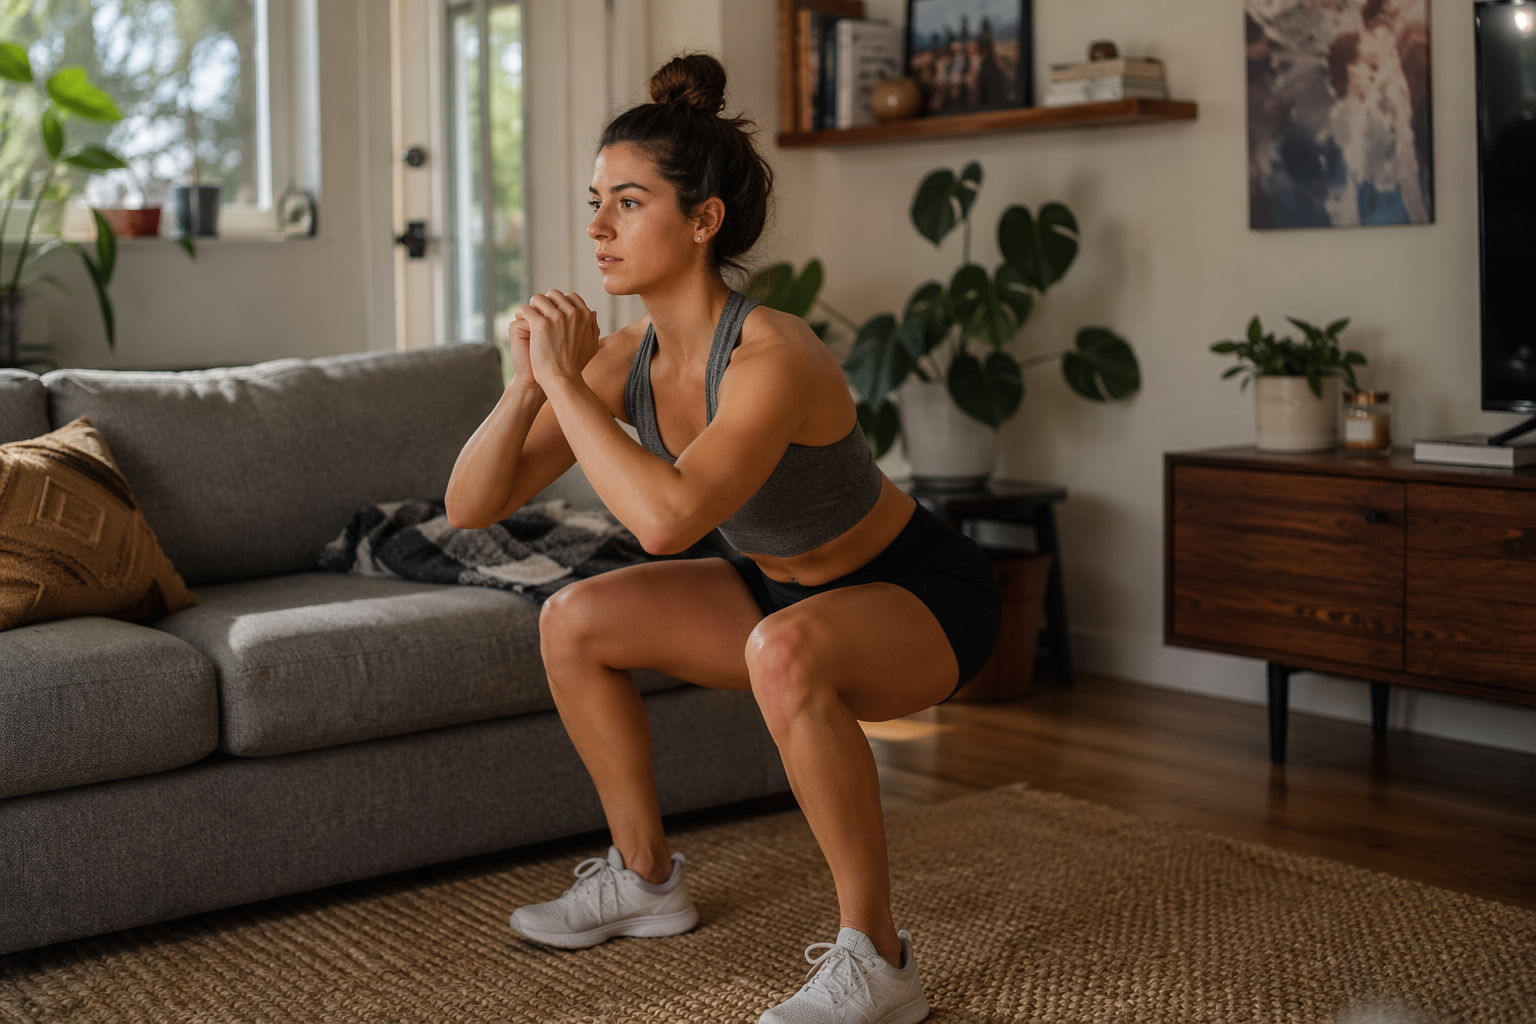
Why 20-Minute Home Workouts Work for Beginners
A 20-minute home workout for beginners can deliver real fitness gains—when structured for intensity. This article explains the science behind short workouts and provides a complete follow-along routine.
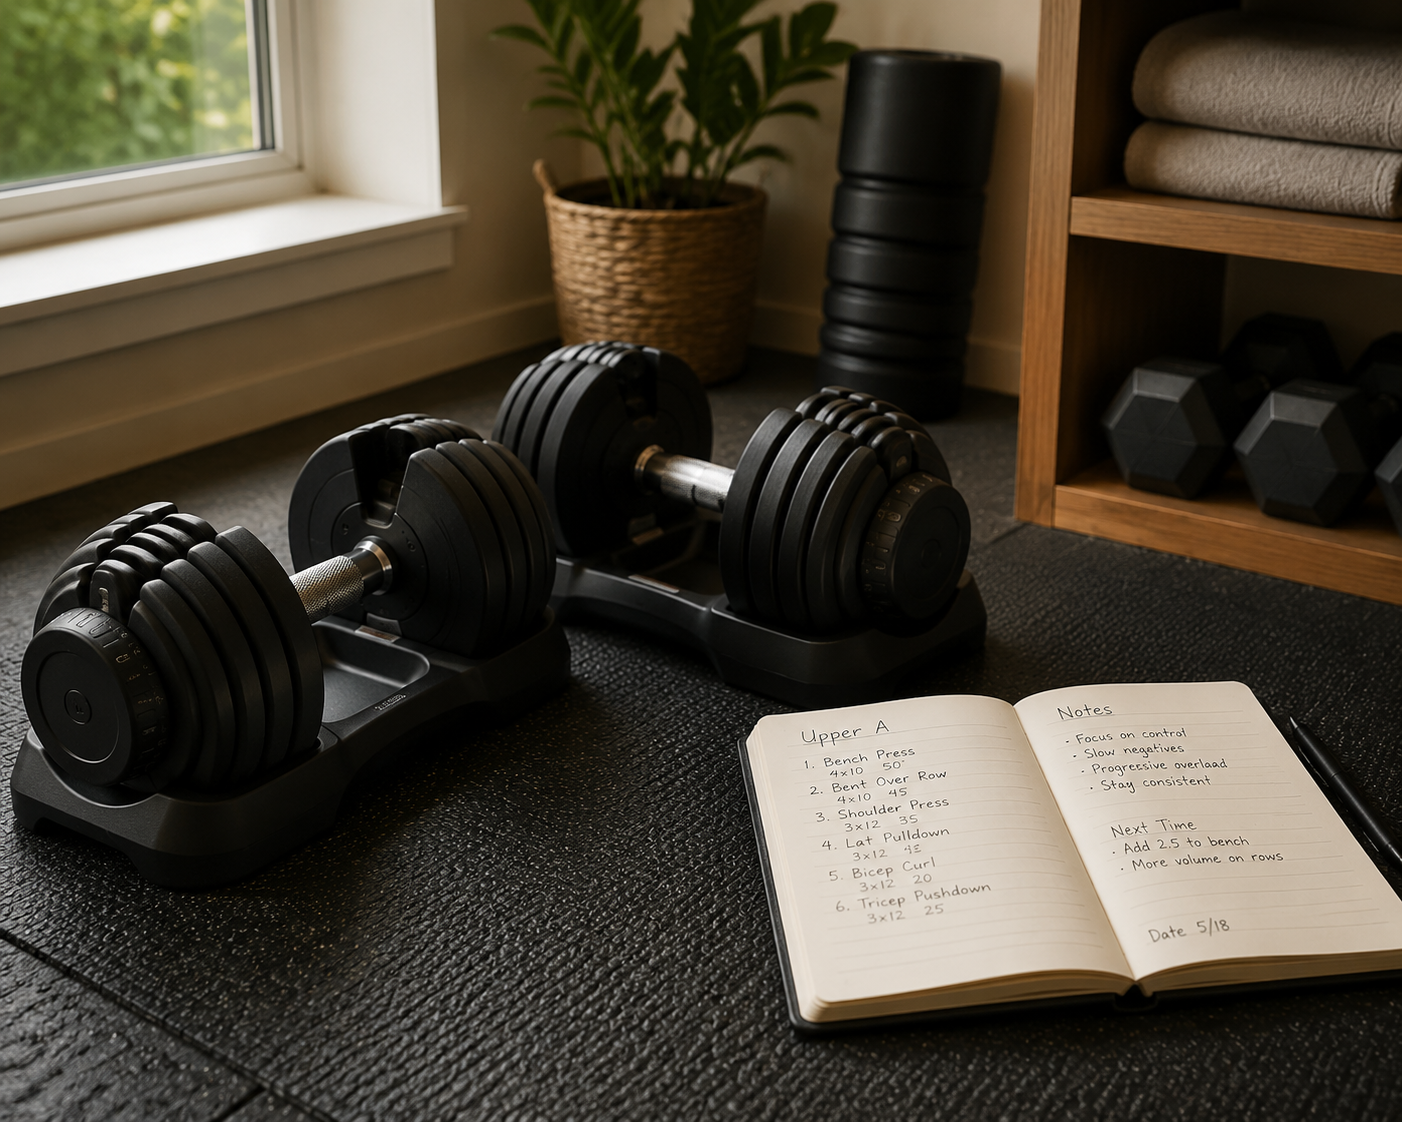
Build Muscle with This 3-Day Dumbbell-Only Full-Body Plan
A complete 3-day full-body dumbbell workout plan with exercise selection, weight guidance, and a double-progression system that helps home gym beginners and intermediates build muscle without needing heavier dumbbells every week.
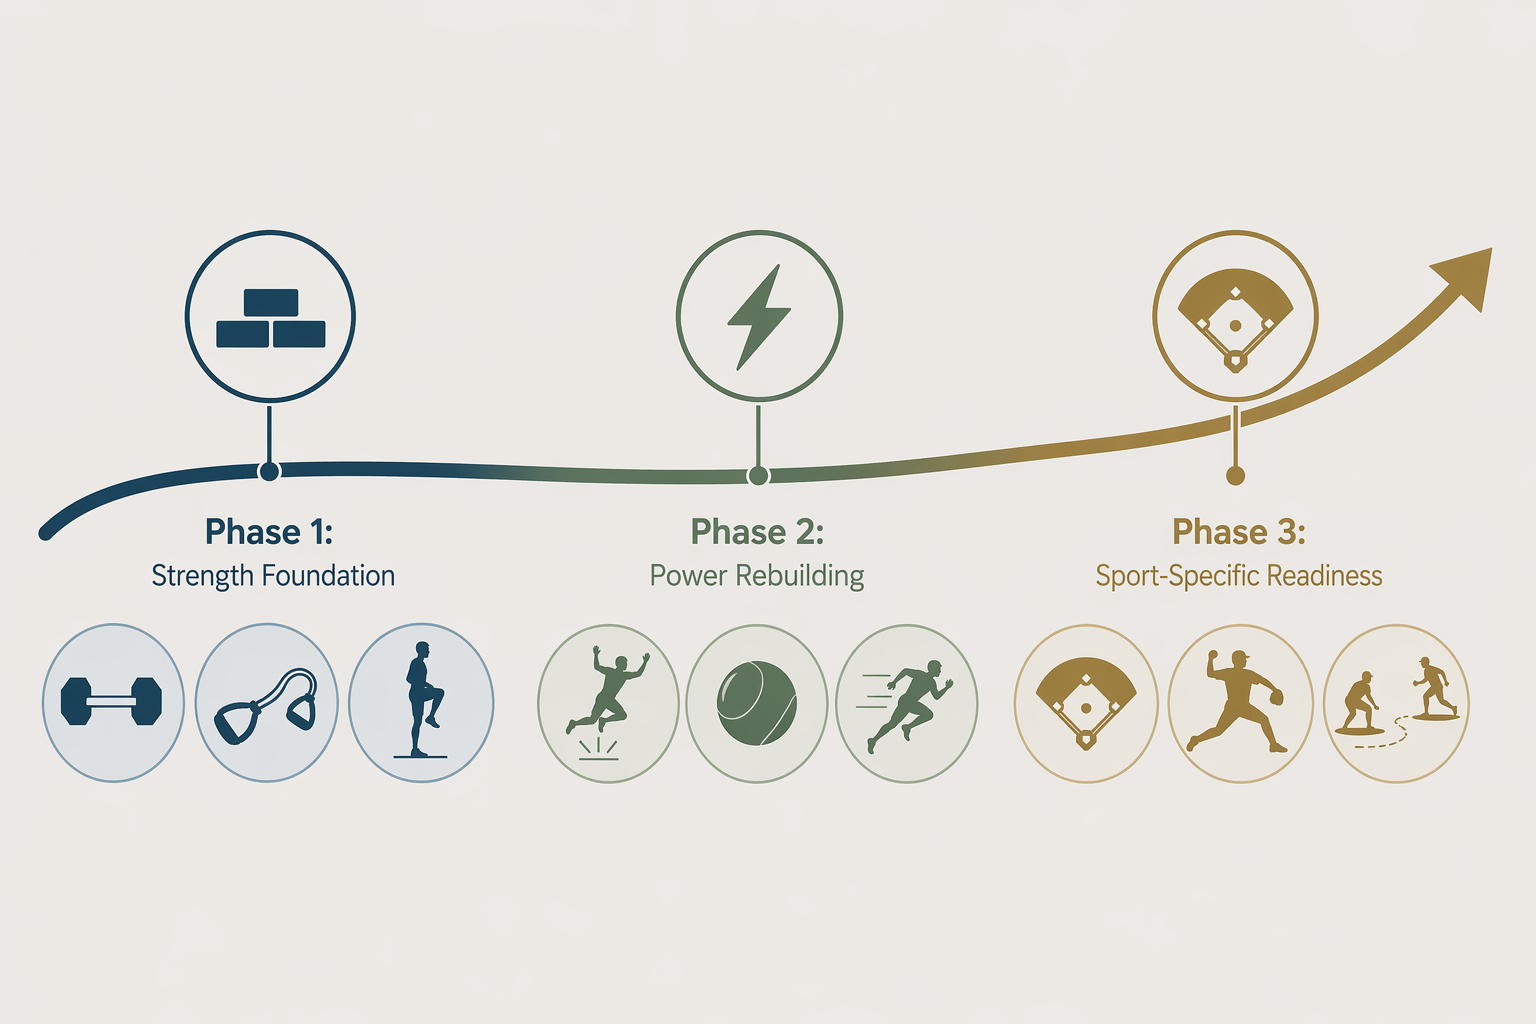
A 3-Phase Routine for Your Baseball Injury Comeback
Most baseball players leave physical therapy cleared to move but not ready to play. This 3-phase training routine bridges the gap from post-rehab to game readiness with progressively loaded strength, power, and sport-specific drills you can do at home with minimal equipment.
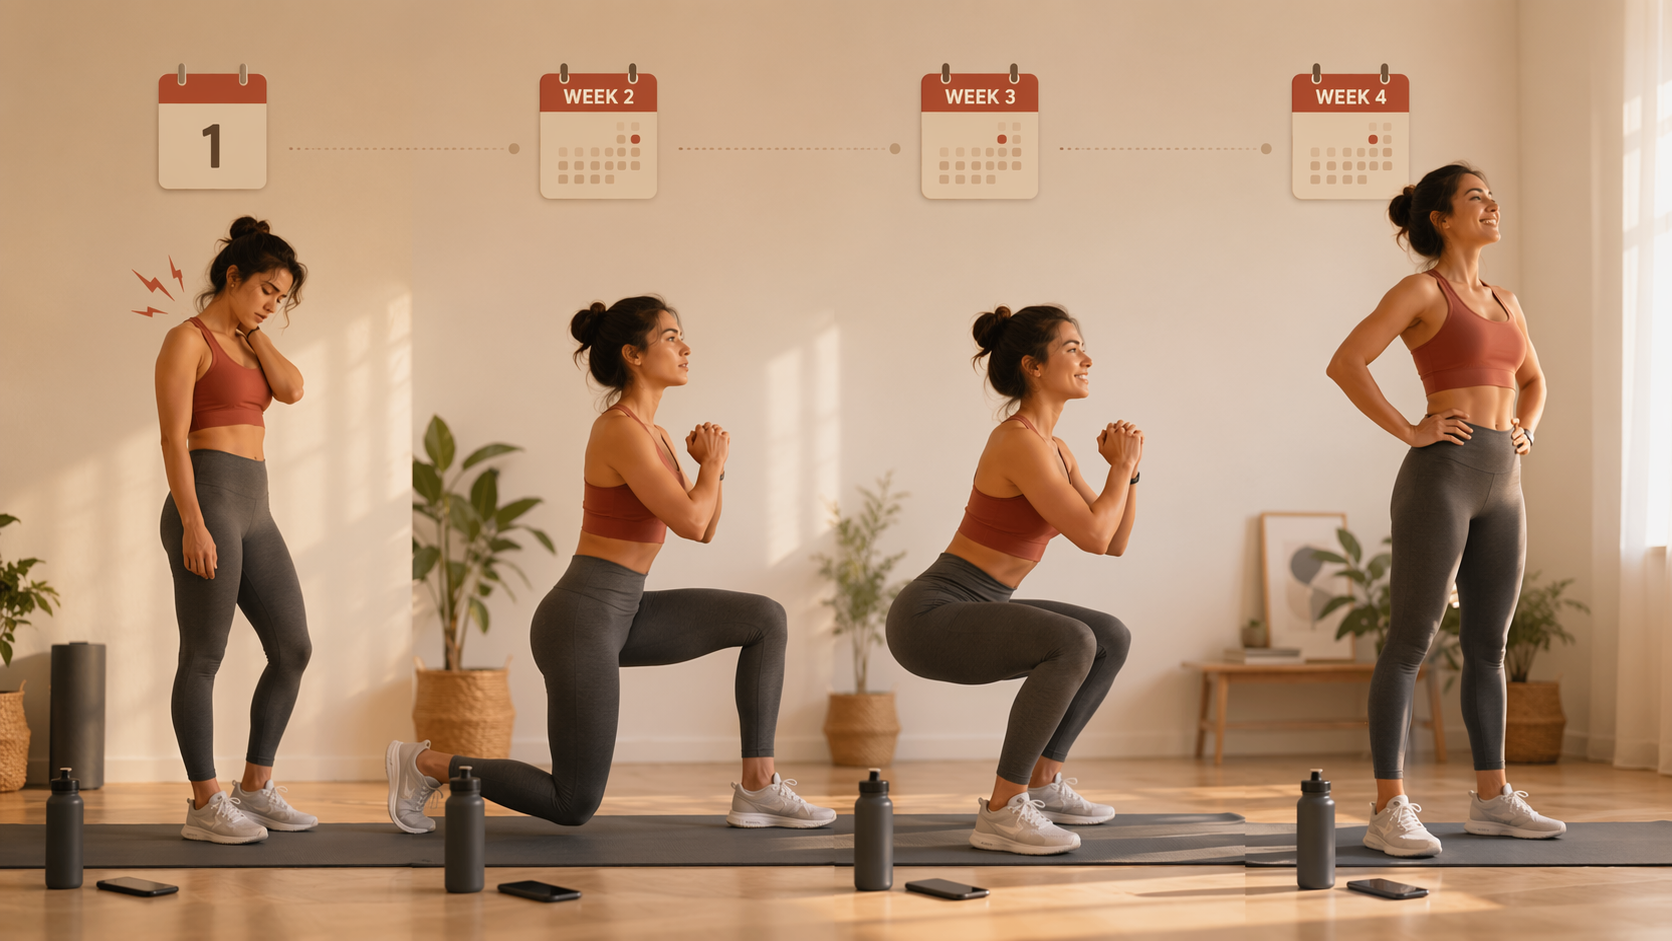
Your First 30 Days with a Workout App: A Week-by-Week Roadmap for Beginners
A week-by-week guide for absolute beginners using a workout app for the first time, covering the typical physical and psychological changes across the first month and how to choose the right session structure and app to build a lasting habit.
Spotted a stale price or an item that's no longer available? Say so below — this is our correction channel, not just a discussion thread.
Comments
Join the discussion with an anonymous comment.