The Minimal-Equipment Home Contortion Flexibility Routine
A complete progressive contortion flexibility routine you can follow at home with only a yoga mat, two foam blocks, a strap, and a wall — all fitting in a 6-by-3-foot space, with a full warm-up, lower and upper body blocks, and a weekly schedule that prioritizes rest days over daily stretching.
Before you start
- Equipment required
- yoga mat, foam blocks, strap, wall
- Assumes build tier
- No specific tier required
- Duration
- 60 minutes
- Difficulty
- beginner
- Noise level
- quiet
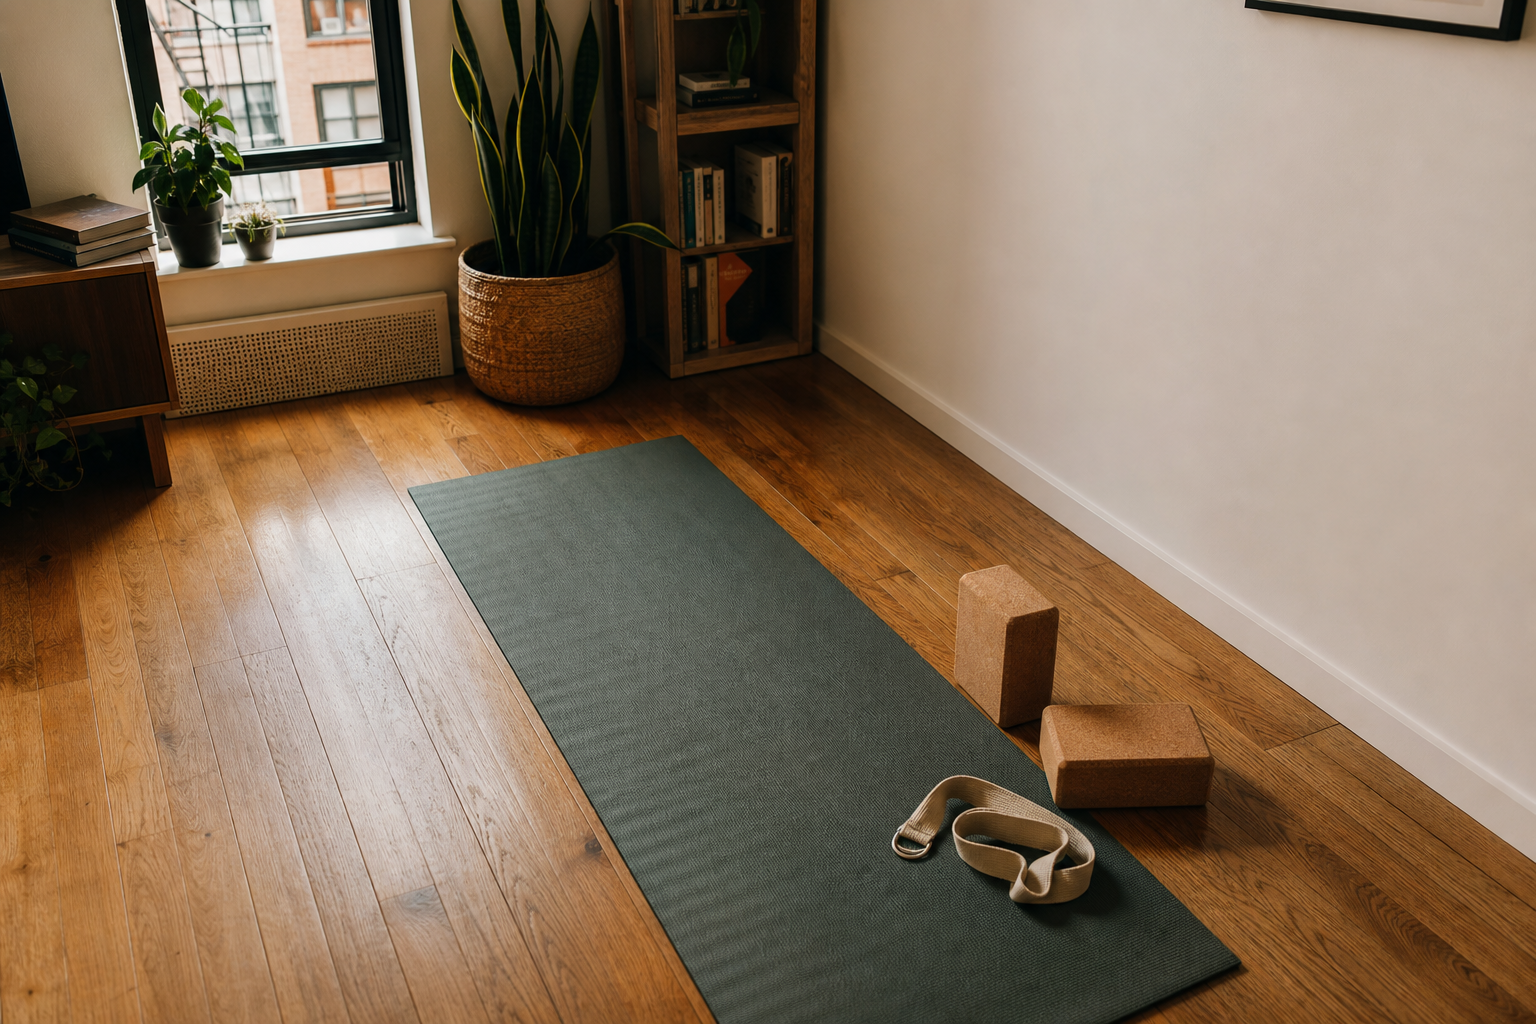
A workable home contortion flexibility workout does not need a spare bedroom. Start with one yoga mat, two foam blocks, a strap, a clear wall, and enough floor to lie down, kneel, and open one leg at a time without kicking the coffee table. For most foundational work, that means roughly the footprint of a yoga mat — about 6 by 3 feet — plus a section of wall you can put your feet or hands against.
The starter kit can stay under $50 if you buy plainly: a basic mat, a two-pack of foam blocks, and a fabric strap. Dani Winks, a professional contortionist coach, recommends basic foam yoga blocks over cork for comfort, and lists a two-pack at $10.99 in her flexibility prop guide; straps commonly fall in the $8–15 range, while mat prices vary much more widely, from budget options around $16 to premium mats well over $100.[1] The point is not to own the prettiest setup. It is to have enough support that you are not using joint pain as a progress marker.
| Item | Why it earns space | Mid-2026 US cost note |
|---|---|---|
| Yoga mat | Defines your training footprint and gives knees, hips, and spine a predictable surface | About $16–120 depending on quality |
| Two foam blocks | Bring the floor closer in splits, straddles, cobra work, and supported bridge drills | About $11 for a two-pack in Dani Winks’ prop guide |
| Fabric strap | Extends reach without yanking the shoulders or rounding the spine | Commonly about $8–15 |
| Wall | Gives feedback and support for shoulders, bridges, cobras, and leg lines | Free, if you clear the baseboard area |
| Optional peanut massage ball | Useful for self-massage before or after training, but not required | About $6 |
| Optional knee pads | Helpful on hard floors for lunges and kneeling split work | About $8 |
Contortion work is still flexibility work, but it is more pose-directed than casual stretching. A hamstring stretch may simply ask the back of the leg to lengthen. A front split asks the hamstrings, hip flexors, pelvis, back leg, front leg, and nervous system to cooperate in a recognizable shape. Catie Brier describes contortion as distinct from general flexibility because it involves using extreme ranges in specific skills rather than only increasing range for general mobility.[2] That distinction matters at home because a pose can look close before the joints are actually ready to carry it.
Clear the floor before you choose the pose
Set the mat lengthwise with one short end near the wall. Put the blocks at the front corners of the mat and the strap within arm’s reach. Move anything sharp, rolling, glass, or sentimental out of kicking distance. If the only open strip is between the couch and a table, angle the mat so your arms can sweep overhead and one leg can extend sideways without clipping furniture.
A larger clear area is more comfortable, especially for middle splits and bridge entries. Some circus-training space guidance has been circulated with a larger minimum, around 7 by 5 feet plus wall space, but that figure needs verification before treating it as a firm rule. For this routine, the honest requirement is smaller: a mat-length strip, a usable wall, and permission to train poses in supported versions instead of chasing the largest shape immediately.
The session order
Do the work in this order: warm up, lower-body block, upper-body and backbend block, then come down. The warm-up is not a polite preface. It is where the body temperature rises, the joints get a rehearsal, and the nervous system gets a chance to stop treating every end range as an emergency.
| Block | Time | Main work |
|---|---|---|
| Warm-up | 10–15 minutes | Nerve glides, dynamic leg swings, shoulder flossing, light whole-body movement |
| Lower body | 15–25 minutes | Front split, middle split, straddle, supported active holds |
| Upper body and backbend | 15–25 minutes | Shoulder openers, bridge progression, cobra variations using blocks or wall support |
| Exit | 3–5 minutes | Easy walking, gentle spinal movement, relaxed breathing |
Warm up for the poses you are about to ask for
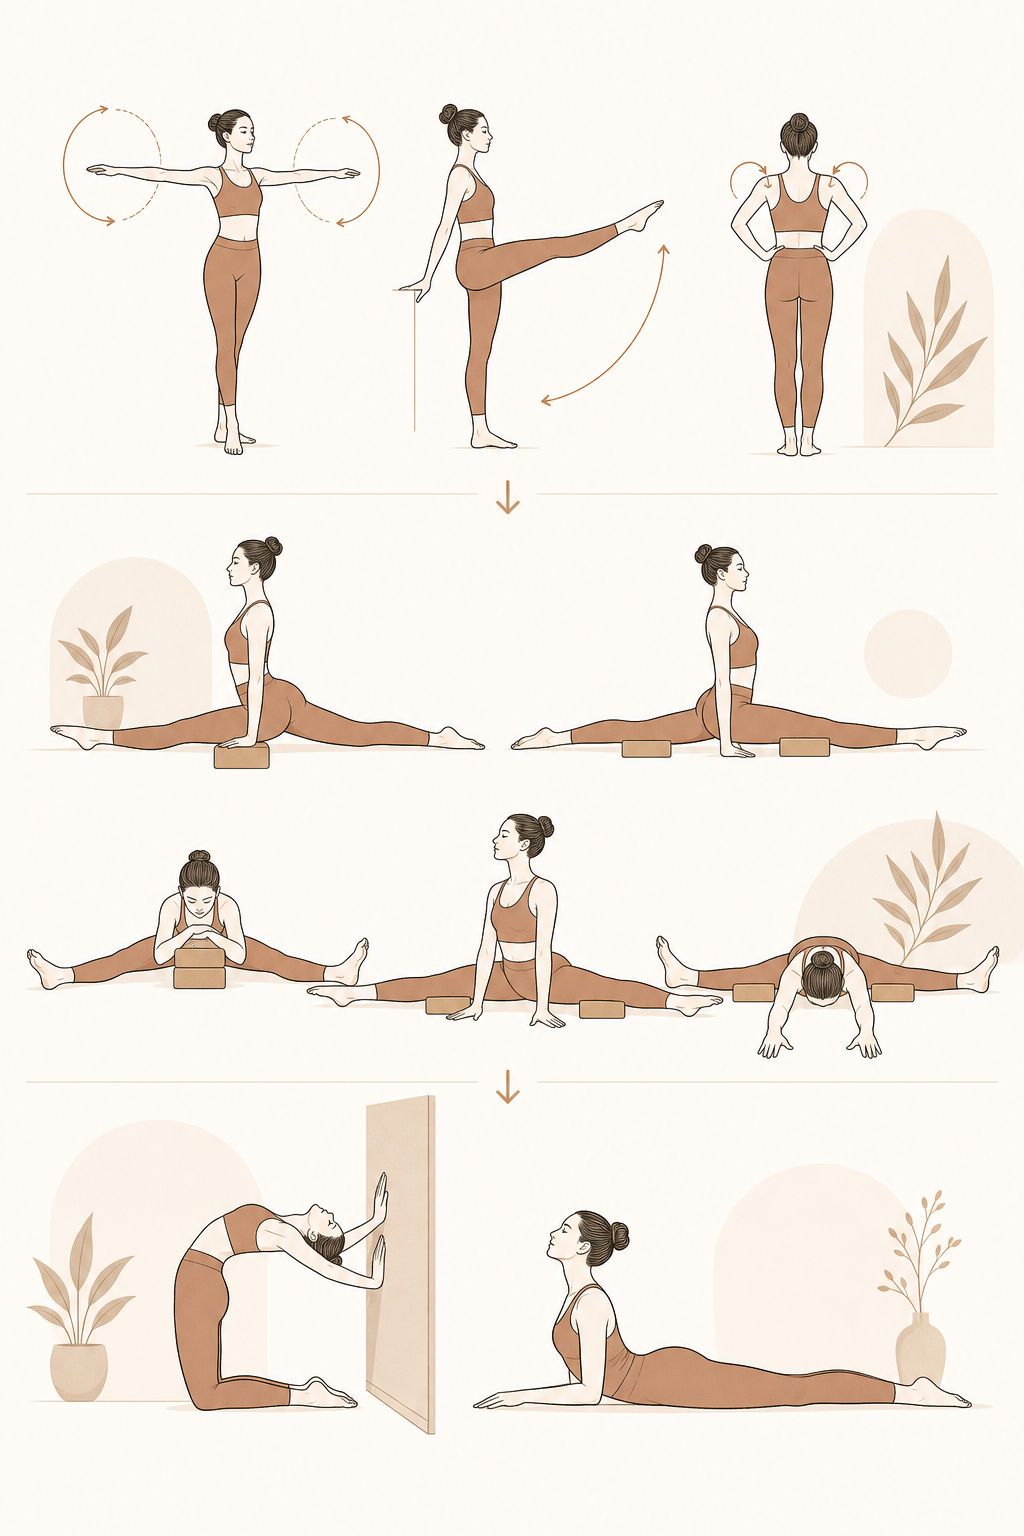
Use 10–15 minutes before any deep split or backbend attempt. Dani Winks’ example contortion warm-up includes nerve glides, dynamic leg swings, and shoulder flossing, which is the right kind of unglamorous preparation for this routine: the movements resemble the later demands without asking for maximum range too early.[3] Mayo Clinic’s general stretching guidance also cautions against treating stretching as the warm-up itself and recommends warming up before stretching.[4]
Start standing or on hands and knees, not in your deepest stretch. March in place, step side to side, or do slow squat-to-stand movements until your breathing lifts slightly. Then move into joint-specific preparation.
- Nerve glides: lie on your back, loop the strap behind one thigh or foot, and slowly bend and straighten the knee while changing the ankle position. Keep the movement mild. This is not a hamstring contest.
- Dynamic leg swings: stand with one hand on the wall and swing one leg forward and back in a controlled range, then side to side. The pelvis stays quiet enough that the leg does the work.
- Shoulder flossing: hold the strap wider than shoulder width and move the arms from in front of the body toward overhead and, if available without pinching, slightly behind. Narrow the grip only when the ribs can stay down.
- Spinal waves: on hands and knees, move through cat-cow, then add small circles through the ribs and hips. Keep the first backbends small.
The warm-up should make the first working stretch feel available, not dramatic. If your first lunge already feels like a fight, add more easy movement or reduce the target range for the day.
Lower-body block: front split, middle split, straddle
Keep both blocks nearby for every split drill. Blocks are not beginner decorations; they let the floor rise to meet you so your pelvis, knees, and spine are not forced to solve the whole pose at once.
Front split progression
- Start in a low lunge with the back knee padded on the mat or an optional knee pad.
- Place one block under each hand. Press down lightly so the torso stays lifted instead of collapsing onto the front thigh.
- Shift the hips back and straighten the front leg for a half split. Flex and point the front foot slowly.
- Return to the lunge and gently tuck the pelvis to feel the back-leg hip flexor.
- Slide toward your front split only as far as you can keep both hands supported, the front knee facing up, and the back hip from twisting open.
Hold the supported end position for 20–40 seconds, then come out by pressing into the blocks and bending the front knee. Do two rounds per side. If one side is much tighter, give it the same attention, not punishment.
Middle split progression
Face the long side of the mat. Put your hands on blocks in front of you and step the feet wide. Bend both knees first, then slowly shift weight from side to side. When the inner thighs feel warm rather than startled, begin straightening one leg at a time.
For the working hold, keep the hands on blocks and slide both feet wider only until you can still breathe, keep the knees pointing generally upward or forward depending on your turnout, and avoid sharp sensation in the knees or hips. Stay 15–30 seconds, come up, walk the feet in, and repeat once or twice. A supported middle split on a small mat may be less photogenic than a full pancake line, but it is much easier to repeat safely next week.
Straddle and pancake preparation
Sit in a straddle with the knees and toes facing upward. If your pelvis tips backward immediately, sit on a folded edge of the mat or place a block under the hips. Use the strap around one foot at a time for side bends, then place both hands on blocks in front of you for a forward hinge.
The useful action is a hip hinge, not a rounded collapse. Reach the chest forward, pause before the back rounds hard, and hold 20–40 seconds. For a small active-strength dose, lift one heel off the floor for a few seconds while the hands stay on blocks, then switch sides.
Upper-body and backbend block
Backbending at home needs more patience than courage. The wall and blocks are there so your shoulders, upper back, and hip flexors can share the work instead of dumping it into the low back.
Shoulder opener at the wall
Stand facing the wall, step back, and place both hands on the wall at shoulder height or slightly higher. Hinge at the hips until the spine lengthens and the chest moves toward the floor. Keep the ribs from flaring. Hold 30–45 seconds, then bend the knees and walk in. If the shoulders pinch, widen the hands or lower them.
Bridge progression
- Begin with glute bridges on your back: feet on the mat, knees bent, lift and lower the hips for 8–10 slow reps.
- Move to supported bridge prep: place blocks near the wall, lie down with feet hip-width, and practice pressing the hands beside the ears without lifting fully.
- If the shoulders and wrists feel ready, press into a small bridge and place the feet near the wall for orientation. Hold only a few breaths.
- Come down by tucking the chin slightly, bending the elbows, and lowering with control. Do not drop out because the pose got too intense.
One to three small bridges are enough in a starter routine. More repetitions are not better if each one teaches the low back to brace and the shoulders to avoid the work.
Cobra variations with blocks or wall support
Lie on your stomach with the hands under the shoulders or slightly wider. Press into a low cobra first, keeping the pubic bone heavy and the neck long. Then place each hand on a block at its lowest height and repeat, letting the blocks reduce wrist strain and make the arm position clearer.
For a wall-supported version, lie with the feet toward the wall so the tops of the feet or shins can press lightly into it. This gives the legs something steady to organize against while the chest lifts. Keep the effort distributed: legs active, glutes engaged but not clenched to a cramp, shoulders drawing down rather than crowding the ears.
How the week repeats
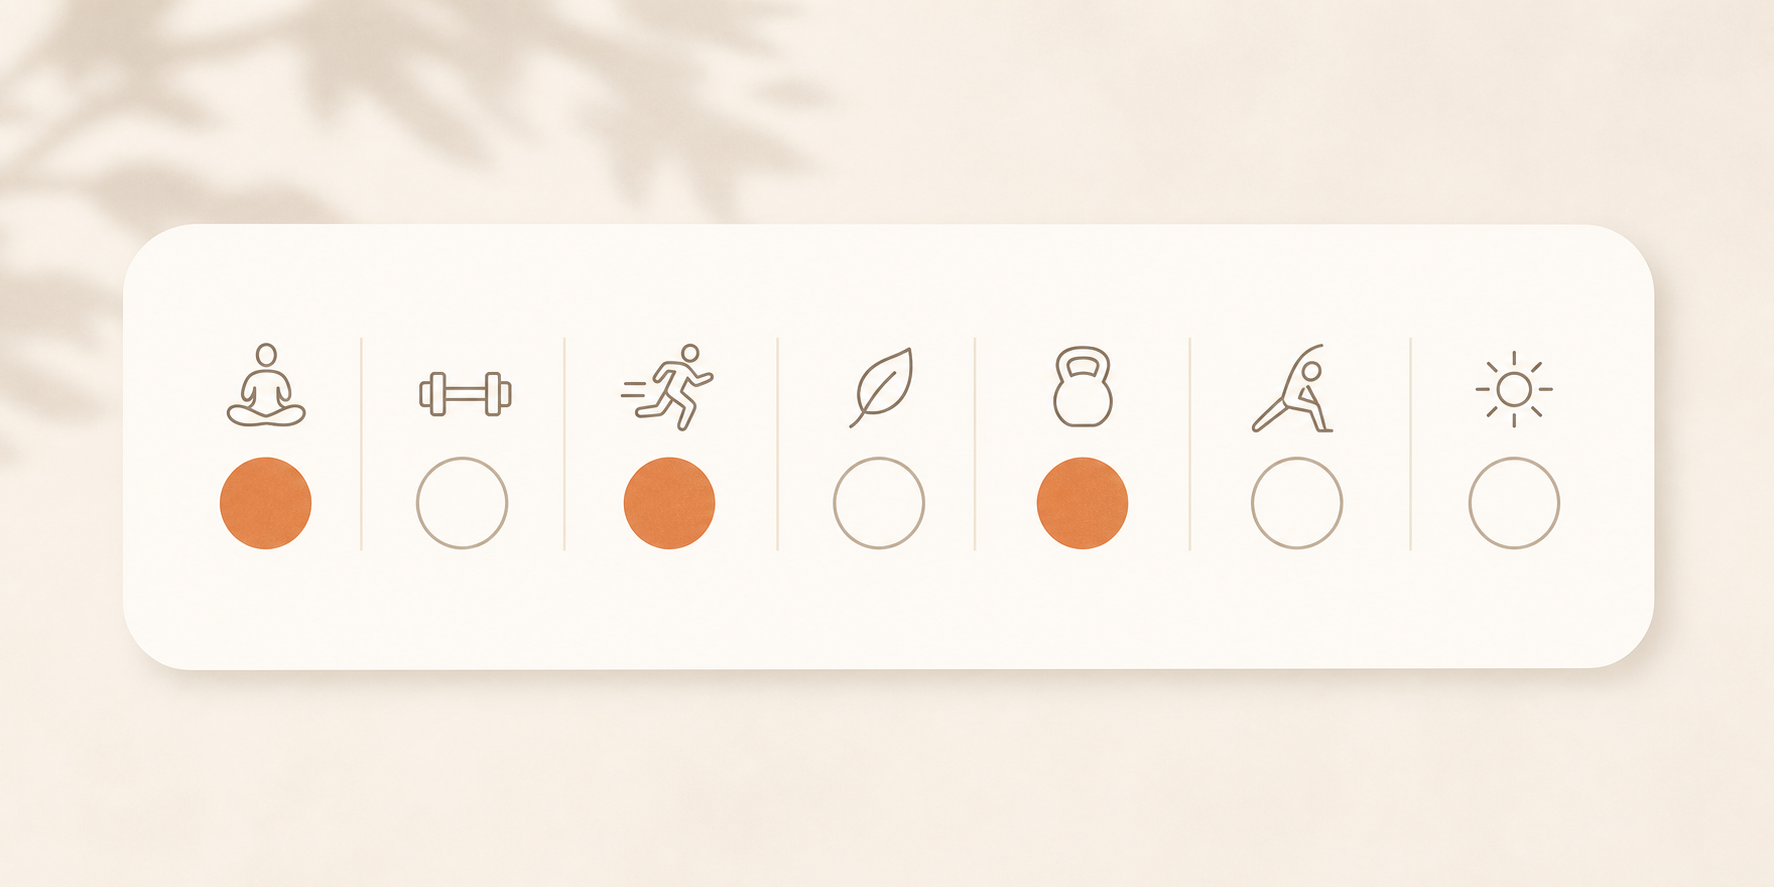
Train this routine three to four times per week, not every day. Dani Winks specifically emphasizes the importance of rest days in flexibility training, and general health guidance from Harvard Health also treats stretching as something to practice consistently rather than something that improves by forcing maximum effort daily.[5][6] Rest days are when irritated tissues get a chance to calm down and the next session becomes possible.
| Day | Plan |
|---|---|
| Monday | Full session |
| Tuesday | Rest or easy walking |
| Wednesday | Full session |
| Thursday | Rest |
| Friday | Full session |
| Saturday | Optional lighter session or rest |
| Sunday | Rest |
On the optional fourth day, reduce the ambition: shorter holds, fewer bridges, more warm-up, and no testing of maximum splits. If you wake up with deep joint ache, sharp pain, or a stretch that feels worse after warming up, make that day a rest day. A missed session is easier to recover from than a hip or back irritation you kept training through.
A simple four-week progression is enough to start. In week one, learn the order and keep every pose supported. In week two, add a second round to the lower-body block if the first week felt clean. In week three, slightly lengthen one or two holds, not all of them. In week four, keep the schedule steady and notice what recovered well. Progress is not only a lower split; it is also less guarding, cleaner exits, and a body that still wants to train on the next planned day.
Safety rules that actually change the session
Contortion carries injury risk, especially when a pose is forced before the joints and surrounding tissues can support it. Mayo Clinic’s stretching guidance warns against bouncing and against stretching to the point of pain.[4] That advice is general, not contortion-specific, but it is still useful in a living room where nobody is watching your knee angle except you.
- Sharp joint pain ends the drill. Do not negotiate with knees, hips, wrists, neck, or low back.
- Use blocks before you need them. If your hands are floating in a split, your body is probably borrowing stability from somewhere less ideal.
- Exit slowly. A stretch you can only enter, not leave, is too deep for training.
- Keep breathing ordinary. Breath-holding is often the first sign that the range is too aggressive.
- Do not stack hard flexibility work on top of hard lower-body strength work without adjusting volume. If your legs are already cooked, split training needs to be lighter.
If you are building a broader small-space fitness setup around this routine, keep the contortion kit separate in your mind from general equipment shopping. A mat, two blocks, a strap, and a wall are enough to begin. Larger purchases belong to different goals, not to the first month of learning how your body responds to supported end-range work.
A complete home session to follow
| Order | Drill | Dose |
|---|---|---|
| 1 | Easy whole-body movement | 3–5 minutes |
| 2 | Nerve glides with strap | 6–8 slow reps per side |
| 3 | Dynamic leg swings | 10–15 controlled swings each direction per side |
| 4 | Shoulder flossing with strap | 8–10 smooth reps |
| 5 | Cat-cow and spinal circles | 1–2 minutes |
| 6 | Supported front split progression | 2 rounds per side, 20–40 second holds |
| 7 | Supported middle split progression | 1–3 rounds, 15–30 second holds |
| 8 | Straddle hinge with blocks | 2 rounds, 20–40 second holds |
| 9 | Wall shoulder opener | 1–2 holds of 30–45 seconds |
| 10 | Bridge progression | 1–3 small bridges or prep rounds |
| 11 | Cobra variations | 2–3 rounds of 3–5 breaths |
| 12 | Easy exit | 3–5 minutes |
That is the whole starting line: a mat-length strip of floor, a wall, two blocks, a strap, and three to four honest sessions per week. If the setup fits between your furniture, the equipment is no longer the hard part. The hard part is practicing progressively enough that you can come back after the rest day and do it again.
References
- My Favorite Flexibility Props — Dani Winks Flexibility
- The difference between contortion and flexibility — Catie Brier
- My Contortion Warm Up Routine (An Example) — Dani Winks Flexibility
- A guide to basic stretches — Mayo Clinic
- The Importance of Rest Days in Flexibility Training — Dani Winks Flexibility
- The importance of stretching — Harvard Health
Don't have the gear this routine assumes? Find the build that covers it.
Wondering how much rest you need after this? Read our ACSM-cited recovery reference.
Questions about form, substitutions, or a correction? Leave it below.
Comments
Join the discussion with an anonymous comment.