4-Week Beginner Cardio Training Plan at Home (No Equipment Needed)
A complete, week-by-week progressive cardio plan for adults new to exercise or returning after a long break — designed to be done entirely at home in a small space with no equipment, using low-impact movements and a simple RPE scale to build a sustainable cardio habit over four weeks.
What This Plan Delivers and Who It's For
This is a structured, four-week cardio program built for adults who are new to exercise or returning after a significant break. Every session uses low-impact, no-jump movements you can do in a small home space — no equipment, no gym, no jumping required.
The plan suits you if you have little or no current cardio habit, live in an apartment where jumping is impractical, have joint sensitivities that rule out high-impact exercise, or simply want something concrete and manageable to start with. It is not a weight-loss program. The goal is to build a sustainable cardio base over four weeks.
What You Need to Get Started
The requirements are minimal by design. This plan was built around real home constraints, not an idealized gym setup.
- Floor space: approximately 6 feet by 4 feet of clear area — enough to step side to side and move your arms freely.
- Clothing: anything comfortable that lets you move. No special footwear required, though supportive shoes help if you have them.
- Equipment: none. Every exercise in this plan uses your own bodyweight and floor space.
- Water nearby: staying hydrated during and after sessions is a basic but important habit.
Low-impact movements — where at least one foot stays in contact with the floor at all times — are the default starting point throughout this plan, not a fallback for people who can't keep up. They are the appropriate choice for beginners regardless of fitness level.
How to Use This Plan: RPE, Schedule, and Low-Impact Explained
Before you start Week 1, understand three tools that run through the entire plan.
The RPE Scale (Modified CR10, 0–10)
RPE stands for Rate of Perceived Exertion. This plan uses the modified Borg CR10 scale, which runs from 0 to 10. It is a practical, device-free way to gauge how hard you are working — no heart rate monitor needed.
| RPE (CR10) | How It Feels | Breathing / Talk Test |
|---|---|---|
| 0 | At rest — no effort at all | Normal breathing, full conversation |
| 1 | Very light — barely noticeable | Easy breathing, full conversation |
| 2–3 | Light — gentle movement | Slightly deeper, can talk comfortably |
| 4–5 | Moderate — noticeable but sustainable | Breathing quickens, can still speak in sentences |
| 6–7 | Hard — requires focus to maintain | Can say a few words, not full sentences |
| 8–9 | Very hard — difficult to sustain | Cannot speak more than a word or two |
| 10 | Maximum — all-out effort | Cannot speak |
How to Read the Weekly Schedules
Each week shows which days to train and which to rest. Session days are labeled with duration and RPE target. Rest days are mandatory — they are not optional recovery bonuses. You can move session days around to fit your week, but keep at least one rest day between any two sessions during Weeks 1 and 2.
What 'Low-Impact' Means in Practice
Low-impact means one foot is always in contact with the floor. There is no jumping, hopping, or bounding. This reduces joint stress and keeps the noise level apartment-friendly. All exercises in this plan are low-impact by default.
Warm-Up and Cool-Down: Non-Negotiable
Every session begins with a 5-minute dynamic warm-up and ends with a 3-minute cool-down. These are structural parts of each session, not extras to skip when you're short on time. The warm-up prepares your body for movement and reduces injury risk. The cool-down helps your heart rate and breathing return to baseline gradually.
Warm-up: 5 minutes of slow marching in place, gentle arm circles, hip circles, and ankle rolls. Cool-down: 3 minutes of slow walking in place followed by gentle standing stretches — hold each for 20–30 seconds without bouncing.
Week 1 — Foundation: Building the Habit
Week 1 has one job: get you moving consistently without burning you out. Two sessions is intentionally conservative. The goal is to learn what RPE 3–4 feels like for your body and to prove to yourself that showing up is manageable.
| Day | Session | Duration | RPE Target |
|---|---|---|---|
| Monday | Session 1 | 15–20 min (incl. warm-up + cool-down) | RPE 3–4 |
| Tuesday | Rest | — | — |
| Wednesday | Rest | — | — |
| Thursday | Session 2 | 15–20 min (incl. warm-up + cool-down) | RPE 3–4 |
| Friday | Rest | — | — |
| Saturday | Rest | — | — |
| Sunday | Rest | — | — |
Each session structure: 5-minute warm-up → 8–12 minutes of active movement at RPE 3–4 → 3-minute cool-down.
Week 1 Exercises
- Marching in place: Lift alternate knees to hip height at a comfortable pace, swinging opposite arms naturally. Keep your core lightly engaged. Modification: reduce knee height to whatever is comfortable.
- Step-touch: Step one foot out to the side, bring the other foot to meet it, then step the other direction. Swing your arms gently as you move. Modification: smaller steps if space is tight.
- Lateral steps: Take two or three steps to the right, then two or three steps to the left, staying low and controlled. Keep your feet parallel and avoid crossing your feet. Modification: single steps side to side.
- Knee raises: Standing tall, lift one knee toward your chest, lower it, then lift the other. Use a wall or chair back for balance if needed. Modification: reduce knee height and slow the pace.
Cycle through these four exercises for the active portion of the session, spending about 2–3 minutes on each before switching. There is no set order — move between them as feels natural.
Week 2 — Building: Adding a Session and Time
Week 2 adds a third session and slightly increases duration. Intensity stays close to Week 1 — the upper end of the RPE range nudges to 5, which should feel only marginally more effortful. This is the core principle of the plan: build volume before intensity.
| Day | Session | Duration | RPE Target |
|---|---|---|---|
| Monday | Session 1 | 18–22 min (incl. warm-up + cool-down) | RPE 3–5 |
| Tuesday | Rest | — | — |
| Wednesday | Session 2 | 18–22 min (incl. warm-up + cool-down) | RPE 3–5 |
| Thursday | Rest | — | — |
| Friday | Session 3 | 18–22 min (incl. warm-up + cool-down) | RPE 3–5 |
| Saturday | Rest | — | — |
| Sunday | Rest | — | — |
Each session structure: 5-minute warm-up → 10–14 minutes of active movement at RPE 3–5 → 3-minute cool-down.
New Week 2 Exercises
- Standing bicycle: Stand with hands lightly behind your head. Lift your right knee while rotating your left elbow toward it, then alternate sides in a slow, controlled pedaling motion. Modification: skip the rotation and simply alternate knee lifts.
- Standing oblique crunches: Stand with feet hip-width apart, hands behind your head or on your hips. Lift your right knee out to the side while lowering your right elbow toward it, then return and alternate. Modification: reduce the side bend range and slow the pace.
Continue using the Week 1 exercises as well. Mix them throughout the active portion — there is no fixed sequence. The variety helps maintain engagement across three sessions.
Week 3 — Introducing Intervals: Short Bursts, Long Recovery
Week 3 introduces a simple interval structure. Sessions are slightly longer and the RPE ceiling rises to 6. The interval format is straightforward: 20–30 seconds of movement at a slightly elevated effort, followed by 30–40 seconds of easy recovery movement. Repeat throughout the active portion of the session.
| Day | Session | Duration | RPE Target |
|---|---|---|---|
| Monday | Session 1 | 20–25 min (incl. warm-up + cool-down) | RPE 4–6 |
| Tuesday | Rest | — | — |
| Wednesday | Session 2 | 20–25 min (incl. warm-up + cool-down) | RPE 4–6 |
| Thursday | Rest | — | — |
| Friday | Session 3 | 20–25 min (incl. warm-up + cool-down) | RPE 4–6 |
| Saturday | Rest | — | — |
| Sunday | Rest | — | — |
Session structure: 5-minute warm-up → 12–17 minutes of interval movement → 3-minute cool-down.
During the active portion, alternate between a slightly elevated effort (RPE 5–6) and an easy recovery pace (RPE 3–4). For example: march briskly with high arms for 25 seconds, then slow to a relaxed step-touch for 35 seconds. Repeat. The exercises are the same ones from Weeks 1 and 2 — the interval structure is the new element, not the movements themselves.
Week 4 — Consolidation: Putting It Together
Week 4 brings the plan to its full form: up to four sessions per week, sessions lasting 25–30 minutes, with the interval structure from Week 3 carried forward. The RPE range stays at 5–6 — this week is about consolidating what you have built, not pushing to new limits.
| Day | Session | Duration | RPE Target |
|---|---|---|---|
| Monday | Session 1 | 25–30 min (incl. warm-up + cool-down) | RPE 5–6 |
| Tuesday | Rest | — | — |
| Wednesday | Session 2 | 25–30 min (incl. warm-up + cool-down) | RPE 5–6 |
| Thursday | Session 3 (optional) | 25–30 min (incl. warm-up + cool-down) | RPE 5–6 |
| Friday | Rest | — | — |
| Saturday | Session 3 or 4 | 25–30 min (incl. warm-up + cool-down) | RPE 5–6 |
| Sunday | Rest | — | — |
Session structure: 5-minute warm-up → 17–22 minutes of interval movement → 3-minute cool-down.
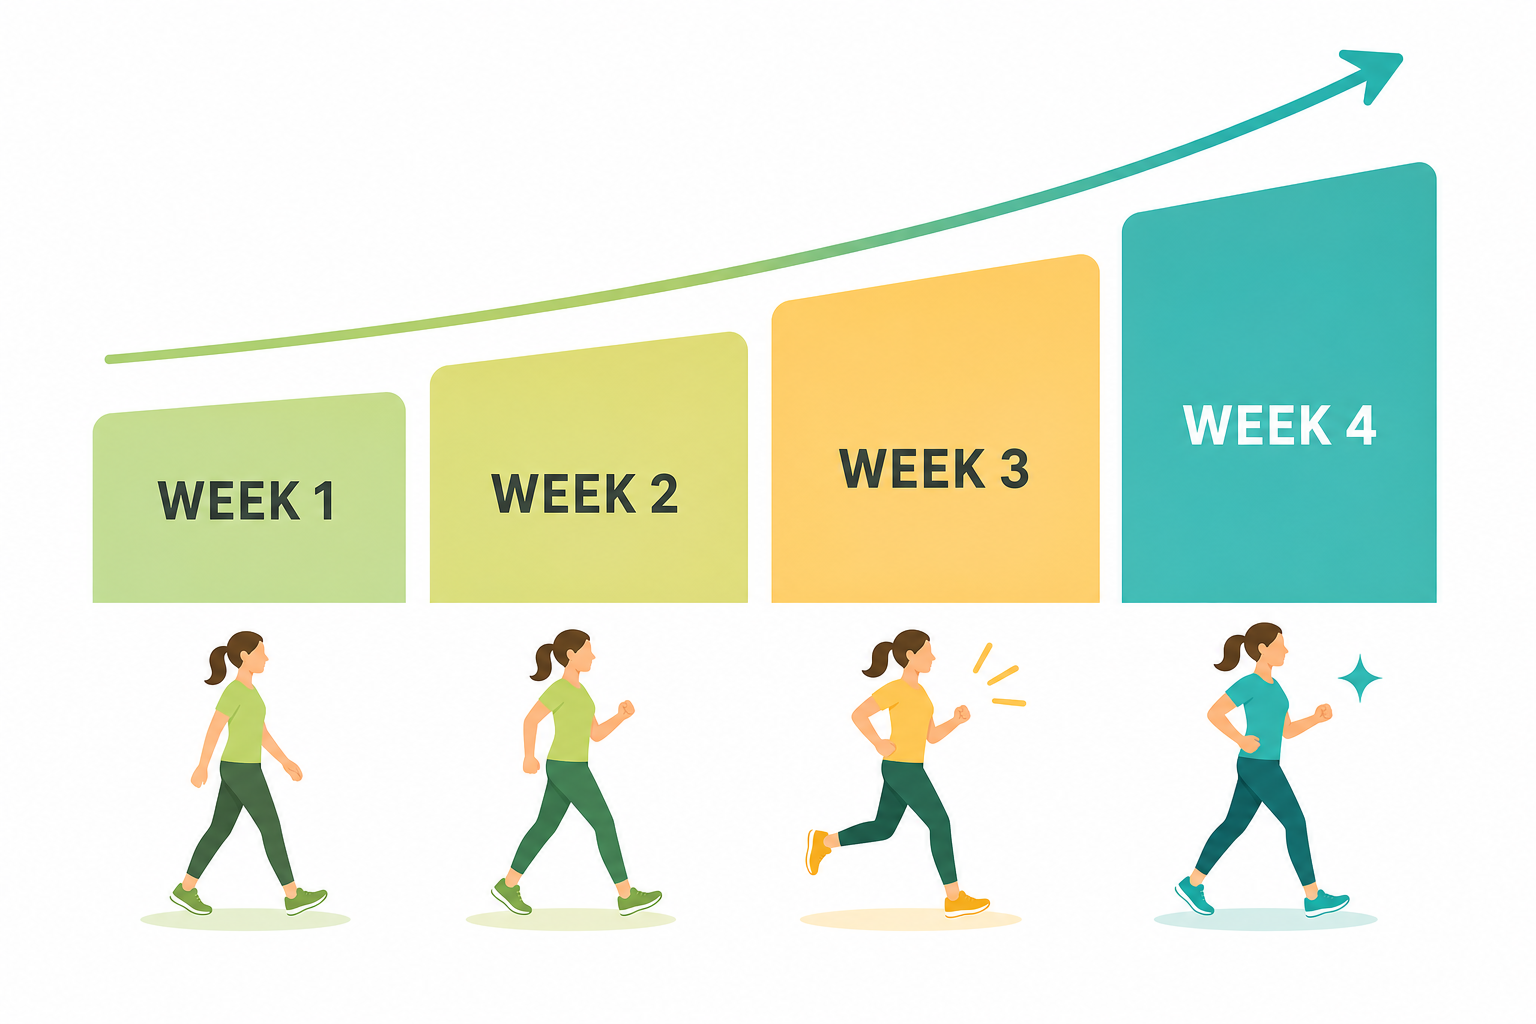
The four-week arc: Week 1 built the habit. Week 2 added volume. Week 3 introduced intervals. Week 4 consolidates all three elements into a sustainable weekly routine.
The Exercise Bank: Descriptions and Modifications
All exercises used across the four weeks are listed here as a single reference. Use this section to review a movement before a session or to find a modification if something feels uncomfortable.
| Exercise | How to Do It | Beginner Modification |
|---|---|---|
| Marching in place | Lift alternate knees to hip height, swing opposite arms naturally, keep core lightly engaged. | Reduce knee height; slow the pace to a comfortable rhythm. |
| Step-touch | Step one foot out to the side, bring the other foot to meet it, then step the other direction. Swing arms gently. | Take smaller steps; keep arms at your sides if arm coordination feels awkward. |
| Lateral steps | Take 2–3 steps to the right, then 2–3 steps to the left. Stay low, feet parallel, no crossing. | Single steps side to side; use a wall for balance if needed. |
| Knee raises | Standing tall, lift one knee toward your chest, lower it, then lift the other. | Reduce knee height; hold a wall or chair back for balance. |
| Standing bicycle | Hands lightly behind head. Lift right knee while rotating left elbow toward it. Alternate sides in a slow pedaling motion. | Skip the rotation; alternate knee lifts only. |
| Standing oblique crunches | Feet hip-width apart, hands behind head or on hips. Lift right knee out to the side while lowering right elbow toward it. Alternate. | Reduce side bend range; slow the pace; keep hands on hips instead of behind head. |
| Low-impact speed skaters | Step one foot out to the side in a wide lateral lunge, bring the trailing foot behind and across (curtsy position), then push back the other direction. Swing opposite arm forward. | Reduce the lateral range; slow the movement; skip the arm swing until the footwork feels stable. |
5 Common Beginner Cardio Mistakes (and How to Avoid Them)
These patterns are common — they are not personal failures. Recognizing them in advance makes them easier to avoid.
- Starting too hard in Week 1. Going above RPE 5 in the first two weeks is the most common reason beginners feel burned out or sore by Week 2 and stop. RPE 3–4 feels almost too easy on Day 1 — that is correct. The plan is designed that way.
- Skipping the warm-up or cool-down. Both are built into the session time estimates. Jumping straight into active movement without warming up increases injury risk. Stopping abruptly without cooling down can cause lightheadedness. Neither is optional.
- Doing cardio on consecutive days in Weeks 1 and 2. Rest days between sessions are mandatory in the early weeks. Your body adapts to exercise during rest, not during the session itself. Skipping rest days undermines the adaptation you are trying to build.
- Measuring success by sweat or soreness. Sweating heavily or feeling sore the next day does not mean a session was effective. At RPE 3–5, you may not feel much soreness at all — that is fine. Consistency across four weeks is the measure of success, not how hard any single session felt.
- Increasing intensity before building duration. The structure of this plan — volume first, intensity second — is deliberate. Pushing to higher RPE levels before your body has adapted to regular movement is a reliable path to overuse discomfort and early dropout. Follow the weekly progression as written.
What to Do After Week 4
Completing this plan means you have built a consistent cardio habit, learned to gauge effort by RPE, and established a weekly routine. The next step depends on what you want to do next.
- Repeat the plan at a slightly higher RPE target. Run the same four-week structure again, but shift each week's RPE ceiling up by 1 point. Week 1 becomes RPE 4–5, Week 2 becomes RPE 4–6, and so on. Same schedule, more effort.
- Extend session duration progressively. Add 5 minutes to each session per week, keeping RPE at 5–6. This is the simplest way to keep building cardiovascular endurance without changing the structure.
- Move to a longer progressive program. The Training Plans section of this site has 6-week and 8-week beginner-to-intermediate cardio programs that pick up where this plan leaves off, with more structured interval progressions and longer session durations.
Whatever you choose, the foundation this plan builds — regular movement, RPE awareness, rest day discipline — transfers directly to any program you follow next.
What a small equipment investment adds
We don't have a build tagged to this exact tier yet. Browse all builds.
How often should you repeat this?
See our recovery and rest reference for citation-anchored rest-interval guidance.
Spot something off?
Tell us if a movement, tier assumption, or duration didn't match your experience.