
8-Week Home Workout Plan for National Park Hiking
An 8-week, no-gym plan for national park hiking prep built around the vertical feet on your specific trail, not the miles. Stairs or a 12–15% incline treadmill plus apartment-safe strength sessions show you what to do each week and how to know when you've trained the actual climb.
- Equipment tier required
- none
- Duration
- 30 min
- Difficulty
- beginner
- Target area
- legs
- Space footprint needed
- small
- Noise level
- low
Home workouts to prepare for national park hiking should start with the least glamorous number on the trail page: elevation gain. Miles tell you how long you will be out there. Vertical feet tell you what your legs, lungs, calves, hips, and patience will actually have to repeat.
If you already have a park reservation, a trail permit, or a hotel room near the entrance gate, vague advice to walk more is not enough. You need to know what the climb means on a Tuesday night in a stairwell, on an incline treadmill, or in a quiet hallway where the downstairs neighbor should not know you are training.
Plenty of people are trying to solve the same problem. The National Park Service visitor-use dashboard listed 323 million recreation visits for 2025, with early reporting noting that the figure was preliminary at the time; the Appalachian Trail Conservancy reported 16.9 million Appalachian Trail visits in 2025.[1][2][3] Those numbers are useful only as context. Your body does not train for a national trend. It trains for the gain on your route.
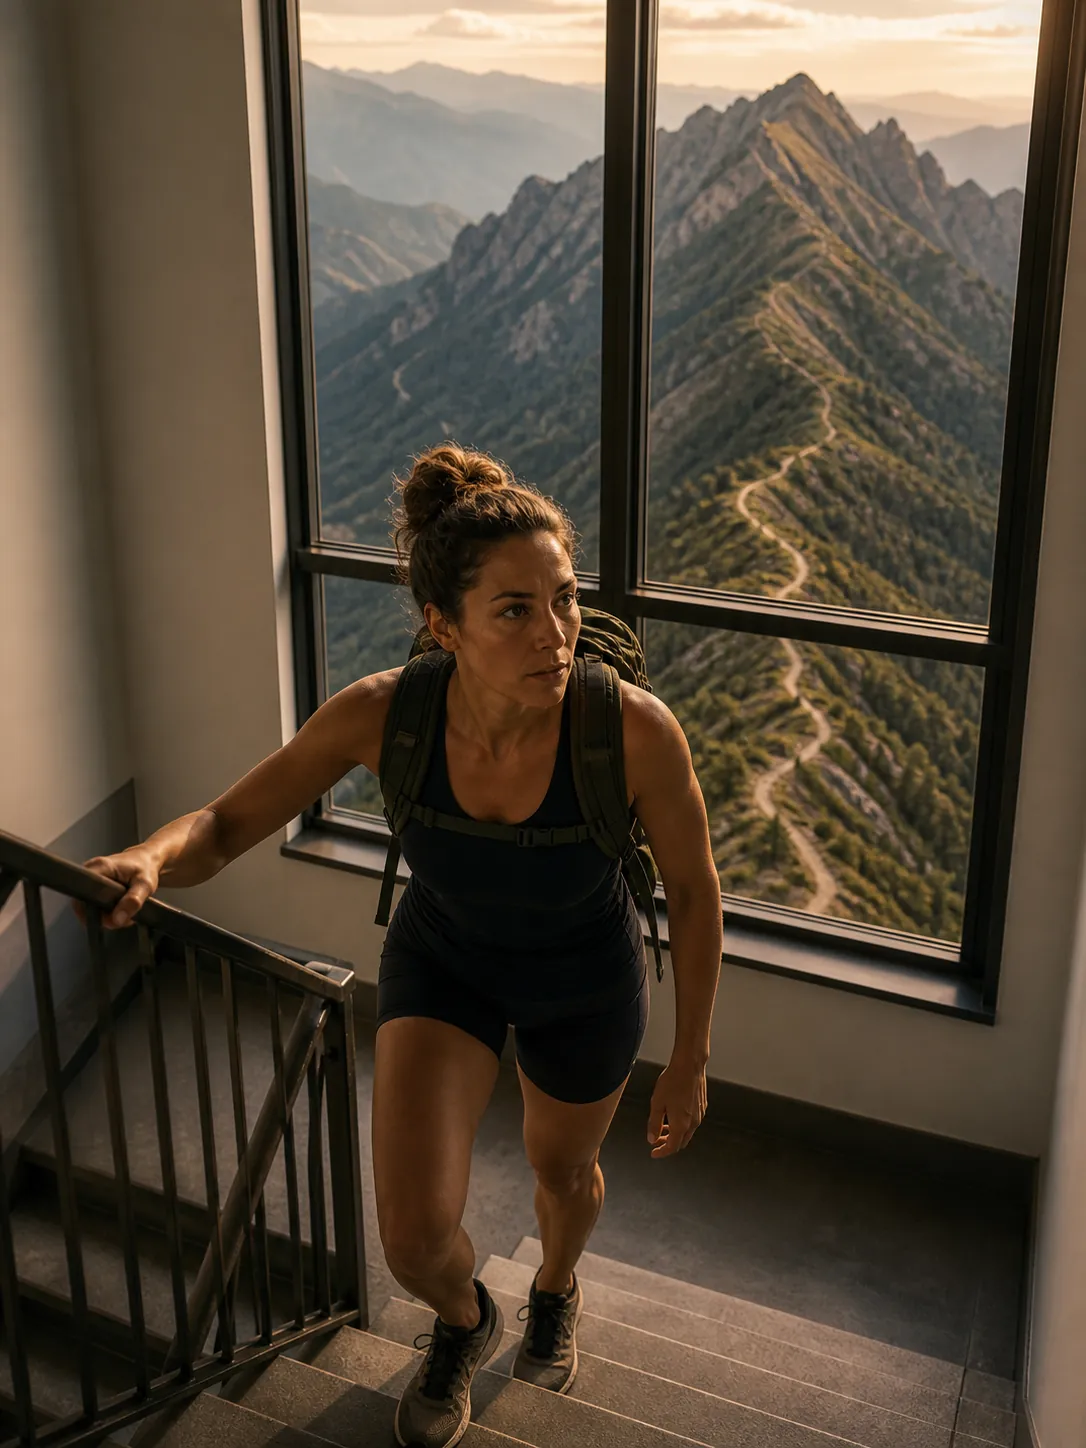
Start with the trail’s vertical gain
Open the official park trail page, map, or current route description and find the elevation gain. Look for wording such as elevation gain, total ascent, or round-trip gain. Do not use only the highest elevation on the hike; a trail can start high and still climb less than another route that begins lower. Also be careful with third-party route pages, because their numbers can vary by device, map source, and whether they count every small roller along the way.
Write that number at the top of your training notes. If your hike has separate official numbers for the climb out and the descent back, keep both. The climb drives the stair or treadmill work. The descent drives the quiet strength work: heel-downs, step control, hip stability, and the ability to keep your knees from doing all the braking.
- Trail vertical gain: the number you are training toward.
- Training vertical feet: what you produce during stairs or incline walking.
- Vertical feet per hour: your most useful readiness check, because it removes the false comfort of flat-ground pace.
If the trail page is still open in another tab, this is the moment to stop reading for thirty seconds and get the number. The rest of the plan depends on it.
Convert stairs or a treadmill into vertical feet
The cleanest home conversion is stairs. If you know how many steps you climb and the height of each step, you can estimate vertical feet without pretending your hallway is a mountain. Outdoor Adventure Training gives a practical benchmark: about 40 to 50 steps per minute on an 8-inch step approximates 1,500 feet of vertical gain per hour.[4] Treat that as a useful field estimate, not a lab result or a promise that every stairwell will match it.
| Training tool | Vertical-feet calculation | What to record |
|---|---|---|
| Stairs with measured step height | Steps climbed × step height in inches ÷ 12 | Vertical feet, minutes, pack weight, and how the knees felt on the way down |
| Stairs using the rough benchmark | 40–50 steps per minute on an 8-inch step ≈ 1,500 vertical feet per hour | Use only as an estimate; adjust if your steps are lower, higher, or interrupted by landings |
| Incline treadmill | Miles walked × 5,280 × incline decimal | Incline, speed, minutes, vertical feet, and whether you held the handrails |
For a treadmill, use incline rather than distance as the anchor. REI’s treadmill hiking workout guidance uses steep power-walking at 12% to 15% incline for hiking preparation.[5] At those inclines, the math is simple enough to do after the session: one treadmill mile at 12% is about 634 vertical feet, and one mile at 15% is about 792 vertical feet. That does not make the treadmill identical to a rocky trail, but it gives you a better target than walking flat miles and hoping the climb will sort itself out.

A stairwell rule that keeps the math honest
Count only the steps you climb upward when calculating vertical gain. The descent matters, but it is a different kind of stress. If your stairwell is quiet and safe, walk down under control. If the descent is crowded, slippery, or too much for your knees, take the elevator down sometimes and get your downhill control from strength work instead.
A phone note is enough for tracking. After each vertical session, write: time, estimated vertical feet, vertical feet per hour, pack weight, and one plain-language note such as calves tight, breathing fine, knees sore descending, or could have continued. The note prevents the spreadsheet from lying by omission.
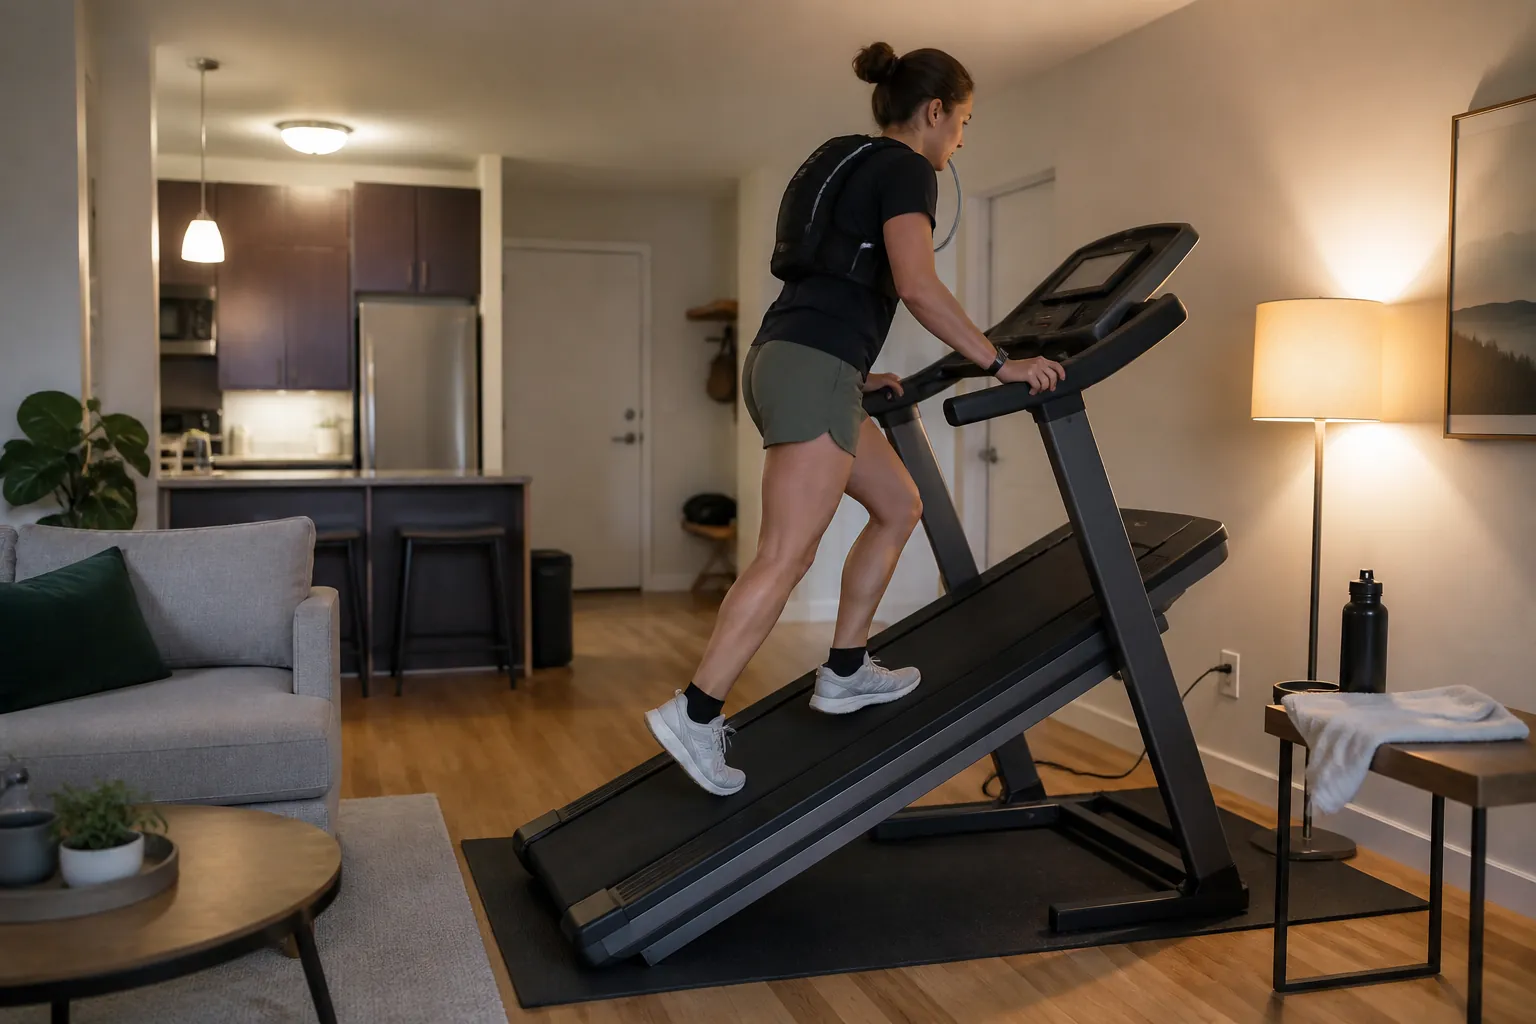
The weekly structure: two strength days, three vertical-cardio days
REI’s hiking training guidance recommends starting about eight weeks before a major hike and building a week around two strength-training days and three cardio days; in the final two weeks, REI allows cardio sessions to be swapped for loaded day hikes of 60 minutes or more when possible.[6] That skeleton works well at home because it gives you enough climbing practice without turning every day into a stairwell appointment.
Pack load should progress, too, but it should not become a macho side project. REI’s backpacking and hiking conditioning guidance suggests starting with about 10 pounds or 10% to 15% of body weight, then progressing toward roughly 80% of the pack weight you expect to carry.[7] For a national park day hike, that may simply mean water, layers, snacks, and the small pack you will actually use. If load changes your gait or makes your knees complain, reduce the load before you cut the whole workout.
- Day 1: vertical session, usually stairs or 12–15% incline walking.
- Day 2: quiet strength for step control, hips, calves, and trunk.
- Day 3: easier vertical or brisk walk, depending on how the legs handled Day 1.
- Day 4: rest, mobility, or an easy walk.
- Day 5: second strength session.
- Day 6: longer vertical session or, in the final two weeks, a loaded outdoor hike if you can get one.
- Day 7: rest.
Move the days around if your building, work schedule, or family life requires it. The important spacing is simple: do not stack your hardest stair day, heaviest pack day, and hardest strength day back-to-back unless you already know your joints tolerate it.
The 8-week home workout plan
Use the table as the working plan, then scale the vertical target to your route. A person preparing for a shorter overlook trail does not need the same stair volume as someone preparing for a canyon climb or a long summit day. The progression matters more than copying someone else’s total.
| Week | Vertical work | Strength work | Pack focus | Adjustment rule |
|---|---|---|---|---|
| 1 | Find your baseline. Do two easy stair or incline sessions of 15–25 minutes and one steadier session of 25–35 minutes. Record vertical feet per hour without trying to impress yourself. | Two quiet sessions. Learn step-ups, heel-downs, reverse lunges off a low step, hip control, and side plank variations. | No pack or an almost-empty daypack. | If calves, knees, or arches feel beat up the next day, keep the same volume in Week 2 instead of adding more. |
| 2 | Repeat the same three-session pattern. Add a small amount of time to only one session if Week 1 felt controlled. | Keep the movements slow. Use a rail, wall, or countertop for balance rather than turning every rep into a test. | Add a light pack to one easy session only if your posture stays normal. | Do not add time and load in the same session unless Week 1 was clearly easy. |
| 3 | Make one session interval-based: short moderate climbs with easy walking between them. Keep one session easy and one session steady. | Add a second set to the exercises that felt clean. Keep heel-downs especially quiet and controlled. | Use a light pack for one vertical session. | If descending stairs is the sore part, reduce stair descents and keep the climb work on a treadmill or with elevator-down repeats when practical. |
| 4 | Extend the longest vertical session. Your goal is not speed; it is learning whether you can keep producing vertical feet after the first enthusiastic stretch is over. | Keep two strength days, but stop one or two reps before form gets sloppy. | Use the pack for one steady session, not for every climb. | If your vertical-feet-per-hour number drops sharply because you are gripping rails, stomping, or rushing landings, slow down and clean up the work. |
| 5 | Build specificity. One session can be moderate intervals, one can be easy recovery climbing, and one can be a longer steady climb. | Prioritize single-leg control: step-ups, supported single-leg squat patterns, heel-downs, and hip clocks. | Carry a realistic daypack for one or two sessions. | If load makes your back, knees, or feet change mechanics, lower the pack weight before reducing the whole week. |
| 6 | This is usually the fullest home-training week. Keep three vertical sessions, with one long enough to reveal whether your target climbing rate is realistic. | Maintain strength rather than chasing soreness. Quiet, clean reps are the point. | Move toward the pack weight you expect to use, but stay below it if your form changes. | If you are still recovering poorly after 48 hours, Week 7 should become practice and consolidation, not another jump. |
| 7 | If possible, replace one cardio session with a loaded outdoor hike of at least 60 minutes. If not, do your longest controlled stair or incline session at home. | One full strength session and one lighter session are enough if the loaded hike is demanding. | Practice with the shoes, socks, and pack setup you expect to use. | This is a rehearsal week, not a punishment week. Keep enough freshness to learn from the session. |
| 8 | Taper the volume. Do two shorter vertical sessions and one early-week rehearsal at your planned climbing rhythm, then let the legs freshen up. | Use light strength only: step control, hips, trunk, and mobility. No new exercise experiments. | Use the real pack briefly, then stop adding load. | If travel, sleep, or soreness disrupts the week, choose recovery over cramming. Fitness will not appear because you panicked. |
For people training in a small apartment, the hardest part is often not fitness. It is making the plan quiet enough to repeat. If you need a no-equipment backup on a bad-weather or bad-neighbor day, use a low-impact session like this quiet apartment workout instead of forcing loud stair laps when the building is not cooperating.
The quiet strength work that actually transfers
Strength work supports the climb; it should not swallow the plan. AMC’s home hiking workout includes step-ups, heel-downs, reverse lunges off a step, single-leg squat work off a step, hip roll or clock patterns, and side plank with rotation.[8] Those choices make sense because national park hikes are not just uphill treadmill tests. They ask one leg at a time to push, brake, balance, and repeat.
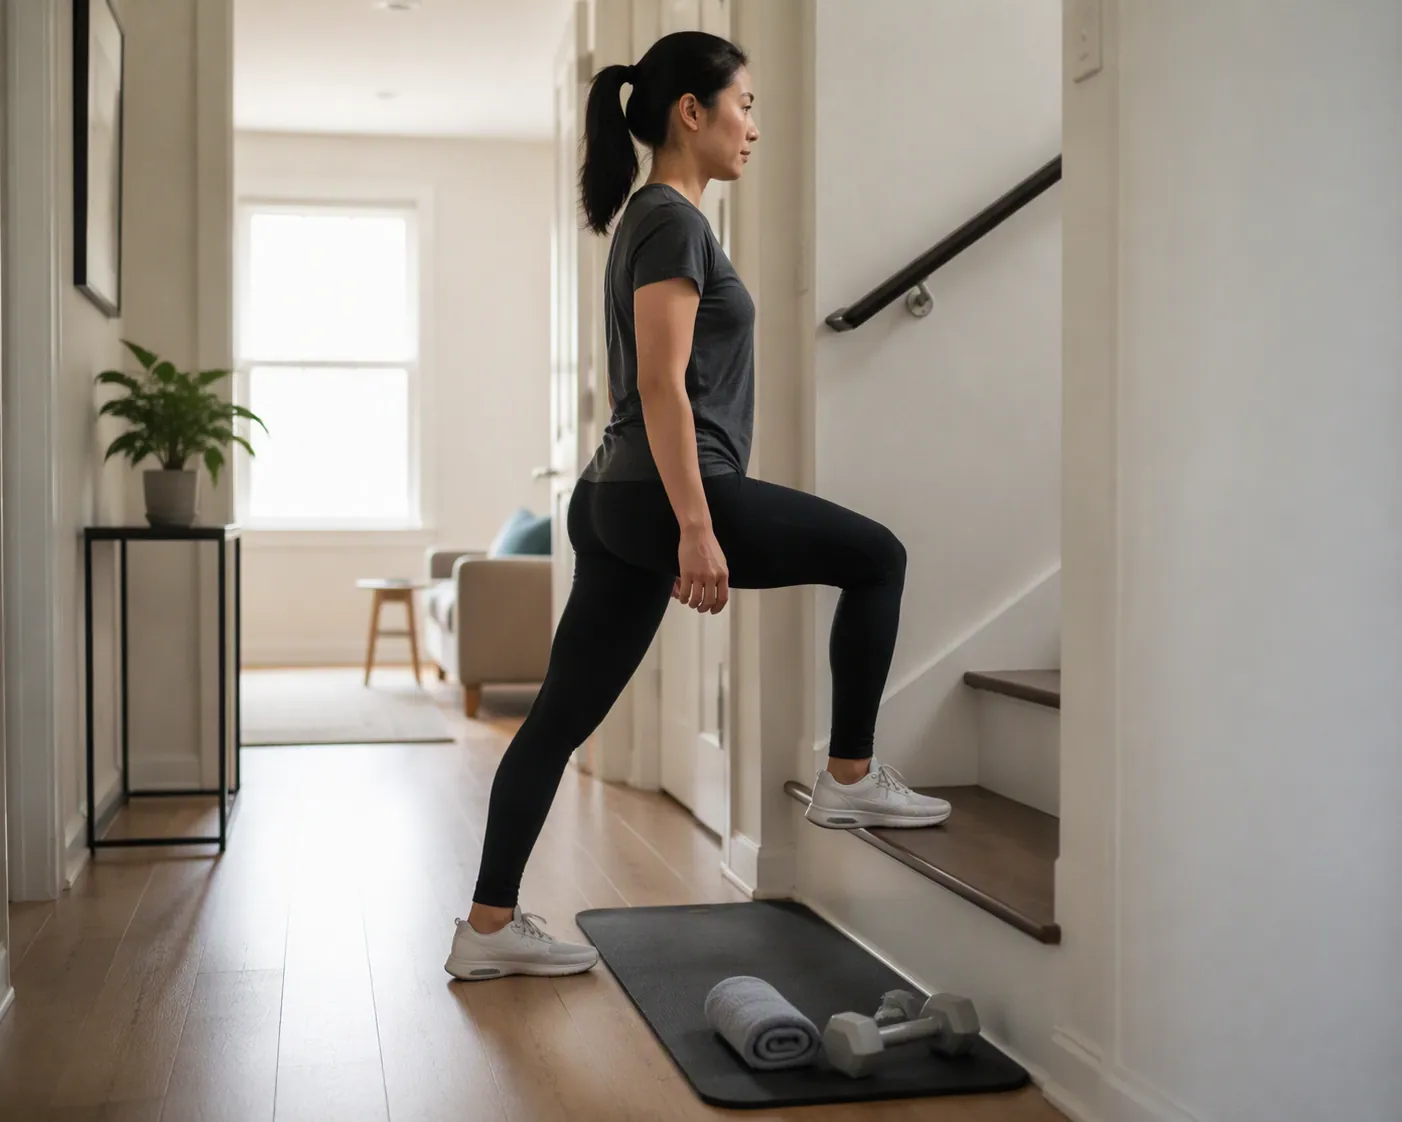
- Step-ups: train the push you need for stairs, ledges, and repeated rock steps. Keep the whole foot on the step and stand tall at the top.
- Heel-downs: train downhill control. Lower slowly until the heel taps lightly, then stand back up without dropping into the bottom.
- Reverse lunges off a low step: train hip and knee control without the impact of jumping.
- Supported single-leg squat or step-down pattern: use a wall or rail if needed. Balance support is not cheating; noisy wobbling is not better training.
- Hip clock or hip roll: teach the pelvis to stay organized when one leg is loaded.
- Side plank with rotation: build trunk control for carrying a pack and stepping over uneven ground.
Use a thin mat, folded towel, or carpet scrap under the working foot if the floor is hard. Step down like you are trying not to wake anyone. If a movement needs a stomp to finish, the step is too high, the pack is too heavy, or the set has gone on too long.
If knee history is part of your planning, keep this article in its lane. Hiking prep is not a rehab plan. For broader fitness and safety context, start with the hiking fitness and safety evidence, and get medical guidance when pain, swelling, instability, or post-surgical history changes what you can safely load.
How to check readiness by vertical feet per hour
By Week 8, the question is not whether your flat walk pace improved. The useful question is whether you can produce enough vertical feet per hour, with controlled breathing and no joint flare-up, to make the park climb feel familiar rather than shocking.
Use this simple check: divide the vertical feet you climbed in a home session by the minutes it took, then multiply by 60. That is your vertical feet per hour. Compare it with the route you are planning and the amount of climbing time you realistically expect. If the math says your planned hike would require a much faster climbing rate than you have practiced, believe the math before you believe your flat-ground confidence.
| If Week 8 shows this | Adjust this first | What it means for the hike |
|---|---|---|
| You can hit the climbing rate only while unloaded | Reduce pack weight in training and on the hike if possible | Your legs may be ready for the climb, but your carried load is still a limiter |
| You can climb steadily but descending stairs irritates your knees | Keep uphill conditioning, reduce stair descents, and emphasize heel-downs and controlled step work | A route with a long descent may need more caution than the climb alone suggests |
| Your breathing is fine but calves or feet fail early | Reduce incline or step rate and build longer easy sessions | The cardiovascular system may be ahead of the lower-leg tissue |
| Your vertical-feet-per-hour number is far below the route demand | Choose a shorter objective, allow more time, or change the route | This is useful information, not failure |
| You are sore, sleep-deprived, and trying to cram | Taper and recover | The final week is for arriving functional, not for proving discipline |
Recovery does not need to be elaborate, but it does need to exist. In the last week, keep walking, light mobility, sleep, and easy range of motion in the plan. If you want a fuller template for the non-training pieces, use a simple post-workout recovery routine at home rather than adding more stair laps because the trip suddenly feels close.
For a much harder endurance objective, the same home tools can be scaled into a longer plan, but that is a different animal. A mountain ultra-style build, like a Leadville 100 home training plan, uses the same kind of constraint thinking with far more time and volume. A national park hike does not need that level of ambition to benefit from the vertical-feet approach.
Eight weeks cannot guarantee a perfect day in heat, wind, altitude, crowds, or bad sleep. It can, however, make the main demand visible. If you have found the trail’s gain, practiced producing vertical feet at home, carried a realistic pack, and trained the quiet single-leg control that protects the descent, you have prepared the right system far better than someone who only counted miles.
References
- Visitor Use Statistics Dashboard, National Park Service.
- National Parks 2025 Data, GearJunkie.
- Appalachian Trail: 16.9 Million Visits in 2025, Appalachian Trail Conservancy.
- How to Train for Hiking Without Mountains, Outdoor Adventure Training, February 8, 2025.
- Treadmill Hiking Workouts, REI.
- How to Train for Hiking, REI.
- Conditioning for Backpacking & Hiking, REI.
- A Home Workout to Stay in Hiking Shape, Appalachian Mountain Club.
What a small equipment investment adds
We don't have a build tagged to this exact tier yet. Browse all builds.
How often should you repeat this?
See our recovery and rest reference for citation-anchored rest-interval guidance.
Spot something off?
Tell us if a movement, tier assumption, or duration didn't match your experience.