
Pec Injury Rehab Exercises at Home
A four-phase pec strain rehab progression — isometrics, bodyweight loading, eccentric work, and light resistance — using only equipment you already own. Learn how to safely rehab a grade 1–2 pec injury at home without clinic visits.
- Equipment tier required
- none
- Duration
- 15 min
- Difficulty
- beginner
- Target area
- chest
If you felt a sharp pull in your chest during bench press, push-ups, dips, or a heavy dumbbell press, the first job is not to find the hardest rehab drill. It is to decide whether this belongs at home at all. This plan is for likely grade 1–2 pec strains: sore, protective, maybe weak, but still usable. If there was an audible pop, visible chest or armpit deformity, rapid bruising, major weakness, or you cannot push your arm forward without the injured side giving out, stop here and get medical care. Complete ruptures are a different problem and may need surgical consultation, not another band exercise in the hallway.[1]
For the milder end of the spectrum, the useful question is simple: what can you do today that keeps the pec moving without reopening the strain? A grade 1 pec strain is often discussed in the 2–3 week range, while grade 2 strains are commonly framed closer to 4–8 weeks, though age, training history, nutrition, and the exact injury all change the pace.[2] That timeline is not a permission slip to rush. It is a guardrail against panicking on day three or trying to test your old bench number on day ten.
The Rules Before the Exercises
Use pain as a brake pedal, not as a dare. A common clinical guideline is to keep rehab exercise pain at or below 4 out of 10.[3] That does not mean 4/10 is a magic biological threshold. It means you should not be grimacing, guarding, or feeling symptoms ramp up set after set. Pain should settle back down after the session, not hang around sharper than before.
Move by phase criteria more than the calendar. You earn the next phase when the current work is controlled, symptoms stay inside the pain boundary, and the next day does not punish you for being impatient. If a movement creates a sharp tug across the chest or into the front of the shoulder, regress the angle, shorten the range, lower the resistance, or stop.
Acute care is also awkward with pec injuries. Rest, ice, compression, and elevation are often discussed for strains, but compression is not as clean on a chest wall as it is on an ankle or calf.[4] You can manage swelling and irritation, but you probably are not going to wrap your pec into submission. The better early win is controlled, pain-limited movement.
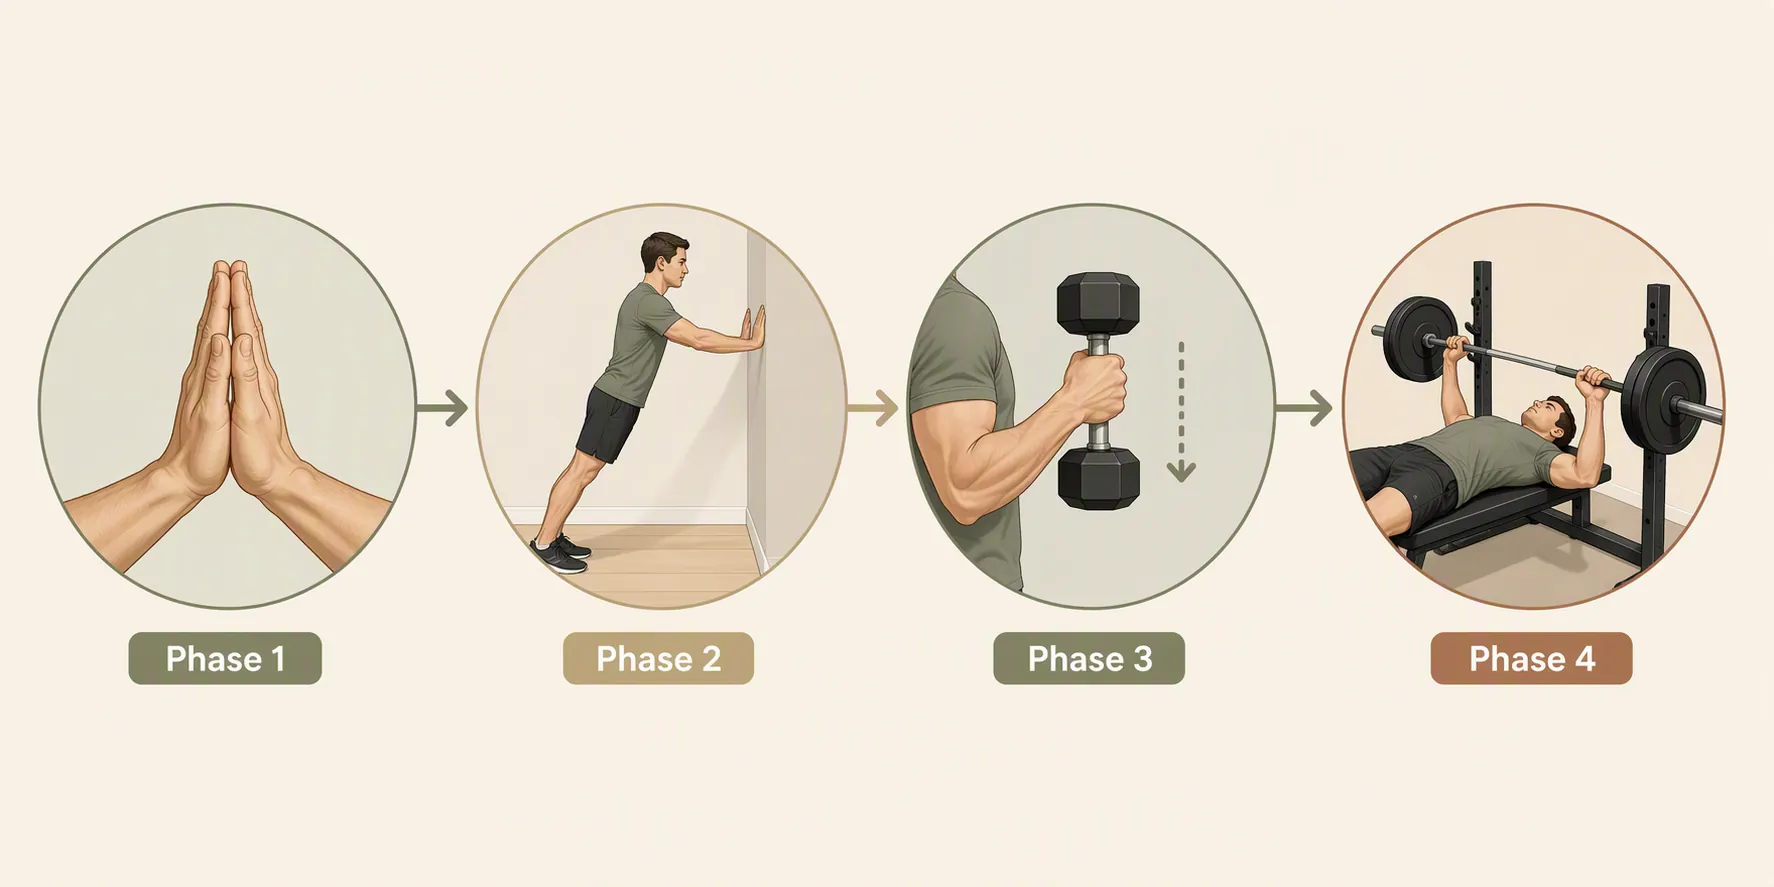
| Phase | Usual timing | Main job | Home equipment |
|---|---|---|---|
| Phase 1 | Days 1–7 | Calm symptoms and restore pain-free motion | Wall, pillow, floor, broomstick |
| Phase 2 | Around week 2 | Reintroduce controlled pushing | Wall, counter or bench, light band |
| Phase 3 | Weeks 3–4 | Add eccentric and light resistance work | Light dumbbells, band, floor |
| Phase 4 | Weeks 4–6+ | Return to normal pressing gradually | Bench, dumbbells, bands, bodyweight |
Phase 1: Isometrics and Pain-Free Motion
The first phase is where a lot of lifters go wrong in opposite directions. One person freezes the arm against the ribs for a week and comes back stiff, nervous, and weaker. Another person decides light pain is proof the pec is ready and starts doing push-ups on the bedroom floor. Neither is the target.
Isometric adduction is the boring-looking work that actually belongs here. Because the joint is not moving through a large range, it can let you contract the pec without asking the injured fibers to lengthen and shorten under load. Rehab discussions commonly introduce pain-free isometric adduction within the first few days when symptoms allow it.[5][6]
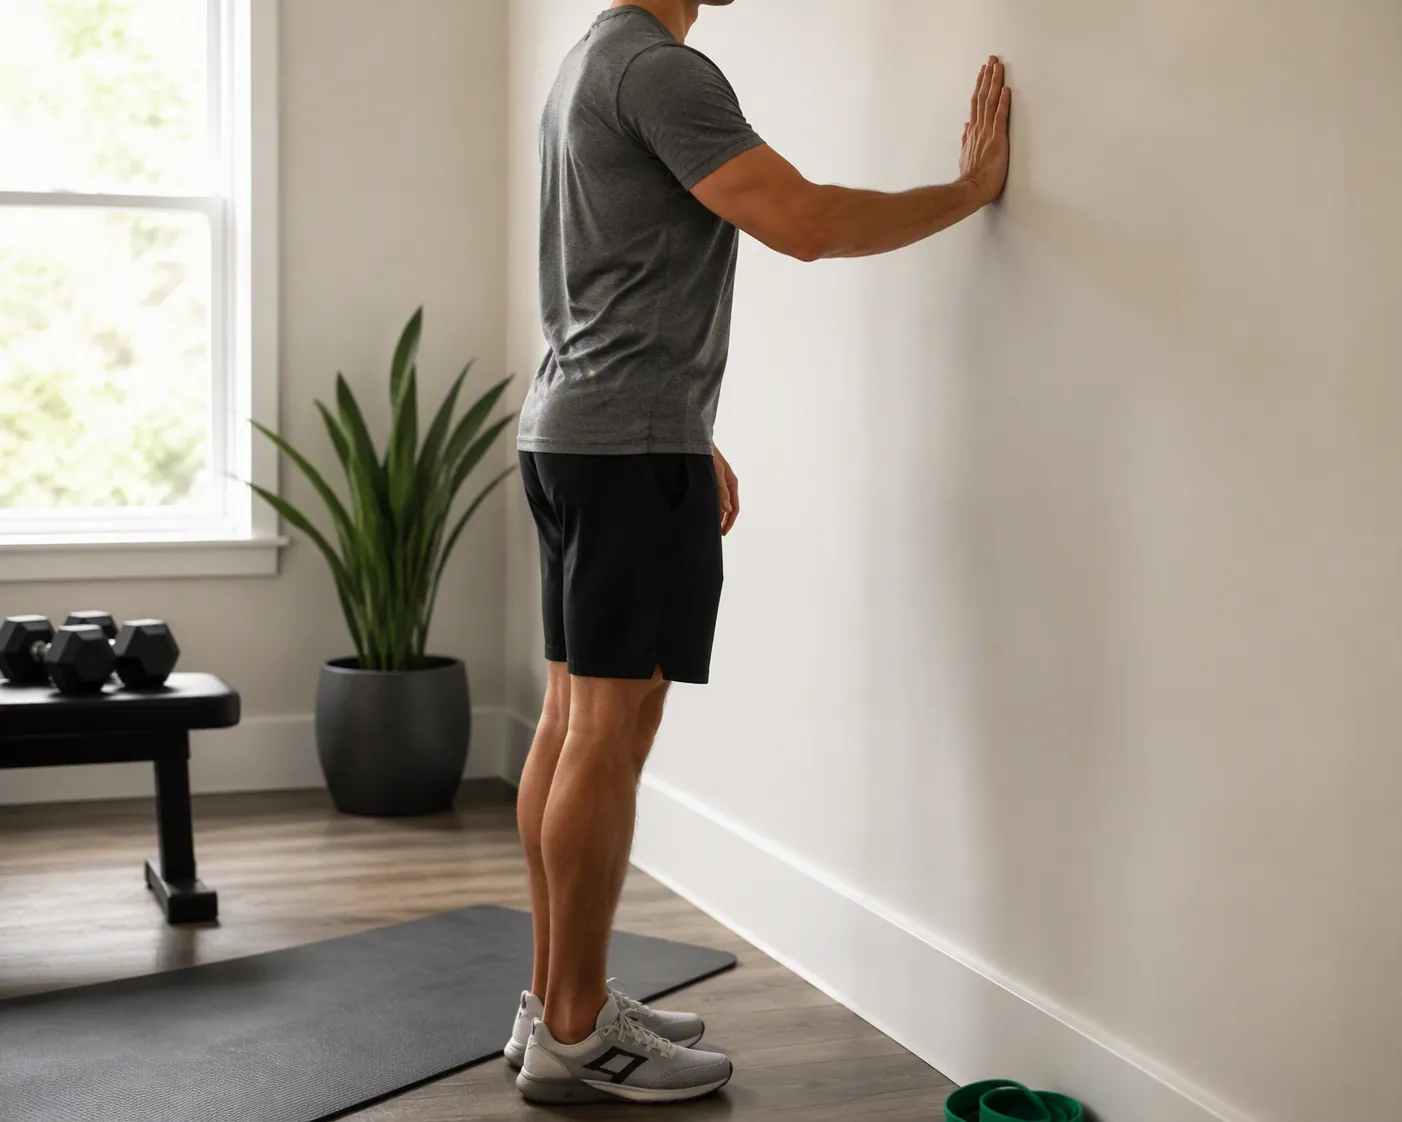
Wall Press
Stand beside a wall with the injured-side palm against it, elbow slightly bent. Press the palm into the wall as if you are trying to bring the arm across your body, but do not let the arm move. Start with a gentle effort, hold for 5–10 seconds, then relax fully. Run 5–10 reps, one or two times per day, as long as symptoms stay quiet.
The point is not to prove how hard you can press. The point is to remind the pec it can contract without a threat response. If the first rep creates a sharp grab near the armpit or sternum, back off the effort. If even a light press hurts, skip it for now and stay with the range-of-motion work.
Pillow Squeeze
Sit or stand tall and hold a pillow between your hands or forearms in front of your chest. Squeeze gently for 5–10 seconds, then release. Keep the shoulders low. If your neck is working harder than your chest, you are trying to turn a rehab drill into a max-effort lift.
Broomstick Shoulder Flexion
Lie on your back and hold a broomstick or dowel with both hands. Let the uninjured side help guide the stick overhead only as far as the injured side allows without a sharp tug. Pause, then return. This is not a shoulder mobility contest. Keep it smooth and stop before the pec feels like it is being stretched open.
Floor Y/T/A Holds
Lie face down on the floor. Make a Y shape with the arms, then a T, then an A, using small lifts and short holds. Keep the range modest. These are scapular-control drills, not rear-delt punishment. A stable shoulder blade gives the pec a better base when pressing returns.
- Stay in Phase 1 if daily tasks still create sharp pain.
- Move toward Phase 2 when isometrics are comfortable, arm motion is improving, and symptoms do not flare the next day.
- Do not stretch aggressively into the painful position just because the chest feels tight.
Phase 2: Controlled Bodyweight Loading
Phase 2 is the bridge that keeps you from jumping straight from pillow squeezes to real push-ups. The wall matters because it changes the leverage. Your body is more upright, the pec sees less demand, and you can adjust the difficulty by moving your feet closer or farther away.
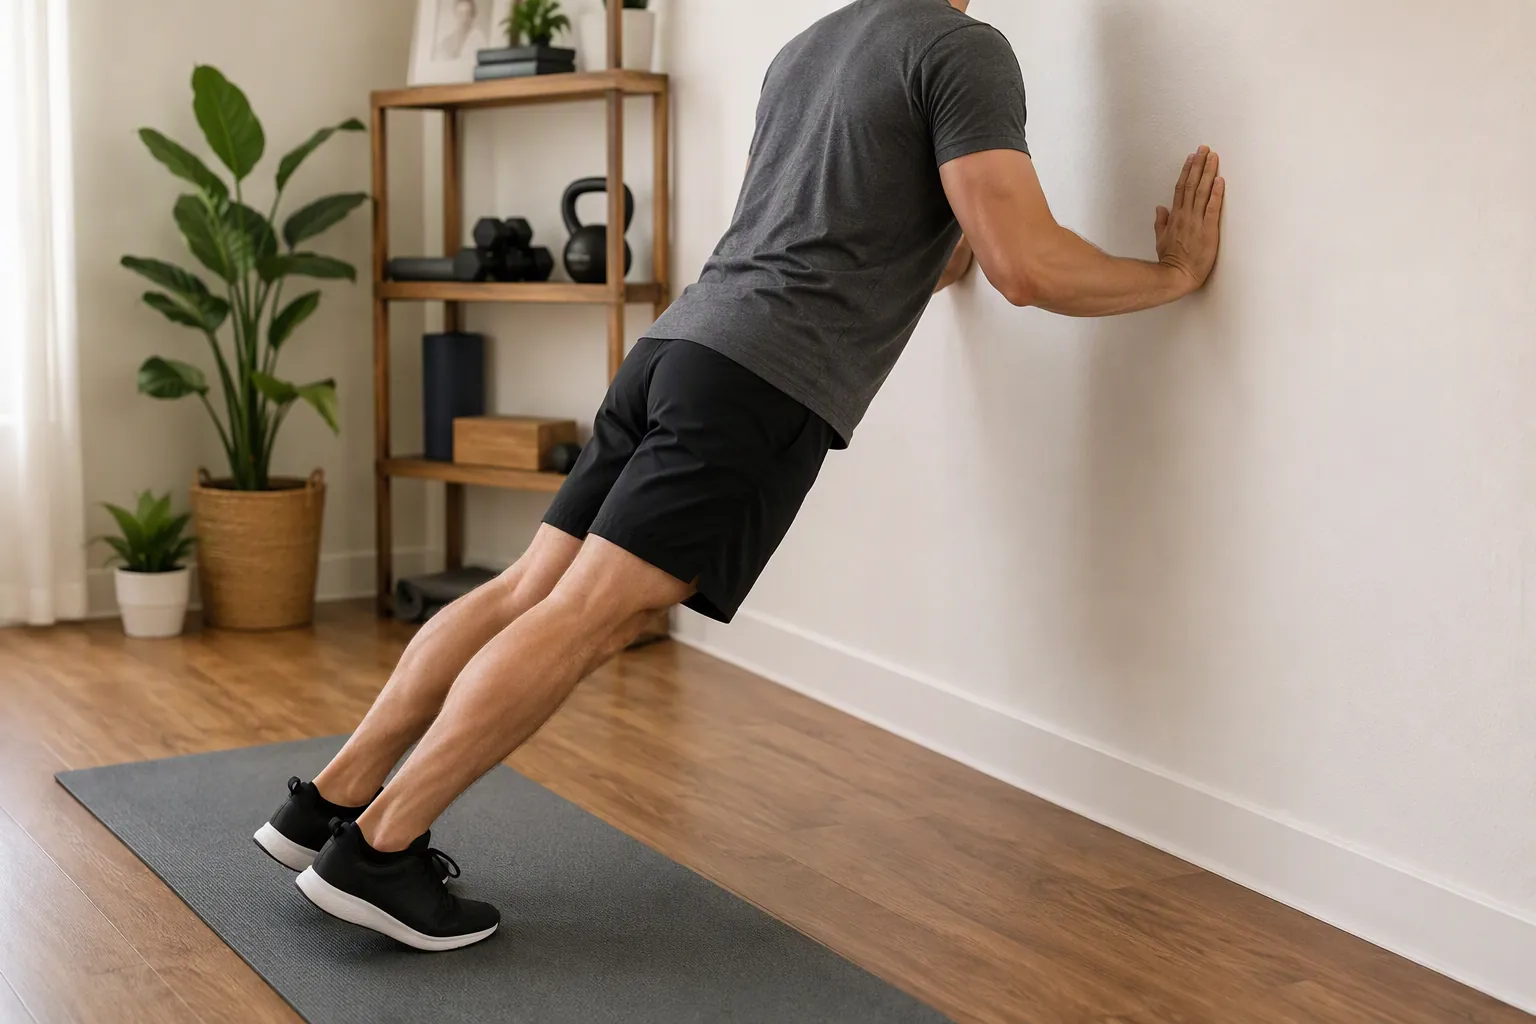
Wall Push-Up
Place both hands on the wall at about chest height. Step back just enough that you feel a mild challenge. Lower your chest toward the wall under control, pause briefly, then push away. Use sets of 6–10 reps. Stop the set if the injured side starts hesitating, pinching, or protecting.
This is still pressing, which is why it feels more honest than waving a band around. But it is not the same as a floor push-up. That is the whole point. You are practicing the pattern before you ask the tissue to tolerate the full pattern.
Incline Push-Up
Once wall push-ups are clean, move the hands to a higher counter, sturdy table edge, couch back, or bench. The lower the hands, the harder the exercise. Keep the elbows from flaring wildly, keep the shoulder blades moving, and keep the range short if the bottom position is where symptoms show up.
Light Band Horizontal Adduction
Anchor a light band to the side, or hold one end in the opposite hand if you have no anchor point. Bring the injured-side arm gently across the body. Start with a small range and slow tempo. The band should feel almost too light at first. If the movement feels snappy or unstable, it is too much tension or too much range.
Eccentric Wall Push-Up
Use the same wall push-up setup, but lower for 3–5 seconds. Push back normally. That slow lowering phase is your first controlled exposure to eccentric work without making the pec deal with a dumbbell yet. Keep the reps lower here: 4–8 good reps are plenty.
Before moving to Phase 3, you should be able to do wall or high-incline push-ups with even pressure through both arms, no sharp pain, and no next-day spike. If you are still shifting away from the injured side, stay here. The body tells on you when it does not trust the tissue yet.
Phase 3: Eccentric Work and Light Resistance
Now the rehab starts to look more like training, which is also when it gets easier to overcook. Eccentric loading has a role in tissue remodeling and confidence-building, but the load still has to live in the Goldilocks zone: enough stress to adapt, not so much that symptoms take over.[5]
Floor Dumbbell Press
Use light dumbbells. Lie on the floor so the elbows cannot drop below the torso the way they can on a bench. Start with a neutral or slightly angled grip if that feels better than a wide bench-press setup. Lower for 3 seconds, let the upper arms touch the floor softly, then press up without bouncing.
If the bottom position is sensitive, shorten the range. A partial range floor press is not cheating during rehab. It is a way to train the movement you can currently own.
Band Flye
Set a light band behind you or to the side and perform a small-range flye. Keep the elbow softly bent and avoid the deep stretched position. Most people do not need much tension here. The flye is a sensitivity check as much as a strength drill.
Controlled Full-ROM Push-Up
Return to the floor only after incline push-ups are easy and symmetrical. Start with a few clean reps, not a max set. Use a 2–3 second lower, a quiet bottom position, and a smooth press. If you feel the injured side lagging, move back to an incline for another week of volume.
- Keep most Phase 3 sets 2–4 reps away from failure.
- Increase only one variable at a time: load, range, reps, or angle.
- Cut the session if pain climbs during the workout or feels sharper the next day.
- Avoid dips, deep flyes, and heavy benching until pressing is boring again.
This is also the phase where home equipment is usually enough. A wall, floor, broomstick, bands, and light dumbbells sit comfortably in the same practical tier as a basic small-space setup. If you are trying to decide what belongs in that tier, the under $1,000 home gym guide is a better continuation than pretending you need a cable stack to rehab a mild pec strain.
Phase 4: Return to Pressing Without Pretending Nothing Happened
Returning to training is not the same as returning to your old numbers. Your first normal pressing sessions should be deliberately unimpressive. Bench press can come back as light technique work, dumbbell pressing can stay on the floor or a modest incline, and dips should wait until the pec tolerates loaded stretch without complaint.
Start with fewer sets than your normal program and leave a large buffer from failure. Add load slowly. If you bench, use a grip and range that do not drag the shoulder into a deep, stretched bottom position right away. If you use dumbbells, keep the first few sessions light enough that you could stop any rep cleanly without twisting or dumping the weights.
Dips deserve extra patience. They combine shoulder extension, pec stretch, and bodyweight loading in a way that can feel fine until the bottom position. Reintroduce them after push-ups, floor presses, and light dumbbell presses are already uneventful. Start with assisted or partial-range reps if you have a setup that allows it. If you do not, skip them longer.
How to Know You Are Ready to Move On
A good pec rehab progression does not need daily novelty. It needs repeatable checks. You are ready to progress when the current exercise feels controlled, pain stays within the agreed boundary, the injured side is not visibly avoiding work, and the next day feels the same or better.
| If this is true | Do this |
|---|---|
| Sharp pain appears during a rep | Stop the set and regress the range, angle, or resistance next time |
| Pain stays mild during the session but lingers worse the next day | Repeat the previous phase for several sessions |
| You can press evenly with no next-day increase | Add a small amount of volume or difficulty |
| Bruising, deformity, major weakness, or inability to push shows up | Get assessed by a qualified medical professional |
| Progress stalls for weeks despite conservative loading | Stop hunting for another variation and get a proper evaluation |
If you have dealt with another joint injury at home, the pattern should feel familiar: calm it down, restore motion, reload gradually, then return to training with less ego than usual. The same at-home progression logic shows up in ankle rehab exercises for apartment dwellers. Once the acute fear has passed and the harder part is staying consistent, home workout motivation after injury is the more relevant problem.
For a likely grade 1–2 pec strain, the home plan is not complicated: isometric adduction first, controlled bodyweight pressing next, then eccentric and light resistance work, then normal pressing rebuilt slowly. Keep symptoms controlled, let the phase criteria make the decision, and treat rupture signs or stalled recovery as a medical problem rather than a programming puzzle.
References
- Chest Muscle Injuries: Strains and Tears of the Pectoralis Major, Hughston Clinic
- Pec Strain Recovery, Rehab Hero
- Exercises For Pec Strains, ThePrehabGuys
- Pectoralis Major Strain, Sports Clinic NQ
- Pectoralis Major Tear Rehab, E3 Rehab
- Pectoralis Major Tear Rehab, Verywell Health
What a small equipment investment adds
We don't have a build tagged to this exact tier yet. Browse all builds.
How often should you repeat this?
See our recovery and rest reference for citation-anchored rest-interval guidance.
Spot something off?
Tell us if a movement, tier assumption, or duration didn't match your experience.