
How to Run a Youth Soccer Training Session at Home
A 15-minute solo routine can pack 500+ ball contacts — more individual touches than a full team practice usually allows — which makes simple at-home drills the highest-leverage training a 5-12-year-old can do between sessions. Parents get one realistic session built around the CDC's 60-minute daily activity guideline: a 10x10-ft setup, three-minute warm-up, two core drills, and a few minutes of juggling, run three to five times a week with no coaching background required.
- Equipment tier required
- $0-100
- Duration
- 15 min
- Difficulty
- beginner
- Target area
- lower body
- Space footprint needed
- 10x10 ft
- Noise level
- low
The strongest case for youth soccer drills at home is not that they look impressive. It is the touch math. FlickTec’s no-equipment guide says a player in a 60-minute group practice may only get about 2–3 minutes of individual ball contact, while one focused 15-minute solo session can produce 500+ contacts with the ball [1]. Treat that as a source claim, not a law of nature, but the point is hard to ignore when you have watched a kid stand in a line of eight waiting for a turn.
That is why the best home session for a 5–12-year-old is small, repeatable, and almost boring on purpose: one ball, a few flat markers, about 15 minutes, and a beginning-middle-end shape a parent can run without becoming the assistant coach. The goal is not to replace team practice. It is to give a young player more comfortable contacts on the ball between practices.
It also helps to keep the routine in the right category. The CDC says children and adolescents ages 6–17 need 60 minutes or more of moderate-to-vigorous physical activity each day, including aerobic, muscle-strengthening, and bone-strengthening activity [2]. A 15-minute ball session can be one practical slice of that daily movement. For 5-year-olds, keep the same idea but shorten or simplify anything that outruns their attention span, coordination, or safety.
The setup: small enough to repeat after school
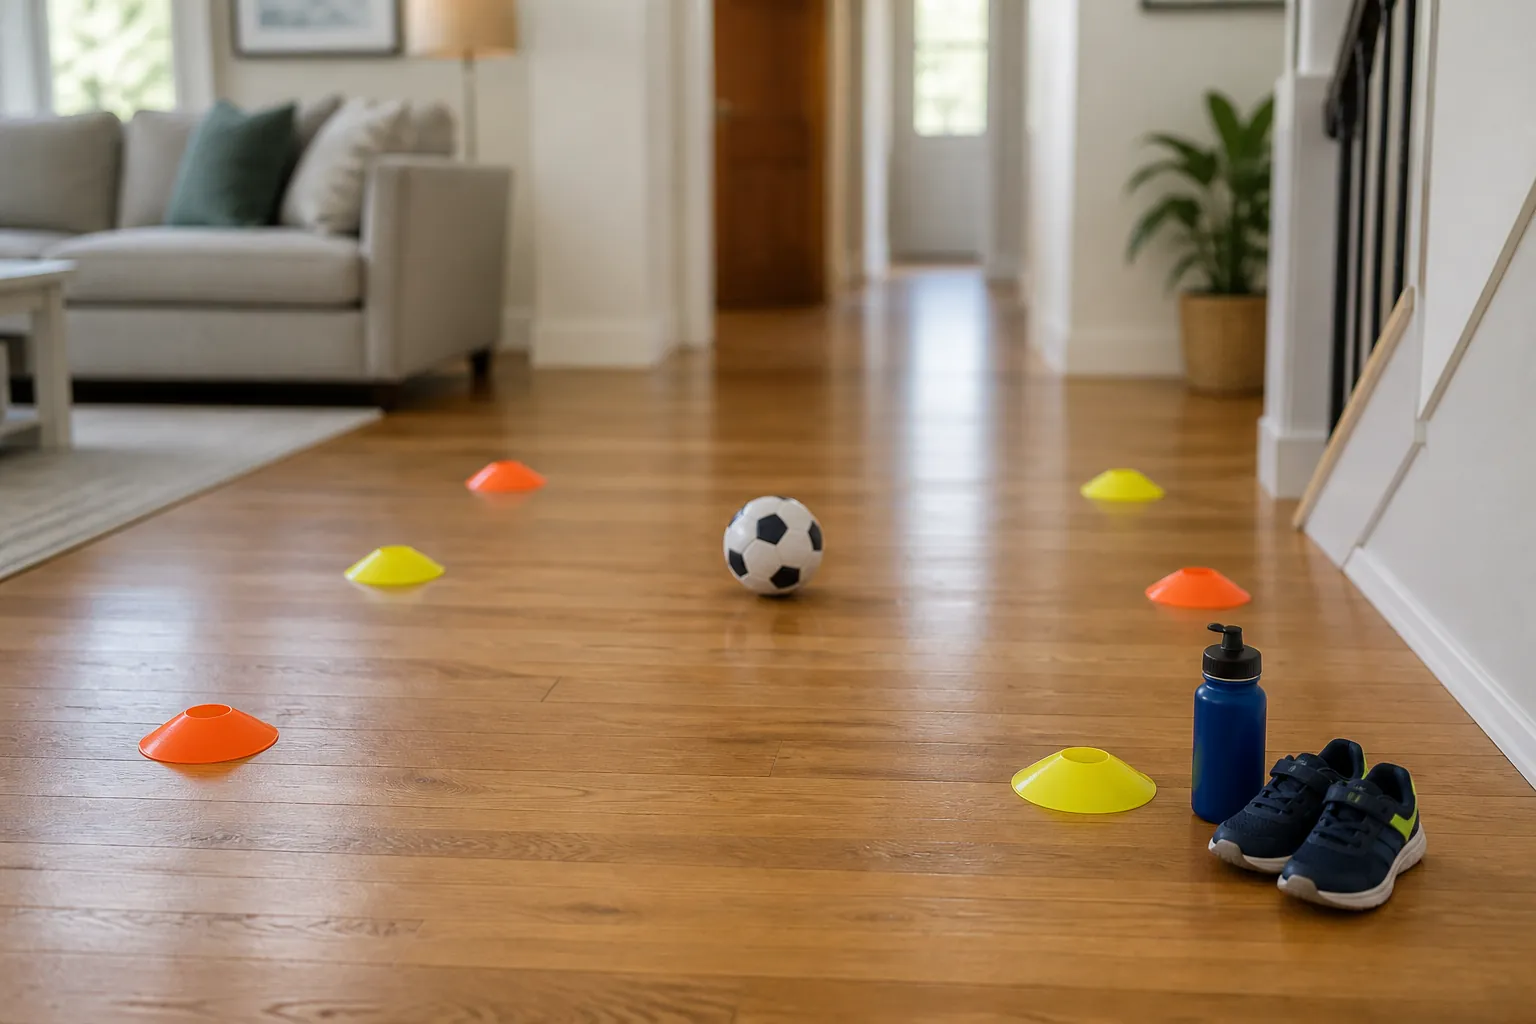
You do not need a backyard, a rebounder, or a garage full of cones. Anytime Soccer Training frames in-home work around a 10x10-ft footprint and also points to hallway ball-mastery work when space is tighter [3]. That is the right scale for this routine: big enough for controlled dribbling, small enough that the session can happen before dinner without moving half the house.
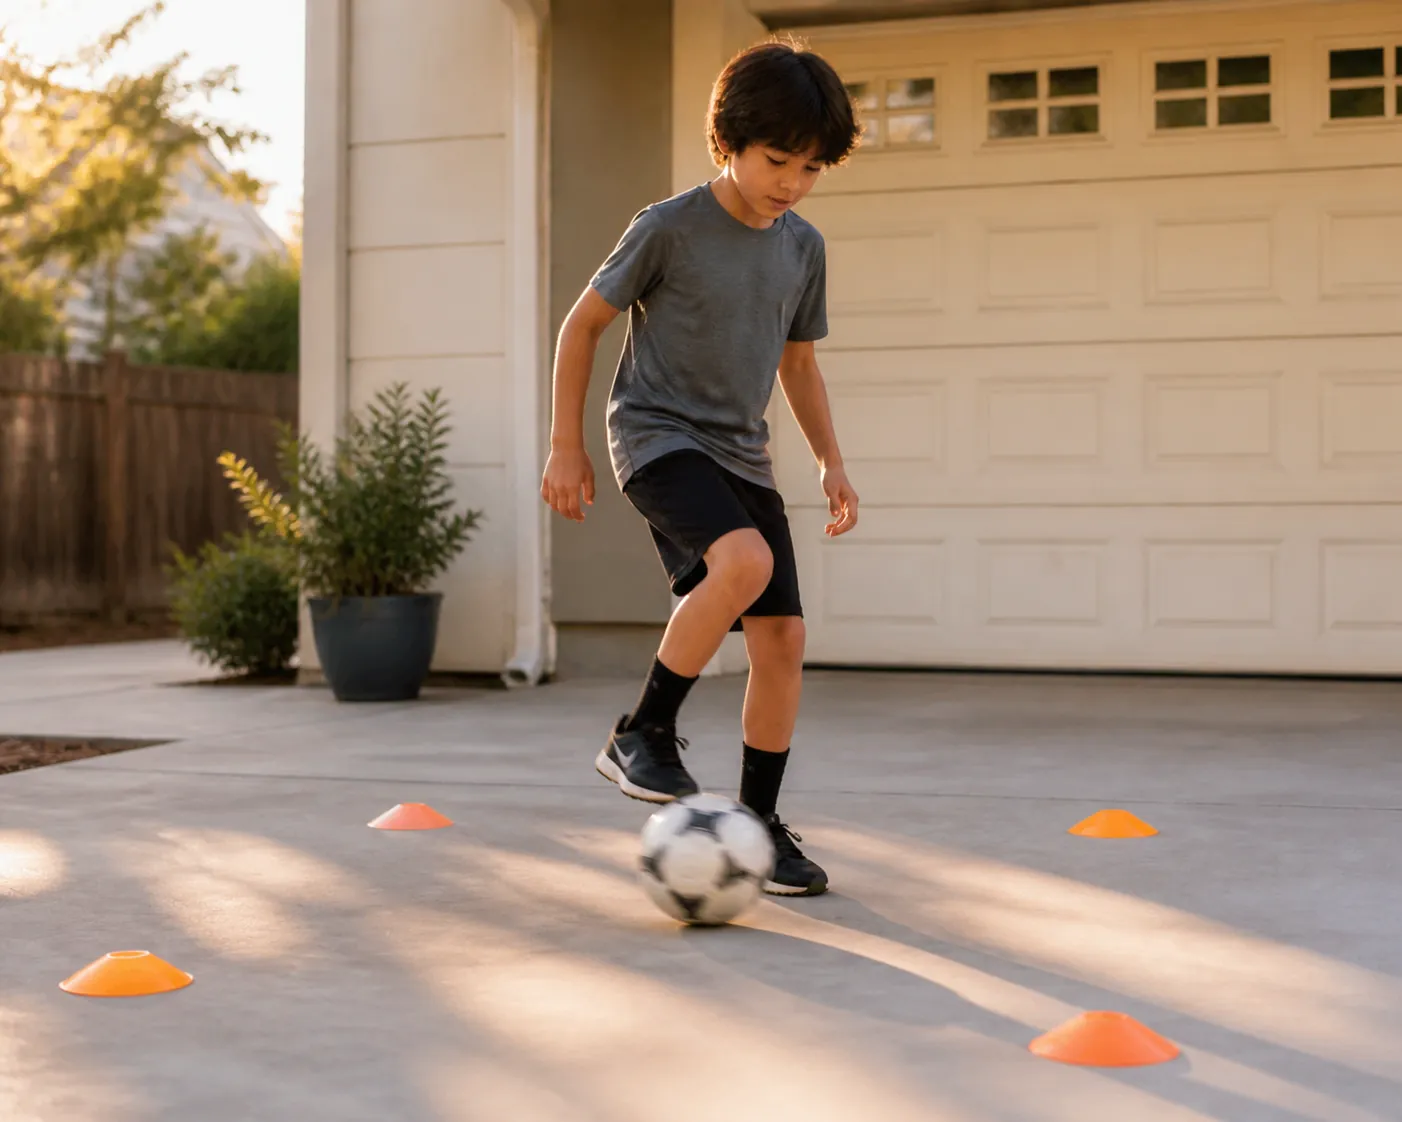
Use four flat markers if you have them. Socks, tape, paper plates, or driveway chalk can stand in. Flat matters more than fancy because young players step on things, trip over things, and occasionally forget that furniture exists.
Indoors, a lower-bounce futsal ball or softer indoor ball is the neighbor-and-furniture-friendly choice; both FlickTec and SoccerWire point toward lower-bounce or indoor-friendly balls for small-space work [1][4]. For normal soccer balls, use the right age range rather than handing a small child a full-size ball: Nike’s ball-size guide places size 3 around ages 8 and under, size 4 around ages 8–12, and size 5 from age 13 and up [5].
If the space question is the main obstacle, solve that before buying equipment. A room-by-room small-space equipment framework or a budget-phased home setup is more useful than buying training gear you cannot use quietly.
The 15-minute home session
The timing below follows the same simple shape as FlickTec’s home template: a short warm-up, a main block built around two drills, and a juggling finish [1]. The parent’s job is to start the timer, keep the space safe, and give one useful cue at a time. Most of the learning comes from the child touching the ball again and again, not from a running commentary.
| Time | Part | What the child does | Parent role |
|---|---|---|---|
| 0:00–3:00 | Warm-up touches | Toe taps and inside-inside touches | Set rhythm and check safety |
| 3:00–7:00 | Core drill 1 | Close-control box touches | Watch body shape and light touches |
| 7:00–12:00 | Core drill 2 | Marker dribble, turn, and reset | Keep it playful and reduce waiting |
| 12:00–15:00 | Juggling finish | Drop-juggle or foot-thigh catches | Count attempts, not perfection |
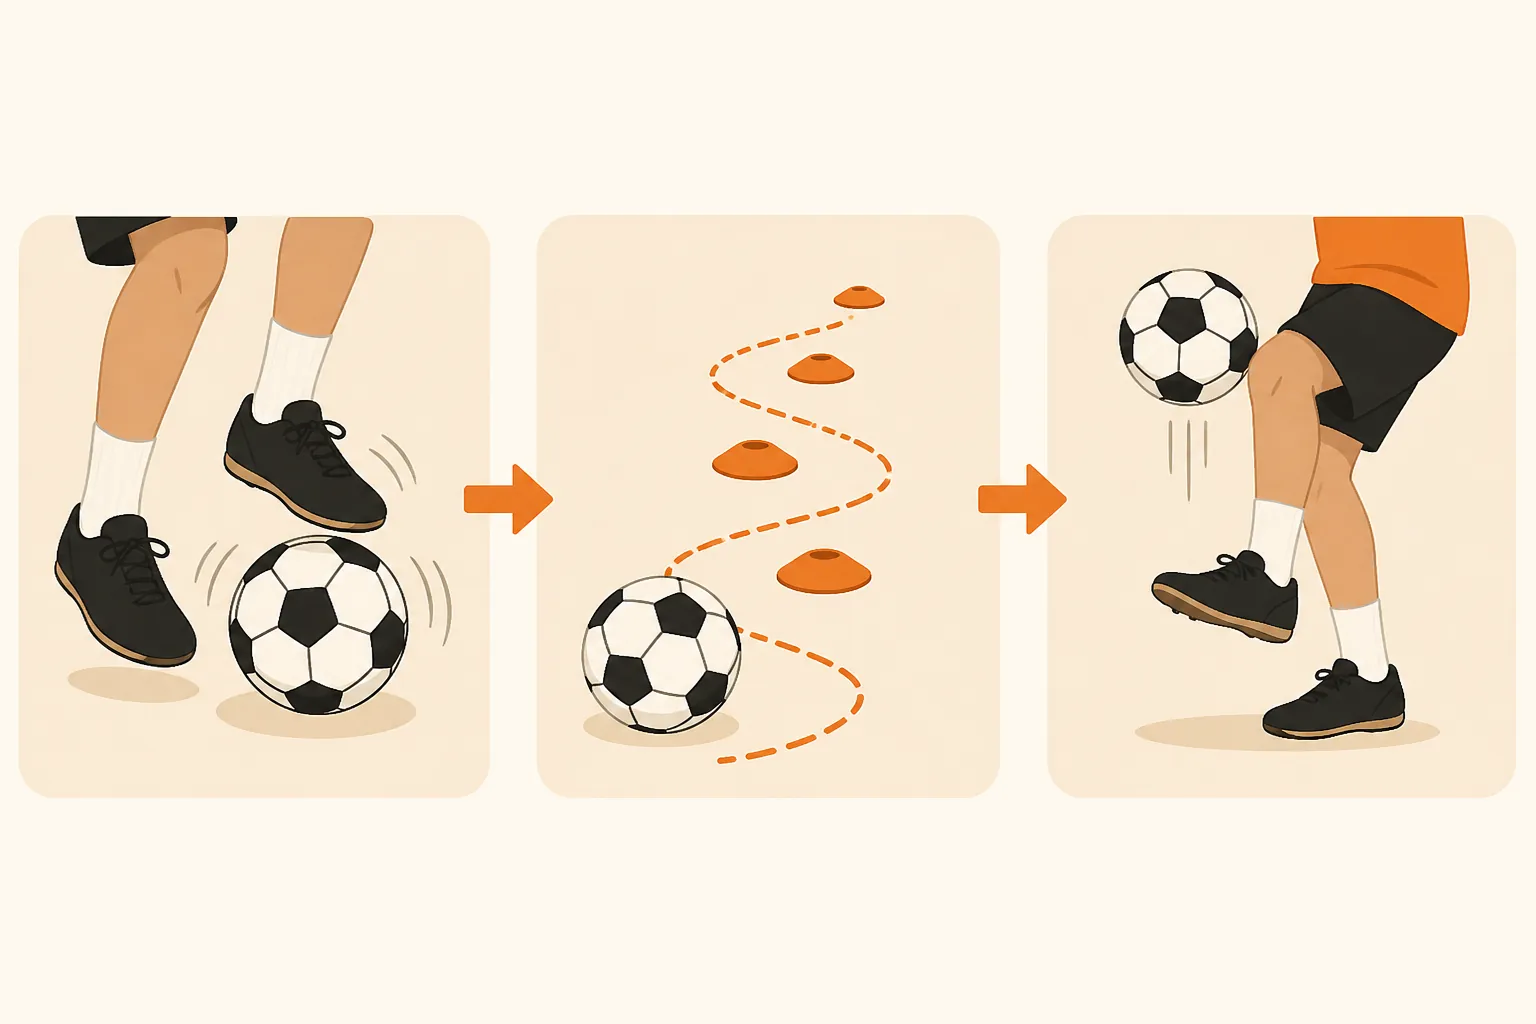
0:00–3:00 — warm up with simple ball contacts
Start with the ball still mostly under the child. That keeps the first three minutes calm and prevents the classic home-training opening: one heavy touch, one chase across the room, one annoyed parent.
- Toe taps: the child alternates feet on top of the ball, like stepping on and off a low stair. Keep the ball nearly still.
- Inside-inside touches: the child moves the ball between the insides of both feet, left-right-left-right, staying light and balanced.
- Easy movement: after 60–90 seconds, let the child slowly move forward and backward inside the square while keeping the same touches.
For younger players, the warm-up may be the first win of the session. If they can keep the ball close, switch feet, and avoid stomping on it, that is useful work. Do not rush to the “real” drill.
3:00–7:00 — core drill 1: close-control box touches
Put the child inside the 10x10-ft square with the ball. The task is simple: move around the square without leaving it, using small touches with both feet. Start with any controlled dribble, then add one skill at a time.
- Round 1: free dribble inside the square for 45 seconds. The ball should stay within one or two steps.
- Round 2: every time the child reaches a marker, they stop the ball with the sole of the foot and turn away.
- Round 3: require both feet. A right-foot-heavy player must use the left foot on purpose; a left-foot-heavy player does the same with the right.
- Round 4: call “freeze” once or twice. The child stops the ball under control, then starts again.
The parent should watch for touch size before anything else. A good home dribble is not a race across the square. It is the child learning how little force the ball needs. If the ball keeps escaping, shrink the speed before you shrink the child’s confidence.
One cue is enough. “Softer touches.” “Try the other foot.” “Head up once before you turn.” Pick one and let the next 30–45 seconds do the teaching. A driveway is not a coaching license exam.
To make it easier, remove the turn and let the child dribble freely. To make it harder, ask for a sole stop at each marker, an outside-foot turn, or a brief glance up before changing direction. If the drill turns into a lecture, it has already gotten too complicated.
7:00–12:00 — core drill 2: marker dribble, turn, and reset
Now the square gets a route. Place two markers about a few steps apart inside the space, or use the two far corners of the square. The child dribbles to the marker, turns, dribbles back, and resets. This is where the session starts to feel like soccer work without needing a field.
- Dribble from the start point to the marker with small touches.
- Stop or turn the ball before it reaches the marker, not after it rolls past.
- Accelerate for two or three steps back to the start point.
- Reset the body, then repeat.
This drill teaches a useful habit: control before speed. Young players often want the fast part first. Let them have a little burst after the turn, but make the turn the price of admission. If the ball is under them when they change direction, the sprint back has a point. If the ball rolls three steps away, they are mostly practicing chasing.
Keep the rounds short. Forty-five seconds on, 15 seconds to breathe, then go again. A parent can add variety without changing the drill: right-foot turn, left-foot turn, sole roll, outside cut, or “choose your own turn.” The child still gets the repetition, but it does not feel like punishment.
If you are in a hallway, make this a straight-line mastery drill instead of a square drill. Dribble to a safe visual target, stop the ball, turn, and come back under control. The walls are not defenders. They are reminders to keep the ball close.
12:00–15:00 — finish with juggling, not a juggling test
Juggling is a good finisher because it changes the problem. The child has spent 12 minutes keeping the ball on the ground. Now they have to cushion, react, and reset.
For most 5–8-year-olds, use drop-juggling: hold the ball, drop it to one foot, pop it up once, catch it. Then switch feet. Older or more coordinated players can try foot-foot-catch, foot-thigh-catch, or a free juggling count. Count clean attempts, not just records. A child who gets 20 thoughtful one-touch attempts has done better work than a child who spends three minutes getting mad at a personal best.
Stop the session while the child still has a little appetite left. The easiest way to ruin a repeatable routine is to stretch a decent 15 minutes into a grinding 32 because the last touch was not perfect.
How often to run it
Three to five short sessions per week is enough structure for most families. FlickTec gives similar frequency guidance for home drills, and Anytime Soccer Training frames the same idea as consistency beating intensity, including the example that four 15-minute sessions beat one 60-minute cram session [1][3].
That framing fits real family life. A child can do this on a practice-free day, before a shower, while dinner is finishing, or as the soccer portion of a broader living-room movement day. If the weather is bad or the schedule is tight, a no-equipment living-room routine can fill the general activity gap without pretending to be soccer training.
If the child is already overloaded with team practice, games, homework, and other sports, do less. Ten calm minutes twice a week is better than a plan everyone resents by Thursday. The boring win is that the ball comes out again next week.
What improvement should parents expect?
Expect comfort before fireworks. The first changes are usually small: fewer runaway touches, quicker foot switches, less panic when the ball gets near the weaker foot, and more willingness to try a turn in practice. FlickTec says most players and parents notice better ball confidence and close control within 2–3 weeks, but that timeline should be read as coach-reported guidance from that source rather than independent proof that every child improves on schedule [1].
The repetition argument is still useful because it gives parents something visible. Lakeville Soccer Club’s home-training page uses the line that the best players get 1,000+ touches every day [6]. That does not mean a 7-year-old needs a daily quota taped to the fridge. It does mean ball comfort is built through frequent contact, and home is where many of those contacts can happen without waiting in line.
A simple way to track progress is to write down one thing only: completed sessions. If you want a second note, add one observation such as “left foot better today” or “kept ball inside square.” Avoid turning the routine into a spreadsheet of childhood. The child should feel the ball getting friendlier, not the parent getting more intense.
Where home drills stop helping
This routine develops individual technique: close control, foot coordination, comfort changing direction, and confidence touching the ball often. It does not teach a child when to pass, how to create space for a teammate, how to scan under pressure, or how to communicate in a crowded game.
Those lessons still come from team environments: club practice, pickup games, futsal, small-sided games, and matches where other players make the picture messy. A child can have beautiful touches in a hallway and still need time learning decisions against real pressure.
So use the 15-minute home session for what it does well. Set a small square. Use the right ball. Warm up with easy contacts, spend most of the time on two repeatable control drills, finish with a few minutes of juggling, and repeat it three to five times a week when family life allows. That is enough for a parent to run, enough for a child to feel, and limited enough that soccer stays something they want to come back to.
References
- 10 Soccer Drills Kids Can Do at Home with No Equipment — FlickTec
- Child Activity: An Overview — CDC, updated Dec. 4, 2025
- In-Home Soccer Training: The Complete Parent's Guide — Anytime Soccer Training
- Indoor Workouts Youth Soccer Players Can Do Anywhere — SoccerWire
- Soccer Ball Sizes — Nike
- Home Training — Lakeville Soccer Club
What a small equipment investment adds
Cable Machine Alternatives That Save Space and Money
Compare the best cable machine alternatives for home gyms – from resistance bands and pulley systems to suspension trainers and compact digital units – and find the right option for your space and budget.
Small Treadmill Buying Guide: 7 Critical Specs to Check Before You Buy
A cross-category spec primer for apartment and small-space dwellers comparing walking pads, ultra-compact folding treadmills, and full-size folding treadmills. Learn the concrete thresholds for motor HP, deck length, noise, warranty, and subscription lock-in so you can compare apples to apples.
How to Practice Basketball at Home Without Noise Complaints
Learn how to run a full basketball workout in a small apartment without noise complaints. This guide covers no-dribble handling drills, wall form shooting, and silent ball options that let you train without disturbing neighbors.
How often should you repeat this?
See our recovery and rest reference for citation-anchored rest-interval guidance.
Spot something off?
Tell us if a movement, tier assumption, or duration didn't match your experience.