
For a budget home gym setup in a small apartment, the best first purchase is usually not a machine. It is the smallest set of gear that removes excuses without taking over the room: a mat, resistance bands, and possibly a jump rope if your building and neighbors can tolerate it. That can keep the first phase under $100, then leave room to add adjustable dumbbells and a doorway pull-up bar later, and only consider folding cardio equipment once the habit has survived long enough to deserve the floor space.
That phased approach is not just a way to spend less. It is a way to avoid buying for a version of yourself who has a spare room, a forgiving downstairs neighbor, and unlimited patience for moving equipment around. Budget home gym guides from Bless'er House, RitFit, and Marcy Pro all converge on a similar idea: start small, then move through higher budget tiers as your needs become clearer, with Bless'er House framing budgets from under $100 upward, RitFit using tiers including $100, $300, and $800, and Marcy Pro explicitly recommending that beginners start small and add gradually.[1][2][3]
| Phase | Budget | What it buys | What it unlocks | Apartment check |
|---|---|---|---|---|
| Phase 1 | Under $100 | Exercise mat, resistance bands, optional jump rope | Bodyweight training, band rows, presses, hinges, mobility, low-noise conditioning | Stores in a closet, under a bed, or behind a sofa |
| Phase 2 | $100–300 | Adjustable dumbbells and doorway pull-up bar | Heavier pressing, pulling, squatting, hinging, loaded carries | Needs a safe lifting zone and a doorframe that fits the bar |
| Phase 3 | $300–500+ | Foldable treadmill or exercise bike, optional adjustable bench | Indoor cardio, broader strength angles, more progressive overload | Needs floor protection, storage clearance, and noise tolerance |
If you already know you prefer buying one complete kit at once, a separate budget home gym starter kit guide may be the cleaner route. This plan is for the person who wants the apartment to stay livable while the gym earns its place.
Phase 1: Start Under $100 With Gear You Can Hide
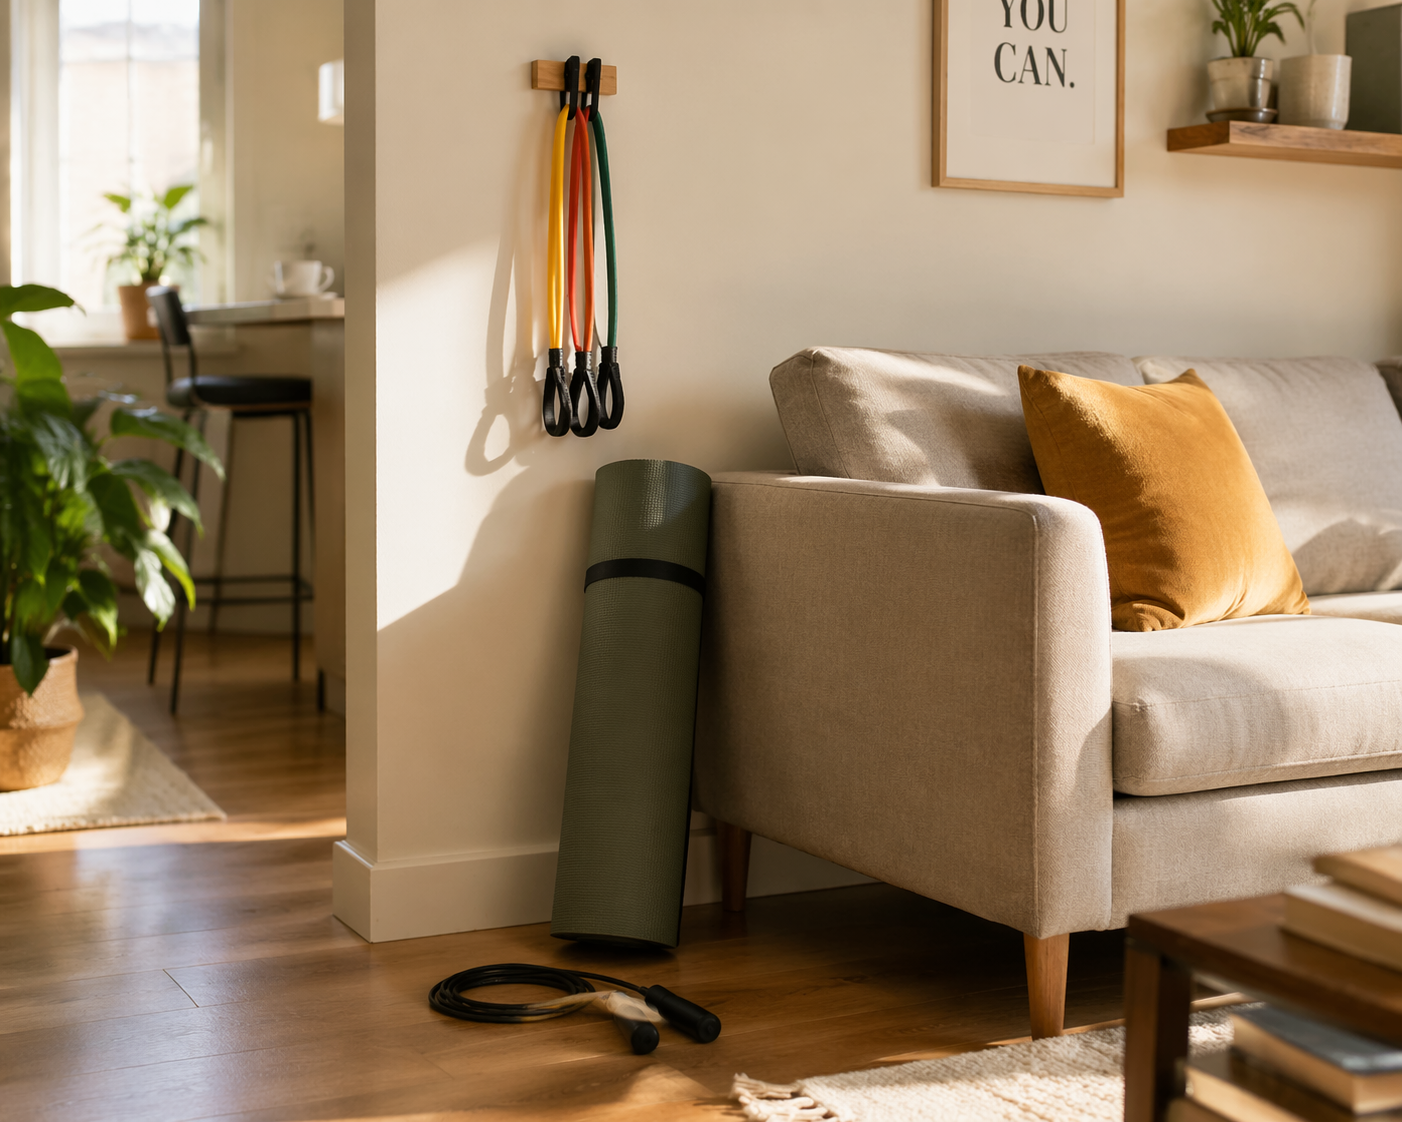
Phase 1 should feel almost boring to set up. Roll out the mat, pull out the bands, train, then put everything back where it came from. If a workout requires rearranging the apartment every time, it is already asking too much from a beginner habit.
A good first kit is simple: one exercise mat, a set of resistance bands, and maybe a jump rope. The mat gives you a defined workout surface and a little protection from hard flooring. Bands add pulling, pressing, hinge, and anti-rotation options that bodyweight alone often misses. A jump rope can be useful, but it is the least apartment-friendly item in the phase because it adds impact, ceiling clearance issues, and neighbor risk.
The resistance bands are not a consolation prize. A 2019 systematic review and meta-analysis in SAGE Open Medicine found that elastic resistance training can produce meaningful strength gains when programmed well, which is the important qualifier.[4] Bands work best when you treat them like training tools rather than warm-up accessories: choose enough tension, use controlled reps, repeat movements consistently, and make the work harder over time.
That makes Phase 1 legitimate for the first month. You can train squats, split squats, glute bridges, push-ups, band rows, band presses, Romanian deadlift patterns, dead bugs, planks, and mobility work without dedicating permanent floor space. You are not building a pretend gym; you are building the part that matters first, which is a repeatable routine.
- Buy first: a mat thick enough for your floor, a resistance band set with multiple tensions, and a storage pouch or bin if the bands do not come with one.
- Delay if needed: the jump rope, especially if you live above someone, have low ceilings, or train early in the morning.
- Store it: roll the mat behind a sofa, slide it beside a dresser, or keep the whole kit in a closet basket.
- Protect the apartment: use the mat as your default training zone so sweat, band snaps, and floor contact stay contained.
Noise deserves more attention than most starter lists give it. Garage Gym Reviews’ apartment equipment guidance treats sound and floor protection as real buying constraints, not minor details, and its apartment-focused testing and recommendations highlight how impact, vibration, and hard-floor contact can change whether gear is practical in a shared building.[5] That matters before you add a jump rope, before you drop dumbbells, and definitely before you bring in a treadmill.
If you want conditioning in Phase 1 without the rope, use quiet intervals: step-back lunges, marching high knees, shadow boxing without bouncing, squat-to-calf raises, bear crawls on a mat, or low-impact circuits. They are less cinematic than skipping rope in a sunny loft, but they are less likely to turn your workout into a building-wide announcement.
When Phase 1 Is Enough, and When It Is Time to Upgrade
Do not upgrade because the setup looks too small. Upgrade when the setup starts limiting training you are actually doing. That distinction saves money.
Phase 1 is still enough if you are training two or three times a week, learning movements, improving range of motion, and feeling challenged by band tension or bodyweight variations. It is also enough if your real goal is to make exercise automatic before you decide what kind of training you like.
Phase 2 starts making sense when the same problem keeps showing up. Maybe your legs are stronger than your bands. Maybe push-ups are progressing, but you have no satisfying pulling option. Maybe you want to load squats and hinges without buying a rack. Maybe you are ready for a program that asks for measurable weight increases instead of only harder variations.
| If this happens | It points to |
|---|---|
| Band rows feel too light even with your strongest band | A doorway pull-up bar or dumbbell rows |
| Lower-body work needs more load than bands provide | Adjustable dumbbells |
| You keep skipping workouts because setup is annoying | Better storage, not more equipment |
| You want cardio but jumping bothers the apartment | Low-impact circuits first, folding cardio later |
| You are inconsistent after several weeks | Stay in Phase 1 until the routine is clearer |
This is also where used equipment can stretch the budget, especially for dumbbells and benches. If you go that route, use a used fitness equipment inspection guide rather than treating every marketplace listing as a bargain. Rust, missing adjustment pins, cracked plastic, loose collars, and unstable benches are not small details in a one-bedroom apartment.
Phase 2: Add Adjustable Dumbbells and a Doorway Pull-Up Bar
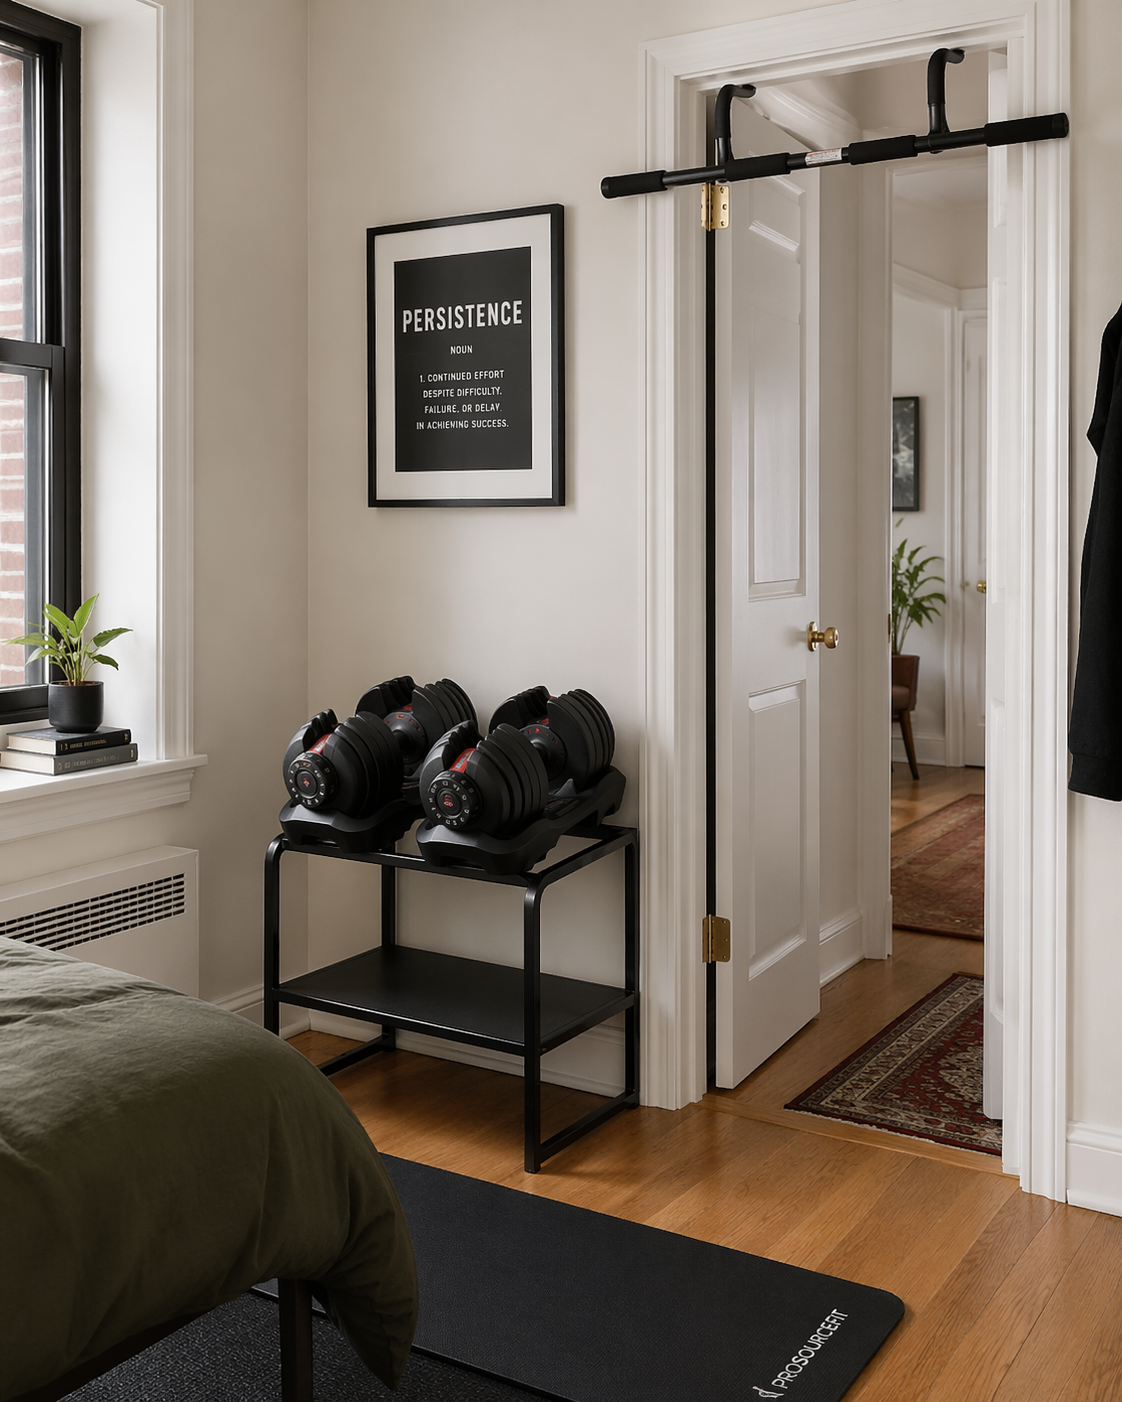
The first serious upgrade should usually be strength equipment, not cardio equipment. Adjustable dumbbells and a doorway pull-up bar expand the number of movements you can train without claiming the room all day.
For the price ranges cited here, a 5–25 lb adjustable dumbbell pair averages about $110, while doorway pull-up bars commonly fall around $27–40.[2] Together, they can still sit inside a $100–300 Phase 2 budget, depending on brand, weight range, and whether you buy new or used.
The dumbbells earn their footprint because they make progression easier to measure. You can load goblet squats, Romanian deadlifts, floor presses, overhead presses, rows, split squats, lunges, curls, carries, and core work. A fixed pair of dumbbells is cheaper upfront, but in a small apartment it often leads to a pile: one pair becomes two, then three, then the corner starts looking like a storage problem. Adjustable dumbbells are not always the cheapest object, but they are often the cheaper system.
The doorway pull-up bar is the more conditional purchase. It can unlock pull-ups, chin-ups, hanging knee raises, assisted reps with bands, and a stable anchor point for some band work. It can also be completely wrong for your apartment if the doorframe is shallow, unusually shaped, fragile, too close to furniture, or part of a lease situation where marks and pressure damage become your problem.
- Measure before buying: check the bar’s listed doorway width, trim depth, and clearance requirements against your actual doorframe.
- Test gently first: do not begin with dynamic hanging, kipping, or aggressive band anchoring.
- Pad contact points if allowed: protect trim where the bar rests, but avoid unsafe DIY changes that reduce grip.
- Keep a fallback: dumbbell rows and band rows are still valid if the bar does not fit your apartment.
A Phase 2 apartment setup needs a lifting zone more than it needs a gym corner. Clear enough floor to hinge without hitting a coffee table, press without clipping a ceiling fan, and set dumbbells down under control. If you have downstairs neighbors, assume every careless drop is louder below you than it sounds in the room.
For tighter layouts, a constraint-based compact equipment guide is more useful than another generic best-of list. Ceiling height, bed placement, door swing, and floor type can decide what is practical before price even enters the conversation.
Phase 3: Treat Folding Cardio and a Bench as Earned Upgrades
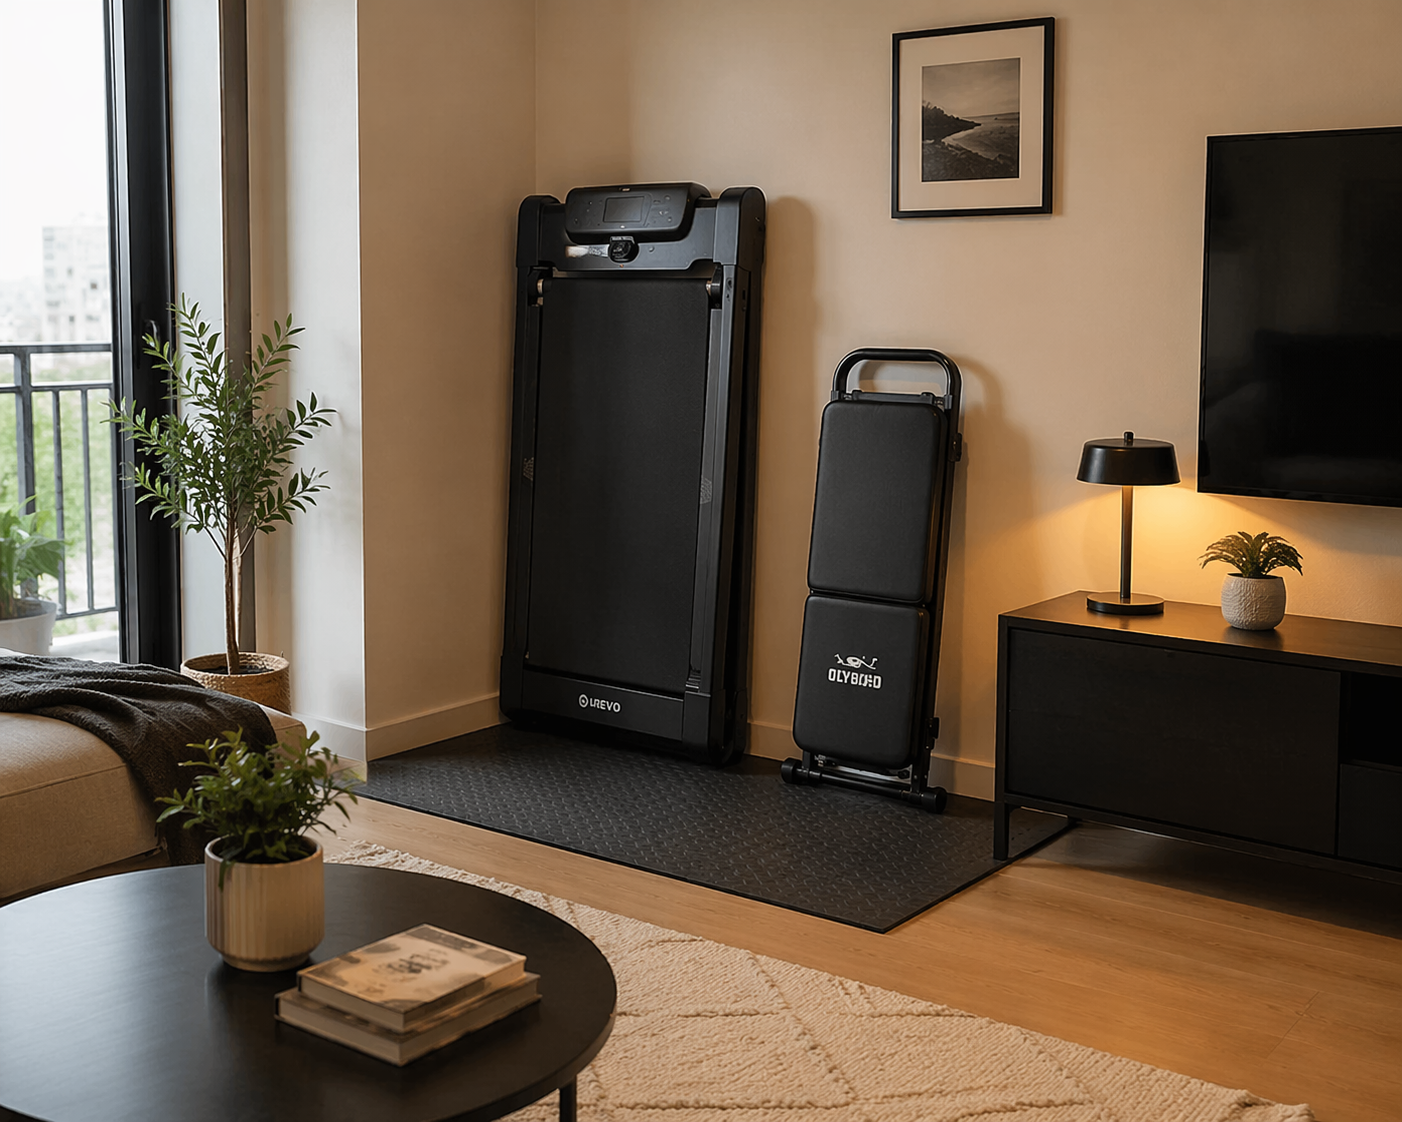
Phase 3 is where the apartment starts pushing back. A foldable treadmill, exercise bike, or adjustable bench can be useful, but none of them should be treated as proof that the gym has finally become real. They are upgrades for a routine that already exists.
A foldable treadmill averages about $247 and an exercise bike about $254, with adjustable benches commonly around $90–220.[2] That makes a Phase 3 setup possible around the $300–500+ range, but the total can move quickly once you add a floor mat, delivery costs, or a sturdier bench.
A folding treadmill solves one apartment problem and creates several others. It gives you walking or running access without leaving home, which matters if weather, schedule, or neighborhood safety keeps interrupting cardio. But it also brings motor noise, footfall noise, vibration, storage height, outlet placement, and the awkward question of where it lives when folded. A treadmill folded against the wall is still a thing in the room.
An exercise bike is often easier on neighbors because it removes foot impact, though it still takes permanent or semi-permanent floor space. For many apartments, the bike is the more realistic cardio purchase if quiet conditioning matters more than running practice. The treadmill is more specific: better for someone who already walks or runs enough to know they will use it.
The bench is less glamorous but can be the smarter Phase 3 strength upgrade. It expands dumbbell pressing angles, chest-supported rows, step-ups, Bulgarian split squats, seated presses, and supported core work. The catch is stability. A cheap bench that wobbles under load is not a bargain; in a small apartment, there may be no graceful way to fail around furniture.
- Choose a foldable treadmill if walking or running is already part of your life and weather or schedule keeps breaking the habit.
- Choose an exercise bike if low-impact, lower-noise cardio matters more than running mechanics.
- Choose an adjustable bench if dumbbell training is consistent and you need more exercise angles.
- Choose none of them yet if Phase 1 and Phase 2 still challenge you and storage is tight.
Before buying cardio equipment, decide where the machine sits during use, where it sits after use, what protects the floor, and when you can use it without creating a noise problem. Garage Gym Reviews’ apartment guidance is especially relevant here because floor protection and sound are not accessories after the fact; they are part of whether the machine belongs in the apartment at all.[5]
If you are comparing quiet, stowable choices at this stage, a guide to compact home exercise equipment for small spaces can help separate equipment that folds in theory from equipment that is actually tolerable in a studio or one-bedroom.
What Not to Buy Too Early
The easiest way to waste money is to buy equipment for completeness. A small apartment does not need a miniature version of a commercial gym. It needs a few tools that match the training you will actually repeat.
| Tempting purchase | Why to wait |
|---|---|
| Large cardio machine | It may dominate the room before you know whether indoor cardio will stick. |
| Many fixed dumbbell pairs | They spread quickly and are harder to store than one adjustable pair. |
| Bulky all-in-one stations | They usually assume more dedicated space than a small apartment can spare. |
| Extra accessories | Handles, ankle straps, sliders, and specialty bars help only after the basics are in use. |
| Cheap bench with poor stability | A bench has to feel safe under load, not just fit the budget. |
This is where budget discipline and apartment discipline are the same thing. If an item has no storage plan, no noise plan, or no clear role in your current workouts, it is not a deal yet. It is a future object you may have to step around.
For a broader purchase-sequence view, use a phased home exercise equipment guide. For a single-budget version focused on the $500 ceiling, a budget home gym under $500 guide is the better companion.
The Decision Rule
Start with the cheapest setup that you will actually use: usually a mat and resistance bands, with a jump rope only if your space can handle it. Add adjustable dumbbells and a doorway pull-up bar when consistency exposes a strength limitation, not when a shopping list makes you feel under-equipped. Add folding cardio or a bench only when the apartment can absorb the cost, storage, floor protection, and noise.
A small-apartment home gym is not a room you finish furnishing. It is a set of purchases that earn their place over time.
References
- How to Gradually Build a Home Gym for Every Budget, Bless'er House.
- Best Affordable Home Gym Equipment for Every Budget and Space in 2026, RitFit Sports.
- Home Gym Ideas on a Budget, Marcy Pro.
- Effects of training with elastic resistance versus conventional resistance on muscular strength: A systematic review and meta-analysis, SAGE Open Medicine, 2019.
- Best Workout Equipment for Apartments (2026), Garage Gym Reviews.
Comments
Join the discussion with an anonymous comment.