
Stretch or Strengthen First for Hip Soreness Recovery at Home?
Not sure whether to stretch or strengthen your sore hips? Learn a simple self-assessment to identify your soreness profile and choose the right exercises for at-home recovery.
- Equipment tier required
- none
- Duration
- 10 min
- Difficulty
- beginner
- Target area
- hips
- Space footprint needed
- small
- Noise level
- low
A sore hip makes even a simple home workout decision feel oddly high-stakes. Stretching feels like the obvious first move, especially if you have been sitting all day. But if the soreness is on the outside of the hip, or the hip feels weak and unreliable rather than tight, tugging on it may be the thing that keeps it irritated.
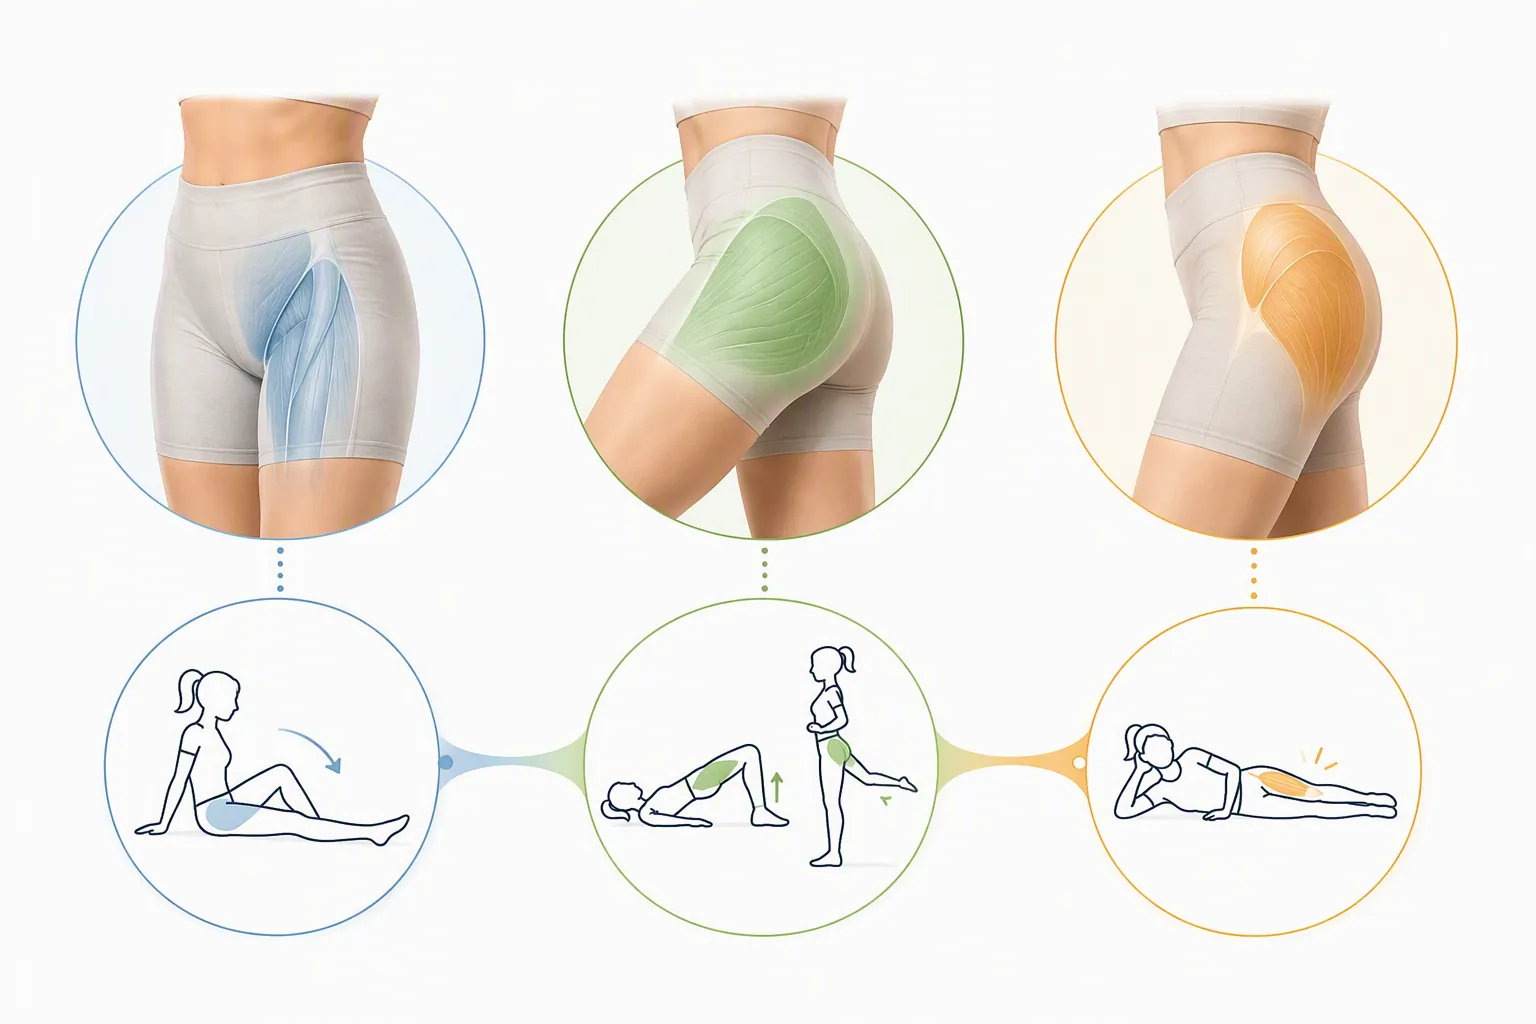
The better starting point for hip soreness recovery exercises at home is not a longer exercise list. It is a quick sort: where do you feel the soreness, and what does the hip do when you ask it to move? Pain location is not a diagnosis, but it can give a useful first clue. Front or groin-side pain often points toward hip flexor involvement; outer hip pain often raises suspicion around the gluteal tendons or bursa; buttock-side pain can come from several posterior structures, including the piriformis region or SI joint area.[1][2]
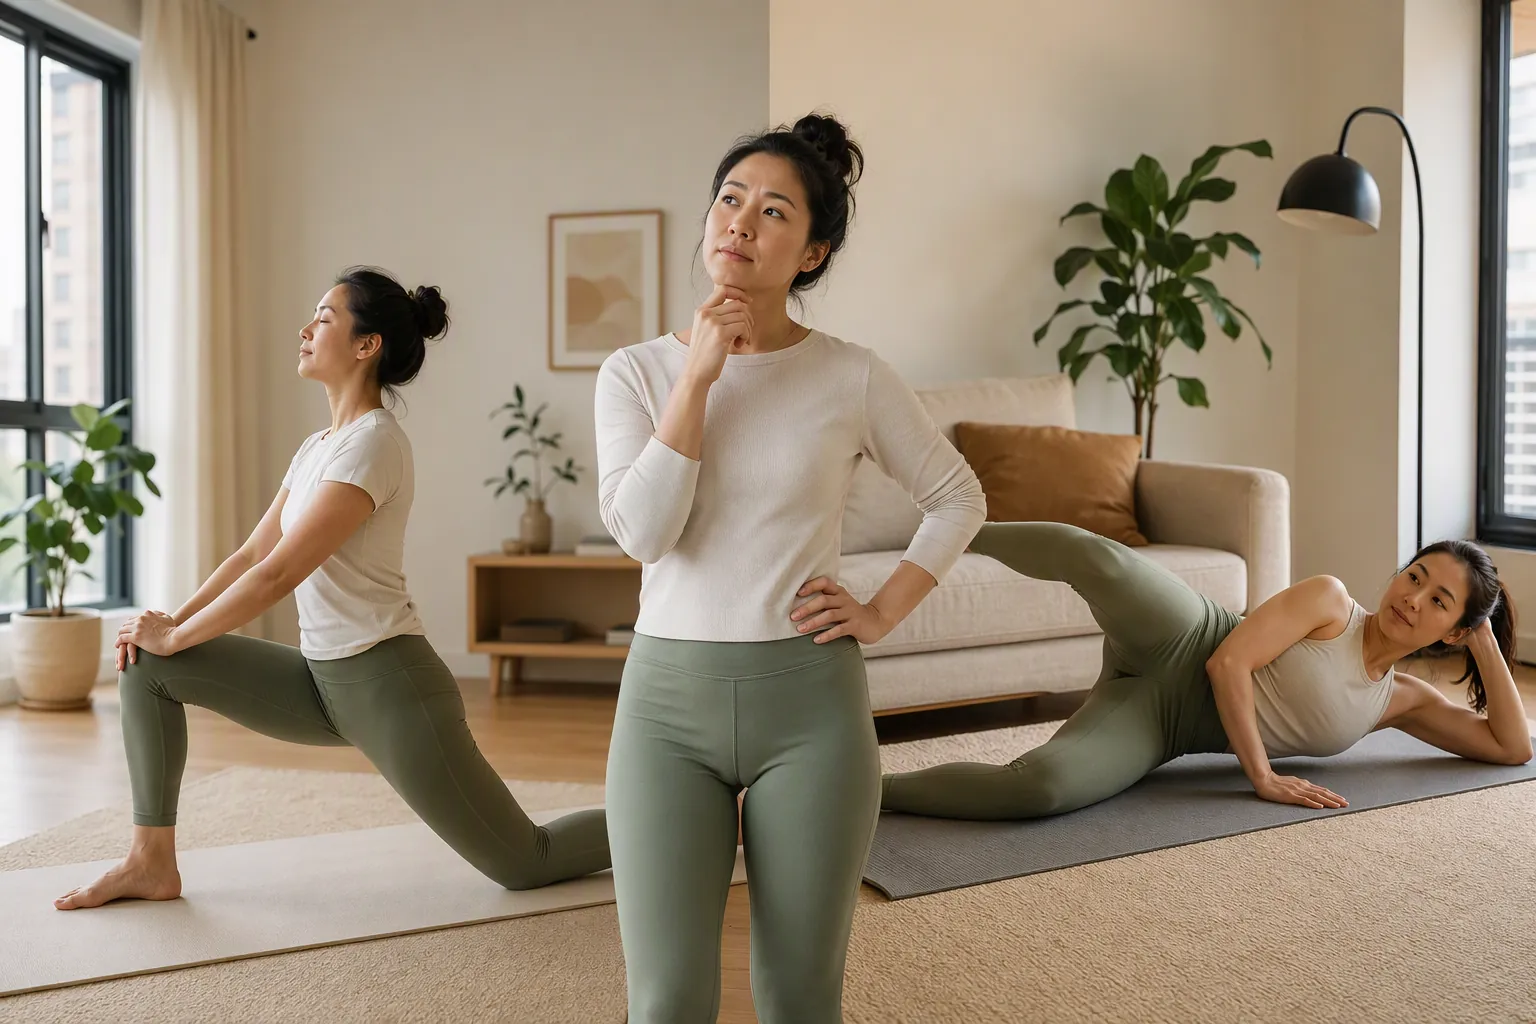
First, Decide What Kind of Sore Hip You Have
This self-check is meant for ordinary soreness, stiffness, or mild overuse discomfort. It is not for a hip that was injured in a fall, a hip that suddenly cannot bear weight, or symptoms that come with numbness, fever, spreading pain, major swelling, or worsening function. If the hip feels unstable, severely painful, or not like your usual post-workout soreness, stop here and get medical guidance.
For everyone else, take two minutes before choosing exercises. You are looking for the dominant pattern, not a perfect label.
- Point to the soreness with one finger. Front of hip or groin crease? Outer hip near the bony side? Deep buttock or back-of-hip area?
- Notice the trigger. Worse after sitting? Worse after walking, running, stairs, or lying on that side? Worse when standing on one leg?
- Try three easy movements: a half-kneeling hip flexor stretch position, a glute bridge, and a gentle side-lying outer-hip squeeze or standing wall press.
- Keep the effort low. The right first exercise should feel tolerable during the movement and no worse later that day or the next morning.
| What you notice | Most likely starting route | First choice |
|---|---|---|
| Front-of-hip tightness after sitting, with a pinchy or shortened feeling when you stand tall | Hip flexor-dominant tightness | Gentle stretching first, then light strengthening |
| Buttock or back-of-hip discomfort, weak-feeling hips, trouble controlling bridges or single-leg stance | Glute underuse or poor hip control | Strengthening first, with mobility kept easy |
| Outer-hip soreness after walking, running, stairs, or side-lying; tenderness near the bony side of the hip | Lateral hip overload pattern | Gentle isometrics first; avoid aggressive stretching early |
A useful scheduling anchor comes from the AAOS hip conditioning program: stretching exercises are commonly performed daily, while strengthening exercises are commonly done two to three days per week.[3] That does not mean every sore hip needs every stretch every day. It means stretching and strengthening are different tools, with different recovery costs. Pick the first tool based on the pattern.
Route 1: Front-of-Hip Tightness After Sitting
This is the person who stands up from a desk and feels the front of the hip resist. The first few steps may feel short. The hip may feel better after moving around. A half-kneeling stretch position feels relevant, not random.
A study of 385 young adults reported hip flexor tightness in 94.3% of participants, which is striking but should be read in context: it was a specific sample, not a U.S. population estimate.[4] Still, the finding matches what many home exercisers recognize from long sitting days: the front of the hip can adapt to the positions it spends the most time in.
If this is your pattern, stretching first is reasonable. Keep it gentle enough that you can breathe normally and keep the pelvis controlled. The common mistake is leaning hard into the low back and calling it a hip flexor stretch.
Start Here
- Half-kneeling hip flexor stretch: hold 20 to 30 seconds per side. Lightly tuck the pelvis, keep the ribs stacked over the hips, and stop before the stretch becomes sharp.
- Glute bridge: 2 sets of 8 to 12 reps. Use it after stretching so the hip learns to extend with the glutes, not just hang on the front of the hip.
- Easy walk break: 3 to 5 minutes after long sitting blocks, especially before a workout.
For the first week, treat the stretch as a daily reset and the bridge as a light activation drill. In the second week, keep the stretch, then add a slightly slower bridge tempo or a brief pause at the top. If the front of the hip starts feeling sharper, bruised, or painful with lifting the knee, back off and consider whether this is more than ordinary tightness; hip flexor strains can require more careful recovery than a mobility routine.[5]
Route 2: Buttock Soreness or a Hip That Feels Weak
Some hips do not feel tight first. They feel underpowered. The soreness sits more in the buttock or back of the hip, and the uncomfortable moment may show up when you climb stairs, stand on one leg, squat, or try to bridge. Stretching may feel pleasant, but it does not change the problem for long.
For this profile, start with strengthening. The goal is not to crush the glutes with a hard workout. It is to give the hip a small, repeatable job it can complete without flaring up.
Start Here
- Glute bridge: 2 to 3 sets of 8 to 12 reps. Pause for one second at the top and keep the effort in the buttocks rather than the low back.
- Side-lying clamshell: 2 sets of 8 to 10 reps per side. Keep the pelvis from rolling backward.
- Supported single-leg balance: 2 rounds of 20 to 30 seconds per side, using a wall or chair as needed.
Do this route two to three days per week at first, matching the general strengthening frequency used in hip conditioning guidance.[3] On the days between, easy walking and gentle mobility are fine if they do not increase symptoms.
In week two, progress only one variable: add a set, add a small pause, or make the balance drill slightly less hand-supported. Do not add all three. If buttock pain travels down the leg, comes with numbness or tingling, or behaves more like nerve pain than muscle soreness, stop treating it as a home glute-strength problem.
If your hip soreness is tied to a specific sport or home routine, the same sorting idea still applies. Runners can compare this with the hip and glute work in the apartment marathon training plan, while grapplers may recognize the bridge and hip-control demands from apartment-safe BJJ drills. The recovery choice still comes before the workout choice.
Route 3: Outer-Hip Soreness After Walking, Running, Stairs, or Side-Lying
Outer-hip soreness deserves more caution than it usually gets. This is the soreness near the bony side of the hip, often noticeable when lying on that side, walking longer than usual, climbing stairs, or standing with the hip dropped to one side. It may tempt you into a strong cross-body stretch. That is often the first move to question.
In lateral hip pain patterns such as greater trochanteric pain syndrome, the involved tissues are often gluteal tendons and nearby bursal structures rather than a simple tight muscle.[2] A review reported a 90% success rate for conservative treatment when the correct type of exercise is selected for trochanteric bursitis or gluteal tendinopathy, citing Rowand and Mackler’s 2009 work.[2] That is not a promise that every outer-hip ache resolves with one drill. It is a good reason to stop treating every side-hip complaint like it needs to be stretched harder.
Hinge Health physical therapy guidance for hip tendonitis and bursitis similarly emphasizes gentle strengthening rather than aggressive stretching as the primary recovery tool.[6] At home, that usually means starting with isometrics: the muscle works, but the joint does not move much.
Start Here
- Standing wall press: stand side-on to a wall with the sore hip away from the wall. Press the opposite knee gently into the wall and hold 10 to 20 seconds. You should feel the outer hip work without sharp pain.
- Side-lying pillow squeeze: lie on the less sore side with a pillow between the knees and gently press the top knee down into the pillow for 10 to 20 seconds.
- Short, flat walking: keep it below the distance that reliably increases symptoms later.
For week one, use one or two isometric options every other day. Keep the effort around moderate, not maximal. If the hip is more painful that night or the next morning, reduce the hold time or skip a day.
In week two, progress toward controlled strengthening only if the isometrics are clearly tolerated. A small-range side-lying leg lift or supported standing hip abduction can be enough. Avoid deep hip adduction stretches, hard foam rolling directly over the sore bony area, and long side-lying pressure early on. The goal is to restore load tolerance, not win a mobility contest.
A Simple Two-Week Home Plan
Choose one route. Do not run all three at once unless a clinician has told you to. A sore hip rarely needs a full menu; it needs the right dose of the right thing.
| Profile | Week 1 | Week 2 |
|---|---|---|
| Front-of-hip tightness | Daily gentle hip flexor stretch; light bridges 2 to 3 days | Keep the stretch; add a bridge pause or one extra set if symptoms stay calm |
| Weak-feeling buttock or hip control | Bridges, clamshells, supported balance 2 to 3 days | Progress one variable: set, pause, or support level |
| Outer-hip lateral soreness | Gentle isometrics every other day; avoid aggressive stretching | Add small-range strengthening only if symptoms do not increase |
Use a simple response rule: discomfort up to a mild, tolerable level during exercise can be acceptable, but symptoms should settle and should not be worse the next morning. If the hip keeps getting more irritable, the exercise is too much, too soon, or the problem is not ordinary soreness.
When Stretching Is the Wrong First Move
Stretching has a strong emotional pull because it gives immediate feedback. You feel the tight place. You do something to it. Sometimes that is exactly right, especially for the front-of-hip pattern after sitting. But outer-hip soreness and weak-feeling hip control are different problems. One may need calm tendon loading before mobility. The other may need better force production before more range.
A conservative home routine should reduce the number of bad first decisions. Stretch first when the pattern looks like hip flexor tightness. Strengthen first when the hip feels weak or underactive. Use gentle isometrics first when soreness is lateral and irritable. Then judge the plan by the hip’s response over the next 24 hours, not by how satisfying the exercise feels in the moment.
Stop and Get Help If the Pattern Does Not Fit
Home recovery advice has a boundary. Seek medical evaluation if hip soreness follows a fall or direct trauma, causes severe pain, prevents weight bearing, comes with numbness or tingling, includes fever or major swelling, worsens despite reducing activity, or does not improve with a conservative two-week reset. Cleveland Clinic’s hip flexor strain guidance also treats severe pain, swelling, weakness, and difficulty walking as reasons to get assessed rather than simply stretch through it.[5]
If your symptoms are mild and familiar, start with the route that matches the location and trigger. The first exercise is not a diagnosis. It is a safer opening move.
References
- Hip Pain After Exercise: Why It Happens and How to Prevent It — Orthopedic Specialty Institute
- Chronic hip pain in adults: Current knowledge and future prospective — Ahuja et al., PMC, 2020
- Hip Conditioning Program — OrthoInfo, AAOS
- Prevalence of Hip Flexor Tightness in Young Adults — Kadam et al., IJFMR, 2023
- Hip Flexor Strain: Symptoms, Treatment & Recovery — Cleveland Clinic
- Hip Flexor Pain: Causes, Treatment, and Exercises — Hinge Health
What a small equipment investment adds
We don't have a build tagged to this exact tier yet. Browse all builds.
How often should you repeat this?
See our recovery and rest reference for citation-anchored rest-interval guidance.
Spot something off?
Tell us if a movement, tier assumption, or duration didn't match your experience.