
Start BJJ Training at Home With a No-Equipment 4-Week Plan
Train BJJ at home with no equipment? This 4-week solo-drill plan gets beginners ready for their first academy class — without pretending it replaces live training.
- Equipment tier required
- none
- Duration
- 19 min
- Difficulty
- beginner
- Target area
- full body
- Space footprint needed
- 8x8 feet
- Noise level
- low
Yes: you can start BJJ training at home for beginners with no equipment. The useful version is narrower than the internet usually makes it sound. You are not learning to fight in your living room. You are building the movement vocabulary that keeps the first academy class from feeling like it began five minutes before you understood the assignment.
The best $0 starting point I’ve found is Ritchie Yip’s 4-week at-home plan: 3 sessions per week, about 19 minutes per session, using a 4x4 format — 4 exercises, 1 minute each, repeated for 4 rounds, with 1 minute of rest between rounds.[1] That is short enough for a small apartment and specific enough to avoid the usual beginner trap: doing random burpees, calling it jiu-jitsu, and then still freezing during shrimping in warm-ups.
The 4-week no-equipment plan
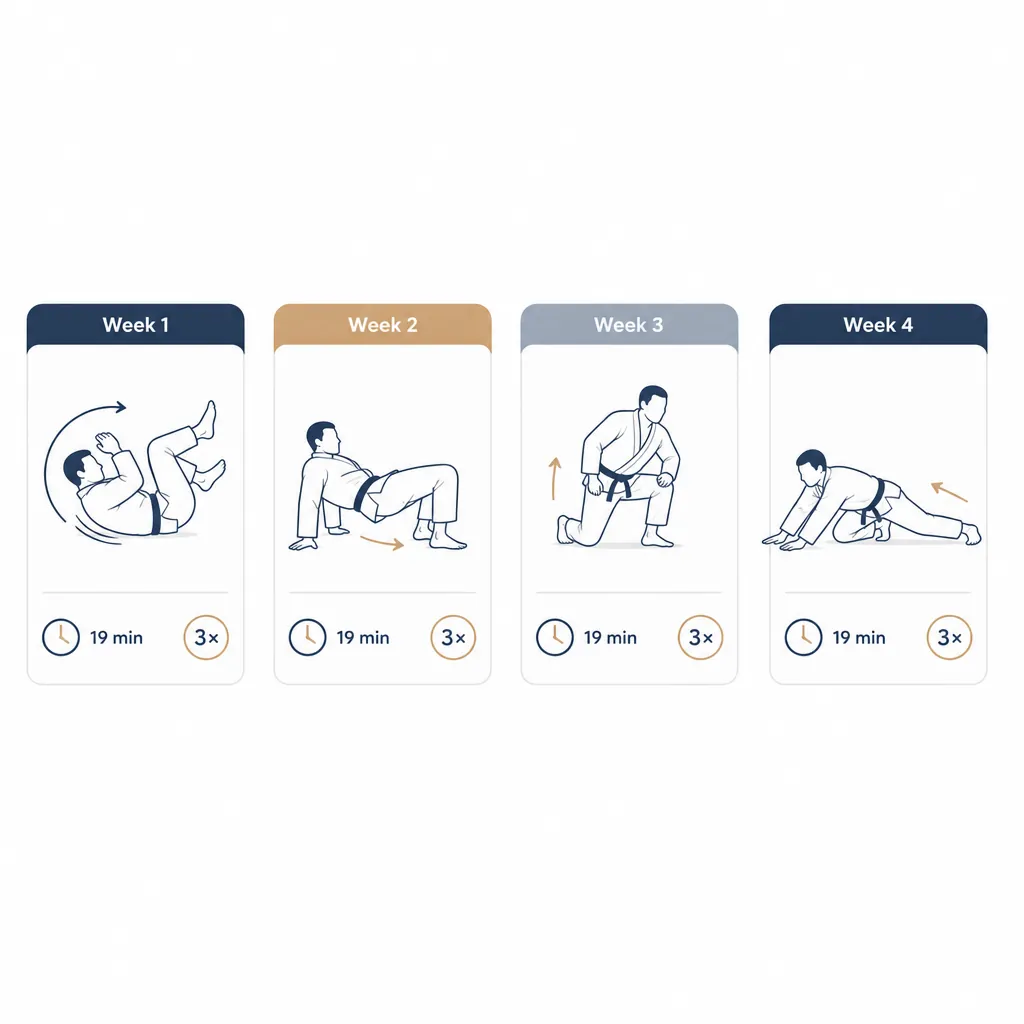
Run this on three nonconsecutive days each week if you can: Monday, Wednesday, Friday works; so does Tuesday, Thursday, Saturday. Each session follows the same clock. Set a timer for 1-minute work intervals. Do the four drills in order, rest 1 minute, then repeat until you have finished 4 total rounds.[1]
| Week | Drills | Session format | What the week prepares |
|---|---|---|---|
| Week 1 | Rock and kick; backward shoulder roll; shoulder shuffle; knee cut | 4 drills × 1 minute, 4 rounds, 1-minute rest between rounds, 3 sessions | Getting comfortable moving on your back, rolling safely, moving shoulders and hips, and cutting a knee through space [1] |
| Week 2 | Rock and kick; backward shoulder roll; technical stand-up; shrimping | Same 4x4 format, 3 sessions | Standing up without posting both hands behind you and creating hip movement from the floor [1] |
| Week 3 | Sprawl; technical stand-up; shrimping; backward shoulder roll | Same 4x4 format, 3 sessions | Reacting hips down, recovering to standing, and repeating the ground movements that show up constantly in class [1] |
| Week 4 | Sprawl; technical stand-up; shrimping; double-leg shot | Same 4x4 format, 3 sessions | Linking level change, floor recovery, hip escape, and a basic entry motion before your first live class [1] |
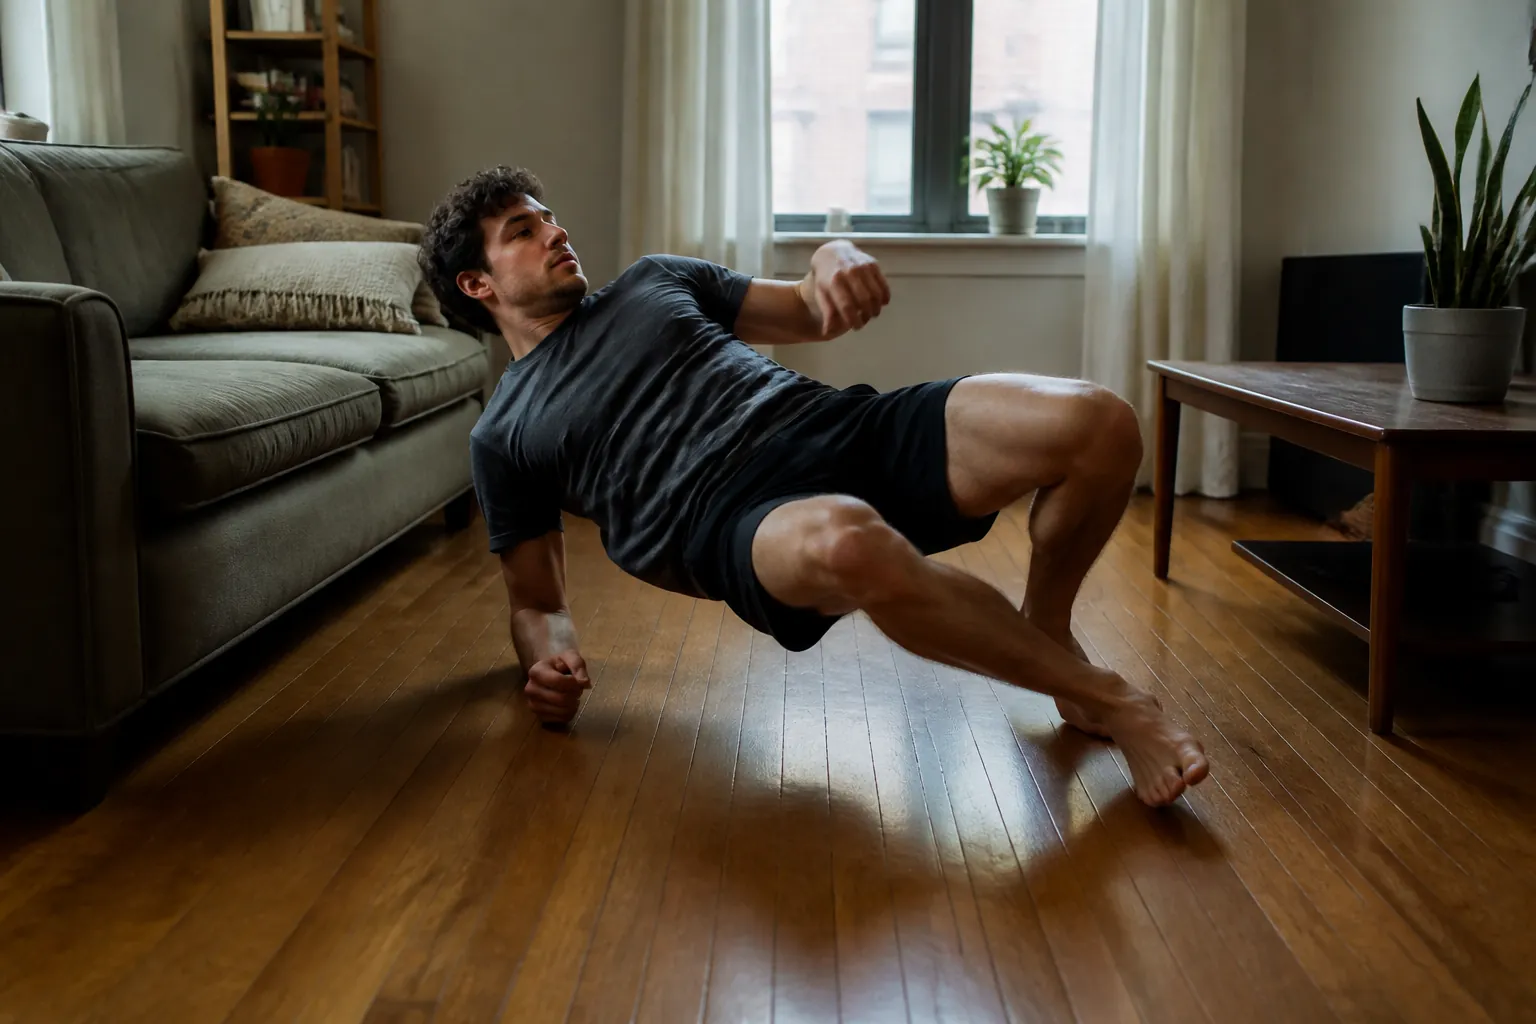
This plan is built from the same awkward movements that tend to expose brand-new students in a real room. Grapplearts describes BJJ solo drills as material that maps onto common class warm-ups and movement patterns, and JiuJitsu.com’s beginner drill list includes the same family of hip escapes, technical stand-ups, sprawls, and rolls that beginners meet early.[2][3] That matters more than whether the session feels like a hard workout. A first-month beginner usually needs orientation before intensity.
Set up the room before you set up the timer
Start with the floor, not the fantasy version of yourself who suddenly has garage mats and a grappling dummy. JiuJitsu.com says solo drilling can be done in roughly an 8-by-8-foot space, with drills performed in place and reversed each rep.[3] In apartment terms, that usually means pushing a coffee table aside, checking for hard furniture corners, and accepting that some movements need to be smaller before they become smoother.
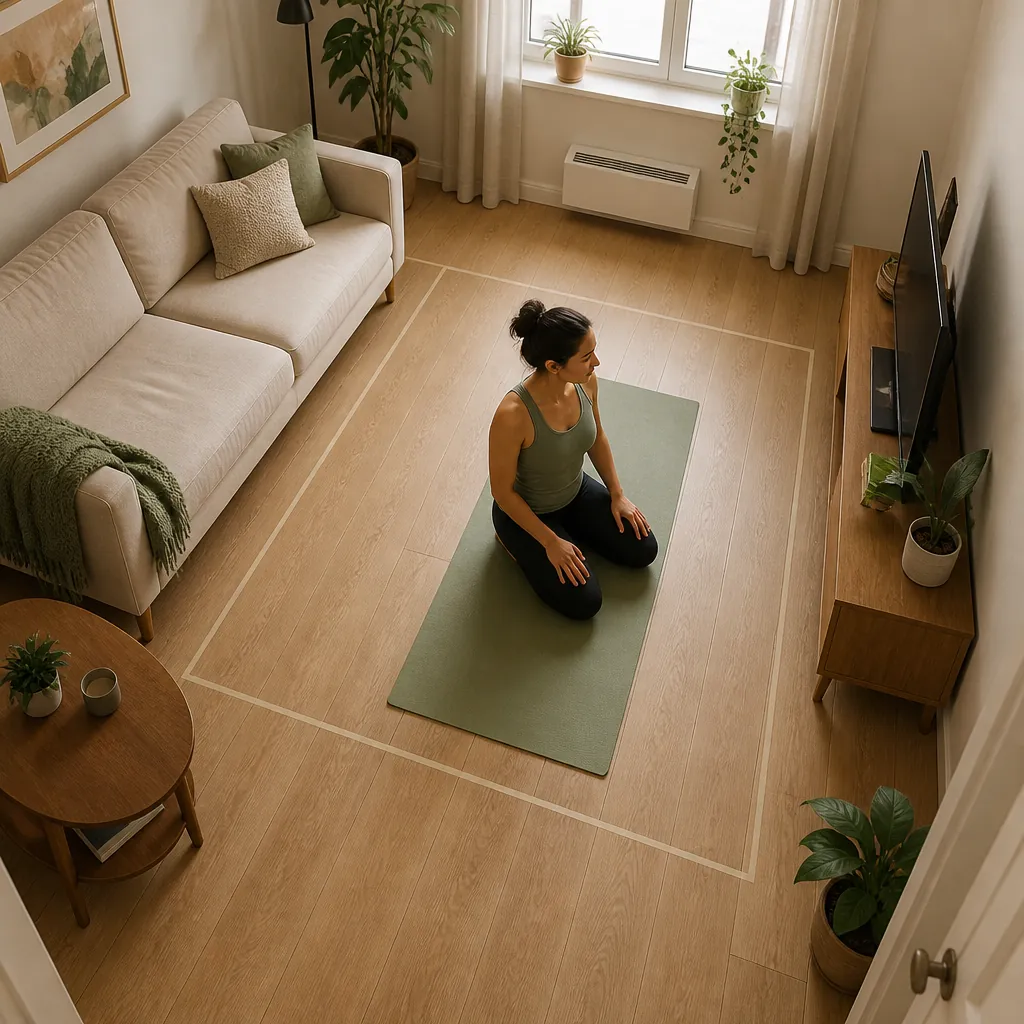
Bare floor is fine for this plan if you choose the right tempo. The movements here are not breakfall practice, takedown landings, or hard bridging slams. Still, wood, tile, and thin carpet do not forgive ego. If a backward shoulder roll feels like your spine is being fed over a curb, shrink the movement, angle over one shoulder, or pause that drill until you can do it without impact.
If downstairs-neighbor anxiety is part of your training environment, treat it as a constraint rather than a character flaw. Keep sprawls controlled instead of stomping your feet back. Step into technical stand-ups rather than thumping into them. For a drill-by-drill look at which movements are quietest and which ones create floor contact, use the companion guide to apartment-safe BJJ drills.
How to run each 19-minute session
The clock is simple. The discipline is not. One minute is long enough for a beginner to get sloppy, especially on shrimping, technical stand-ups, and shots. Your job is not to win the interval. Your job is to make the next rep look slightly less confused than the last one.
- Before round 1: walk through each drill once slowly. If you cannot explain where your hands, hips, and feet go, you are not ready to speed it up.
- During each 1-minute block: move at a pace where you can still choose your foot placement. If you start flopping, slow down.
- Between rounds: use the 1-minute rest to reset the floor space, breathe through your nose if possible, and pick one correction for the next round.
- After the session: stop. Do not add a punishment circuit because the workout felt too short. Four weeks of repeatable practice beats one heroic living-room disaster.
JiuJitsu.com gives a useful progression rule for home solo drills: use 10 reps per side as a baseline, add volume only as the movement becomes fluid, favor precision over speed, and stop on sharp pain.[3] That rule fits this plan even though the plan uses timed rounds. Inside each minute, count quality reps instead of chasing exhaustion. If the left side is embarrassing, good. You found the side that needs the plan.
Week 1: learn how the floor feels
Week 1 uses rock and kick, backward shoulder rolls, shoulder shuffle, and knee cuts.[1] It is not glamorous. It is also the week that can save you from the first-class feeling of being trapped under your own limbs.
Rock and kick
Rock and kick teaches you to generate motion from a curled position instead of lying flat and trying to sit straight up. In class, that general body shape appears in guard movement, inversion preparation, and warm-up lines where everyone else seems to know how to roll their weight without thinking.
At home, keep the first few reps small. Rock back on your upper back, not your neck. Kick with control. If your apartment floor is hard, this is a movement to make smoother, not louder.
Backward shoulder roll
The backward shoulder roll is where many adults discover they have not voluntarily rolled since childhood. The point is not circus flexibility. The point is to learn a safe diagonal path over the shoulder so your neck is not the landing gear.
If you are brand new, start from a crouch or seated position and roll only as far as you can control. Do not throw your legs over your head just to complete the shape. A clean half-roll is better than a full roll that makes you dread the next rep.
Shoulder shuffle
Shoulder shuffling teaches movement while your hips and back are on the floor. That sounds minor until you are under someone in side control later and realize that moving your shoulders changes the angle of your hips. For week 1, keep it quiet and deliberate. Move a little, reverse, and keep your head relaxed.
Knee cut
The knee cut in a solo plan is only a movement rehearsal. It does not teach you to pass a resisting guard. What it does give you is the shape: one knee slicing through space, hips turning, base changing, and your body learning that knees and hips can travel together instead of as separate emergencies.
Week 2: add the two movements beginners actually remember
Week 2 keeps rock and kick and backward shoulder rolls, then adds technical stand-ups and shrimping.[1] If you only recognize two BJJ warm-up drills before walking into an academy, make them these two.
Technical stand-up
A technical stand-up is the opposite of scrambling to your feet with both hands behind you. One hand posts, the opposite foot is active, the other leg protects distance, and you stand while keeping your body organized. In self-defense marketing, this movement gets oversold. In a beginner class, it is simply one of the first ways you learn to get up without giving your balance away.
At home, do not rush the standing part. Beginners often post the wrong hand, cross their feet, or collapse their chest forward. Pause at each position: seated base, hip lift, leg withdrawal, standing stance. If you need to put a hand on the wall for balance during the first session, use it, then gradually remove the help.
Shrimping
Shrimping, or the hip escape, is the one that made me feel like the room had voted against me. It looks simple when blue belts do it across the mat. Then you try it and discover your shoulders, hips, and feet have no shared plan.
The purpose is space creation. Later, under pressure, shrimping helps you move your hips away so your frames and knees can come back into the problem. Alone on the floor, you are only rehearsing the mechanics: turn to one side, plant a foot, push the hips away, recover, then reverse. JiuJitsu.com includes shrimping among home solo drills beginners can practice, and Grapplearts places hip-escape-style movement inside the broader set of solo drills that carry into class warm-ups.[2][3]
The common mistake is trying to travel far. Travel is not the point yet. A short, clean hip escape where your shoulders and hips coordinate is worth more than a dramatic slide across the room that leaves your feet tangled in a lamp cord.
Week 3: bring the hips down, then get back up
Week 3 introduces the sprawl while keeping technical stand-ups, shrimping, and backward shoulder rolls.[1] This is the week where the session starts to feel more athletic, but the same rule holds: control before speed.
Sprawl
A sprawl drops the hips back and down while the legs move away. With a partner, it is a response to someone attacking your legs. Without a partner, it is footwork and hip-position practice. Do not pretend it is takedown defense by itself. There is no opponent changing levels, no grip, no head position, and no second effort.
For apartment practice, step back before you hop back. A quiet sprawl still teaches the basic shape. If your toes, knees, or lower back complain, reduce the range and slow the return to standing. Sharp pain ends the drill, not the minute.[3]
This week is also where conditioning temptation sneaks in. If you want strength work, keep it separate from the movement plan. The no-gi BJJ home workout is a better place for that. Here, sloppy fatigue reps are less useful than repeatable mechanics.
Week 4: add the shot without pretending you learned takedowns
Week 4 uses sprawls, technical stand-ups, shrimping, and the double-leg shot.[1] It is a clean final week because it touches the positions a beginner is likely to see early: standing movement, changing levels, hitting the floor, escaping the hips, and returning to base.
Double-leg shot
A solo double-leg shot is not a takedown. It is a level change, step, knee touch or penetration step pattern, posture check, and recovery. The missing pieces are the pieces that make takedowns real: timing, contact, resistance, head position under pressure, and a partner who does not cooperate.
That does not make the drill useless. It means the goal is modest. You want to arrive at class with your knees, feet, and hips already familiar with the request. When a coach says “change levels” or “step between the feet,” you should have some physical reference for the instruction instead of processing every word from scratch.
What solo drilling can and cannot do
Solo drilling removes the part of BJJ that creates the most chaos for a beginner: another person. That is useful for learning shapes. It also defines the ceiling. No partner means no pressure, no timing, no grip fighting, no coach correcting your angle, and no live problem-solving when the first idea fails.
The safety picture should be stated carefully. In a cross-sectional survey of Brazilian jiu-jitsu athletes, Hinz et al. reported that 77.6% of 1,052 injuries occurred during sparring, compared with 11.4% during drilling; 68.8% of surveyed athletes reported an injury that cost at least 2 weeks of training over a 3-year period.[4] Those numbers describe BJJ athletes training with partners, not your living-room solo session. They do, however, explain why a beginner movement block that removes sparring is a reasonable way to prepare before entering the higher-risk part of the sport.
Watching a movement before you practice it can help, as long as watching does not become the whole hobby. A 2025 systematic review of combined action observation and motor imagery practice looked at 17 studies with 798 participants and found that observation-plus-imagery can improve motor learning, while physical practice remains the most effective route; the review also notes that novices benefit from observing first and then imagining the movement.[5] So if a drill feels alien, watch a clear demonstration, close your eyes for a few seconds if imagery works for you, then get back on the floor. The same review notes that about 1% of people cannot generate mental images at all and about 3% generate only vague images, so mental rehearsal is optional support, not a moral test.[5]
Should you do extra sessions?
Use three sessions per week. That is enough to build familiarity without turning a $0 beginner program into another thing you fail by Tuesday.
Some coach and brand pages suggest different frequencies for solo drilling, from short daily practice to a few sessions per week. Treat those as options, not commandments. If you want extra work, add low-impact reps only when the movement stays clean: a few technical stand-ups per side, slow shrimping, or quiet shoulder shuffles. Do not add more sprawls and shots just because they feel more like exercise.
Chewjitsu’s no-partner drilling advice is useful here because it comes from a black belt who credits solo movement work with real mat improvement, but even that kind of practitioner validation does not turn solo work into a replacement for coached rounds.[6] It supports the boring truth: solo drills are worth doing when they prepare you to train better with people.
After four weeks, go where the feedback is
At the end of four weeks, you should not expect to be good at BJJ. You should expect to be less lost. Shrimping will have a name and a feeling. Technical stand-up will not be a brand-new coordination puzzle. Backward rolls, sprawls, knee cuts, and shots will still need coaching, but they will no longer be arriving as complete strangers.
If you still cannot join a gym, you can repeat the plan or branch into a longer bare-floor solo routine; BJJEE, for example, publishes a no-mats, no-equipment solo drill routine as a progression option.[7] But the honest next step is not an endlessly expanded solo curriculum. It is a real academy class, with a coach watching and another human being giving the movements their actual problem.
Do a normal cooldown, especially after weeks 3 and 4 when sprawls and shots raise the cost of the session. If you need a simple follow-up, use the at-home post-workout recovery routine. Then book the intro class. The point of this month was never to avoid the mat. It was to walk onto it with fewer reasons to quit before you have actually started.
References
- 4 Week BJJ At Home Workout Plan — Infighting
- The Ultimate Guide To BJJ Solo Drills — Grapplearts
- 7 BJJ Solo Drills You Can Do at Home — JiuJitsu.com
- Injury Patterns, Risk Factors, and Return to Sport in Brazilian Jiu Jitsu: A Cross-sectional Survey of 1140 Athletes — 2021
- The effects of combined action observation and motor imagery (AO+MI) practice on motor learning — 2025
- How to Do BJJ Drills with No Training Partners — Chewjitsu.net
- BJJ Solo Drills Routine: No Mats Needed... — BJJEE
What a small equipment investment adds
We don't have a build tagged to this exact tier yet. Browse all builds.
How often should you repeat this?
See our recovery and rest reference for citation-anchored rest-interval guidance.
Spot something off?
Tell us if a movement, tier assumption, or duration didn't match your experience.