
Learn Boxing at Home With a 4-Week Drill Plan
This 4-week progressive plan teaches boxing fundamentals at home — stance, footwork, jabs, crosses, hooks, uppercuts, and defensive combos — using only bodyweight and a small space. Each week adds one skill layer, helping absolute beginners build technique and confidence without a coach or a bag.
- Equipment tier required
- none
- Duration
- 20 minutes min
- Difficulty
- beginner
- Target area
- full body
- Space footprint needed
- 6x6 ft
- Noise level
- low
The hardest part of learning boxing at home is not the sweat. It is finishing one follow-along workout and realizing you still do not know what to practice next. The instructor calls “jab-cross-slip-roll,” your feet start wandering, your shoulders climb to your ears, and somehow you are busy without feeling like you are learning.
A better beginner plan gives you one skill layer at a time: stance first, then footwork, then basic punches, then defense and simple combinations. This 4-week boxing home workout drill plan uses a boxing-style rhythm — 3-minute rounds with 1-minute rests, a structure FightCamp uses in beginner at-home boxing drills — so the format stays familiar while the skills progress.[1]
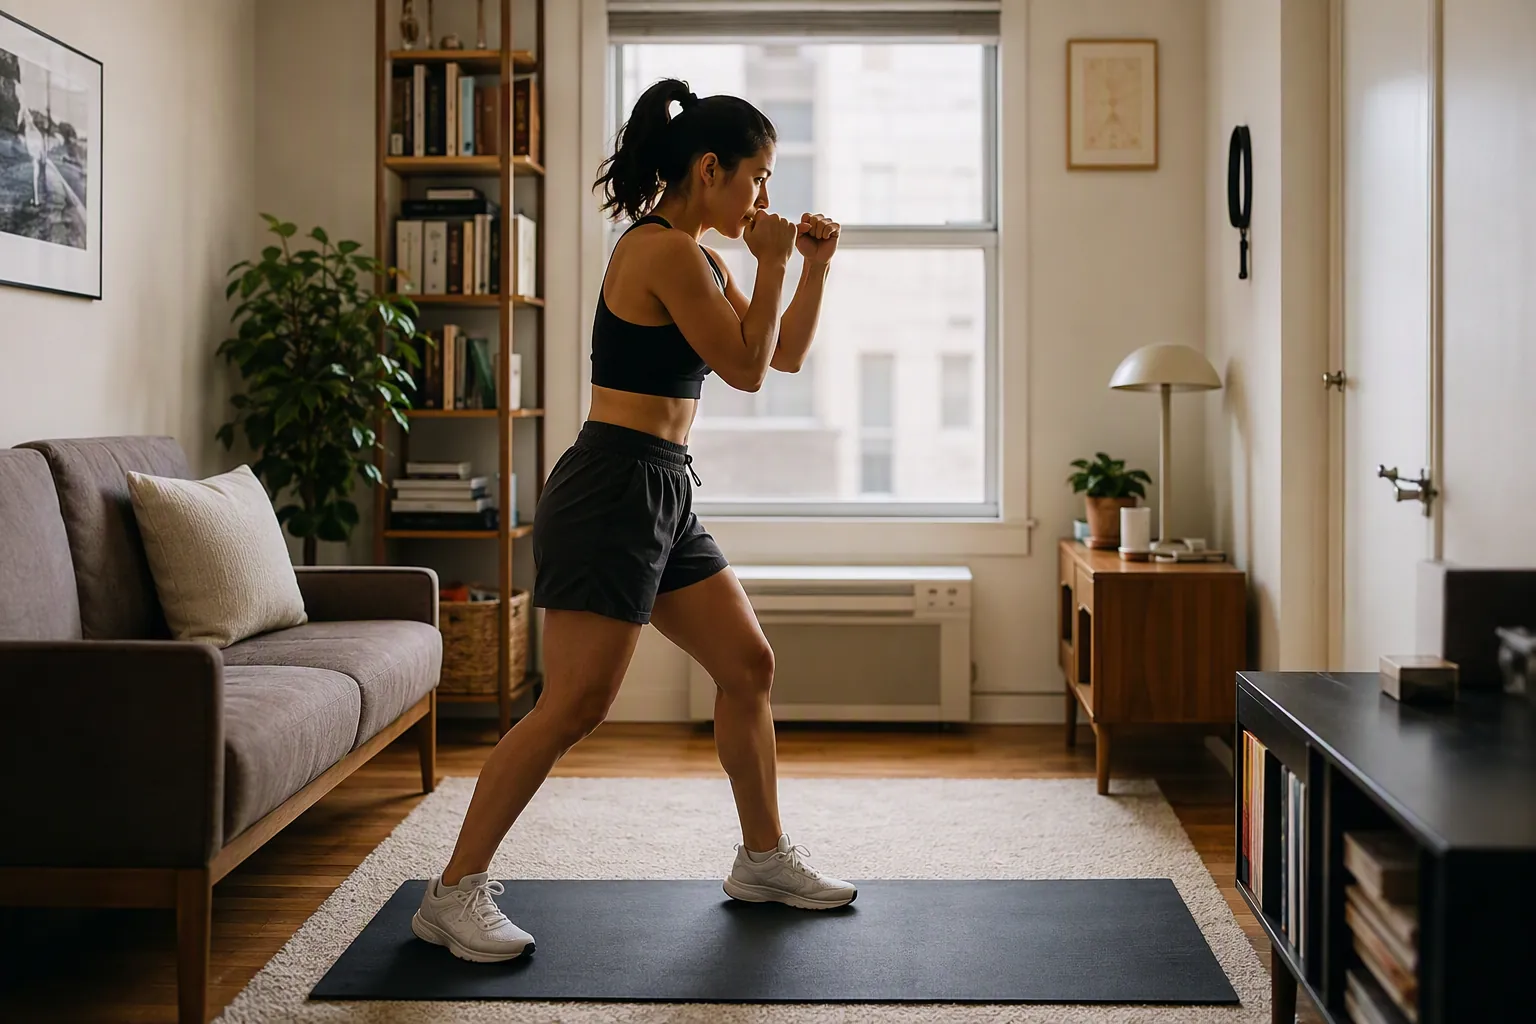
You do not need a bag, gloves, or a large room. No-equipment boxing and shadow boxing workouts are commonly used by practical fitness sources for home training, including Boxing Insider, ISSA, and Shape.[2][3][4] Treat this as a structured training framework, not a medical program or a guarantee of specific results. If you have pain, balance issues, or a condition affected by exercise intensity, get appropriate guidance before pushing the rounds.
| Plan detail | What to use |
|---|---|
| Level | Absolute beginner |
| Equipment | None |
| Space | Roughly 6×6 ft |
| Format | 3-minute work rounds, 1-minute rest |
| Best weekly rhythm | 3 sessions per week, with at least one easy day between harder sessions |
| Main rule | Add one meaningful skill layer per week instead of chasing longer combinations too soon |
The 4-week progression at a glance
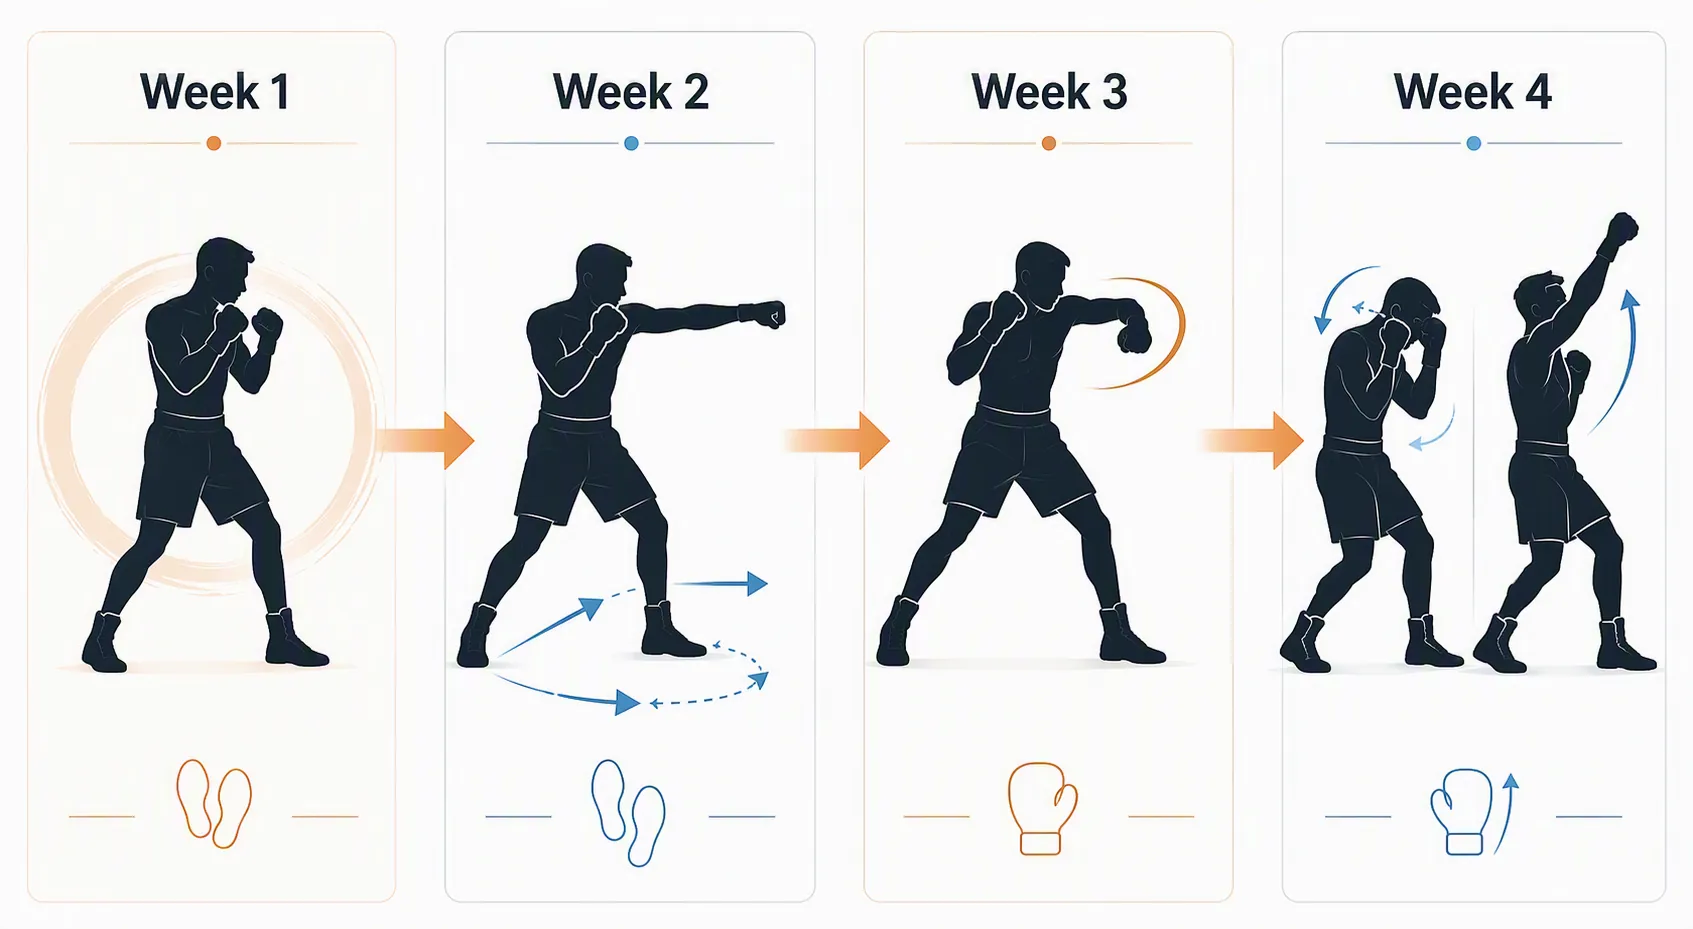
Before the coaching details, here is the whole path. The point is not to memorize every punch name on day one. The point is to repeat a small enough set of drills that your stance, guard, and balance survive when you add the next skill. Beginner boxing routines from Legends Boxing and PureGym also organize work around fundamentals, basic punches, and combinations rather than asking beginners to improvise everything immediately.[5][6]
| Week | Skill layer | Main drills | What success looks like |
|---|---|---|---|
| Week 1 | Stance, guard, quiet footwork, single jab | Stance resets, step-and-slide, jab only, jab-and-exit | You can move without crossing your feet, dropping your hands, or drifting out of your space |
| Week 2 | Cross, 1-2, slip | Cross mechanics, jab-cross, slip left/right, 1-2-slip | You can punch and defend without lunging or twisting your knees |
| Week 3 | Lead hook, 1-2-3, roll | Hook shape, jab-cross-hook, roll under, punch-roll-punch | You can add a curved punch while keeping your feet under you |
| Week 4 | Uppercuts, defensive combos, controlled freestyle shadow boxing | Uppercuts, slip-roll exits, short combinations, constrained freestyle | You can choose simple combinations without abandoning stance, guard, or control |
How each home session works
Use the same container every week. Set a timer for 3 minutes of work and 1 minute of rest. The rest is not dead time; it is when you shake out your arms, check your stance, lower your shoulders, and decide what cue gets your attention in the next round.
- Warm up for 4–5 minutes: easy marching, shoulder circles, hip circles, light squats, and relaxed arm swings.
- Do 4 work rounds: each round has one main job, listed under the weekly plan.
- Rest 1 minute between rounds: breathe through your nose if you can, reset your feet, and review one technique cue.
- Cool down for 3–5 minutes: slow steps, gentle torso rotation, chest opening, and calf/hip flexor stretches.
If you live above someone, keep your feet quiet. Boxing footwork at home should feel like sliding and placing, not stomping. A yoga mat or exercise mat can help define your training square and soften sound, but it should not be so squishy that your ankles wobble.
Week 1: stance, guard, footwork, and the jab
Week 1 may look too simple on paper. It is not. This is where most home beginners either build the base or start collecting bad habits that follow them into every later combination. You are teaching your body where to stand, how to keep balance, and how to punch without chasing the punch across the room.
Set your stance before you throw anything
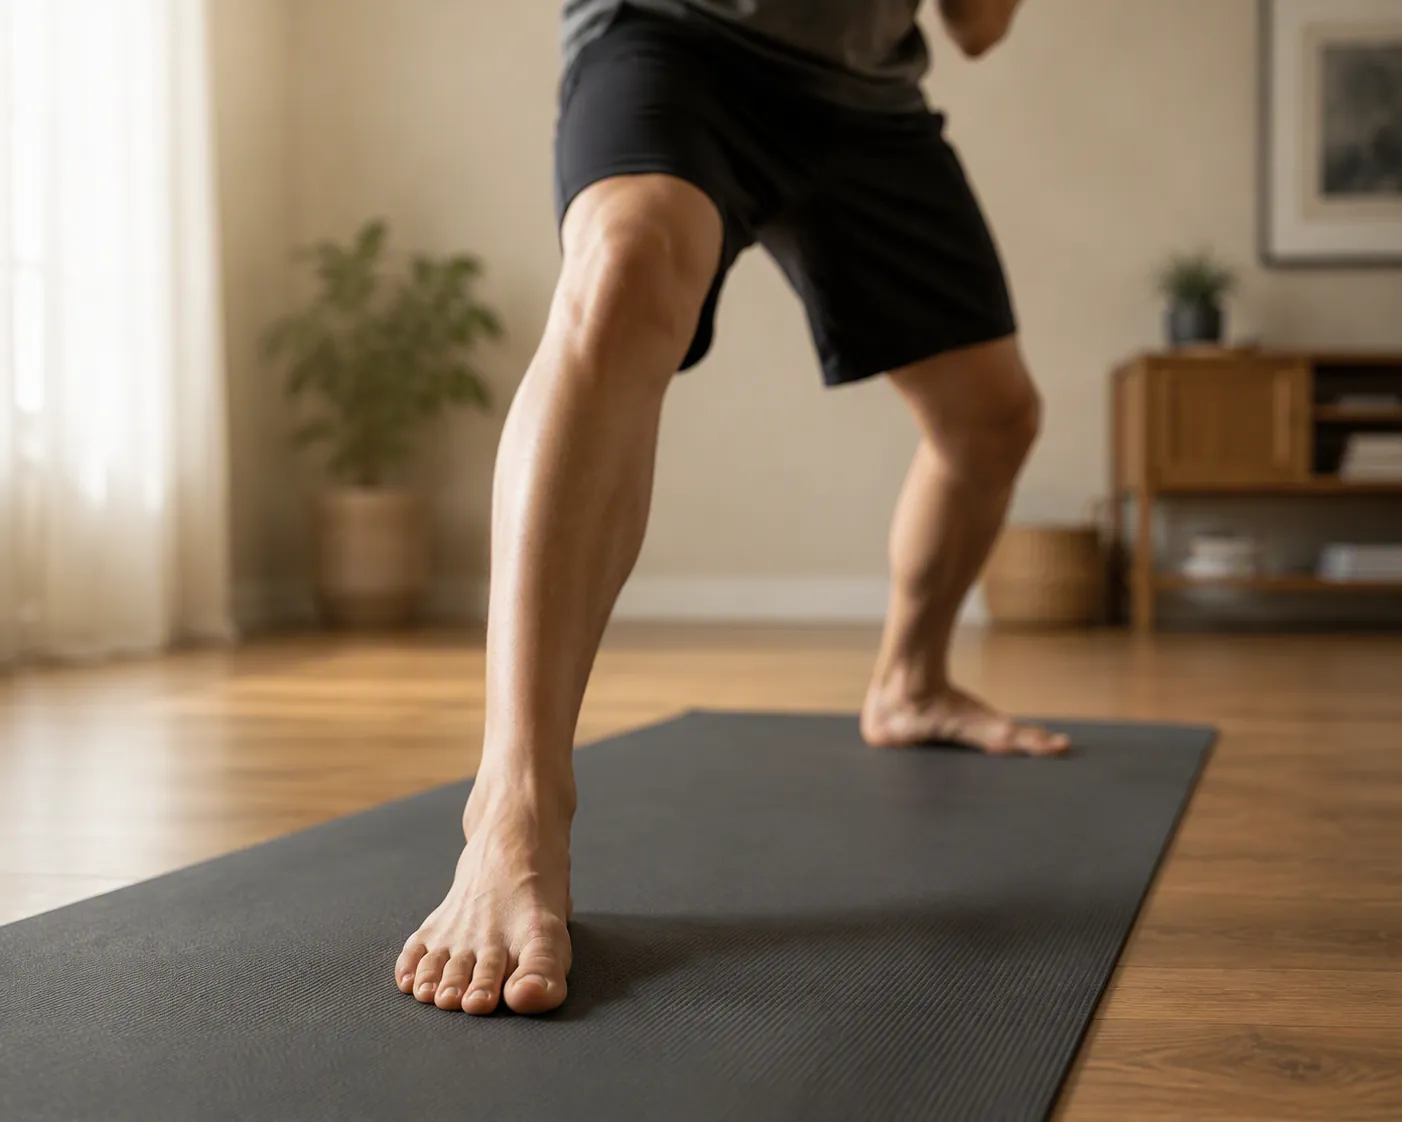
Stand with your feet about shoulder-width apart. If you are right-handed, put your left foot forward and your right foot back. If you are left-handed, you may prefer the opposite. Your lead foot points mostly forward. Your back foot turns out slightly. Keep your knees soft, your weight centered, and your heels light enough that you could move without rocking backward first.
Bring both hands up to cheek level. Elbows stay close enough to protect your ribs. Your chin tucks slightly, as if you are holding a small orange under it. Do not clamp your jaw or shrug your shoulders. A beginner guard should feel alert, not frozen.
Move without crossing your feet
For Week 1 footwork, use a step-and-slide pattern. To move forward, step with the lead foot first, then slide the rear foot back into stance. To move backward, step with the back foot first, then slide the lead foot. To move left, the left foot starts. To move right, the right foot starts. The rule is simple: the foot closest to the direction you are moving goes first.
Keep each step small. In a 6×6 ft space, you are not traveling; you are adjusting. After two steps in any direction, pause and check whether your feet are still shoulder-width apart. If they have narrowed into a tightrope, reset. If they have widened into a squat, reset. The reset is training, not failure.
Throw the jab like a measuring tool
The jab is the straight punch from your lead hand. From guard, send the lead fist straight out and bring it straight back to your cheek. Turn the knuckles toward an imaginary target at face height. Keep the rear hand home. Do not lean so far forward that your back foot lifts or your head arrives before the punch.
At home, the jab is useful because it gives you a clean rhythm: stance, punch, return, move. If the punch makes your feet scramble, slow it down. A jab that comes back to guard is more valuable than a fast jab that leaves your face open.
| Week 1 round | Drill | Cue |
|---|---|---|
| Round 1 | Stance and guard resets | Every 10–15 seconds, freeze and check feet, hands, chin, and shoulders |
| Round 2 | Step-and-slide footwork | Move one or two small steps, then return to the center of your mat |
| Round 3 | Single jab | Punch straight out, bring the hand straight back, keep rear hand up |
| Round 4 | Jab plus exit | Jab, step back or angle slightly, reset your stance before the next jab |
Repeat Week 1 for all three sessions. The third session should feel cleaner, not more chaotic. If you still cross your feet or drop both hands after each jab, repeat Week 1 before moving on. There is no prize for reaching hooks with a stance that collapses.
Week 2: add the cross, the 1-2, and a small slip
Week 2 gives your rear hand a job. The cross is the straight punch from your back hand. It should feel connected to the floor, hips, shoulder, and fist — not like an arm swing thrown from a square stance.
From guard, rotate the rear hip and shoulder forward as the back hand travels straight to the target. Let the back heel turn naturally, but do not grind your knee. The lead hand stays home at your cheek. After the punch, pull the rear hand back and return your torso to stance.
Then combine the jab and cross into a 1-2. The “1” is the jab. The “2” is the cross. Say it out loud if that helps: one, two, reset. The reset matters. Beginners often throw the 1-2 and admire it with both hands low. Do not build that habit.
Make the slip small
A slip is a small movement that takes your head off the center line. It is not a deep bend at the waist. Keep your eyes forward, knees soft, hands high, and shift your head slightly outside an imaginary straight punch. Slip left, come back to stance. Slip right, come back to stance.
In a no-bag workout, defense can easily turn into theatrical ducking. Keep it boring at first. If your feet move, your knees twist, or your eyes drop to the floor, the slip is too big.
| Week 2 round | Drill | Cue |
|---|---|---|
| Round 1 | Jab review with footwork | Use the Week 1 jab; do not let the new week erase the old skill |
| Round 2 | Cross only | Rotate, punch straight, return the rear hand to guard |
| Round 3 | 1-2 combination | Jab first, cross second, reset before repeating |
| Round 4 | 1-2-slip | Throw 1-2, slip small to either side, return to stance |
The main mistake this week is rushing the 1-2 until the feet stop cooperating. Keep the punches at a pace where you can still feel your stance. If the rear cross pulls you forward, shorten the punch and reset your weight over the middle of both feet.
Week 3: add the lead hook, the 1-2-3, and the roll
Week 3 is where boxing starts to feel more like boxing, which is exactly why it needs guardrails. The lead hook is satisfying, but it also tempts beginners to swing wide, drop the opposite hand, and spin out of stance. Keep it compact.
Build the hook from your stance, not your arm
The lead hook is punch number 3. From guard, keep the lead elbow bent and bring the punch across the front of your body in a short arc. Rotate your lead hip and shoulder together. Your rear hand stays high. The punch stops in front of you; it does not keep flying past your imaginary target.
Think of the hook as a door turning on a hinge, not a slap. If the punch makes your chest square to the room and your back foot drag around behind you, slow down and make the arc smaller.
Turn 1-2 into 1-2-3
Now connect jab, cross, lead hook: 1-2-3. The jab starts the line. The cross brings the rear side forward. The lead hook follows after your weight returns enough to rotate the lead side. Do not throw the hook just because the number comes next. Throw it when your feet and hips are ready.
A clean 1-2-3 at half speed is a real win. A fast 1-2-3 that ends with your hands at your waist and your feet crossed is only choreography.
Use the roll to stay organized after punching
A roll is a small U-shaped defensive movement under an imaginary hook. Bend the knees slightly, move your head under the line, and come up on the other side in stance. Keep your chest lifted enough that you can still see forward. This is not a squat contest.
The roll matters because it teaches you not to finish every combination standing still with your head in the same place. At home, make the roll quiet: knees bend, feet stay under you, no stomping, no dramatic floor dip.
| Week 3 round | Drill | Cue |
|---|---|---|
| Round 1 | 1-2 review | Keep the jab and cross straight; hands return to guard |
| Round 2 | Lead hook only | Short arc, rear hand high, feet stay planted enough to control balance |
| Round 3 | 1-2-3 | Punch in order, reset fully after every combination |
| Round 4 | 1-2-3-roll | Finish the hook, roll small, come back up in stance |
By the end of Week 3, you should have a basic striking sentence: straight punch, straight punch, curved punch, defend. This is the bridge into Week 4. If the roll makes you lose your stance, do not add uppercuts yet. Spend one more session alternating 1-2-3 and roll until you can come up balanced with both hands still near your face.
Week 4: add uppercuts and controlled freestyle shadow boxing
Week 4 is not a license to throw every punch you know as fast as possible. It is the week where you start choosing. You have stance, footwork, jab, cross, hook, slip, and roll. Now you add uppercuts and learn to move through short combinations without needing someone else to call every number.
Keep uppercuts short
The lead uppercut is punch number 5, and the rear uppercut is punch number 6 in many boxing numbering systems. For this plan, use them as short-range punches. Bend the knees slightly, keep the elbow close, and drive the fist upward on a compact path. Do not scoop from your hip. Do not wind up behind your body. Your other hand protects your face.
Uppercuts feel strange in shadow boxing because there is no bag to tell you where the punch lands. Aim for a controlled imaginary target in front of your chin and chest, then bring the hand back to guard. If the uppercut makes your whole body pop upward, make it smaller.
Combine defense with exits
The most useful Week 4 combinations include a built-in defensive answer. Try 1-2-slip. Try 1-2-3-roll. Try jab-cross, step back, reset. The exit is not decoration. It teaches you to finish a combination in a safer position instead of freezing after the last punch.
| Week 4 round | Drill | Cue |
|---|---|---|
| Round 1 | 1-2-3 review with roll | Use Week 3 skills until they feel organized |
| Round 2 | Lead and rear uppercuts | Short punch, close elbow, opposite hand high |
| Round 3 | Defensive combinations | Use 1-2-slip, 1-2-3-roll, or jab-cross-step back |
| Round 4 | Controlled freestyle shadow boxing | Choose from your learned skills only; reset whenever form breaks |
For the freestyle round, set limits. Use only combinations you have practiced in this plan: jab, 1-2, 1-2-slip, 1-2-3, 1-2-3-roll, uppercut to reset, jab and step out. Move around your mat, but do not roam. Every 20–30 seconds, pause for one beat and check whether your feet, guard, and breathing are still under control.
This is where the work becomes rewarding. You are no longer waiting for an instructor to decode every command, but you are also not pretending that random flurries are the same as skill. You are practicing choice inside a small menu.
How hard should these drills feel?
The rounds should feel active, focused, and a little tiring. They should not feel like you are sprinting through punches you cannot control. If your shoulders burn before the first minute is over, loosen your fists and stop holding your breath. If your calves get loud, check whether you are bouncing instead of stepping.
Boxing workouts can be metabolically demanding, but be careful with precise calorie promises. FightCamp reported an average of 482 calories burned in a 30-minute workout in one case study, but the sample was 14 existing FightCamp users, ages 30–39, so that number is directional context rather than a result a new home exerciser should expect.[7]
For this 4-week plan, use skill quality as the main measure. A good session ends with cleaner punches than it started with. A good week ends with one new layer that does not wreck the previous layers.
What to repeat, change, or add after Week 4
After Week 4, do not throw the plan away. Run it again with slightly sharper standards. In the second pass, Week 1 becomes cleaner footwork, Week 2 becomes a calmer 1-2, Week 3 becomes a tighter hook and roll, and Week 4 becomes freestyle that looks less like guessing.
- Repeat the 4 weeks if your stance still breaks when combinations get longer.
- Add one optional fifth round only when the first four rounds stay controlled.
- Film 20 seconds from the side once per week if you want a simple self-check: feet under hips, hands returning to guard, no leaning after punches.
- Keep renter-friendly movement rules: small steps, no jumping unless you choose to add conditioning later, and a mat if the floor is slick or loud.
If you eventually want gloves, wraps, a bag, or a more permanent setup, use this plan as the skill base rather than starting over. The companion boxing training plan for home that works on any budget can help you decide what equipment tier makes sense. If you are more curious about what steady practice may feel like over a longer stretch, read how boxing at home changes your body in 12 weeks. And if the four weeks convince you that boxing deserves a real corner of your home, the Builds section can help with that.
References
- Three Beginner At-Home Boxing Drills To Train Like a Pro — FightCamp
- No Equipment Boxing Workout — Boxing Insider
- Best Boxing Workout for Home Exercisers With or Without Bags — ISSA
- Home Boxing Workout — Shape
- Beginner Boxing Workout Routine — Legends Boxing
- Boxing Workout Routines — PureGym
- How Many Calories Do You Burn Boxing? A FightCamp Case Study — FightCamp
What a small equipment investment adds
We don't have a build tagged to this exact tier yet. Browse all builds.
How often should you repeat this?
See our recovery and rest reference for citation-anchored rest-interval guidance.
Spot something off?
Tell us if a movement, tier assumption, or duration didn't match your experience.