
Calf Strain Recovery Exercises You Can Do at Home
A milestone-gated calf strain rehab plan you can run at home with minimal gear, taking you phase by phase with pass/fail gates so you know when it's safe to advance — and when you can return to running without re-injuring yourself.
- Equipment tier required
- none
- Duration
- 15 min
- Difficulty
- beginner
- Target area
- Calves
- Space footprint needed
- small
- Noise level
- low
You pulled your calf. Today’s job is not to prove you are tough, and it is not to lie on the couch until the leg feels forgotten. The job is to make sure you are not missing something dangerous, then start testing what the calf can tolerate without making tomorrow worse.
This is a home exercise guide for a suspected or confirmed mild-to-moderate calf strain. It is not a diagnosis, and it is not a substitute for medical care. That matters because calf-pull symptoms can overlap with deep vein thrombosis concerns. A 2025 narrative review reports DVT co-presentation ranges of 6–20% in calf-injury contexts, while Cleveland Clinic cites about 10% of calf-pull presentations being associated with a blood clot in one referenced study.[1][2]
Get medical care promptly if you have marked swelling, warmth, redness, worsening calf pain that does not behave like a muscle strain, shortness of breath, chest pain, faintness, a major pop with rapid bruising, inability to walk, numbness, or symptoms after trauma. If you are unsure whether this is a strain or a clot concern, do not “rehab-test” your way through that uncertainty.
If the safety screen is clean, use milestones instead of a calendar. Calf strain return-to-sport timing varies widely: the 2025 review describes reported return-to-sport ranges from 2 to 102 days, with a mean around 39±18 days, and notes that there is no universally accepted grading or management protocol.[1] That is why this plan asks, again and again: what can this calf do repeatedly, pain-free, and how does it answer the next day?
| Where you are | What you do at home | Pass gate before moving on |
|---|---|---|
| Acute protection | Safety screen, normal walking practice if tolerated, gentle ankle motion, very light pain-free calf loading | Walking is improving; swelling/bruising is not escalating; gentle calf contractions are pain-free or clearly calming |
| Early loading | Wall-supported calf isometrics, seated calf raises, double-leg calf raises, short range first | You can load the calf through a comfortable range and symptoms do not flare later that day or the next morning |
| Strength rebuilding | Knee-straight and knee-bent calf raise progressions, eventually single-leg and loaded with a backpack | You can perform strong, controlled calf raises without shifting away from the injured side |
| Power preparation | Fast calf raises, low pogo-style bounces, then single-leg hops on flat ground | You can complete roughly 10–20 single-leg hops without pain, guarding, or next-day backlash |
| Return to running | Alternate-day easy run-walks, no sudden volume or intensity jumps, strength after running | You have roughly 25–30 pain-free single-leg calf raises and 10–20 pain-free single-leg hops, and walking feels normal |
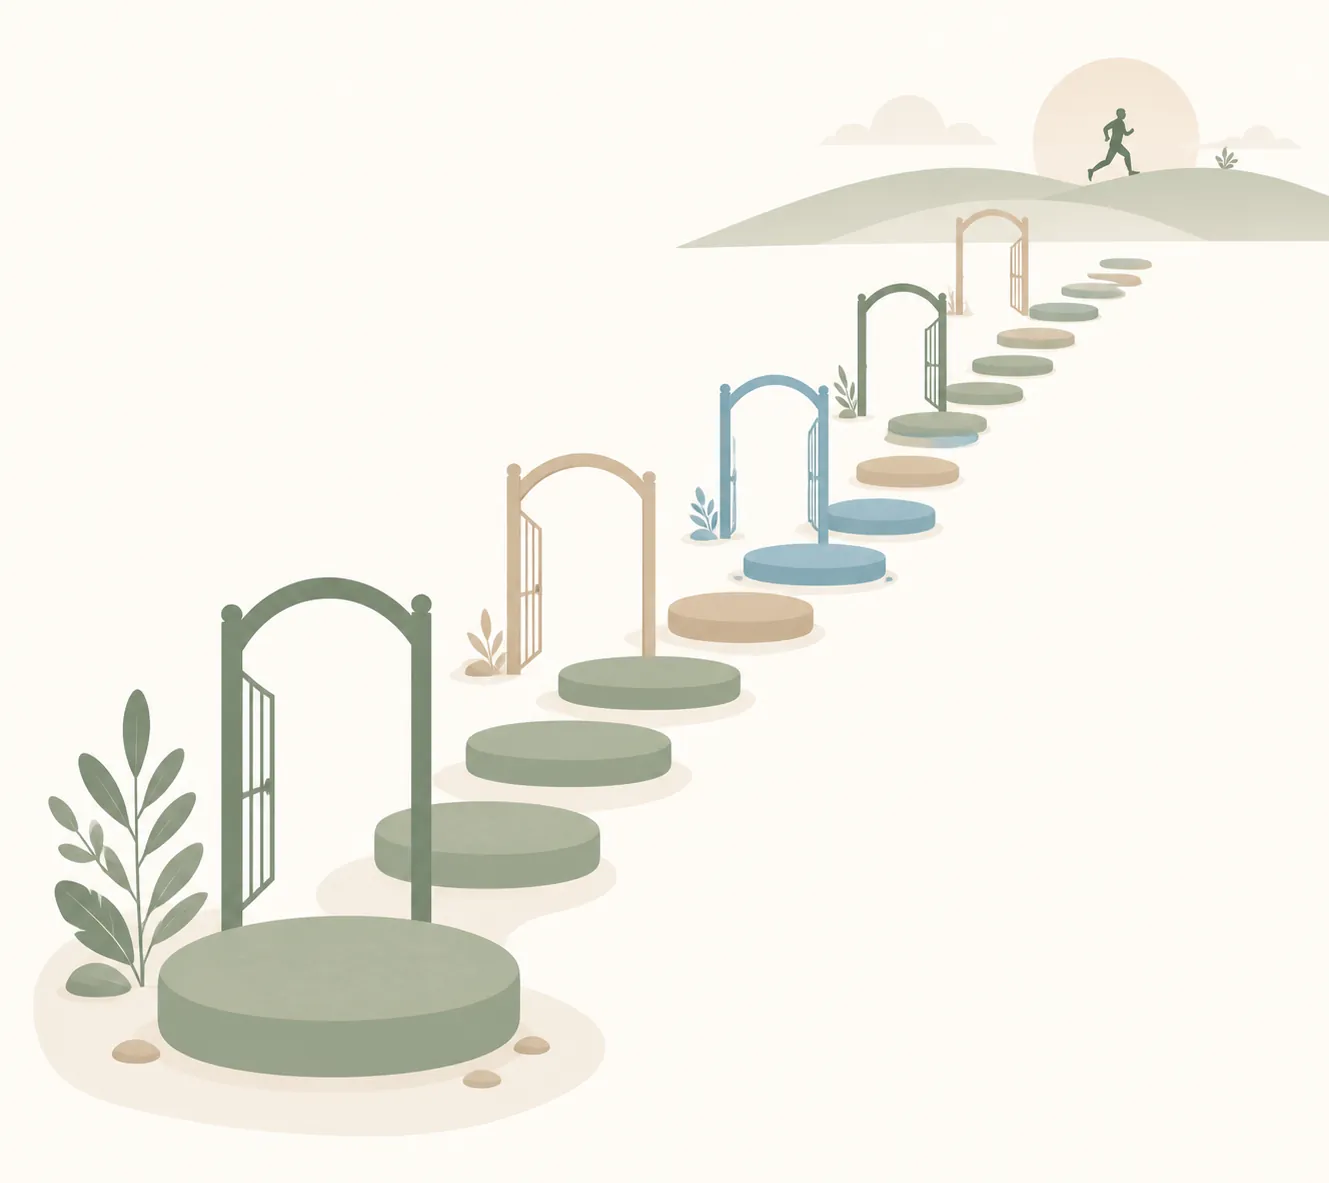
Your home setup: simple, but not sloppy
The equipment is deliberately boring: a wall or chair for balance, a step or sturdy stack of books for heel-lowering later, a resistance band if you have one, and a backpack you can load gradually. This is a home adaptation of clinician and physiotherapy sources, not a directly tested clinical protocol copied into a living room.[3][4][5]
The rules are simple enough to use in a hallway:
- Pain during the exercise should be absent or clearly low and non-threatening. Sharp pain, grabbing, limping, or protective bouncing means the version is too hard.
- The calf should not feel worse later that day or the next morning. Next-day response is one of the best home checks you have.
- Range matters. A short, clean calf raise is better than a tall, twisted one where the foot rolls out and the hip leans away.
- Do not decide based on walking alone. Walking can feel fine before running, hopping, or sport cuts are ready.
Medication deserves one careful note. General medical pages may list pain relievers broadly for pulled calf symptoms, while sports-medicine guidance summarized in the 2025 review commonly advises avoiding non-selective NSAIDs during the first 24–72 hours after muscle injury and discusses acetaminophen or selective COX-2 options as alternatives.[1][2] That is a clinician or pharmacist question, especially if you take other medications or have stomach, kidney, clotting, or cardiovascular concerns.
Phase 1: protect it, then load it earlier than your nerves expect
The first phase is not bed rest. In a qualitative study of 20 expert sports clinicians, early management commonly moved toward pain-free loading around day 2–3 when appropriate, rather than prolonged unloading.[3] That does not mean marching into calf raises the morning after a bad tear. It means the calf gets asked small, respectful questions as soon as it can answer without flaring.
Start with the least dramatic version. Sit with both feet on the floor. Gently press the ball of the injured foot into the ground as if beginning a calf raise, but do not lift the heel if lifting hurts. Hold the pressure briefly, relax fully, and repeat in small batches. If that is clean, lift the heel a small amount while seated. If the calf tightens protectively or the pain sharpens, go back to the pressure-only version.
Add ankle motion often, but keep it honest. Point and flex the ankle within a comfortable range. Make slow ankle circles. Practice walking normally around the house only if you can do it without limping. A limp is not a personality flaw; it is feedback that the calf is not ready for that much stretch, push-off, or speed.
| Exercise | How to do it | Make it easier | Make it harder |
|---|---|---|---|
| Seated calf pressure | Foot flat, press the ball of the foot into the floor without lifting the heel | Use lighter pressure | Press a little firmer or hold longer |
| Seated heel raise | Lift the heel while keeping the ball of the foot down | Use both feet evenly | Place hands or a light backpack on the thigh |
| Supported weight shift | Stand near a wall and shift a small amount of weight onto the injured side | Keep more weight on the uninjured leg | Shift closer to equal weight |
| Short-range double-leg calf raise | Hold a wall, rise only as high as feels clean, lower slowly | Use more arm support and less height | Increase height before adding load |
Pass this phase when short-range standing calf loading is clean, walking is improving, and symptoms are not creeping up between sessions. If you repeatedly feel good during exercise and worse the next morning, the dose is too high even if the exercise was the “right” one.
Phase 2: rebuild the calf raise before you chase mileage
This is the phase where impatience starts to sound reasonable. You can walk to the kitchen. Stairs are less dramatic. The calf may even feel normal for half a day. Running still asks for repeated spring and force that walking does not, so the calf raise becomes your main home language.
Use two main versions: knee straight and knee bent. Physio Network’s calf rehab guidance emphasizes both variations because calf strain rehab needs to prepare the gastrocnemius-dominant straight-knee position and the soleus-biased bent-knee position.[4][5] At home, the distinction is not about pretending you can diagnose the exact injured muscle. Muscle involvement can overlap; the 2025 review notes that calf strain grading and classification are not settled into one universal system.[1] The practical point is simpler: your calf has to tolerate both knee positions before running is a good idea.
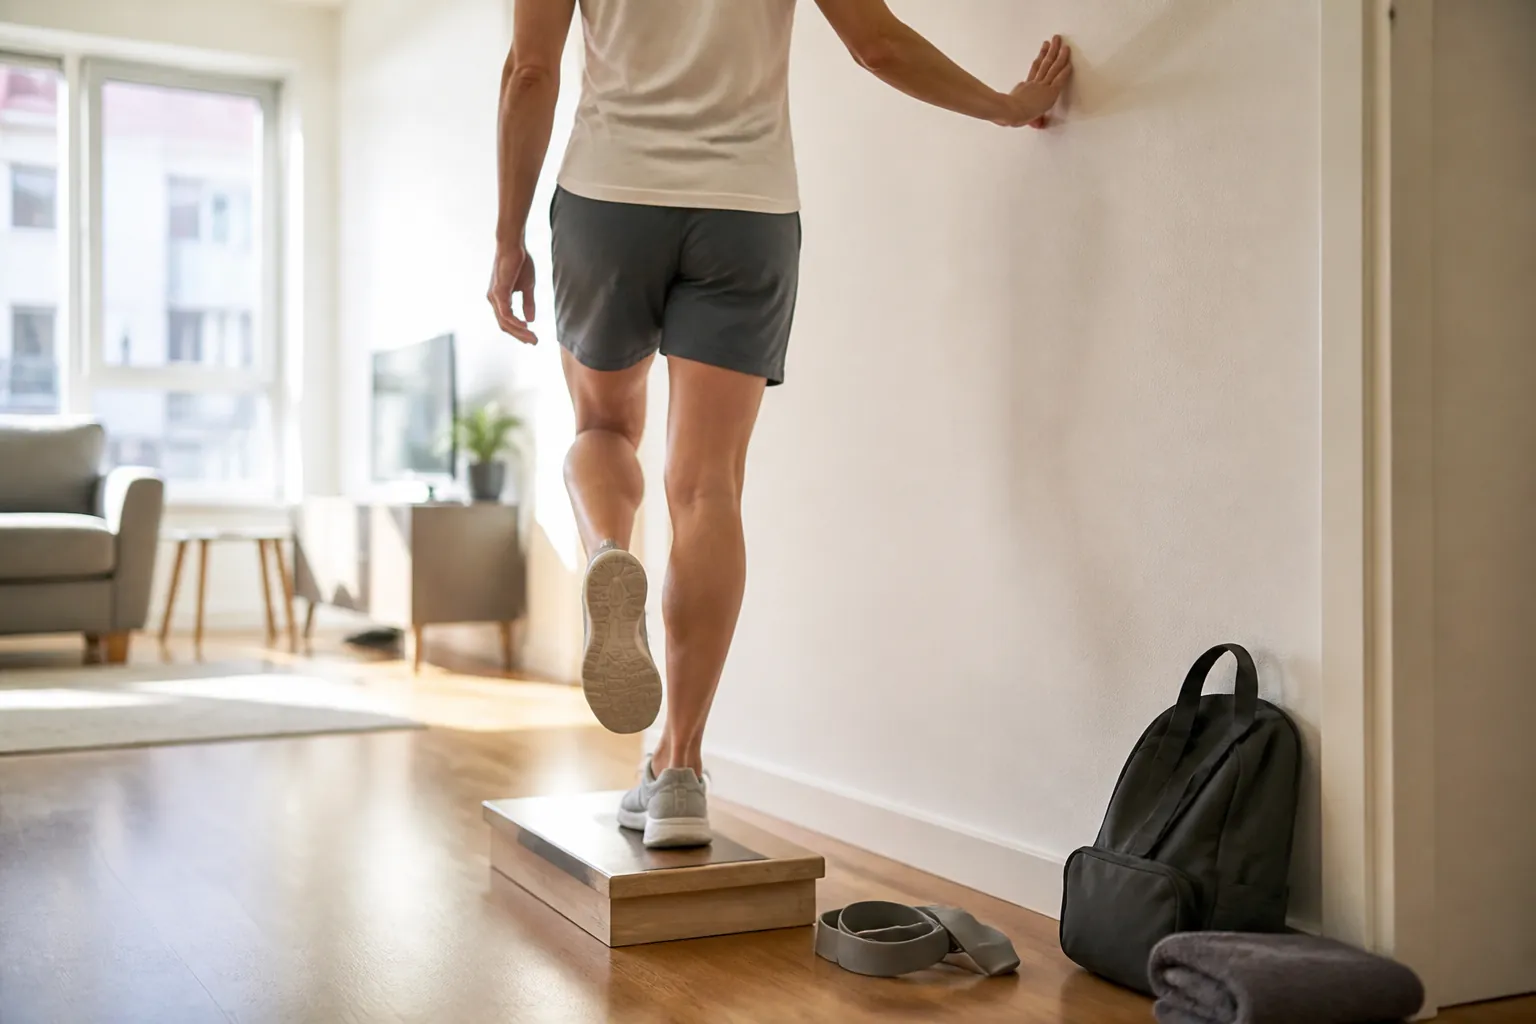
The calf raise ladder
| Level | Straight-knee version | Bent-knee version | Pass sign |
|---|---|---|---|
| Supported double-leg | Rise on both feet while holding a wall | Repeat with knees softly bent | No limp, no sharp pain, no next-day increase |
| More weight on injured side | Rise on both feet but bias weight toward the injured leg | Same bias with knees bent | You do not twist the foot outward or lean away |
| Up with two, down with one | Rise on both feet, lower mostly on the injured side | Repeat with a bent knee | Lowering is controlled, not a drop |
| Single-leg on flat ground | Hold the wall lightly and lift on the injured leg | Single-leg with knee slightly bent | Height and control are close to the other side |
| Loaded single-leg | Wear a backpack and repeat the clean single-leg raise | Loaded bent-knee single-leg raise | Load feels like work, not threat |
| Deficit version | Use a step only when flat-ground raises are clean | Use a smaller range for bent-knee work if needed | The bottom stretch does not reproduce the strain feeling |
The step is not a badge of progress. A deficit calf raise adds stretch at the bottom, and stretch is often the part that catches people. If flat-ground single-leg raises still feel pinchy or uneven, stay on the floor. When you do use a step, hold the wall, lower only into a comfortable range, and earn the bottom position gradually.
A backpack is the easiest home load. Add weight only when the unweighted version is calm during and after. Books, water bottles, or a laptop make the load adjustable enough for rehab. The goal is not to make every session heroic; it is to let the tendon-muscle unit feel progressively less surprised by force.
If you already use a milestone-gated approach for other injuries, this should feel familiar. The same “pass the gate before advancing” logic shows up in our ACL recovery workout at home and phase-based ankle rehab guide. Calves just punish the shortcut faster because push-off is everywhere.
Phase 3: make strength repeatable, not just possible once
A single clean calf raise is encouraging. It is not a return-to-running pass. The readiness target used by E3 Rehab is roughly 25–30 pain-free single-leg calf raises before running, paired later with a hopping gate.[6] That number is useful because it asks about capacity, not vibes.
Test this on flat ground first. Stand near a wall, use only the balance help you need, and perform single-leg calf raises at a steady height. Count the good reps, not the desperate ones. Stop when the height drops, the knee starts bouncing, the foot rolls outward, or you begin pushing hard through your hands.
Then compare sides. The injured calf does not have to look like a laboratory clone of the uninjured side, but a dramatic difference tells you something. If the uninjured side can move smoothly and the injured side turns into a shaky half-rep machine, the answer is not “short jog.” The answer is more strength work.
| Home check | Pass | Fail |
|---|---|---|
| Walking | Normal stride, no protective shortening, no next-day increase | Limp, tight push-off, or worsening after errands |
| Straight-knee single-leg calf raise | Controlled height, clean foot position, no pain | Heel height fades quickly or you shift into the wall |
| Bent-knee single-leg calf raise | Smooth push through the ball of the foot | Pinching, cramping, or a feeling of grabbing deep in the calf |
| Loaded version | Backpack load feels challenging but predictable | Form changes immediately when weight is added |
| Next morning | Same or better than baseline | More stiffness, soreness, or guarded walking |
This is also where cross-training can help the restless part of your brain. If cycling, pool running, rowing, or brisk walking does not provoke symptoms, it can maintain fitness while the calf earns running. For more ideas on keeping aerobic work alive without pretending you are race-ready, see our guide to cross-training during a running injury.
Phase 4: add spring only after strength stops being fragile
Running is a long series of tiny hops. That is why a hop gate belongs between calf raises and your first run. E3 Rehab uses roughly 10–20 pain-free single-leg hops as part of the readiness criteria before resuming running.[6]
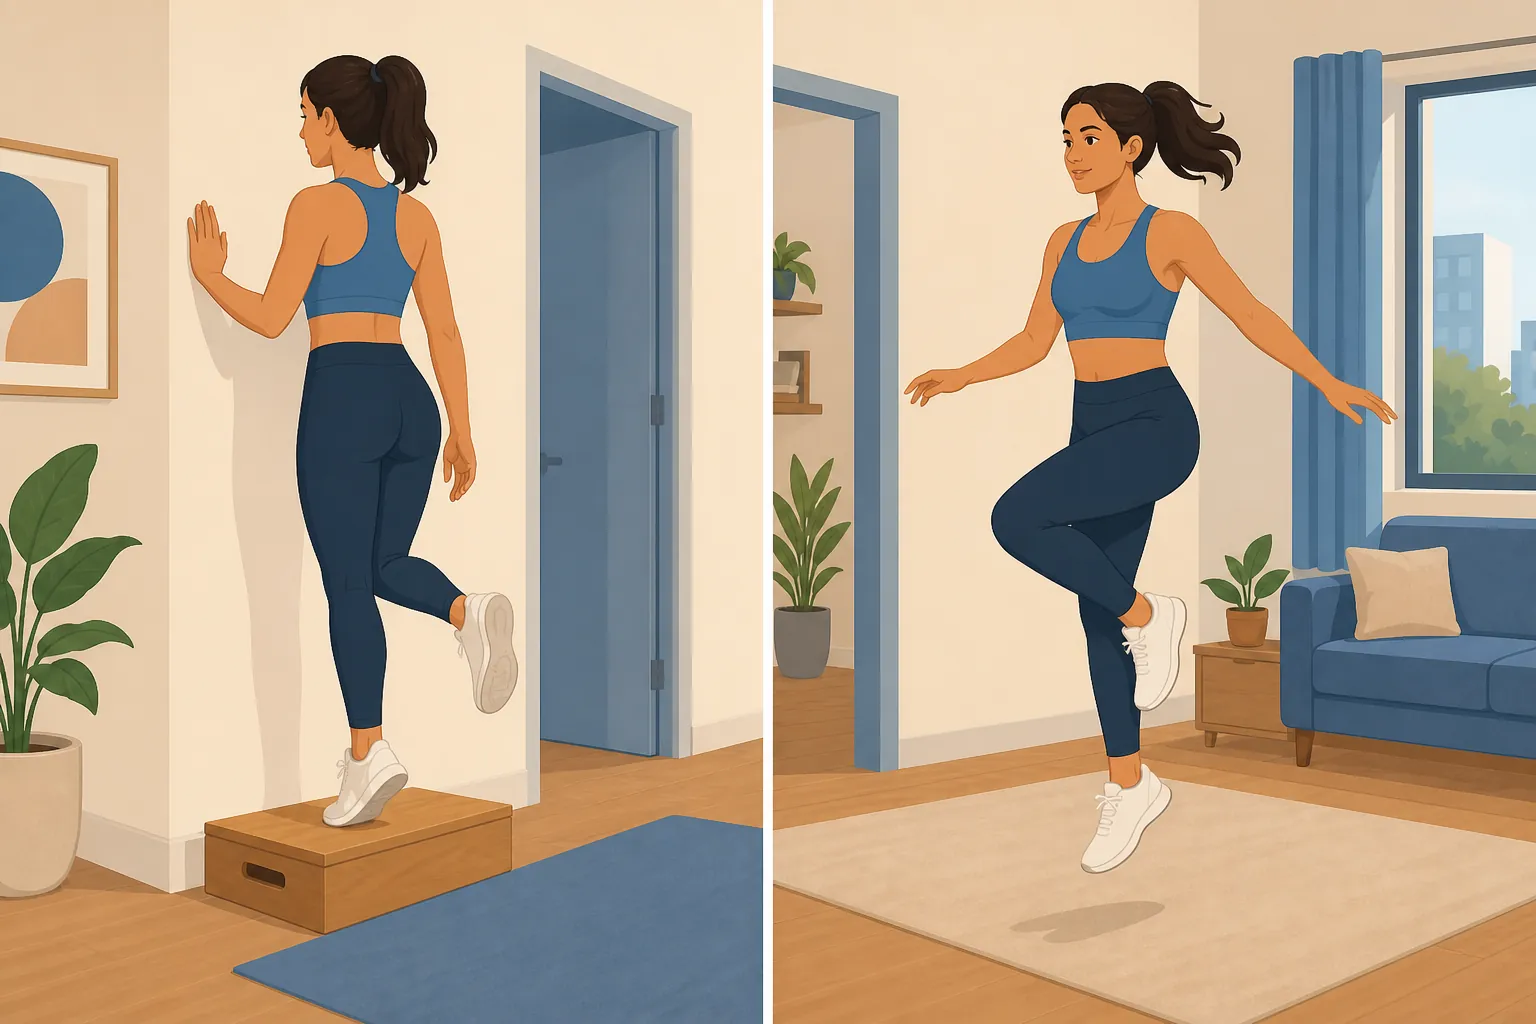
Do not start with big bounding. Start with fast but small double-leg calf raises. Then try gentle double-leg pogo bounces on flat ground. The ankles move; the knees stay soft; the torso stays quiet. If that is clean, shift a little more work to the injured side. Only then test single-leg hops.
For the single-leg hop test, use flat ground, not a curb, treadmill, or trail. Hop in place. You are looking for quiet control: no stab of pain, no fear-braking, no collapsing arch, no immediate urge to grab the wall, and no next-day punishment. If you pass the first few hops but lose rhythm quickly, you are not failing rehab; you have found the next thing to train.
| Spring progression | Use it when | Stop if |
|---|---|---|
| Fast double-leg calf raises | Single-leg strength work is calm | The injured side avoids taking load |
| Small double-leg pogos | Fast raises are easy and controlled | You feel grabbing, sharpness, or protective stiffness |
| Biased pogos | Double-leg pogos are symmetrical | You cannot keep the bounce small and quiet |
| Single-leg hops | Calf raise gate is close or already passed | Pain, fear, loss of rhythm, or next-day flare appears |
When can you run again?
Not when walking feels fine. That is the trap. The cleaner answer is: consider running when walking is normal, calf range feels usable, the calf can handle both straight-knee and bent-knee strengthening, you can perform roughly 25–30 pain-free single-leg calf raises, and you can complete roughly 10–20 pain-free single-leg hops without symptoms during or after.[6]
There is a reason to be conservative here. The 20-expert study cites Stares and colleagues’ work in 70 Australian football players, where running within 4 days before return to play was associated with a re-injury risk of about 25% for calf strains.[3] That does not mean every recreational runner needs to copy an Australian football return-to-play model. It does mean the first running exposures are not throwaway miles. They are part of rehab.
Your first run should feel almost boring. Use a flat, predictable surface. Keep it alternate-day at first. Make it a run-walk if continuous running changes your stride. Stop while you still look normal. If the calf feels tighter with each interval, the test is over; do not negotiate with it for “one more minute.”
Expert clinicians in the 2022 qualitative study described several running progression rules of thumb: run on alternate days, avoid prolonged slow plodding early especially when the soleus is irritated, do not increase volume and intensity at the same time, place strength work after running rather than before it, progress toward the actual demands of the sport, and avoid sudden changes in surface or footwear.[3]
| Early return-to-running choice | Better option | Why it matters |
|---|---|---|
| Frequency | Run every other day at first | The next-day calf response decides whether you repeat, reduce, or progress |
| Pace | Use relaxed running that does not make you plod heavily | Long, slow shuffling can irritate some calves, especially if soleus symptoms are present |
| Progression | Change distance or intensity, not both together | Stacked jumps make it hard to know what the calf failed |
| Strength timing | Run first, then do calf strength later | A fatigued calf is a poor testing surface for the first run back |
| Terrain and shoes | Keep surface and footwear familiar | A sudden hill, trail, carbon shoe, or minimalist shoe change adds a new variable |
| Sport return | Add the movements your sport actually requires | Pickup basketball, soccer, and tennis need acceleration, braking, and lateral work, not just straight jogging |
For runners using a treadmill, resist the urge to turn the first session into a controlled science project that keeps going because the belt feels safe. The treadmill removes weather and traffic, not calf load. If you need broader run-volume context, our home treadmill training guide is useful later; early calf return is still governed by symptoms and next-day response.
If you play a cutting sport, jogging is only the first door
A pickup-sports calf has to do more than survive straight-line running. It has to accelerate, decelerate, shuffle, turn, and sometimes jump when you are already tired. After the basic running gate, build those demands in layers.
- Start with straight-line strides that stay smooth and submaximal.
- Add gentle acceleration and deceleration over short spaces, stopping before form gets ragged.
- Add side shuffles and easy change-of-direction drills on a predictable surface.
- Add sport-specific movements only when the calf has handled the simpler version and answered well the next day.
- Return to full games last, not as the test that tells you whether rehab worked.
This is where many home plans get too cute with muscle labels. Yes, a straighter knee and a more bent knee bias different parts of the calf complex. But at home, “I think it is soleus” is not a permission slip to skip the rest. The safer standard is whether the whole leg can handle the actual job you are asking from it.
What if the calf keeps failing the same gate?
A stuck gate is information. If seated loading is fine but standing calf raises keep grabbing, the standing version may be too much body weight too soon. Use more wall support, reduce range, return to double-leg work, and build the bridge more gradually.
If straight-knee raises pass but bent-knee raises repeatedly feel deep, heavy, or crampy, keep bent-knee loading lighter and slower for a while. If hopping fails after strength looks good, spend more time on fast double-leg raises and tiny pogos before retesting single-leg hops. The failed test tells you which quality is missing: tolerance, strength, speed, spring, or recovery.
If symptoms are not trending better, bruising or swelling is increasing, you cannot regain normal walking, or every loading attempt makes the calf more reactive, that is a good reason to see a clinician. Home rehab is useful when the trend is improving. It is a poor place to guess through a stubborn or unclear injury.
Keep strength after the first successful runs
Return to running is not the same as full recovery. Physio Network’s runner-focused calf strain guidance notes that strength deficits can persist 4–6 months after return, and recommends keeping calf strength work 2–3 times per week.[5] The 2025 review also reports that recurrence is concentrated in the first roughly 2 months after return, with re-injuries mostly involving the soleus and adding about 16–19 days to recovery in Green’s 2020 work.[1]
Maintenance does not need to take over your life. Keep one straight-knee calf raise variation, one bent-knee variation, and one spring or sport-specific drill if you have returned to running or court play. Load them enough that they still feel like training. If you need a broader lower-body template around the calf work, use a simple home plan such as our leg workouts by equipment tier or an 8-week beginner strength plan.
The simple rule holds all the way through: advance when the calf passes the gate, not when the calendar says you are bored.
References
- Calf Strains in Athletes: A Narrative Review of Management, Injury Grading, and Return to Sport — Sports Medicine Open, 2025
- Pulled Calf Muscle — Cleveland Clinic
- The Assessment, Management and Prevention of Calf Muscle Strain Injuries: A Qualitative Study of the Practices and Perspectives of 20 Expert Sports Clinicians — Sports Medicine Open, 2022
- Calf Injury Rehab: A Step-by-Step Guide — Physio Network
- Calf Strain Rehab: A Runner’s Guide to Recovery — Physio Network
- Calf Muscle Strain Injury — E3 Rehab
What a small equipment investment adds
We don't have a build tagged to this exact tier yet. Browse all builds.
How often should you repeat this?
See our recovery and rest reference for citation-anchored rest-interval guidance.
Spot something off?
Tell us if a movement, tier assumption, or duration didn't match your experience.