
How to Train for a Hiking Trip at Home in 8 Weeks
This 8-week program builds hiking-specific strength and endurance using bodyweight exercises, stairs, and a backpack — no gym or trail access required. It's designed for hikers with an upcoming trip who need a proven, progressive plan to do from home.
- Equipment tier required
- none
- Duration
- 30-60 minutes min
- Difficulty
- beginner
- Target area
- full body
Eight weeks is enough time to make hiking feel less like a shock to your legs, lungs, and backpack-bearing shoulders, even if your training space is a staircase, a patch of floor, and a bag filled with books. It is not a guarantee that every trail will feel easy, and it will not replace outdoor judgment, uneven footing, altitude exposure, or practice reading weather. But for hiking fitness training at home for travel prep, a simple weekly rhythm works: two strength sessions, two cardio sessions, one longer loaded session, and recovery days placed where your joints actually need them.
| Day | Session | What you do |
|---|---|---|
| Monday | Strength A | Step-ups, reverse lunges, squats, calf raises, core |
| Tuesday | Cardio A | Stair repeats or low-impact stair intervals |
| Wednesday | Recovery | Easy walk, mobility, or full rest |
| Thursday | Strength B | Step-ups, single-leg deadlifts, split squats, descending-control work |
| Friday | Cardio B | Loaded-pack walk indoors, outside on flat ground, or stair-walk circuit |
| Saturday | Long session | Longer stair block, loaded walk, or combined stair-plus-pack session |
| Sunday | Recovery | Full rest, gentle mobility, sleep priority |
That structure is a consensus floor, not a lab-tested magic formula. REI recommends beginning hiking training 8 weeks before a trip, PureGym uses a 6-week hiking plan, and Adventure Alan’s plan with Dr. Simon Pratt is built around 12 weeks, adaptable for different baselines.[1][2][3] The 8-week version here sits in the useful middle: long enough to progress, short enough for the person who already has travel dates on the calendar.
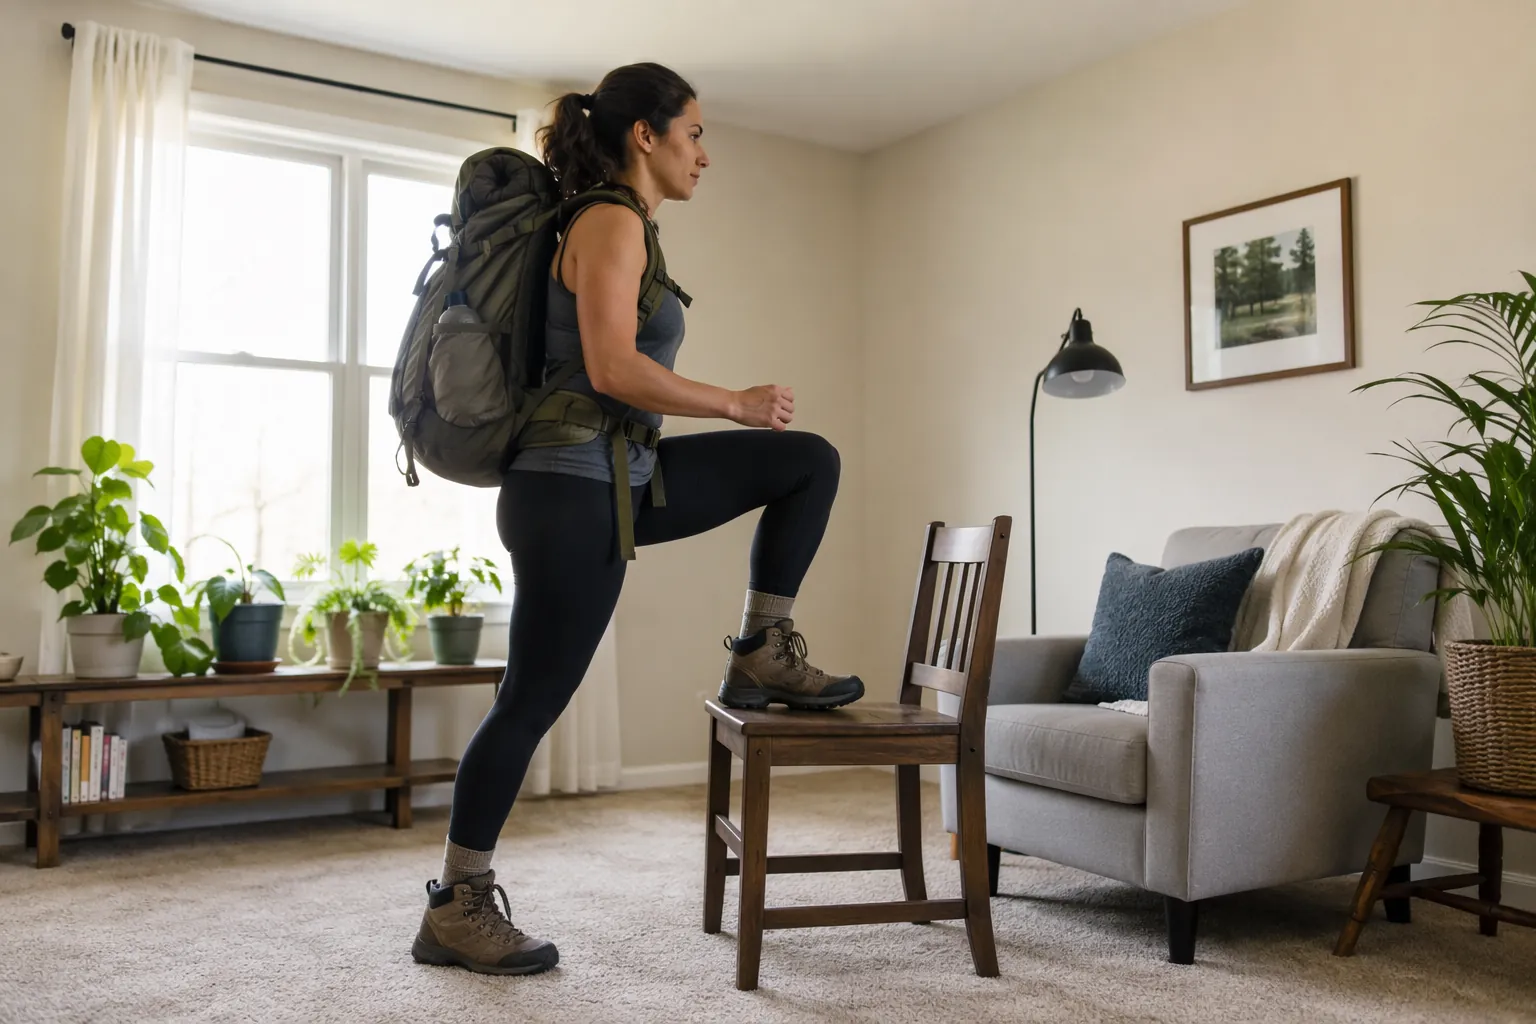
The 8-Week At-Home Hiking Plan
The plan progresses by changing only a few variables at a time: step-up volume, stair interval duration, pack weight, and the length of the weekly long session. That matters at home because it is easy to turn every session into a punishment test. Hiking prep works better when your knees, calves, ankles, and lungs get repeated practice without being surprised every day.
| Weeks | Strength focus | Cardio focus | Long session | Pack load |
|---|---|---|---|---|
| 1-2 | Learn the movements; 2 sets per exercise | Short stair intervals; easy breathing control | 30-45 minutes easy loaded walk or stair-walk mix | Empty pack to light pack |
| 3-4 | Add a third set to main leg exercises | Longer stair repeats; controlled descents | 45-60 minutes | Light to moderate, still comfortable |
| 5-6 | Increase step-up height or add pack load | Sustained stair blocks with fewer breaks | 60-75 minutes | Moderate; similar feel to your trip pack if appropriate |
| 7 | Hardest specific week; no sloppy reps | Peak stair volume and longest loaded session | 75-90 minutes | Trip-like load if joints tolerate it |
| 8 | Reduce volume; keep movement sharp | Shorter stair work; no last-minute heroics | 30-60 minutes early in the week | Light to moderate |
The goal is not to chase soreness. The goal is to make the repeated actions of hiking familiar: stepping up, lowering down, stabilizing on one leg, breathing while climbing, and carrying weight long enough that your shoulders and hips stop treating the backpack as an emergency.
Weeks 1-2: Build the pattern before you build the workload
Start with sessions that feel almost too manageable. If your first week leaves your calves tight for four days, the plan has already become harder to repeat than it needs to be.
- Strength A: 2 sets of 10-12 step-ups per leg, 8-10 reverse lunges per leg, 12 bodyweight squats, 12-15 calf raises, and a 20-30 second plank.
- Cardio A: 10-15 minutes of stair repeats, climbing at a steady pace and walking down slowly.
- Strength B: 2 sets of 10 step-ups per leg, 8 single-leg deadlifts per leg, 8 split squats per leg, and 5 slow stair descents per leg.
- Cardio B: 20-30 minutes of easy walking with an empty or lightly loaded backpack.
- Long session: 30-45 minutes of easy loaded walking, stair walking, or a mix of both.
For step-ups, choose a stair, sturdy step, or stable chair that lets you place the full foot down. Drive through the whole foot, stand tall at the top, then lower with control instead of dropping. Step-ups appear across hiking-prep guidance from AMC, REI, PureGym, Adventure Alan, and Washington Trails Association because the movement is close to what hiking asks of one leg at a time: produce force, stabilize, and repeat.[4][1][2][3][5]
Weeks 3-4: Add useful volume
In weeks 3 and 4, most people should add a set before adding much weight. Adventure Alan’s plan with Dr. Pratt describes 2-3 sets of 15-20 reps at about 60% of one-rep max as an optimal hiking-strength prescription aimed at the hips, knees, and ankles in movement-specific patterns.[3] At home, that does not require calculating a true one-rep max. It means the last few reps should feel like work while still looking clean.
- Step-ups move to 3 sets of 12-15 per leg.
- Reverse lunges move to 3 sets of 10-12 per leg.
- Single-leg deadlifts stay slower rather than heavier: 2-3 sets of 8-10 per leg.
- Stair repeats increase to 15-25 minutes.
- The long session becomes 45-60 minutes, with a light pack if your feet, calves, and knees are recovering well.
This is also where descending deserves its own attention. Walk down the stairs as part of your repeats; do not turn every descent into a fast shuffle. Your uphill muscles may get the dramatic burn, but your knees and ankles have to brake you on the way down. KURU Footwear’s 2026 hiking injury compilation reports ankles as the most commonly injured body part at 42% of hiking injuries, falls and slips as the cause of about 50%, and knees as about 10% of hiking incidents; because this is a secondary compilation, treat the numbers as a caution signal rather than a precise prediction for your trip.[6]
Weeks 5-6: Make the work more hike-like
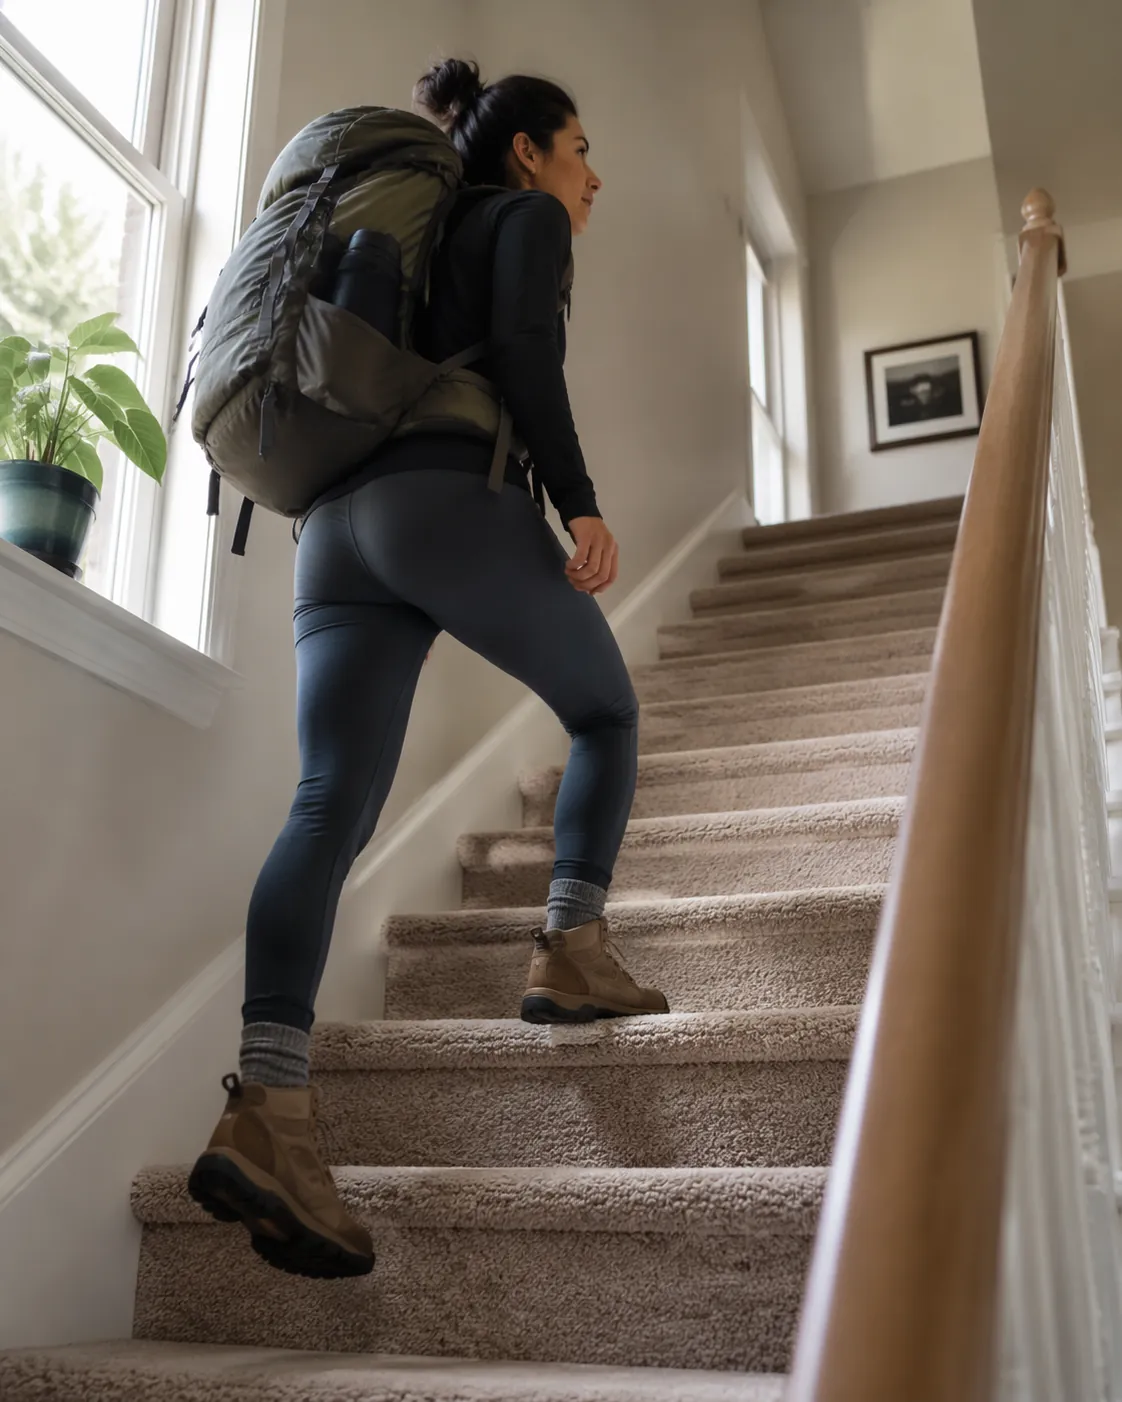
By week 5, the plan should feel familiar enough that you can make it more specific. Add a backpack to step-ups if your form is steady. Use the same stairwell but climb for longer continuous blocks. Put your long session on the day when you can practice moving for an hour or more without rushing through it.
| Session | Weeks 5-6 target |
|---|---|
| Strength A | 3 sets of 15-20 step-ups per leg; 3 sets of reverse lunges; squats or wall sits; calf raises; core |
| Cardio A | 25-35 minutes of stair repeats, using short breaks before form breaks |
| Strength B | Step-ups with light pack, single-leg deadlifts, split squats, slow descents, side steps or lateral lunges |
| Cardio B | 30-45 minutes loaded-pack walking on flat ground, indoors, or in a stair-walk circuit |
| Long session | 60-75 minutes loaded walking, stairs, or mixed intervals |
A loaded pack changes the training problem. Adventure Alan cites Knapik and colleagues’ 2012 work to support the idea that adding one loaded walking day per week can double the training effect compared with resistance and aerobic conditioning alone.[3] That should not be read as a promise that your results will double. It is a strong reason to practice carrying weight, because the trail will not care that your unloaded stair intervals were excellent.
Load the backpack conservatively. Books work, but they shift and create hard corners, so wrap them in a towel and cinch the pack close. Start with a load you can carry without leaning forward or changing your stride. If your actual hiking trip involves only a small daypack, do not train like you are preparing for a multi-day backpacking route.
Week 7: Peak the specific work, not the drama
Week 7 is the hardest week, but it should not be the messiest. Keep two strength sessions, two cardio sessions, and one longer session. The difference is that the main work now looks most like your trip: step-ups with a moderate pack, longer stair blocks, and a long loaded walk or stair session that lasts 75-90 minutes if your joints have tolerated the earlier weeks.
- Stop a stair interval when your foot placement gets careless.
- Reduce pack load before you reduce control on descents.
- Keep at least one full recovery day after the long session.
- If calf tightness starts changing your stride, swap a stair day for flat walking and mobility.
If stairs are your main cardio tool and you want a more detailed interval template, use this stair-climbing routine as a supplemental option. Keep the hiking plan’s recovery days intact rather than stacking every hard idea into the same week.
Week 8: Taper without going idle
The final week is not where fitness gets built. It is where you arrive with legs that still respond. Cut total volume roughly in half, keep a few short bouts of stairs and step-ups, and avoid testing a new pack weight, new step height, or new lunge variation.
| When | What to do |
|---|---|
| 7-6 days before the hike | Short strength session: 2 easy sets of step-ups, reverse lunges, single-leg deadlifts, and calf raises |
| 5-4 days before | 20-30 minutes easy stair walking or flat loaded walking |
| 3 days before | Optional short mobility and easy walk |
| 2 days before | Rest or very easy walking |
| 1 day before | Rest, pack check, sleep priority |
Readiness is not a personality trait. It is visible in small signs: you can climb stairs for 30 minutes without panic pacing, step down under control, carry your expected pack without shoulder or low-back compensation, and finish a longer session without limping the next day. If those signs are not there, the answer is not one desperate workout. Adjust the hike plan, pace, distance, or carried load.
How to Do the Main Exercises
These are not random leg exercises arranged under a hiking label. They cover the main home-training problems that show up on trail: climbing, braking, balancing, and carrying load while tired.
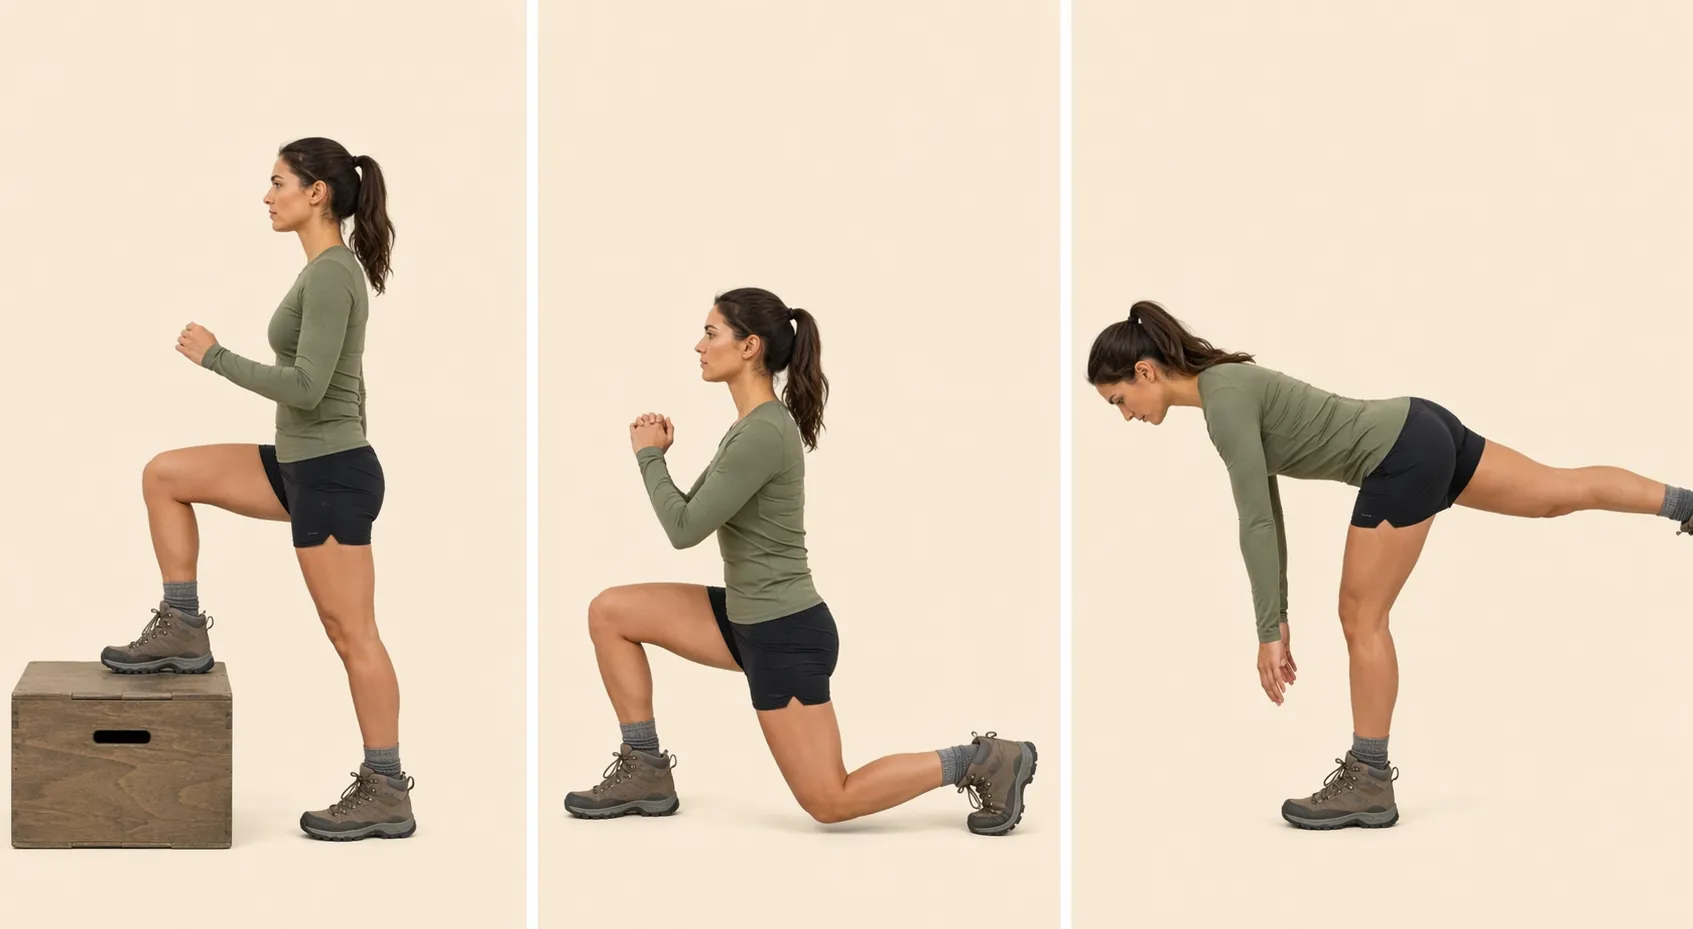
Step-ups
Use a stair, low box, aerobic step, or very stable chair. Place the whole foot on the surface, press through the foot, stand up without bouncing off the back leg, then lower slowly. Alternate legs or complete all reps on one side before switching.
- Beginner: bodyweight only, low step, 2 sets of 10-12 per leg.
- Progression: 3 sets of 15-20 per leg.
- Trip-specific version: wear a light or moderate backpack once your knee tracks cleanly over the foot.
- Form check: if you push hard off the floor leg, the step is probably too high or the set is too heavy.
Reverse lunges
Step backward, lower under control, then drive through the front foot to stand. Reverse lunges are a good default for home hiking prep because they train the glutes and quads while reducing pressure through the knee compared with forward lunges, according to Backpacker’s spring tune-up workout featuring Lee Welton, PTA.[7]
Keep these steady rather than theatrical. If balance is the limiting factor, lightly touch a wall or chair. That is not cheating; it lets the working leg get the training instead of turning every rep into a stumble.
Single-leg deadlifts
Stand on one leg with a soft knee, hinge at the hips, let the other leg move behind you, then return to standing. You should feel the hamstring and glute of the standing leg, not a tug in the low back. Use a wall touch if needed.
This exercise earns its place because hiking is rarely perfectly symmetrical. Even on groomed trails, one foot lands higher, lower, or slightly off-center. Single-leg deadlifts teach the hip and ankle to organize the body before the next step.
Squats, split squats, and wall sits
Squats build general leg strength. Split squats make that strength more single-leg. Wall sits give you a quiet option when jumping or loud movement is not neighbor-friendly. Use these as supporting work after step-ups and lunges, not as the center of the plan.
- Squat: 2-3 sets of 10-15 controlled reps.
- Split squat: 2-3 sets of 8-12 per leg.
- Wall sit: 2-4 holds of 20-45 seconds.
Stair repeats and controlled descents
For stair repeats, climb at a pace you could repeat, then descend deliberately. Use the railing if needed, especially when fatigue sets in. A stairwell is not a mountain, but it is one of the cleanest home substitutes for repeated vertical work.
Adventure Alan gives a practical conversion of about 94 floors for 1,000 feet of elevation gain.[3] Treat that as calibration, not gospel. Step height, building design, landing length, and pace all change the training effect. If your upcoming hike has a major climb, the conversion can help you understand scale; it should not pressure you into cramming 94 floors into week 1.
Loaded-pack walking
Loaded walking can happen outside on flat sidewalks, around an apartment loop, up and down a hallway, or as a stair-walk circuit if noise and space allow. Keep the pack close to your body. Walk tall. If the load changes your stride, it is too much for that day.
The loaded day is not just extra cardio. It prepares the contact points that ordinary bodyweight training misses: shoulders under straps, hips under a belt if you use one, feet under repeated load, and posture under fatigue.
Why This Works Without a Gym
A gym can make progression cleaner, but hiking does not require gym-only qualities. It requires repeated submaximal force, single-leg control, aerobic patience, and the ability to carry weight without falling apart. Home tools can train those qualities if the sessions are specific enough.
The repeated recommendation across REI, Step Massive, and Adventure Alan is some version of strength work plus cardio work each week, often landing around two strength sessions and two aerobic sessions as the minimum useful rhythm.[1][8][3] That agreement is more useful for a home trainee than a perfect theory that requires equipment they do not have.
The strength sessions make your legs better at the movements that cost hikers energy: stepping up, lowering down, and stabilizing on one leg. The stair sessions give you repeatable climbing practice. The loaded session teaches your body that the pack is part of the task, not an accessory you only meet on travel day.
What this does not build is full trail sense. Indoor stairs will not teach you how wet rock feels underfoot, how heat changes pacing, how altitude affects breathing, or how to make decisions when the trail is longer than expected. If you can get even one real outdoor walk before the trip, take it. If you cannot, this plan still gives you a better base than vague cardio and random squats.
Adjust the Plan Without Breaking It
The weekly rhythm matters more than any single exercise variation. If your stairs are shared, noisy, or unavailable, keep the same session purpose and choose the closest quiet substitute.
| Problem | Adjustment |
|---|---|
| No stairs | Use step-ups for strength and brisk loaded walking for cardio; add longer continuous walking on the long day |
| Downstairs neighbor | Use slow step-ups, wall sits, split squats, and flat loaded walks instead of fast stair intervals |
| Knee irritation on lunges | Shorten range, use reverse lunges with support, or swap in split squats and wall sits |
| Calf tightness | Reduce stair volume, keep descents slow, and use recovery work before adding more climbing |
| Trip is easier than expected | Stay conservative with pack load; do not train for a harder hike than the one you are taking |
For extra bodyweight strength variety, use the step-up and stair-crawl ideas in Anthony Joshua's home workout circuit only as optional assistance. If lower-leg tightness is already showing up, prioritize recovery instead; this calf strain recovery guide is a better next stop than adding another hard stair day.
Recovery is part of the program because adaptation happens between sessions. If heat or poor sleep is making training feel unusually heavy, reduce the day’s volume and protect sleep where you can; this guide to sleeping without AC for workout recovery may be more useful than another exercise list.
How to Judge Progress Before the Trip
Use the same simple checks every two weeks. Do not turn them into max tests. They are there to show whether the work is becoming more repeatable.
- Step-up check: Can you complete 15 clean reps per leg without pushing off the floor leg?
- Stair check: Can you climb for 20-30 minutes at a steady pace without needing long stops?
- Descent check: Can you walk downstairs after a climb without rushing, side-stepping, or grabbing the railing in panic?
- Pack check: Can you carry your expected daypack load for 45-60 minutes without changing posture?
- Recovery check: Are you ready to train again within 24-48 hours after the long session?
If those answers improve by week 8, you have built measurable hiking-specific fitness at home. Keep the last week honest, arrive rested, and let the trail be the first big effort rather than the second one after a frantic final workout.
References
- How to Train for Hiking, REI Expert Advice
- The Best 6-Week Hiking Workout Plan, PureGym
- How to Train for Hiking & Backpacking Endurance (12-Week Plan with Dr. Simon Pratt), Adventure Alan
- A Home Workout to Stay in Hiking Shape, AMC
- At-Home Exercises for Hiking, Washington Trails Association
- 59 Hiking Injury Statistics and Trends 2026, KURU Footwear
- This Hiking Workout is a Spring Tune-Up for Your Body, Backpacker
- How to Train for Backpacking: A Complete Plan That Works, Step Massive
What a small equipment investment adds
We don't have a build tagged to this exact tier yet. Browse all builds.
How often should you repeat this?
See our recovery and rest reference for citation-anchored rest-interval guidance.
Spot something off?
Tell us if a movement, tier assumption, or duration didn't match your experience.