
Age-Appropriate Soccer Drills Kids Can Do at Home
Choose soccer drills for kids at home by developmental stage, not just age. This guide covers ages 5–7, 8–10, and 11–14 with matched drills, simple session structures, and realistic length limits that work in small apartments and backyards.
- Equipment tier required
- $0-100
- Duration
- 20 min
- Difficulty
- beginner
- Target area
- legs
- Space footprint needed
- living room or hallway
- Noise level
- low
The hard part about choosing soccer drills for kids at home is not finding enough drills. It is figuring out which ones belong to the child standing in your hallway right now: the six-year-old who wants to kick everything at full power, the nine-year-old who is suddenly ready to pass against a wall, or the twelve-year-old who can handle a little repetition without turning the room into a tryout.
Age helps, but it is only the first filter. Attention span, coordination, emotional tolerance for missing, and the ability to work with a partner matter just as much. A younger child who is laughing through messy ball touches may be getting a better home session than an older-looking drill that leaves them waiting, frustrated, or smashing passes into the baseboards.
Start with the stage, then adjust for the child
For home practice, the useful breakpoints are roughly 5–7, 8–10, and 11–14. Those bands line up with common youth-coaching guidance: under-8 players are still very self-focused, are not reliable at locking the ankle for accurate striking, and generally do better with ball-touch games than long passing drills or lines; pair work becomes more realistic around age 8, and more group-oriented work becomes more sensible around 10 and older.[1]
The table below is a chooser, not a rulebook. If your eight-year-old still melts down when a wall pass bounces crooked, stay with the 5–7 menu for a while. If your ten-year-old is coordinated and asking for harder work, borrow carefully from the older band.
| Age band | What usually fits at home | Good drill choices | What to avoid or limit |
|---|---|---|---|
| 5–7 | Short, playful, mostly solo ball contact; the ball should feel like a toy before it feels like homework. | Toe taps, sole rolls, inside-inside touches, dribbling around socks or soft markers, stop-and-go games, treasure hunts with the ball.[2][3] | Long passing lines, repeated hard striking, adult-style accuracy demands, and sessions that depend on waiting or taking turns for long stretches.[1] |
| 8–10 | A transition stage: still plenty of solo touches, with simple wall or partner work added when the child can handle feedback from the ball. | Wall passing, first-touch cushions, inside/outside turns, basic juggling attempts, dribble-and-turn courses, simple 1v1-style moves.[2][3][4] | Complicated passing patterns, long explanations, and drills where the child spends more time resetting cones than touching the ball. |
| 11–14 | More deliberate technical practice, especially if the child already trains with a team. | First-touch patterns, wall-passing variations, juggling goals, turns under light pressure, shooting patterns if space allows, and short technical circuits.[2][4] | Turning every home session into a full team practice, heavy conditioning disguised as skill work, or high-force shooting in unsafe spaces. |
Ages 5–7: make the ball feel friendly first
For a five-, six-, or seven-year-old, the best home soccer drills are usually the ones that barely look like drills. That is not lowering the bar. It is matching the work to the child.
At this age, the child is still learning where the ball is in relation to their body, how hard a touch travels, and what happens when they use the sole, inside, outside, or toe. Triton’s youth practice guidance treats U6 sessions as roughly 45-minute organized-practice ceilings and U8 sessions as roughly 60-minute ceilings, while also warning against long passing drills and standing-in-line activities for the youngest players.[1] A living-room session does not need to come close to those ceilings.
Start with touches that keep the ball near the child’s feet:
- Toe taps: one foot on top of the ball, switch feet, and let the rhythm be clumsy at first.
- Sole rolls: roll the ball across the body with the bottom of the foot, then stop it before it gets away.
- Inside-inside touches: gently push the ball from one foot to the other, close enough that a parent is not chasing it under furniture every third touch.
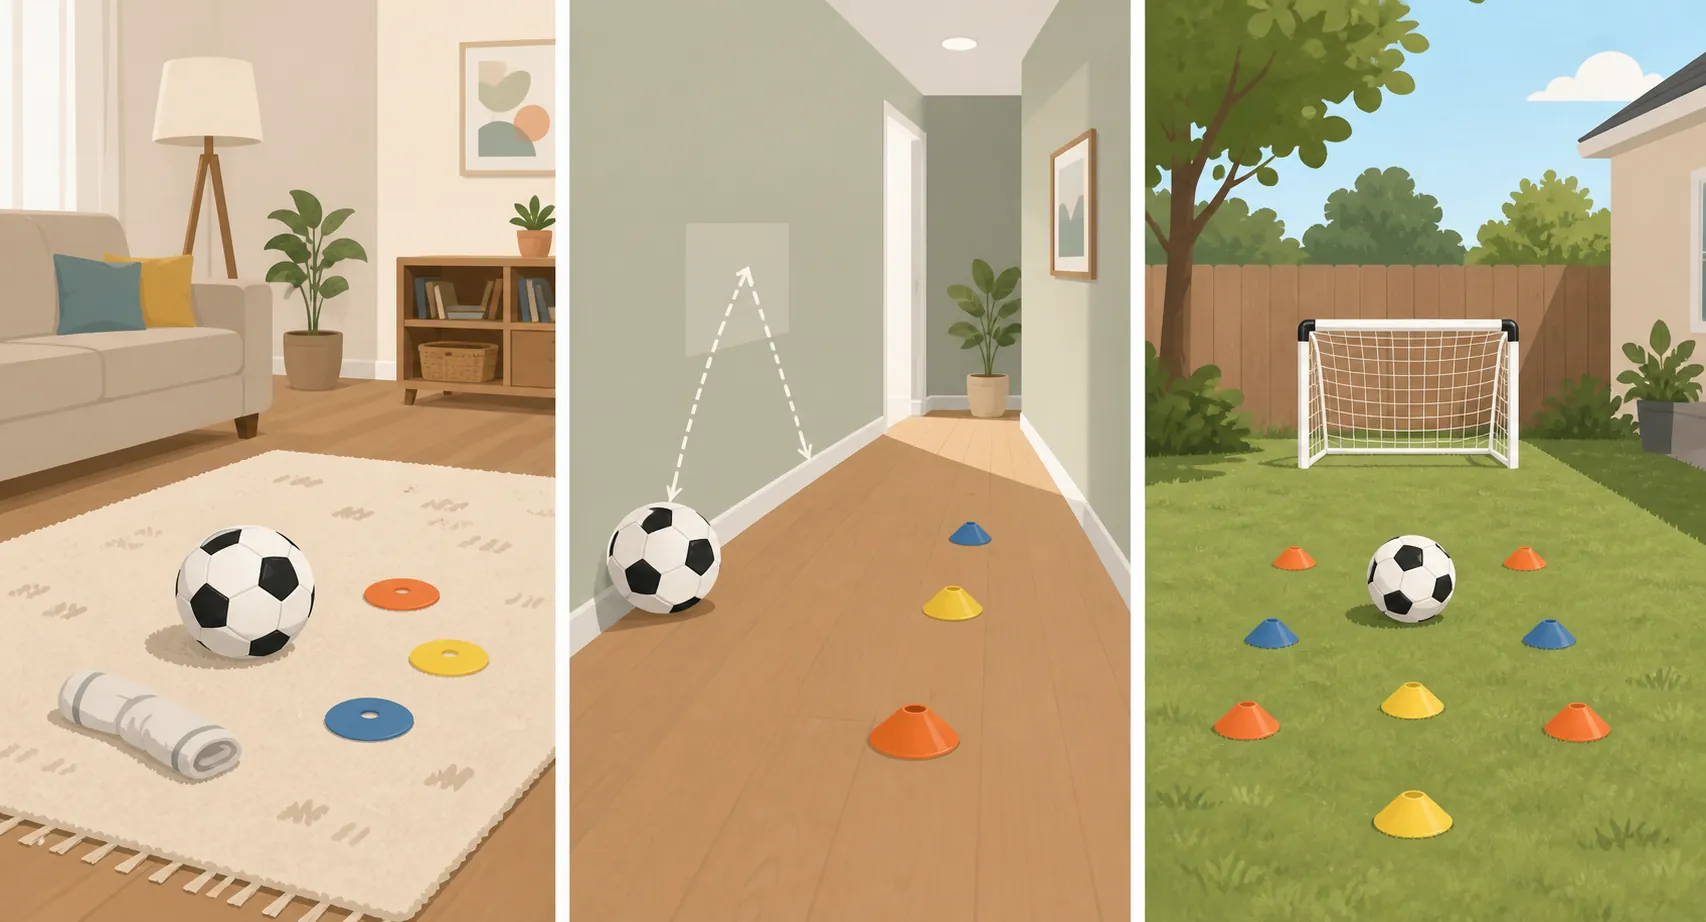
- Marker dribbling: weave around socks, stuffed animals, plastic cups, or soft cones.
- Freeze games: dribble until the parent says “freeze,” then stop the ball with the sole.
FlickTec’s no-equipment drill menu includes the same kind of young-player work—toe taps, sole rolls, inside-inside touches, and simple dribbling patterns—because these drills give frequent contact without requiring tactical understanding.[2] Soccer Compass also leans on improvised backyard markers, which translates easily to a hallway or a rug if the markers are soft and the ball is not overinflated.[3]
The adult temptation is to hurry from ball control to passing or shooting because those look more like “real soccer.” For under-8s at home, that jump often creates the worst version of practice: a parent feeding instructions, a child swinging at the ball with a loose ankle, and a wall or cabinet taking the punishment. The child is not refusing to be serious; the task is asking for a level of coordination and cooperation that is still forming.
A good 5–7 home session might be ten minutes on a tired night and fifteen on a good one. Let the child name the game. “Can you roll the ball around every island?” works better than “complete three sets of sole rolls.” Count touches if the child enjoys counting. Stop counting if counting turns the room sour.
If your space is especially tight, the apartment-specific routine in 15-Minute Kids Soccer Drills You Can Do Inside an Apartment is a better fit than trying to force a backyard-style setup into a living room.
Ages 8–10: add the wall, then add decisions
The 8–10 band is where home practice starts to change. Many children can now handle a simple partner or wall task, notice the quality of their first touch, and try again without the whole session collapsing. That does not mean every drill should become formal. It means the ball can begin to give them more information.
Wall passing is the cleanest example. A wall does not get bored, does not overcoach, and returns the ball honestly. If the pass is too hard, the rebound is messy. If the foot is angled strangely, the ball comes back at an angle. If the first touch is heavy, the next pass becomes harder.
Keep the first version simple:
- Pass gently into the wall from a short distance.
- Receive the ball with the inside of the foot.
- Take one touch to settle it.
- Pass again when balanced.
Only after that feels calm should you add a target, a two-touch limit, or a turn before the next pass. FlickTec and Soccer Compass both include wall or backyard drills that fit this middle stage, while MOJO’s youth drill pool adds simple competitive and movement-based ideas that can be adapted when there is a sibling, parent, or small outdoor space available.[2][3][4]
This is also a good age for controlled first-touch work. The point is not a perfect academy touch. The point is that the child starts to understand that the first touch can prepare the second action. A soft wall pass, a cushion touch across the body, then a pass back is enough. If you have a backyard, the same idea can become receive-turn-dribble through a gate.
Juggling can enter here, but it needs careful handling. For many children, juggling is a frustration machine if adults treat it as a scorecard. Use “drop, kick, catch” or “one bounce allowed” versions first. A child who gets two controlled touches and wants another try is practicing. A child who is fighting tears over a personal record is not getting better because the number is bigger.
Short 1v1-style moves also fit this stage, even when there is no defender. Set one soft marker as the “defender,” dribble toward it, make a move, and accelerate for two or three steps. The move can be a pullback, inside cut, outside cut, or step-over if the child already knows it. The finish matters: after the move, the child should actually get away from the marker, not just perform foot choreography in place.
Ages 11–14: give the session a technical purpose
Older kids can usually tolerate more structure, especially if they already play on a team. Triton lists U12 and older organized practices at roughly 90 minutes, which is useful as a ceiling for team environments, not a reason to run a 90-minute technical session after dinner.[1]
At home, the older band benefits from choosing one technical purpose for the day. Not six. One. First touch away from pressure. Cleaner wall passing. Better weak-foot contact. Juggling control. A shooting pattern, if there is safe space. The session gets sharper when the child knows what they are trying to improve.
Good options include:
- First-touch patterns: pass to a wall, receive across the body, play back with the opposite foot.
- Wall-passing variations: one-touch if the surface and skill level allow, two-touch for quality, weak-foot-only for short bursts.
- Turns: receive, pull back, Cruyff turn, inside cut, outside cut, then pass or dribble out.
- Juggling goals: not just a high score, but alternating feet, thigh-foot catches, or controlled resets.
- Shooting patterns: only in a yard, driveway, or safe outdoor area where misses will not damage the house or make the neighbors hate soccer.
This age can handle a little self-review. Ask the player to notice one thing: Was the first touch close enough? Did the pass stay on the floor? Did the weak foot swing through the ball or poke at it? That kind of attention is more useful than loading the session with adult commentary after every rep.
Use the same home-session container for every age
A simple home session does not need a clipboard, but it does need a shape. Many clubs describe US Soccer’s Play-Practice-Play model as a session that begins with game-like play, moves into a focused practice activity, and finishes with another play phase.[5] At home, that model translates well because it keeps the adult from turning the whole evening into instruction.
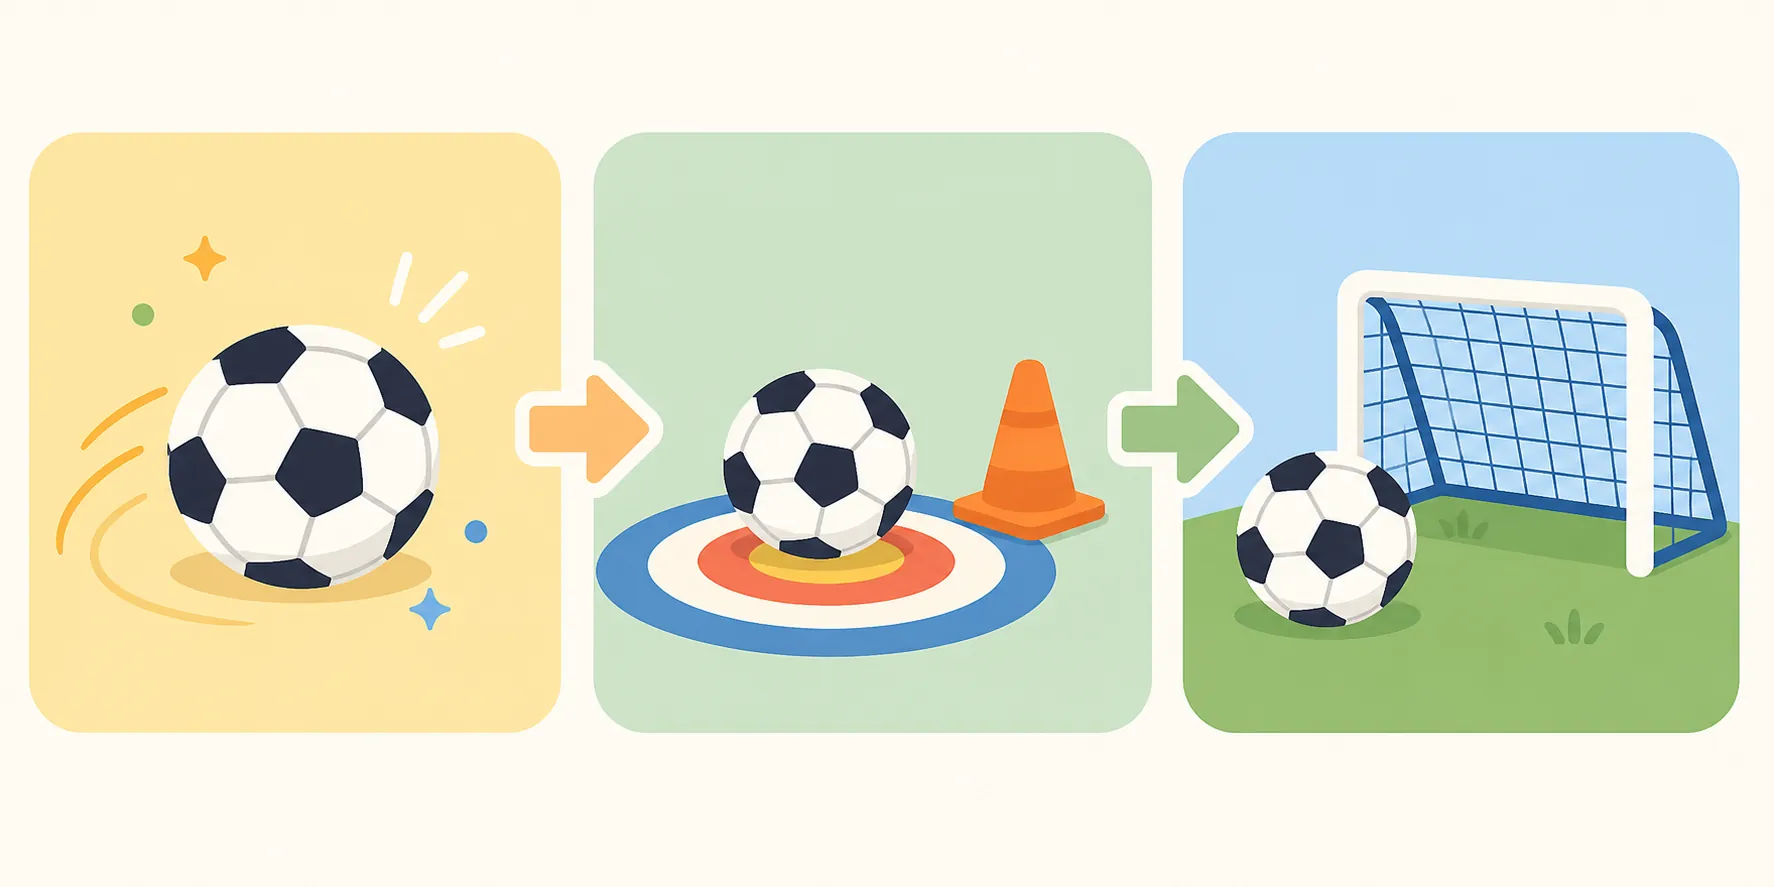
For most families, 15–20 minutes, three to five times per week, is the sweet spot. It is short enough to repeat and long enough for meaningful touches. The CDC recommends that children and adolescents ages 6–17 get 60 minutes or more of physical activity daily, so these short soccer sessions can be one piece of a larger active day rather than the whole movement plan.[6]
| Age band | Playful opening | Focused practice | Game-like finish |
|---|---|---|---|
| 5–7 | 2–4 minutes: dribble anywhere in the safe space, freeze on command, rescue the ball from imaginary lava. | 6–8 minutes: toe taps, sole rolls, inside-inside touches, and marker dribbling in tiny bursts. | 3–5 minutes: dribble through a gate, stop the ball on a towel, or race the parent’s slow countdown. |
| 8–10 | 3–4 minutes: free dribble with turns, change-speed commands, or a favorite move. | 8–10 minutes: wall passing, first-touch cushions, pullbacks, inside cuts, or juggling attempts. | 4–6 minutes: beat the marker, pass through a target gate, or play a short parent-versus-child challenge. |
| 11–14 | 3–5 minutes: ball mastery warm-up, juggling reset, or light dribble-and-turn sequence. | 10–12 minutes: one technical theme such as weak-foot wall passing, first touch across the body, or turn-and-pass patterns. | 4–6 minutes: timed technical challenge, target passing, safe shooting pattern, or a small self-scored game. |
If you want a broader template for planning the whole session, use How to Run a Youth Soccer Training Session at Home for the session-planning layer, then come back to this age guide to choose the actual drills.
What to skip, at least for now
Skip long equipment lists. A soft ball, a few safe markers, and a wall or open patch of floor are enough for most of this work. If indoor noise is the real barrier, floor protection matters more than another training gadget; the guide to soundproofing an apartment home gym floor is more useful than buying harder cones.
Skip ball-size debates unless you have checked your league’s current guidance. A properly sized ball matters, but for indoor work, softness and safety are the immediate household concerns.
Skip promises that a child will transform in a set number of weeks. Some kids show cleaner touches quickly when they practice often. Others need longer, especially during growth spurts or when confidence is fragile. The repeatable habit is the win before the visible technique catches up.
And skip the idea that home drills should replace free play or team practice. Johns Hopkins’ sports medicine guidance warns families to be cautious with early sport specialization and to keep children’s long-term health and development in view.[7] A child can love soccer and still need playground time, other sports, rest, and evenings where the ball stays in the closet.
For families trying to keep gear from taking over a hallway, small-apartment home gym storage ideas can solve the boring problem that often decides whether practice actually happens: where the ball and markers live when no one is training.
A realistic family rule
Choose drills by developmental stage first, age second. Give 5–7-year-olds playful ball contact. Help 8–10-year-olds bridge into wall work, first touch, and simple decisions. Let 11–14-year-olds practice with a clearer technical purpose.
Keep the session short enough that your child would willingly do it again. Consistent, enjoyable touches beat adult-looking practice that everyone dreads by Thursday.
References
- Triton Youth Soccer Practice Guidelines, Triton Youth Soccer
- Soccer Drills Kids Can Do at Home No Equipment, FlickTec
- 7 Soccer Drills Kids Can Do in the Backyard, Soccer Compass
- 10 Best Soccer Drills for Kids, MOJO Sports
- Play-Practice-Play, Medford SC
- Physical Activity Basics for Children, Centers for Disease Control and Prevention
- Youth Sport Specialization, Johns Hopkins Medicine
What a small equipment investment adds
Cable Machine Alternatives That Save Space and Money
Compare the best cable machine alternatives for home gyms – from resistance bands and pulley systems to suspension trainers and compact digital units – and find the right option for your space and budget.
Small Treadmill Buying Guide: 7 Critical Specs to Check Before You Buy
A cross-category spec primer for apartment and small-space dwellers comparing walking pads, ultra-compact folding treadmills, and full-size folding treadmills. Learn the concrete thresholds for motor HP, deck length, noise, warranty, and subscription lock-in so you can compare apples to apples.
How to Practice Basketball at Home Without Noise Complaints
Learn how to run a full basketball workout in a small apartment without noise complaints. This guide covers no-dribble handling drills, wall form shooting, and silent ball options that let you train without disturbing neighbors.
How often should you repeat this?
See our recovery and rest reference for citation-anchored rest-interval guidance.
Spot something off?
Tell us if a movement, tier assumption, or duration didn't match your experience.