
How to Train Speed Climbing Strength at Home
A speed-climbing strength workout you can run at home, organized by gear tier — bodyweight, pull-up bar with bands, or hangboard with dumbbells — with sets, reps, and apartment-friendly noise and floor notes. It centers the leg-driven power and pulling strength that transfer to the wall, countering the hangboard-first assumption most climbers bring.
- Equipment tier required
- none
- Duration
- 45 min
- Difficulty
- beginner
- Target area
- full body
- Space footprint needed
- compact; enough room to lunge
- Noise level
- quiet to moderate; low-impact swaps available
A useful speed climbing strength training workout at home does not start with a hangboard. It starts with leg drive: deep hip and knee positions, a stiff ankle on contact, a hard push through the floor, and enough pulling power and trunk tension to keep that force moving into the next hold instead of leaking out through a soft body line.
Oleksii Shulha, head speed coach for Team USA, put the correction neatly: speed climbing is “like a rear-wheel-drive race car.” The legs generate the speed; the arms help transmit it and keep the climber connected to the route.[1] That one idea should change the order of your home work. Finger strength still matters. Pulling strength matters. But if your home session is all hangs, rows, and pull-ups, you are training around the event rather than through it.
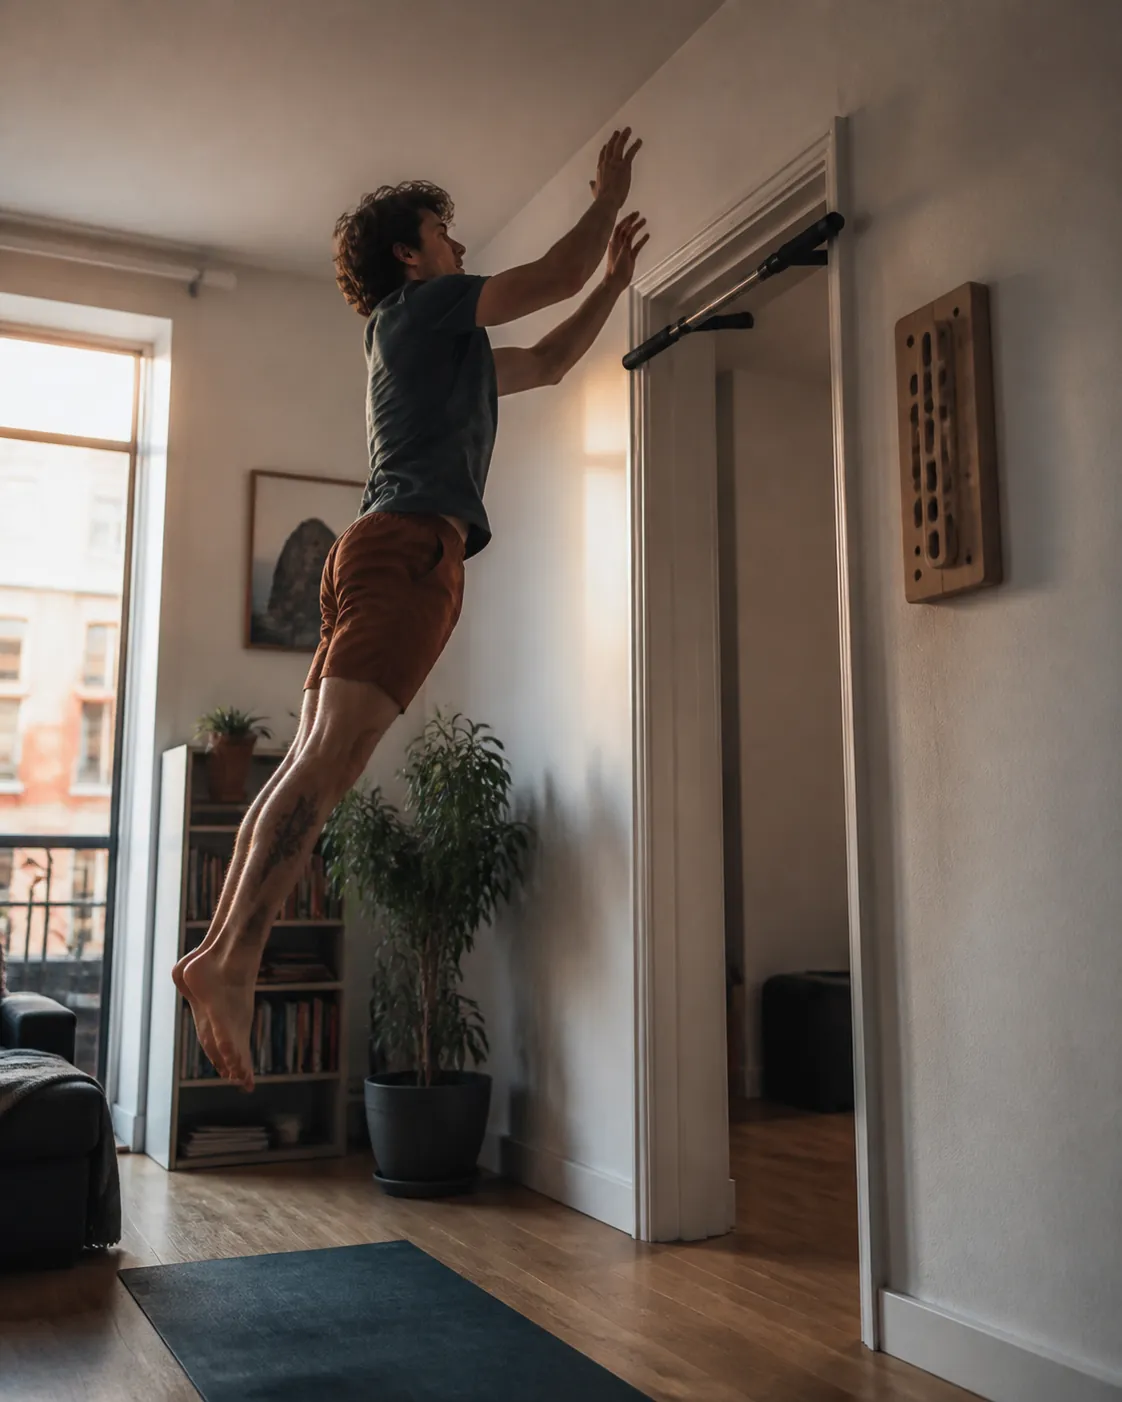
Pick the version that matches your apartment and gear. The workout is built in tiers, not because more equipment automatically makes the session better, but because each tier gives you a different way to train the same qualities.
| Tier | Use this if you have | Main training job | Noise profile |
|---|---|---|---|
| Bodyweight only | A mat, towel, chair or low bench, and enough floor space to lunge | Deep-range leg force, controlled explosive intent, trunk stiffness | Quiet to moderate; jumps can be swapped for fast rises or non-jumping versions |
| Pull-up bar + resistance bands | A trustworthy bar setup and one or two loop bands | Pulling speed, assisted jumps, band-resisted trunk work | Quiet except for foot contacts; check door-frame security before any dynamic pulling |
| Hangboard + dumbbells | A safely mounted or freestanding board, dumbbells, and floor protection | Contact strength, loaded lower-body power, heavier calf and split-squat work | Mostly quiet; dumbbell handling and landings need padding |
Why the legs get first billing
Speed climbing is a short, power-dominant sprint. A 2026 narrative review in Research in Strength and Performance describes speed climbing as the most power-dominant Olympic climbing discipline and says it relies almost exclusively on anaerobic lactic metabolism.[2] That review should not be treated as a complete programming bible, but it matches what the movement asks from the body: hard repeated force, very little time to settle, and no patience for slow strength that cannot be expressed quickly.
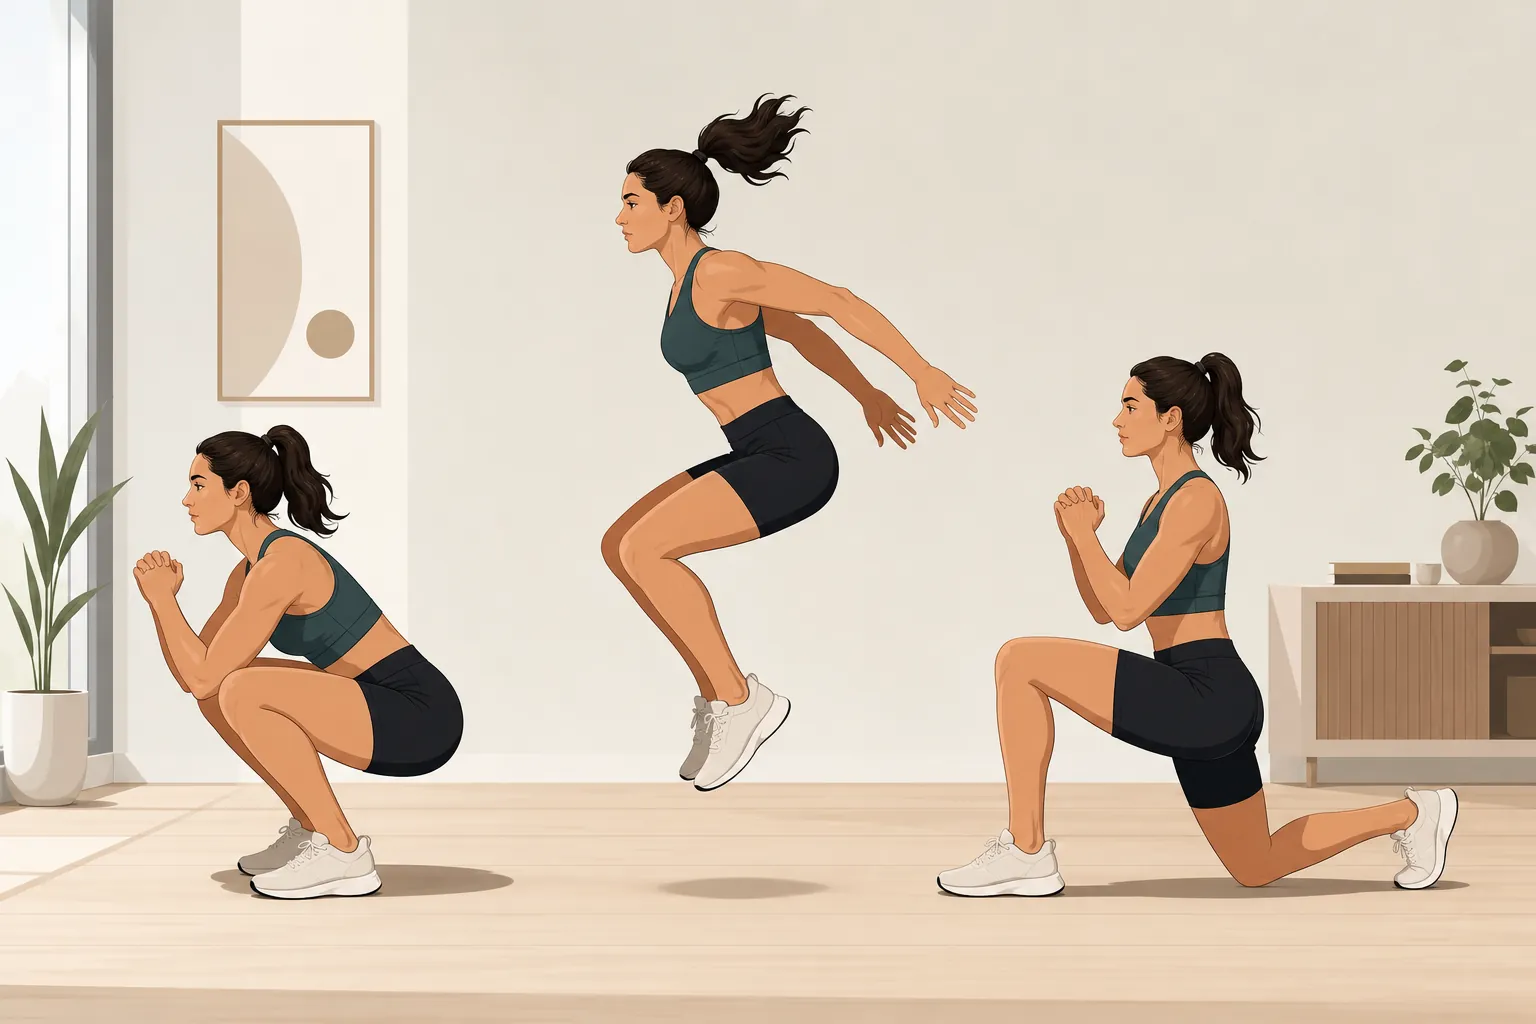
The useful home shapes are not mysterious. Speed-climbing off-wall guidance emphasizes deep squat positions, light full-depth squat jumps, box jumps from a seated start, band-assisted jumps, seated heavy calf raises, and lunge jumps with a switch.[3] Those choices make sense because many decisive speed moves happen from compressed positions: hips folded, knees deeply bent, ankles loaded, hands acting more like anchors than engines.
A seated-start jump is especially valuable at home because it removes the easy countermovement. You cannot dip, rebound, and pretend you produced usable force. You have to create force from a dead, compressed position, which is closer to the problem speed climbers actually face after catching low or coiled positions on the wall.
The lower-body shapes that transfer
Deep squat holds and fast rises
Deep squat work is not here as generic mobility filler. The point is to become strong and organized where a speed climber often feels worst: hips below a comfortable athletic stance, knees flexed, heels fighting to stay useful, torso braced instead of folded. In an apartment, this can be trained quietly with isometric deep squat holds, slow descents, and fast rises that stop short of leaving the floor.
For a quiet set, sink into the deepest squat you can own without collapsing, hold for a few seconds, then stand up as fast as possible without jumping. If you can jump without bothering anyone, use a small, crisp jump instead of turning the set into a conditioning circuit. The landing should be soft enough that the neighbor below you does not learn your training schedule.
Seated-start jumps
Sit on a stable chair, box, or couch edge with feet planted. Lean forward slightly, brace, then jump or rise hard. The seated start removes the drop-and-bounce that makes many home plyometrics look explosive while avoiding the actual hard part. If jumping is too loud, do a seated explosive stand: same start, same intent, no airborne phase.
SportRock’s home coordination guidance uses box jumps for 6 reps at the tallest height an athlete can hit, with about 4 minutes of rest between sets.[4] That rest number is not apartment decoration. Power work needs enough space between efforts that the next rep is still fast. If your sixth jump looks like a tired squat, the set is already over.
Lunge-switch patterns
A lunge switch gives you split-stance force, hip extension, and quick leg exchange without needing a wall. The speed-relevant version is not a sloppy jumping lunge marathon. Start low, rear knee near the floor, ribs stacked, front foot rooted. Switch quickly and land with control. If the floor is thin or the hour is late, step-switch instead: drive up fast, switch feet in the air only if you can land quietly, otherwise step through and reset.
Calf strength and ankle stiffness
Calf work earns its place because speed footholds punish a soft ankle. Seated calf raises, single-leg calf raises, and loaded calf work help you push through small contact points without the ankle folding away. The goal is not a bodybuilder calf pump. It is a springy, reliable lower leg that can accept force and give it back fast.
Band-assisted or quieter jumps
Bands are useful when they let you train speed without smashing the floor. A band anchored overhead or held under the arms can unload part of a jump, making the landing quieter. A band attached low can add resistance to a fast stand or squat drive. Neither option is magically specific, but both can keep explosive intent alive when full jumps would be socially dumb.
Before you start: session rules
Run this as a power session, not a sweat test. Steve Bechtel’s power-training guidance argues for 45- to 60-minute quality sessions, 36 to 72 hours of recovery, and power phases lasting 4 to 6 weeks.[5] Those are coaching recommendations, not laws of physiology, but they are the right guardrail for home climbers who tend to add reps because the session feels too short.
- Stop a power set when speed drops. Do not finish ugly reps for discipline points.
- Rest longer than feels necessary. Fast reps require recovery.
- Use a mat, rug, folded towel, or thin crash pad under landing and dumbbell zones.
- Keep jumps low if your floor is loud. Intent matters more than height in a rental.
- Keep wall sessions in the week. This is conditioning for speed climbing, not a replacement for starts, touches, rhythm, and route beta.
Tier 1: bodyweight-only speed climbing strength workout
Use this version if you have no bar you trust, no hangboard, and no desire to explain ceiling thumps to a downstairs neighbor. It trains the main shapes: compressed leg drive, split-stance exchange, ankle stiffness, and trunk bracing.
| Exercise | Sets x reps | Rest | Noise level | Floor and apartment notes |
|---|---|---|---|---|
| Deep squat isometric hold into fast rise | 4 x 3 reps; hold 3-5 seconds, then rise fast | 60-90 seconds | Quiet | Use a mat if ankles or knees prefer a little cushion. No jump required. |
| Seated-start vertical jump or explosive stand | 4-5 x 3 reps | 2-4 minutes | Moderate if jumping; quiet if standing | Sit on a stable chair or couch edge. Land on a mat or swap to explosive stands after 8 p.m. |
| Lunge switch or fast step-switch | 3 x 3 each side | 90-150 seconds | Moderate to quiet | Keep the set tiny. Rear knee travels near the floor; landing must be controlled. |
| Single-leg calf raise with pause | 3 x 6-8 each side | 60-90 seconds | Quiet | Use wall fingertips for balance. Pause briefly at the top and bottom. |
| Hollow-body hold or dead bug with hard exhale | 3 x 15-25 seconds | 45-60 seconds | Quiet | Brace as if resisting a swing on the wall, not as if doing a long ab burn. |
| Prone fast scapular pull or floor W-to-Y raise | 3 x 5-6 crisp reps | 60 seconds | Quiet | A small pulling-power placeholder when you have no bar. Move fast without shrugging. |
This tier will not build maximal pulling strength the way a bar can. That is fine for now. The mistake would be replacing the leg work with random high-rep push-ups just to feel more athletic. If the session has to stay silent, make the fast rises and step-switches brutally crisp and keep the total volume low.
Tier 2: pull-up bar and resistance band workout
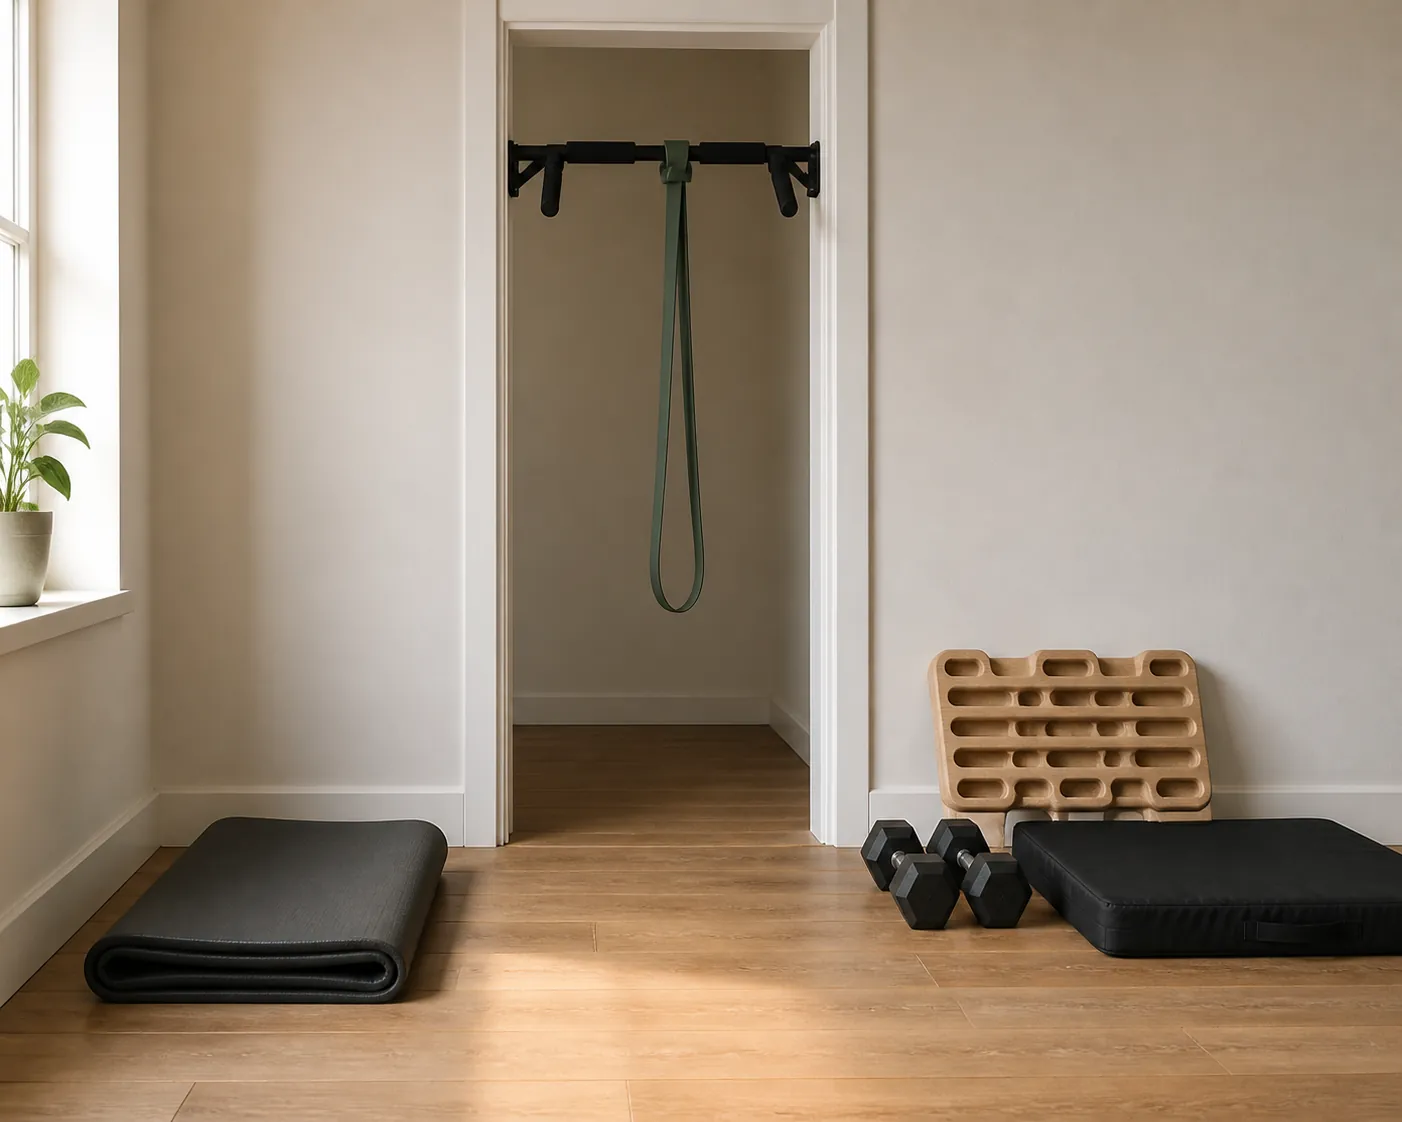
Add this tier when you have a pull-up bar you actually trust and bands that let you train faster without forcing loud landings. Doorway bars vary. If you are not sure the frame, bar, or installation can tolerate dynamic pulling, keep every pull controlled or skip the bar work until you have a safer setup.
| Exercise | Sets x reps | Rest | Noise level | Floor and apartment notes |
|---|---|---|---|---|
| Band-assisted seated-start jump | 5 x 3 reps | 2-4 minutes | Low to moderate | Use the band only if anchored safely. The band should reduce landing impact, not turn the jump into a circus trick. |
| Deep squat hold into band-resisted fast rise | 4 x 3 reps | 90 seconds | Quiet | Stand on the band or anchor it low. Rise fast, reset fully, and avoid grinding. |
| Fast pull-up or band-assisted fast pull-up | 5 x 2-4 reps | 2-3 minutes | Quiet if controlled | Start from a stable hang. Pull fast, lower under control. No kipping on a questionable doorway bar. |
| Lunge switch or band-assisted lunge switch | 3 x 3 each side | 90-150 seconds | Moderate | Use assistance to make the landing quieter. If the switch gets sloppy, step-switch. |
| Band-resisted dead bug or hollow hold pulldown | 3 x 5 slow breaths or 15-20 seconds | 60 seconds | Quiet | Anchor the band overhead or behind you only if the anchor is secure. Ribs stay down. |
| Seated or standing calf raise | 3 x 8 each side | 60-90 seconds | Quiet | Add a backpack if bodyweight is too easy, but keep the movement strict. |
SportRock’s same home-training piece points climbers toward fast-twitch pull-ups as part of coordination-focused at-home work.[4] For speed climbers, the useful version is small-volume and sharp: accelerate hard, stop before the shoulders turn cranky, and leave enough rest that the next rep is still fast. If you need a refresher on clean pulling mechanics, use this guide to pull-up form mistakes before making the reps explosive.
Tier 3: hangboard and dumbbell workout
This is the most complete home tier, but it still does not turn your apartment into a speed wall. The dumbbells load the lower-body shapes. The hangboard adds contact strength. The order stays the same: legs first, pulling and contact second.
| Exercise | Sets x reps | Rest | Noise level | Floor and apartment notes |
|---|---|---|---|---|
| Dumbbell goblet squat to fast rise or small jump | 5 x 3 reps | 2-3 minutes | Quiet to moderate | Use a load you can move fast. If jumping, use a mat and keep the jump low. |
| Dumbbell split squat with fast concentric | 4 x 3 each side | 2 minutes | Quiet | Descend under control, drive up hard. No bouncing off the back knee. |
| Seated-start jump, unloaded | 4 x 3 reps | 2-4 minutes | Moderate | Place this after loaded squats only if jump quality stays high. Otherwise do it first. |
| Seated dumbbell calf raise | 4 x 6-8 reps | 90 seconds | Quiet | Set dumbbells gently on the thighs. Use a towel under weights to protect the floor. |
| Fast pull-up or weighted fast pull-up | 5 x 2-3 reps | 2-3 minutes | Quiet if controlled | Only add load if speed and shoulder position stay clean. |
| Short hangboard contact-strength repeat | 4-6 x 5-8 seconds | 60-120 seconds | Quiet | Use comfortable edges and submaximal intensity unless you already have a tested finger-strength protocol. |
| Hollow hold, front-body tension drill, or weighted dead bug | 3 x 15-25 seconds | 60 seconds | Quiet | Treat this as body-line stiffness for force transfer, not as exhaustion work. |
Hangboarding is the easiest part of this tier to over-romanticize. It is quiet and useful, but speed climbing does not become a finger-only event because a board fits over a door. If you want more detail on protocols and mounting tradeoffs, this separate guide covers hangboard training at home. Keep the contact work here short enough that it does not steal quality from the power work.
For renters, installation claims deserve caution. One brand-published apartment hangboard guide describes door-frame options at stated price points and says some home setups need roughly 24 inches of wall width, about a 7-foot ceiling, and about 3 by 3 feet of floor space; it also notes that hangboarding is generally quiet, with the main sound coming from feet touching down.[6] Treat those numbers as vendor guidance, not independent safety testing. Your lease, wall material, frame condition, and mounting method matter more than a product page.
How to place this around wall sessions
If you get one or two speed-wall sessions each week, put this home workout where it will not flatten them. Most climbers should avoid doing a hard power session the night before their best wall session. Better options are the day after a wall session, or at least far enough away that legs and fingers feel sharp again.
| Weekly wall access | Home strength placement | What to avoid |
|---|---|---|
| 1 speed session per week | 1 home power session 2-3 days before or after, depending on soreness | Turning the home day into leg conditioning that ruins the only wall day |
| 2 speed sessions per week | 1 short home power session after the lower-priority wall day | Adding a second home power day unless recovery is clearly good |
| No speed wall this week | 1-2 home sessions, separated by at least 36-72 hours | Pretending home work replaces route rhythm, starts, and touches |
That last column matters. Climbing.com’s beginner speed-climbing piece describes coaches having beginners complete more than 100 laps on a zigzag route before progressing.[1] The exact drill is not a home prescription, but the lesson is hard to dodge: speed climbing rhythm and movement economy are learned through repeated wall practice. Home strength can give you a bigger engine. It cannot teach your feet where to go on the route.
Progression without wrecking the point
Progress this workout by making the fast reps better before making the session bigger. Add a set only if jump height, bar speed, and landings still look crisp. Add load only if it does not slow the movement into ordinary strength work. If you need broader rules for increasing load at home, use a conservative progression approach like the one in this guide to workout load and recovery.
- Week 1: Learn the movements. Keep every rep quiet, clean, and submaximal.
- Weeks 2-3: Add small intensity: a slightly higher jump, a stronger band setup, a heavier dumbbell, or a cleaner fast pull.
- Week 4: Keep intensity but cut volume if wall sessions feel flat.
- After 4-6 weeks: Rotate out of a dedicated power block or reduce the home session to maintenance, especially if climbing volume rises.
Elite climbers are useful here only as context. John Brosler described speed climbing training as a mix of bouldering and track-and-field influence, including lower-body squats and plyometrics along with pull-ups, hangboarding, wall time, and video review.[7] Sam Watson has described deliberate strength-conditioning cycles and the idea that he sometimes gets slower to get faster, with recovery prioritized.[8] Those interviews do not prove a universal home plan. They do show that serious speed preparation is broader than finger strength and more deliberate than doing random explosive work until tired.
The clean promise is narrow: run one of these tiers as a quality power session, protect the floor, keep jumps crisp, respect recovery, and arrive at the speed wall with more usable force. Then spend that saved training time on the wall doing the parts no apartment can give you: starts, touches, rhythm, commitment, and enough repetitions that the route stops feeling like a set of separate moves.
References
- Intro to Speed Climbing: Two Beginner Drills, Climbing.com
- Physiology of Performance in Competitive Lead, Boulder, and Speed Climbing, Research in Strength and Performance
- Training Shapes - Training for Speed Climbing Off the Wall Series, speed-climbing.com
- 5 Ways to Practice Coordination Climbing at Home, SportRock Climbing Centers
- The Real Secret to Effective Power Training, Climbing.com
- Best Hangboard for Home Gyms and Apartments, The Hangboard
- An Interview with John Brosler, the Fastest American Man in Climbing, Climbing Business Journal
- Pro Tips for Climbing Ridiculously Fast, TRUBLUE
What a small equipment investment adds
We don't have a build tagged to this exact tier yet. Browse all builds.
How often should you repeat this?
See our recovery and rest reference for citation-anchored rest-interval guidance.
Spot something off?
Tell us if a movement, tier assumption, or duration didn't match your experience.