Why Your Power Rack Is the Most Important Safety and Versatility Investment
For anyone training alone at home, the power rack is not just a piece of equipment — it is the primary safety system. Unlike a commercial gym where spotters or a Smith machine provide a safety net, a home gym relies entirely on the rack's catch mechanisms to prevent a failed squat or bench press from turning into a serious injury. This single function makes the rack the highest-priority purchase in any strength-focused home gym.
Beyond safety, the rack serves as the structural backbone of your entire training space. It supports a pull-up bar, holds J-hooks and safeties for barbell work, and provides a mounting platform for attachments like dip bars, landmines, and cable systems. A well-chosen rack can absorb decades of heavy use without degradation. As Gym Crafter notes, good racks never wear out — a quality unit should last a lifetime.
The financial weight of this decision is substantial. Based on reader-submitted setups, the average total cost of a home gym falls between $1,500 and $2,500, according to Garage Gym Reviews. The rack alone typically accounts for 25 to 40 percent of that total budget, depending on configuration and brand. Spending this money wisely requires understanding the technical specifications that determine a rack's strength, compatibility, and future-proofing — not just picking a model from a listicle.
The Five Rack Types: Full Cage, Half Rack, Squat Stand, Folding Rack, and All-in-One
Before diving into technical specifications, it is essential to understand the five primary rack configurations available. Each type trades off safety, space, stability, and attachment potential differently. The table below summarizes the key differences to help you orient yourself before moving to the decision tree.
| Rack Type | Safety for Solo Lifting | Space Required (Depth) | Attachment Potential | Best For |
|---|---|---|---|---|
| Full Power Rack (4-post) | Excellent — enclosed cage with catch bars on all sides | 24–50 inches | High — pull-up bar, dip bars, cable systems, storage | Heavy solo lifting, maximum versatility |
| Half Rack | Moderate — front open, requires lifting out | 24–36 inches | Moderate — fewer mounting points than full cage | Limited space, moderate weights, occasional spotting |
| Squat Stand | Low — no rear enclosure, can tip under heavy loads | 24–36 inches | Low — typically no attachments beyond J-hooks | Light training, very tight budgets, simple needs |
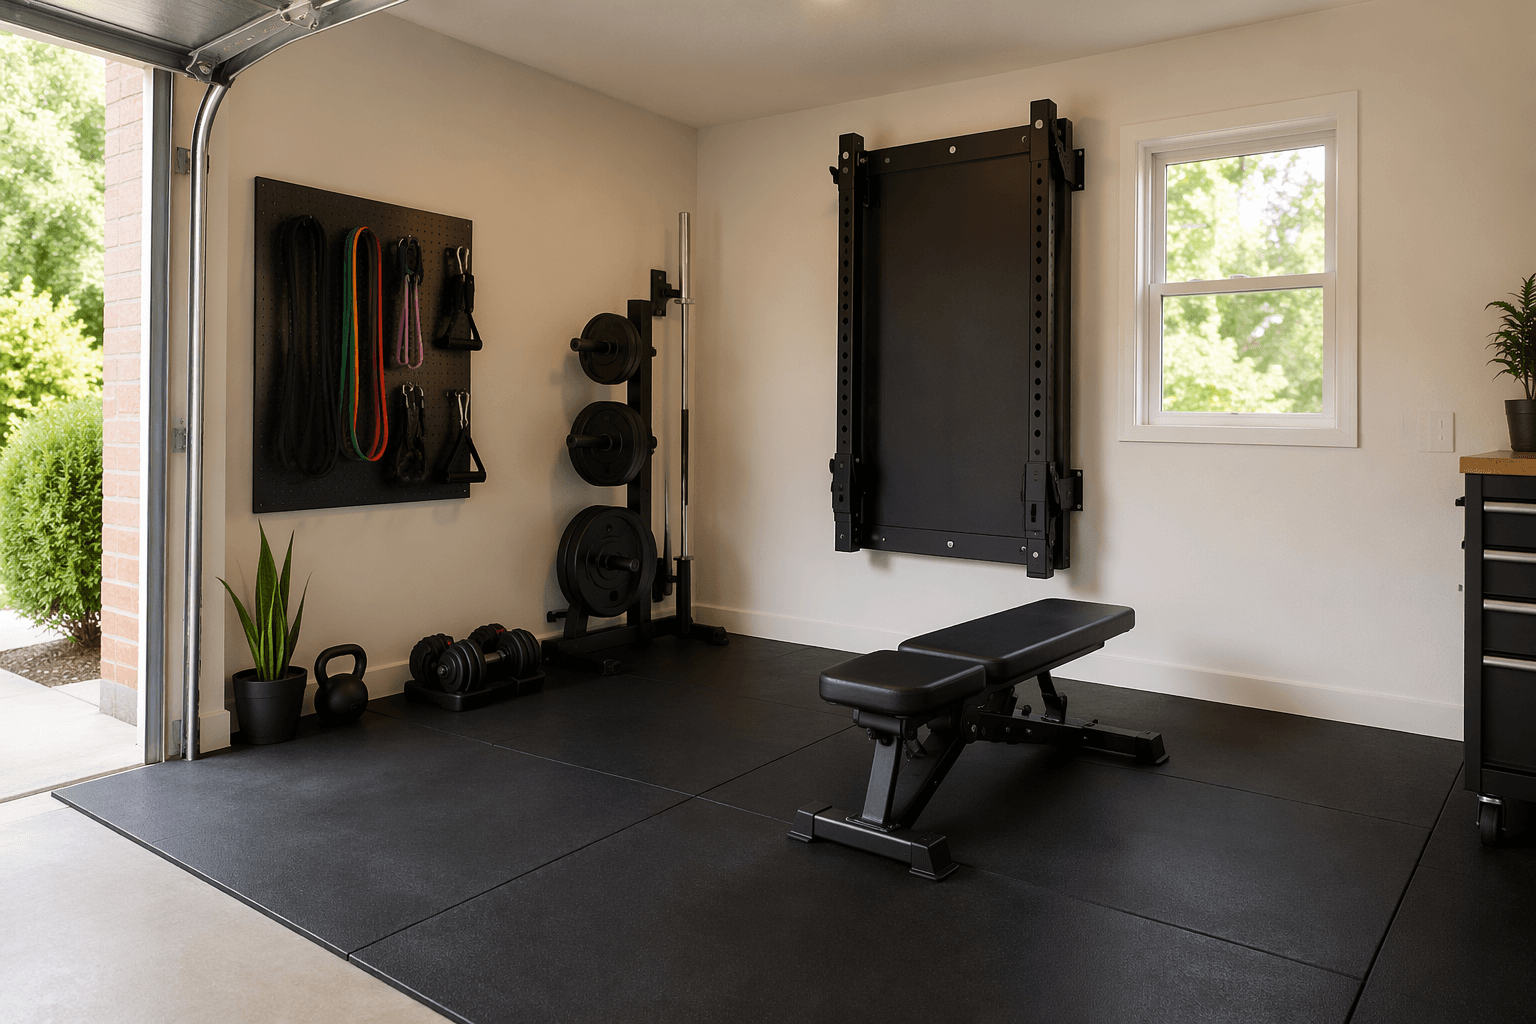
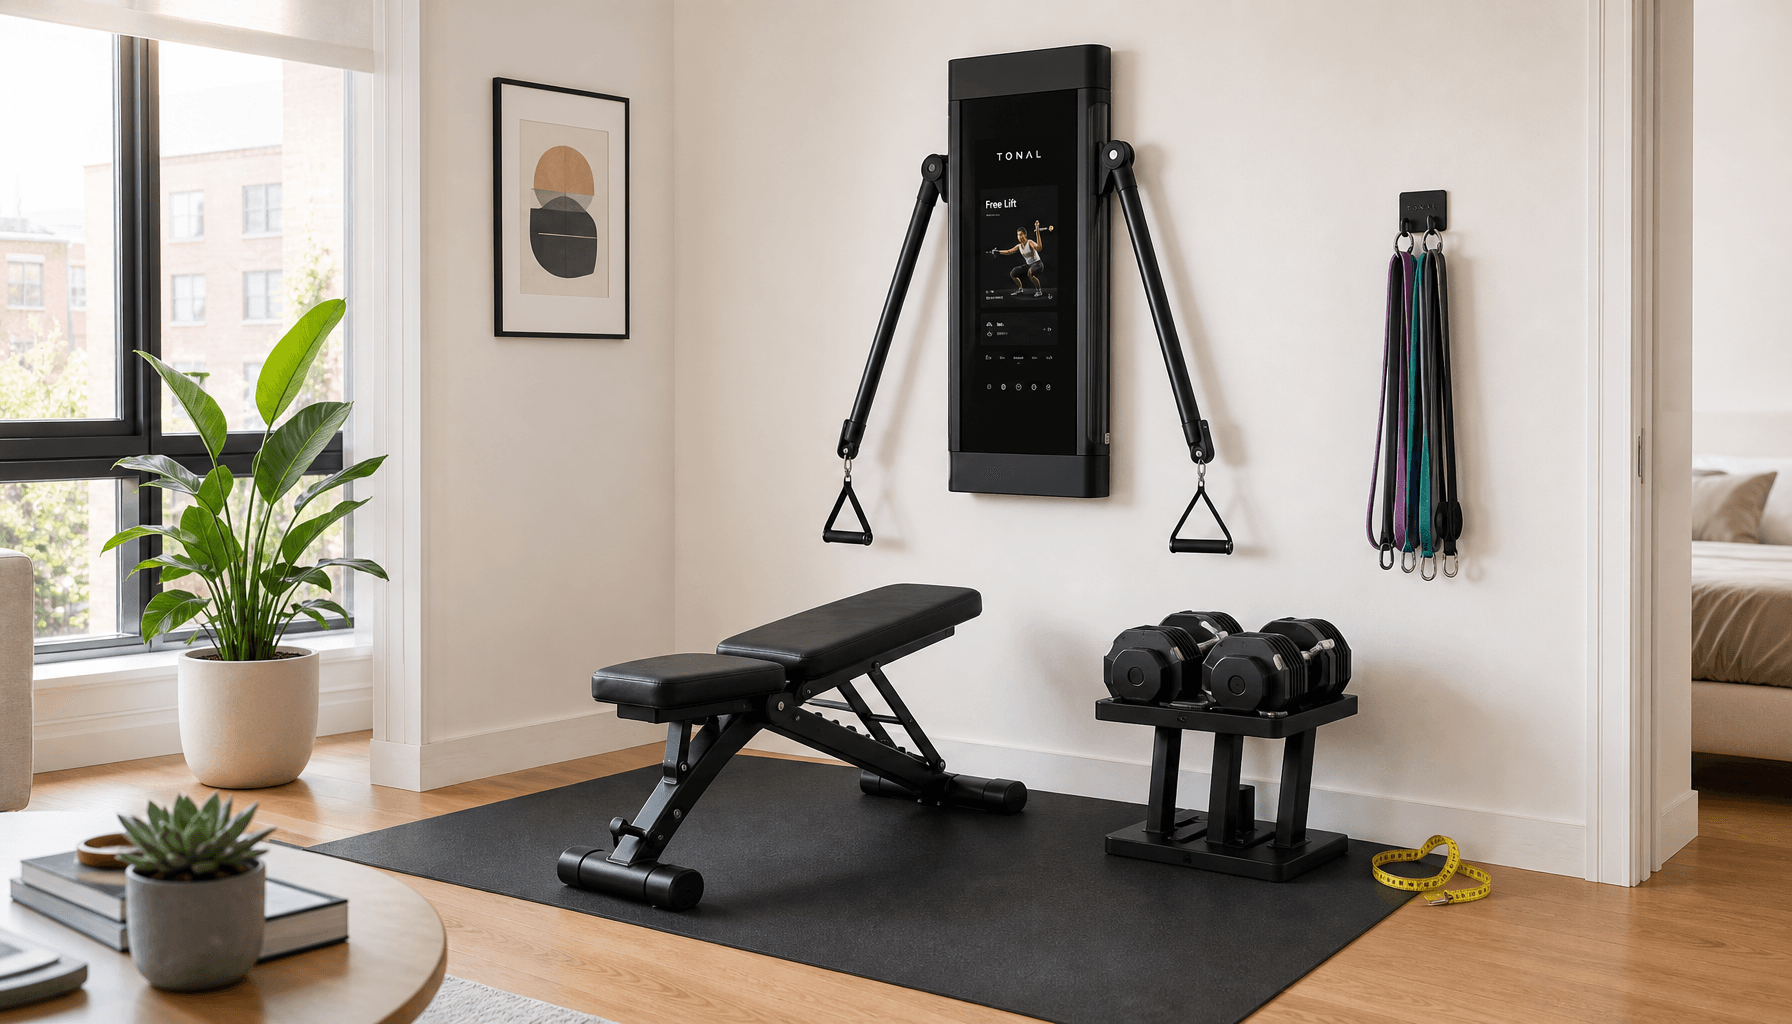
| Folding / Wall-Mounted Rack | Good — full cage when deployed, folds flat | 0 inches when folded, ~24–30 inches when deployed | Moderate — limited by wall mount, fewer add-ons | Garages or multi-use spaces where floor space is critical |
| All-in-One (Rack + Cable System) | Excellent — integrated cable stack or plate-loaded | 36–50 inches | Very High — built-in lat pulldown, row, cable crossovers | Users who want a single machine for both barbell and cable work |
A full power rack with four uprights provides the safest environment for solo training because the catch bars are enclosed on all sides. Half racks and squat stands require you to step forward out of the rack to lift, which introduces risk during heavy or failed reps. Folding racks solve the space problem for multi-use garages but limit attachment options compared to a freestanding cage. All-in-one units like the EVOLPOW P3A Tank, priced around $600, bundle cables, dip handles, and a landmine into a single footprint, making them attractive for users who want maximum functionality in minimal space.
Decision Tree: Match Your Space, Budget, Goals, and Attachment Needs to the Right Rack
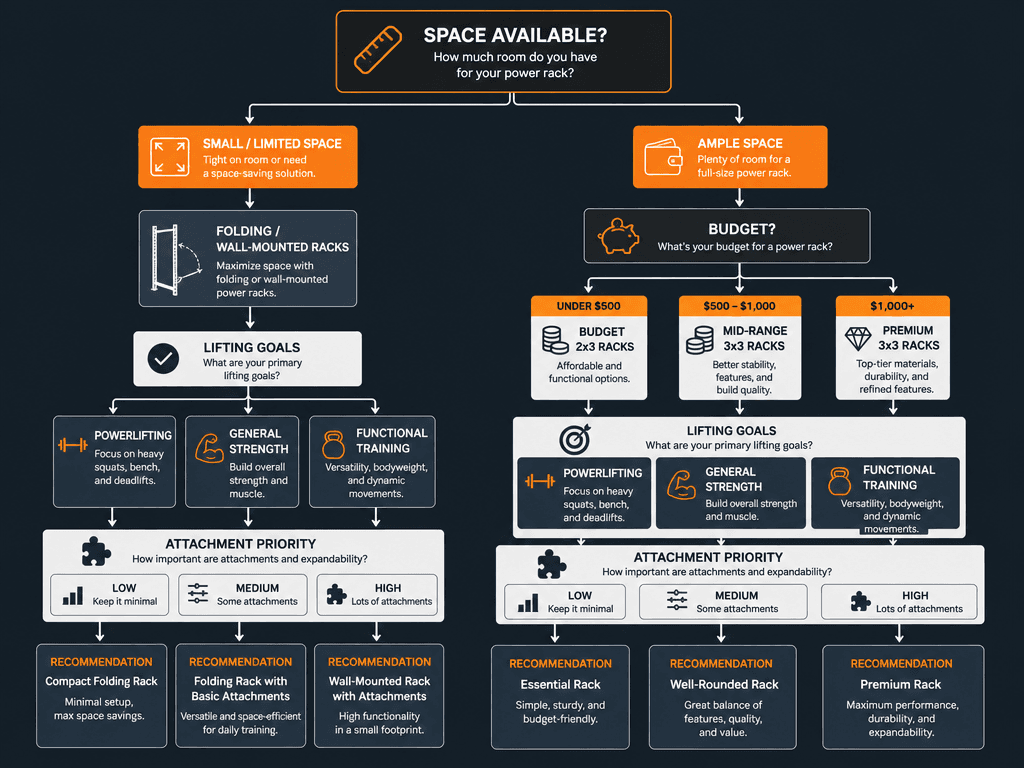
The most effective way to choose a rack is to work through your constraints in a specific order: available space first, then budget, then lifting goals, and finally your attachment ecosystem preferences. This sequence prevents you from falling in love with a rack that simply will not fit your room or your wallet.
Step 1: Measure Your Available Space
Start with a tape measure. Power racks typically require 90 inches of ceiling height for the uprights, though some compact models are as short as 70 inches. Floor depth ranges from 24 inches for a compact 4-post rack to 50 inches for a deep 6-post configuration with plate storage. Width is usually 40 to 50 inches. If your ceiling is under 90 inches, you may need a short rack or a folding model. If your floor space is under 24 square feet, a squat stand or folding rack becomes the practical choice.
Step 2: Set Your Budget Tier
Once you know your space constraints, determine your budget. The rack is a long-term investment, and spending too little can result in a wobbly, unsafe structure that limits your training. The table below shows what each price tier delivers.
| Budget Tier | Price Range | Example Model | Steel Gauge | Tubing Size | Capacity |
|---|---|---|---|---|---|
| Budget | Under $500 | REP PR-1000 (~$424) | 14-gauge | 2x2 inches | 700 lbs |
| All-Around Value | $565 – $900 | Titan X-3 Series | 11-gauge | 3x3 inches | 1,650 lbs |
| Premium | $1,000+ | REP PR-5000 / Rogue Monster | 11-gauge | 3x3 inches | 1,000+ lbs |


Comments
Join the discussion with an anonymous comment.