Home Gym Builds / $0-100 / apartment
Postpartum Home Workout Routine by Equipment Level
This safe, progressive postpartum home workout routine covers three equipment tiers — bodyweight, resistance bands, and light dumbbells — so you can exercise effectively with what you already own or can afford, following the latest 2025 CSEP guidelines.
- Budget tier
- $0-100
- Space type
- apartment
- Floor footprint
- Mat-sized
By Editorial Team
Itemized build and cost breakdown
- Total cost estimate
- 0 to 150
- Included equipment
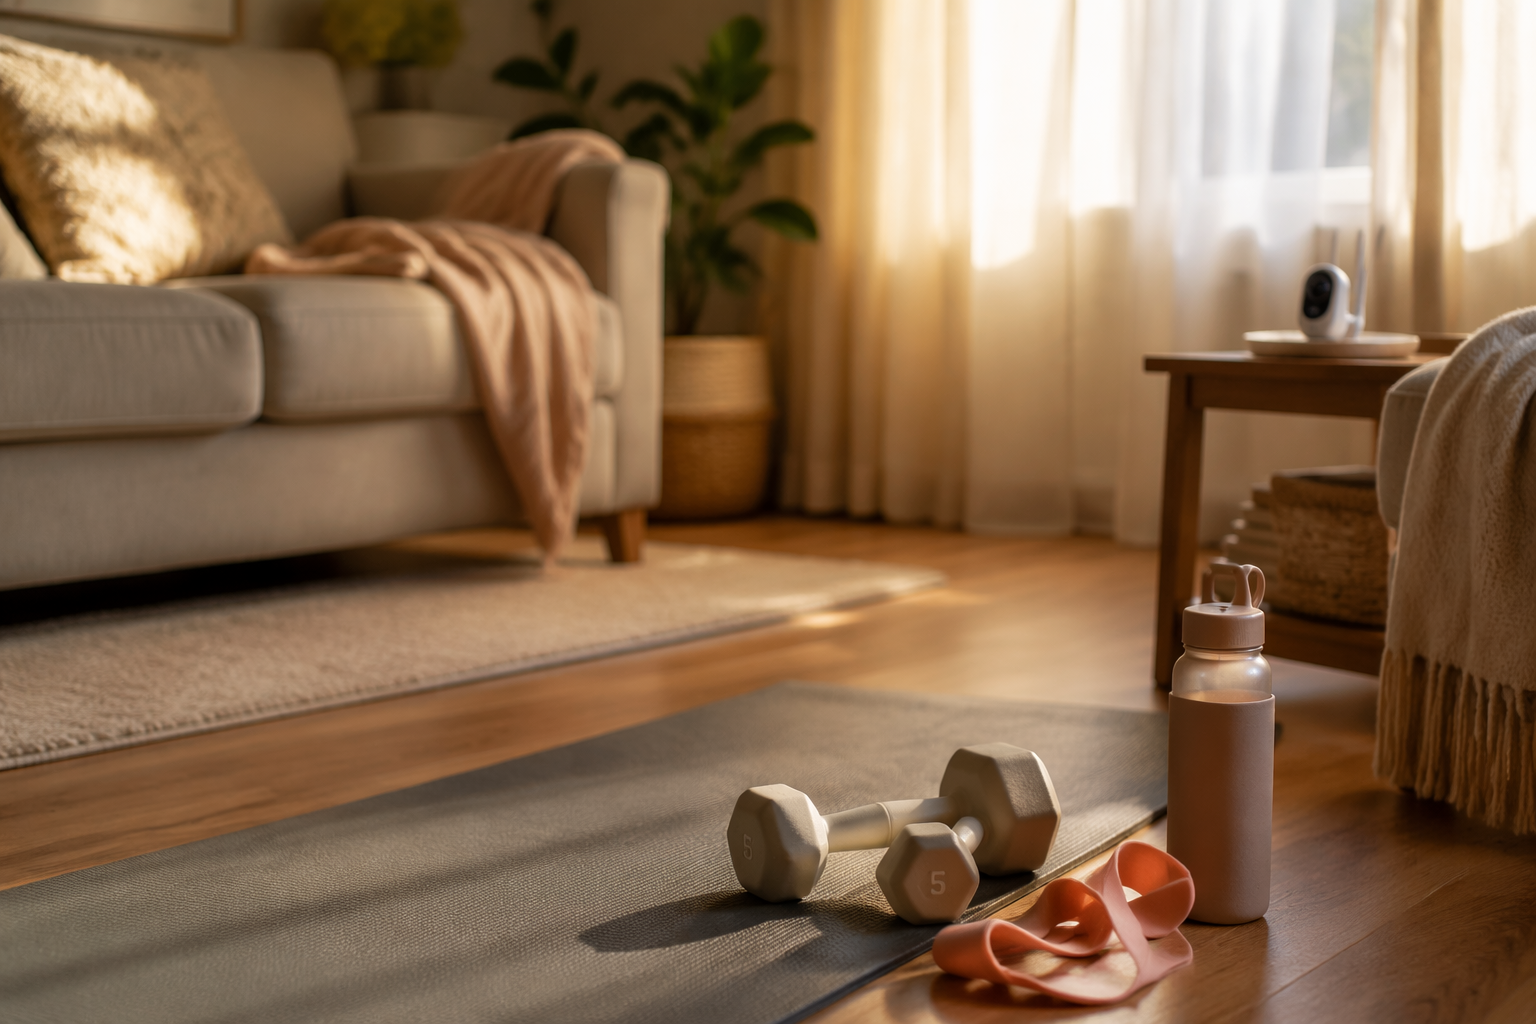
- Yoga mat, resistance bands, light dumbbells (5-15 lb)
Prices and specs on this build are rechecked periodically — if something looks stale, flag it below.
Before choosing a post pregnancy home workout routine, make the first decision boring and clear: are you screened or cleared for activity, and are your symptoms calm enough today to start? The 2025 CSEP postpartum guideline uses the Get Active Questionnaire for Postpartum as a screening tool and frames progression around symptoms, not a universal calendar date.[1] Six weeks is a common checkpoint, but it is not a switch that turns recovery into regular training.
If you have heavy bleeding that increases with movement, chest pain, dizziness, new calf swelling or pain, fever, severe pelvic pain, pressure that feels like heaviness or falling out, leaking that sharply worsens, or a core movement that creates obvious doming or bulging down the midline, stop the workout and get medical guidance. If you are unsure where you fit, use the questionnaire or ask your OB-GYN, midwife, pelvic floor physical therapist, or other clinician before adding load.
The Equipment Map: Start With the Tier You Actually Have
The useful way to organize postpartum home training is not by pretending every new mother has the same recovery speed. It is by matching the job of the workout to the body in front of you and the equipment in the room.
| Equipment tier | Approximate budget | Best job | Use when |
|---|---|---|---|
| Bodyweight only | $0 | Rebuild pressure control, core coordination, glute activation, and pelvic floor awareness | You are newly cleared, still symptom-sensitive, or need the smallest possible setup |
| Resistance bands | $20–50 | Add gentle progressive overload without forcing heavy bracing | Bodyweight moves feel steady, but jumping to weights feels premature |
| Light dumbbells | $50–150 | Build functional strength for carrying, lifting, feeding, and getting up from the floor | Movement quality is steady and symptoms stay quiet with resistance |
If you want a broader equipment plan later, the tiered logic in Best Home Gym Equipment is a better next stop than buying a bundle because it looked postpartum-friendly. For this routine, a mat-sized space is enough.
The weekly frame is also modest enough to be real. CSEP recommends at least 120 minutes per week of moderate-to-vigorous physical activity across at least 4 days, combining aerobic and resistance exercise, plus daily pelvic floor muscle training.[1] The CDC uses a 150-minute weekly target for healthy pregnant and postpartum women, while ACOG also supports regular physical activity in the postpartum period when medically appropriate.[2][3] Those numbers do not need to be treated as a fight. Start near the CSEP floor if that is where life fits, and let walking, low-impact cardio, and short strength sessions add up.
Tier 1: Bodyweight Routine for Control Before Load
Bodyweight work is not the consolation prize before the “real” workout. In early postpartum training, it is where you relearn how to manage pressure while moving your hips, ribs, pelvis, and breath together. That matters more than making the circuit look impressive.
| Exercise | How to do it | What to watch |
|---|---|---|
| 360 breathing with pelvic floor awareness | Lie on your back or side. Inhale into ribs and belly without forcing. Exhale gently and imagine lifting the pelvic floor slightly, then fully relax. | No bearing down, breath-holding, or clenching through the whole set |
| Pelvic tilts | Lie on your back with knees bent. Slowly rock pelvis so the low back softens toward the floor, then release. | Keep the move small; do not grip glutes or hold your breath |
| Heel slides | From the same position, exhale as one heel slides away, inhale as it returns. | Stop or shorten the slide if the abdomen domes |
| Glute bridges | Press through feet and lift hips only as high as you can without rib flare. | Choose a lower bridge if you feel pelvic heaviness |
| Cat-Cow | On hands and knees, gently round and arch the spine with breath. | Move for mobility, not a deep stretch competition |
| Bird dog | From hands and knees, reach one arm or one leg first; combine only if steady. | No twisting, sagging, or pressure bulging through the abdomen |
| Dead bug arms or heel taps | Lie on your back, ribs quiet. Move arms or tap one heel while exhaling. | Regress to heel slides if you cannot keep pressure controlled |
A simple session can take 12 to 18 minutes:
- 2 minutes: 360 breathing with pelvic floor relax-and-lift awareness
- 8 to 10 reps each: pelvic tilts, heel slides, Cat-Cow, and glute bridges
- 5 to 8 reps per side: bird dog variation and dead bug variation
- 1 minute: easy walking around the room or gentle step-touch if you want a small aerobic finish
Do one round on rough days and two rounds when the first round feels clean. Clean means you can breathe, talk, keep your ribs from flaring, and finish without heaviness, leaking, sharp pain, or new soreness that lingers into the next day.
Coning or bulging during heel slides, dead bug, bird dog, or bridging is not a character test. It is information. Make the range smaller, slow the exhale, move one limb instead of two, or return to the previous exercise. Diastasis recti concerns vary widely, so the safer habit is to watch how your own midline responds instead of assuming every postpartum core needs the same rule.
Keep full planks, aggressive crunches, and high-intensity core work out of this tier. Nemours Children’s Hospital advises waiting until 12 weeks postpartum for full planks and high-intensity core exercise, which is a useful guardrail even for people who feel eager earlier.[4]
When to Stay Here
Stay in the bodyweight tier if you are sleeping badly, bleeding changes after activity, your pelvic floor symptoms are unpredictable, or your core still domes during basic limb movement. You are not falling behind. This tier is the base that makes bands and dumbbells less sloppy later.
Tier 2: Resistance Band Routine for Gentle Progressive Overload
Bands are useful in the awkward middle: bodyweight feels too easy, but dumbbells still make you brace, grip, or rush. A loop band or long resistance band lets you add tension gradually, often while keeping the same small footprint and slower tempo. That is why this tier deserves more than one token “add a band” sentence.
Postpartum joints may feel looser for a while, and band tension can help you feel where the hips, glutes, and upper back are working without forcing maximal loads. Pelvic floor physical therapist Dr. Jackie Joy specifically praises mini bands for postpartum exercise because they support joint stabilization during postpartum hypermobility.[5] That is a clinical perspective from one practitioner, not universal proof that every person needs mini bands, but it matches what many home routines need: feedback, not drama.
| Exercise | Band setup | Dose |
|---|---|---|
| Banded glute bridge | Mini band above knees; press knees gently out as hips lift | 8 to 12 reps |
| Side-lying clamshell | Mini band above knees; open top knee without rolling pelvis back | 8 to 12 reps per side |
| Seated or standing band row | Long band anchored safely or looped around feet; pull elbows back | 8 to 12 reps |
| Pallof press hold | Long band anchored to side; press hands forward and resist rotation | 5 to 8 slow breaths per side |
| Supported band squat | Mini band above knees or long band under feet; sit back to a chair if needed | 6 to 10 reps |
| Band pull-apart | Light long band at chest height; pull apart without shrugging | 8 to 12 reps |
A band session can be two short blocks instead of one perfect workout. Do the lower-body block near the floor, then the upper-body block later while the baby is settled or after a feed.
- Lower-body block: banded glute bridge, clamshell, supported band squat
- Upper-body and core block: band row, Pallof press hold, band pull-apart
- Optional finish: 5 to 10 minutes of easy walking, marching in place, or low-impact step-touch
Use a band light enough that you can exhale through the effort. If you have to hold your breath to finish a row or squat, the band is too heavy or the range is too large. If a mini band makes your knees cave inward or turns a bridge into a low-back exercise, remove it and return to bodyweight for that move.
Progress by changing one thing at a time: add 2 reps, add a second round, slow the lowering phase, or use a slightly stronger band. Do not change all four in the same week. The point of bands is controlled overload; if the session leaves you leaking more, feeling pelvic pressure, or bracing through your neck and jaw, it has stopped being controlled.
When Bands Are Enough
You may stay with bands for weeks or months if they fit your symptoms and schedule. A band routine can cover glutes, back, hips, shoulders, and anti-rotation core work without taking over the living room. If you later want a broader buying framework, use a constraint-based guide such as Best Home Exercise Equipment rather than assuming the next step has to be a large machine.
Tier 3: Light Dumbbell Routine for Carrying-Life Strength
Light dumbbells enter when your movement looks boring in the best way: no breath-holding, no doming, no pelvic heaviness, no next-day symptom spike. A pair in the 5 to 15 lb range is often enough to make postpartum strength training practical at home. The goal is not to recreate a gym session. It is to make daily jobs less costly: lifting a car seat, carrying a baby on one hip, lowering to the floor, standing up while holding weight, and feeding without your upper back doing all the work.
| Exercise | Why it belongs | Starting dose |
|---|---|---|
| Goblet squat to chair | Trains getting down and up while holding load in front | 6 to 10 reps |
| Staggered dumbbell deadlift | Builds hip hinge strength for picking things up from the floor | 6 to 10 reps per side |
| Half-kneeling dumbbell press | Trains shoulder strength while challenging trunk control without standing instability | 6 to 8 reps per side |
| One-arm supported row | Supports upper-back strength for feeding, carrying, and posture fatigue | 8 to 12 reps per side |
| Suitcase carry | Trains one-sided carrying without twisting or leaning | 20 to 40 slow steps per side |
Run this as a 20-minute session: one warm-up round of bodyweight bridges, Cat-Cow, and heel slides, then 2 rounds of the dumbbell exercises. Keep the first set almost too easy. If you can finish the session and still feel steady walking upstairs, picking up the baby, or getting on and off the floor, the load is doing its job.
For the goblet squat, use a chair or couch as a depth marker. For the staggered deadlift, keep most of the weight in the front leg and slide the back toes behind you like a kickstand. For the half-kneeling press, narrow the range if your ribs flare or your low back arches. For rows, support one hand on a couch, bench, or sturdy surface so the exercise trains your back instead of testing your balance.
If dumbbells make symptoms return, the fix is not always to quit strength training. Drop the weight, reduce the range, move the exercise earlier in the day when you are less fatigued, or return to the band version for another week.
How to Put Strength, Cardio, and Pelvic Floor Work Into a Week
The CSEP target is weekly, which is merciful. It does not require four identical 30-minute workouts or a clean 45-minute block while everyone else cooperates. A postpartum week can be built from short pieces.
| Day | Simple plan | Counts toward |
|---|---|---|
| Day 1 | Tier-matched strength session, 12 to 25 minutes | Resistance work |
| Day 2 | Walk, low-impact cardio, or stroller walk, 15 to 30 minutes | Aerobic work |
| Day 3 | Rest or 5 to 10 minutes of breathing, mobility, and pelvic floor practice | Daily pelvic floor training |
| Day 4 | Tier-matched strength session, 12 to 25 minutes | Resistance work |
| Day 5 | Walk or low-impact cardio, 15 to 30 minutes | Aerobic work |
| Day 6 | Optional short strength circuit or easy cardio, 10 to 20 minutes | Weekly activity total |
| Day 7 | Rest, mobility, or gentle walk | Recovery |
For cardio, keep it simple: walking, low-impact step intervals, marching, gentle cycling if available, or a short no-jumping routine. If you need more options that fit small spaces, use The Complete Guide to Cardio at Home as the expansion, not as another obligation.
Daily pelvic floor muscle training can be brief. A practical version is 3 to 5 slow breath-led contractions with full relaxation afterward, repeated once or twice during the day. Full relaxation matters; constantly gripping is not better training. If contractions increase pain, urgency, pressure, or leaking, get individualized help rather than adding more reps.
Progression Rules That Beat “When You’re Ready”
Progress when the current tier feels steady for several sessions, not when a week number arrives. The cleanest signs are ordinary: you can breathe through effort, your abdomen stays controlled, pelvic symptoms do not increase during or after, soreness is mild and predictable, and you are not borrowing tension from your jaw, neck, or low back.
- Move from bodyweight to bands when heel slides, bridges, bird dog variations, and dead bug variations stay controlled.
- Move from bands to dumbbells when squats, rows, bridges, and anti-rotation work feel stable without breath-holding.
- Scale back when leaking, heaviness, pain, coning, bleeding changes, or unusual fatigue appears during or after the session.
- Change one variable at a time: duration, reps, rounds, resistance, or exercise difficulty.
- Keep at least one easy version of every exercise available so a bad night of sleep does not erase the workout entirely.
CSEP reports that meeting its postpartum physical activity guideline is associated with lower odds of postpartum depression, less urinary incontinence, and lower type 2 diabetes risk, among other benefits.[1] Those are meaningful outcomes, but they are not a reason to turn a fragile week into a punishment. The useful takeaway is that small, repeated bouts of activity count when they are spread across the week and matched to your symptoms.
Pick Your Starting Point
Start with bodyweight if you are newly cleared, unsure about core pressure, or still seeing symptoms shift day to day. Start with bands if floor exercises are calm and you want resistance that can be dialed up slowly. Start with light dumbbells if bands feel easy, daily lifting already feels like the harder workout, and your symptoms stay quiet under load.
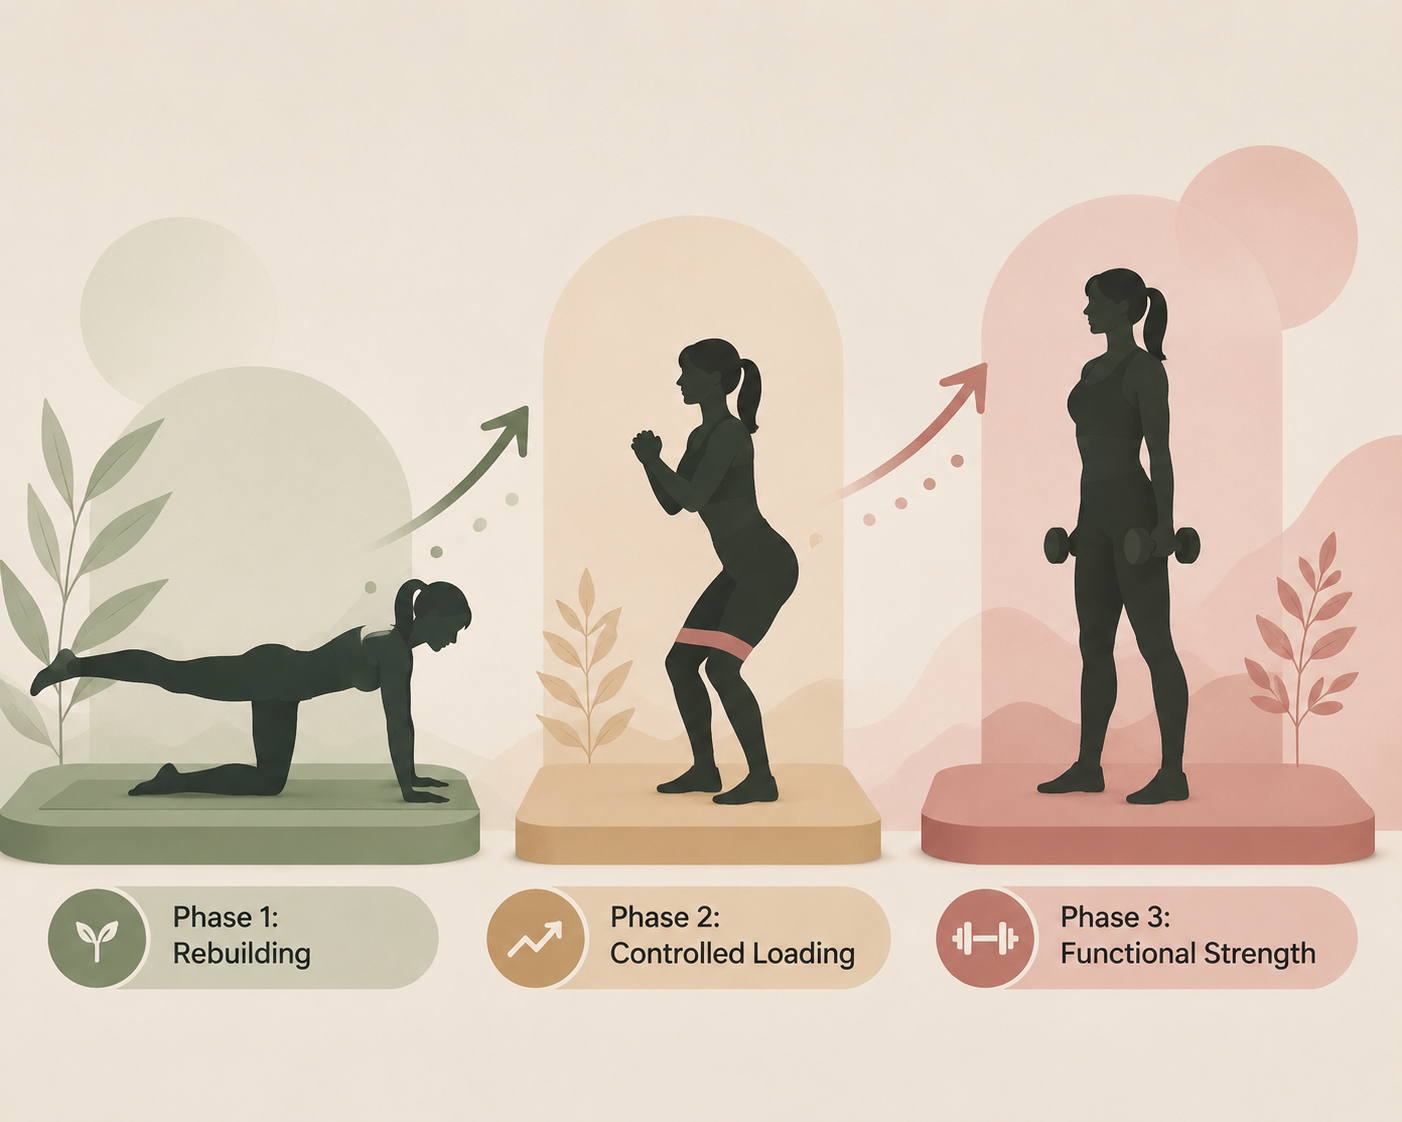
A full gym is optional. The tiers have different jobs: bodyweight restores control, bands add forgiving resistance, and dumbbells build useful strength. Choose the tier that matches today’s body and today’s equipment, then let the next tier wait until it has actually earned its place.
References
- Canadian Guideline for Physical Activity, Sedentary Behaviour and Sleep throughout the First Year Postpartum, Canadian Society for Exercise Physiology, 2025
- Healthy Pregnant or Postpartum Women, Centers for Disease Control and Prevention
- Physical Activity and Exercise During Pregnancy and the Postpartum Period, American College of Obstetricians and Gynecologists, 2020
- Postpartum Exercises, Nemours Children's Health, April 2026
- Postpartum Workout Gear, Dr. Jackie Joy
Best for
Before you buy
Verify an item, or start using this build
Spot a stale price or spec?
Prices and stock change. If something in this build no longer matches what you found at checkout, let us know so we can recheck it.