
You hurt your shoulder throwing, you have a few bands and light dumbbells at home, and you need an order before you need another list of random drills. In college baseball, rotator cuff pathology accounts for 45.6% of shoulder injuries, and non-surgical return to throwing usually takes at least 10-16 weeks, so the first job is not guessing what feels good today; it is moving through a plan that earns the next step. [1]
The 4-Phase Route
The route is simple on purpose: Phase 1 calms pain and restores comfortable motion, Phase 2 builds cuff and scapular strength, Phase 3 adds control and power, and Phase 4 brings throwing back under load. Those phase windows are rough guides, not promises: 0-3 weeks, 3-6 weeks, 6-10 weeks, and 10-16 weeks are the usual run of the road in non-surgical rehab, but the shoulder advances by what it can do, not by what the calendar says. [1][2]
This is for non-surgical injuries, not post-surgical rehab, and it does not replace medical evaluation when the shoulder is unstable, sharply painful, or getting worse. The rule that runs through every phase is the same: pain-free range of motion, strength that is close enough to handle the next load, and no next-day flare that tells you the arm was not ready.
That caution matters because throwing pain is often an overuse story, not a mysterious one-off failure. In one youth throwing sample, 74% reported arm pain while throwing and about 23% fit an overuse pattern, which is a good reminder that most sore shoulders did not suddenly decide to become difficult on one swing. [3]

Phase 1: Calm It Down
Phase 1 is about getting the shoulder quiet enough that you stop negotiating with every reach. Pendulums, gentle isometrics, and a comfortable sleeper stretch are enough here. Keep the work easy and boring if motion is still painful or guarded; this is the phase where less usually does more.
Do not hurry this phase because the arm feels better after a day off. You are looking for a shoulder that moves without a pinch, lets you use the arm in daily life, and does not punish you later in the day or the next morning.
Phase 2: Build The Base
Phase 2 is where the work gets honest. The Thrower's Ten is a useful backbone because it targets the rotator cuff and scapular muscles in a fixed order instead of letting you improvise a different band circuit every session. The protocol is commonly done 3-4 times per week for 10-15 reps. [2]
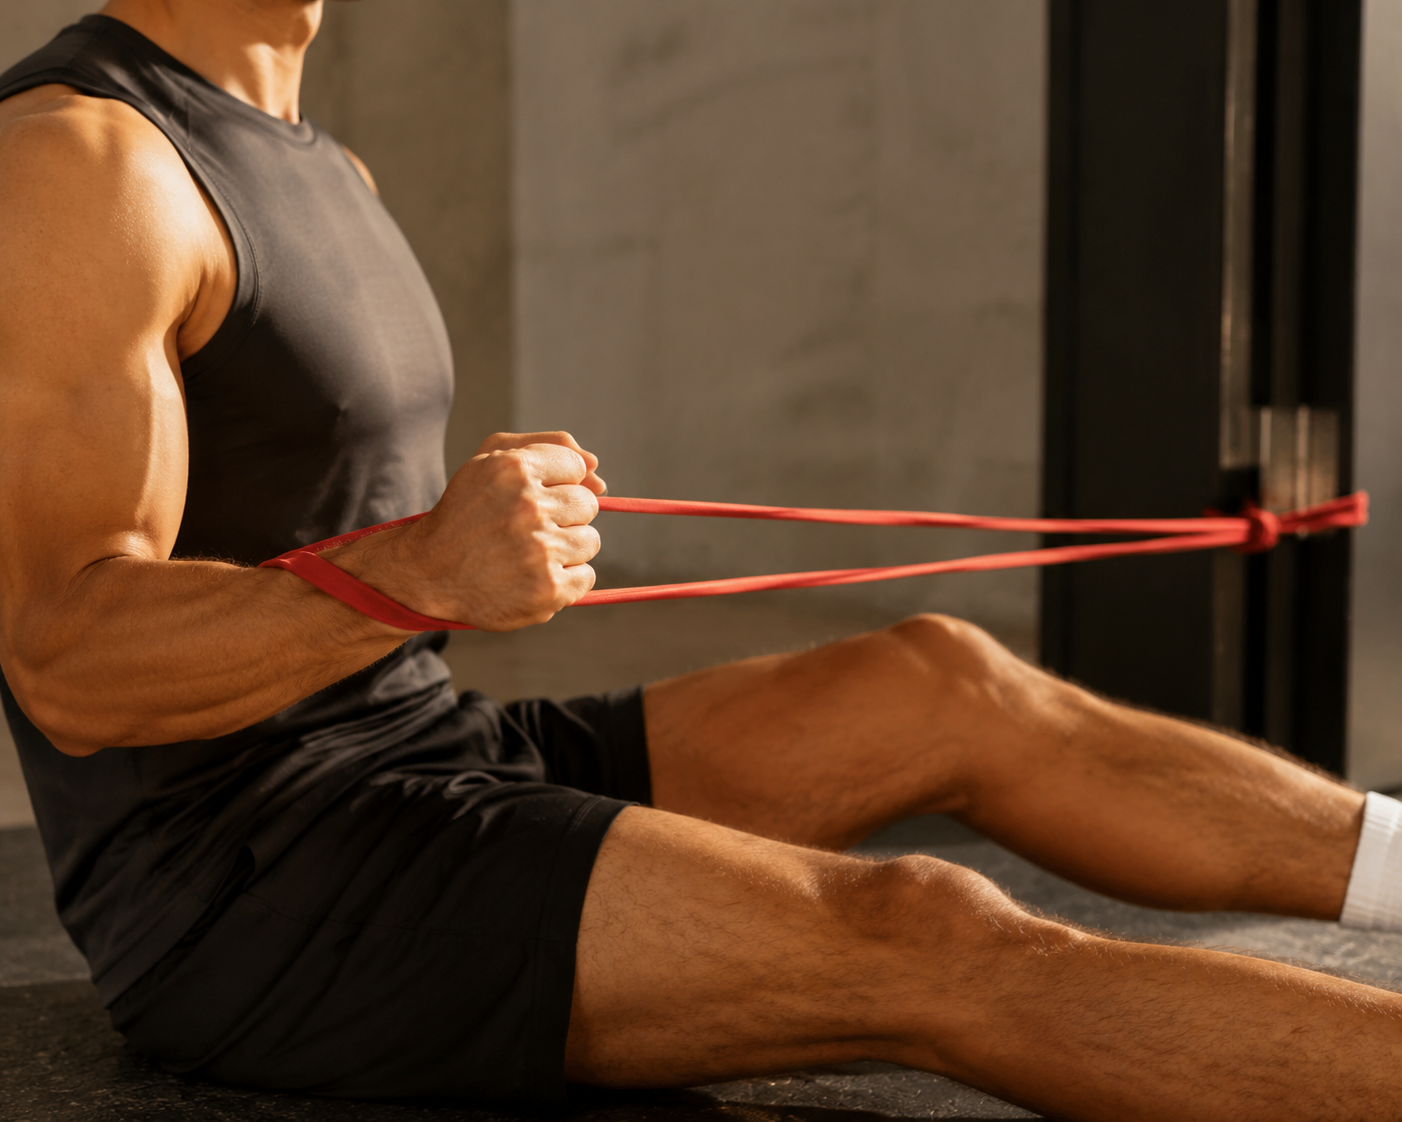
At home, that usually means band external rotation at the side, side-lying external rotation with a light dumbbell, prone Y-T-W work, scapular rows, and full-can raises. Keep the load light enough that the shoulder stays down and the rib cage does not flare. If the motion gets sloppy, the weight is too heavy or the shoulder is not ready yet.
This is also the phase where a lot of players try to rush past the boring stuff and wonder why the arm still feels fragile. If those drills are pain-free, the motion is clean, and the next day stays quiet, you have a base worth building on.
Phase 3: Add Control And Power
Phase 3 is the bridge between rehab strength and throwing-specific control. 90/90 band work, rhythmic stabilization, medicine ball throws, and anti-rotation core drills belong here because they force the cuff and trunk to manage force together instead of letting the arm fake it alone. That is where the shoulder starts proving it can handle speed, not just slow strength work. [1][2]
This is a good place to watch for small motion losses, especially if the shoulder starts feeling tight in internal rotation again. If the arm cannot stay organized in the throwing position without shrugging, pinching, or losing control, keep working here instead of jumping to throwing too early.
Phase 4: Earn Throwing Back
Return to throwing starts on flat ground, not on the mound. Short, easy flat-ground throws come first, then longer throws, then mound work. That sequence matters because distance, speed, and deceleration demand all climb together, and a shoulder that has not earned them yet will usually complain by the next morning. [1][2]
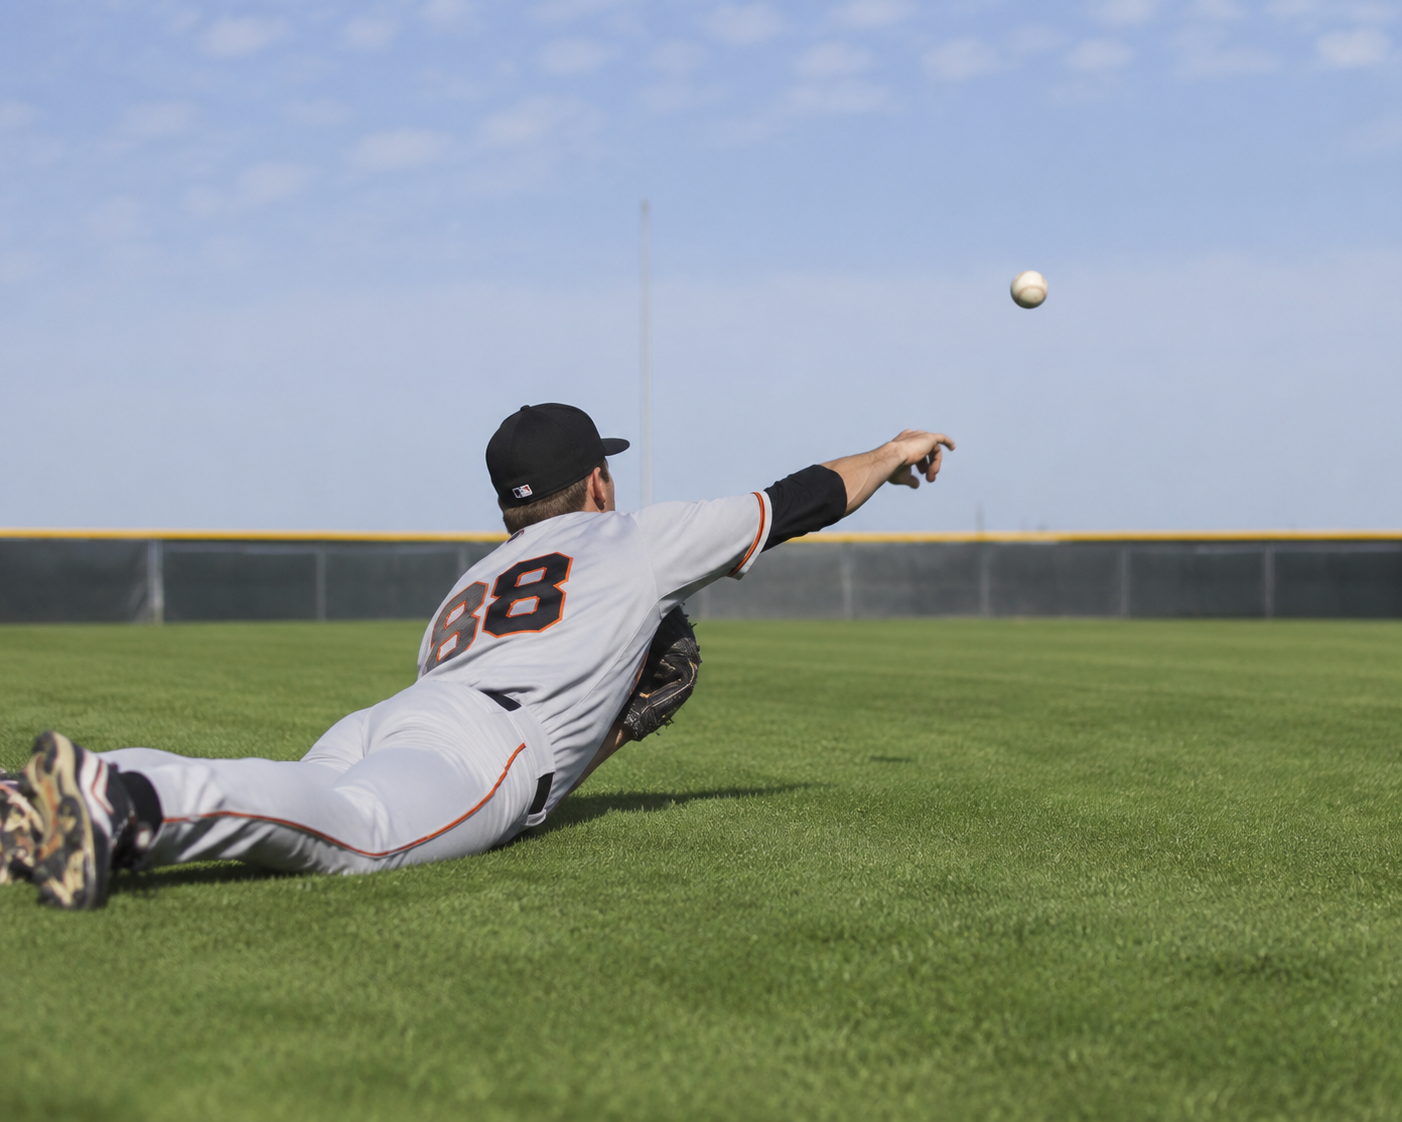
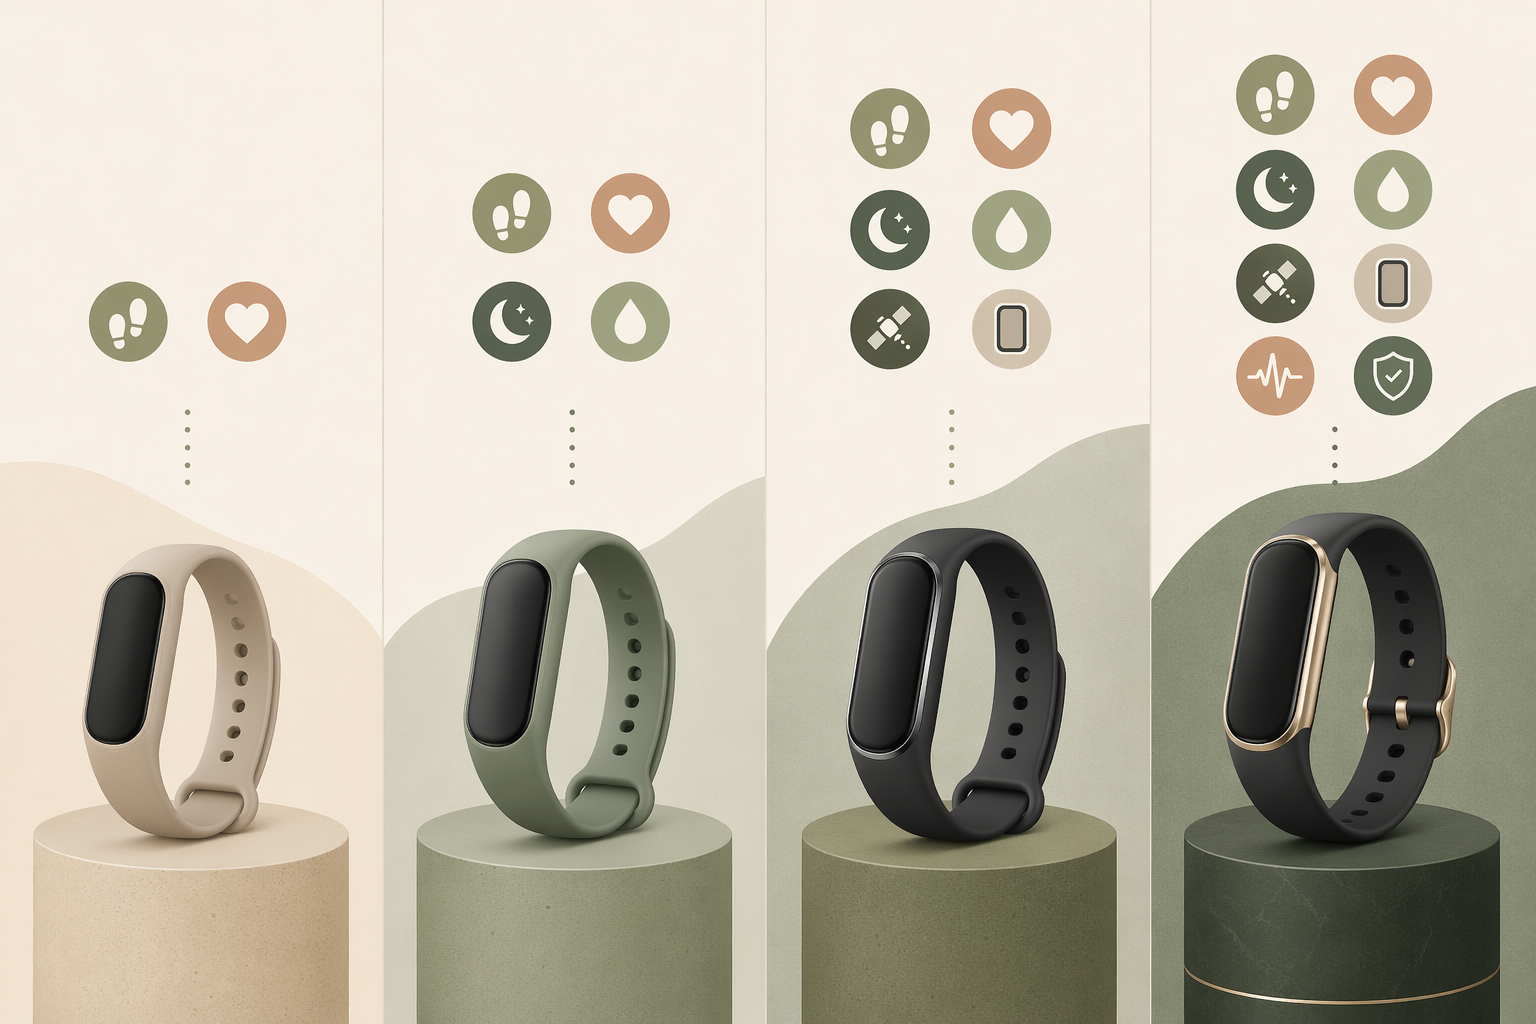
Treat the first throwing sessions as workload checks, not tests of courage. If you can throw without pain during the session and without a flare later that day or the next, you can nudge distance or volume up a little. If symptoms jump, back up one step and stay there until the shoulder behaves. Wearable recovery tracking can help you notice fatigue trends, but pain-free motion and throwing tolerance still outrank any score.
The mound is the last stop because it asks for full speed, timing, and deceleration all at once. Long toss belongs only after flat-ground work is clean and repeatable, and the workload should climb slowly enough that the arm never has to guess what is coming next.
References
- The Complete Pitcher Shoulder Rehabilitation Protocol — True Sports Physical Therapy
- Infographic: Thrower's Ten Baseball Program for Baseball Pitchers — UPMC, 2015
- Youth Throwers Ten Exercise Program — International Journal of Sports Physical Therapy, 2021



Comments
Join the discussion with an anonymous comment.