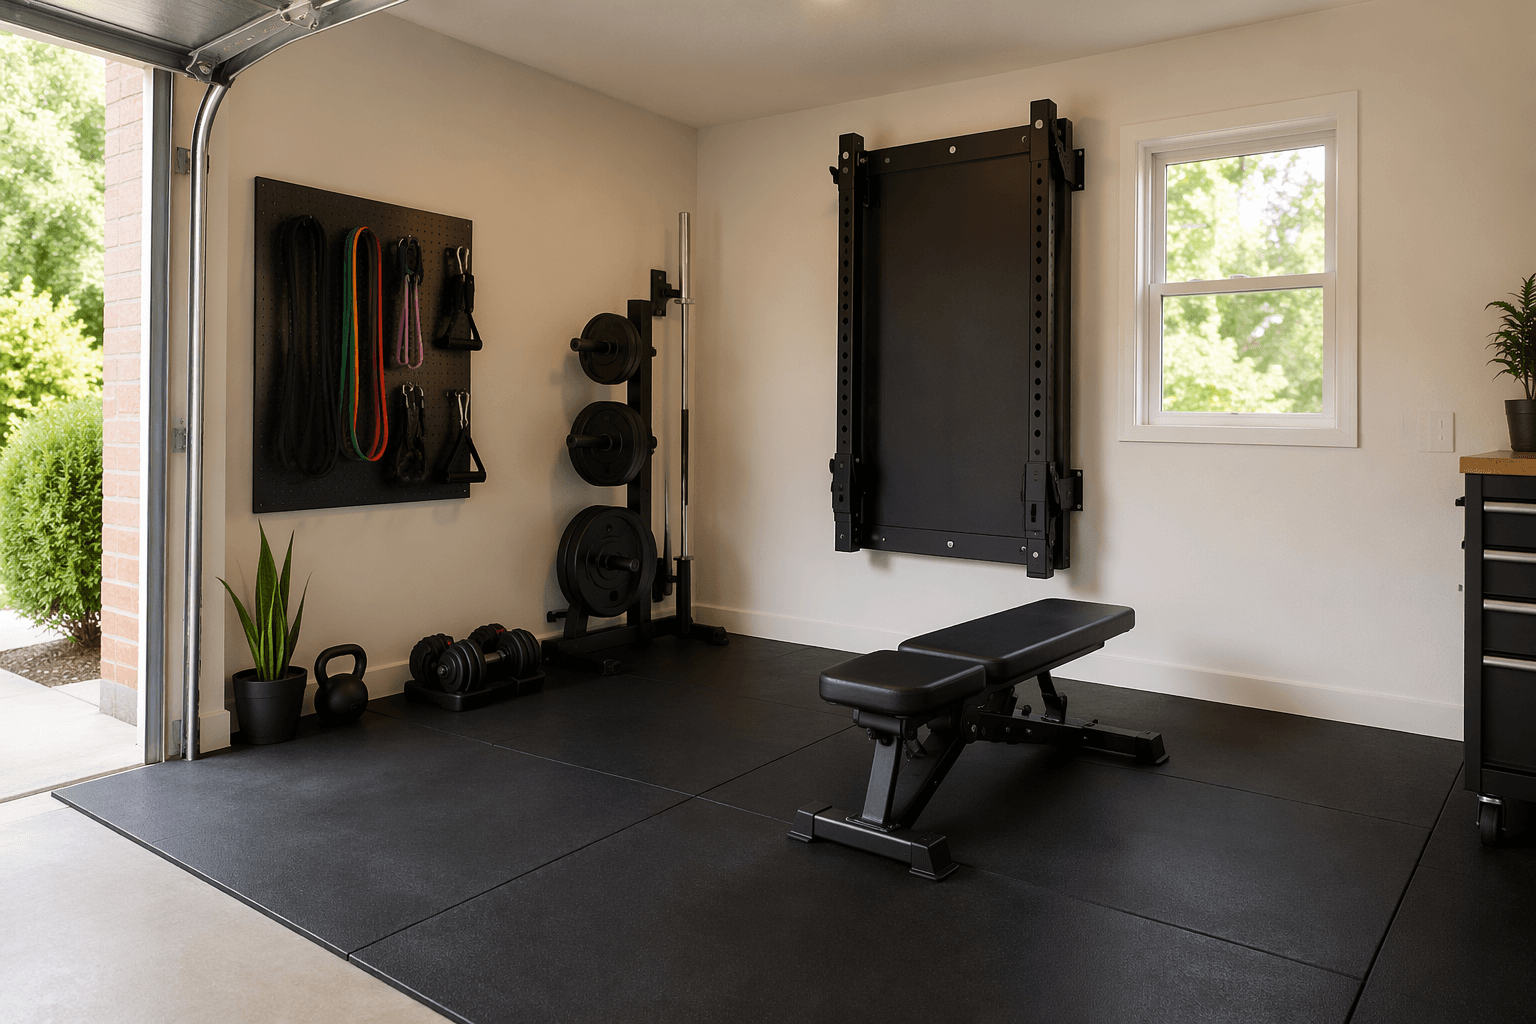
For powerlifting, garage workout equipment gets simple fast. You need a rack you can squat and bench in, a power bar that does not feel like a noodle, enough plates to train progressively, a flat bench that stays put under a heavy unrack, and a pulling surface that protects the slab and keeps the noise halfway reasonable.
That is the whole core. Not a cable tower. Not a row of machines. Not a wall of attachments you bought because they were on sale. A real powerlifting garage gym starts with five pieces, and the difference between a good setup and a miserable one is usually buried in specs: rack depth, steel gauge, hole spacing, bar diameter, tensile strength, bench frame, plate consistency, and platform footprint.
| Core piece | What to buy first | Spec that matters most |
|---|---|---|
| Power rack | 4-post rack or flat-foot rack | 48–54 in. depth, stable frame, 11-gauge steel, usable safety arms or straps |
| Barbell | Dedicated power bar | 29 mm shaft, center knurl, 190k–205k PSI tensile strength |
| Plates | Iron plates | Enough total weight and reasonable consistency from plate to plate |
| Bench | Flat bench | Stable pad and frame, preferably a heavy-duty 11-gauge-style frame |
| Pulling surface | Stall mat or DIY platform | Slab protection, deadlift space, noise control |
A commonly cited budget example puts this kind of build near the $1,500 mark using mid-tier pieces: a Vulcan flat-foot rack at $649, an Ohio Power Bar at $250, a Rep FB-5000 bench at $119, roughly 300 lb of iron plates priced around $0.80–$1.50 per pound, and an $80 stall mat for pulling.[1] Treat those numbers as anchors, not a shopping-cart promise. Some of that pricing comes from older product references, and 2026 retail pricing, shipping, taxes, and discontinued models can move the total.

Measure the garage before you fall in love with a rack
The first equipment decision is not brand. It is clearance. A rack that is perfect on paper can be useless if the garage ceiling is too low, the door tracks cut into the lifting area, or the platform raises the floor just enough to make overhead work impossible.
One rack sizing guide gives 8.5–9 ft as a general minimum for standing overhead press clearance, but that is not a universal guarantee. Actual clearance depends on the lifter’s height, the rack height, the movement, the plates being used, and whether a platform adds height underfoot.[2] If your training is strictly squat, bench, and deadlift, you may not care much about standing press inside the rack. You still need to measure the full height of the rack, the garage door path, lights, ceiling storage, and the surface you will lift on.
Measure width and depth the same way. A barbell is about 7 ft long, and you need enough room to load plates without scraping walls, shelves, bikes, or a car bumper. Behind the J-hooks, you need actual walkout room. In front of the rack, you need space to move a bench, pull a deadlift, and spot problems before they become problems.
The rack is where most bad garage gyms reveal themselves
A power rack is the one piece of equipment that has to catch missed lifts and let you set up consistently. If it feels sketchy, everything else in the gym gets worse. You unrack differently. You walk out carefully instead of confidently. You start taking lighter attempts outside your normal groove because the rack is dictating the lift.
Depth is the spec buyers miss. A 24 in. rack can look fine online and still feel cramped once a loaded bar is on your back. The garage-gyms.com powerlifting guide calls 24 in. depth too tight for comfortable squatting and recommends at least 48 in. of rack depth for proper walkout space.[1] Garage Gym Reviews similarly points buyers toward 48–54 in. depth for many full rack setups, while also emphasizing steel gauge, hole spacing, and whether the rack is designed to be bolted down or stand flat-footed.[3]

A deep rack is not about comfort in the soft sense. It changes how safely you can squat. You need to unrack, step back, find your stance, squat, recover, and walk forward into the hooks without dancing around safeties or posts. When the space is tight, the rack punishes normal lifting habits.
Steel matters too, but do not turn it into a badge contest. Garage Gym Reviews describes 11-gauge steel as a strong benchmark for serious rack construction, and that is the level I would start with for a long-term powerlifting setup.[3] There are lighter racks that work for lighter lifters or careful use, but heavy squats, hard re-racks, and years of benching expose flimsy frames. The money you save on the rack is not worth much if the whole structure shifts when you set a squat back into the cups.
Hole spacing is less exciting until the first time your bench setup is half an inch wrong. Westside-style 1 in. spacing through the bench zone lets you set J-hooks and safeties more precisely for bench press.[3] That matters when you want the bar low enough to unrack cleanly without doing a half-rep before the first rep, and high enough that you are not pulling your shoulders out of position.
Flat-foot or bolted-down?
A bolted rack is the cleaner answer if you own the space, know the rack will stay put, and are willing to drill into the floor or platform. A flat-foot rack makes sense in garages where drilling is not an option or the layout might change. Garage Gym Reviews separates these as real buying categories rather than cosmetic differences: flat-foot racks are designed to stand without being bolted, while other racks rely on being anchored for their intended stability.[3]
For a renter, or for a two-car garage that still has to act like a garage, flat-foot can be the practical choice. Just do not confuse “doesn’t require bolts” with “any light rack will do.” The rack still needs enough mass, footprint, and construction quality to handle real lifting.
Buy a power bar before you buy specialty bars
A multipurpose bar is fine for a lot of garage gyms. A powerlifting garage is not “a lot of garage gyms.” The bar you use for squat, bench, and deadlift should feel predictable under heavy loads, stay rigid enough for squats and bench, and have knurling that lets you hold position without turning every set into a grip compromise.
The standard power bar target is straightforward: 29 mm shaft, center knurl, and tensile strength in the 190k–205k PSI range.[1] The 29 mm diameter gives the bar a stiffer feel than thinner general-purpose bars. The center knurl helps keep the bar planted on the back for squats. The tensile strength range is not magic, but it is a useful filter that keeps you away from cheap bars that may bend or feel vague under heavier training.
The center knurl is the piece some buyers underestimate. If you low-bar squat, you will notice it immediately. A smooth center section may be pleasant for high-rep fitness work, but it is not doing you favors when you are trying to keep a heavy squat locked into the same shelf on every set.
A dedicated deadlift bar is the first serious second-bar upgrade, not part of the minimum build. The garage-gyms.com guide points to a 27 mm deadlift bar as the most impactful second bar because the thinner shaft and deadlift-specific feel change the pull more than most accessory equipment will.[1] Still, if the budget is tight, buy one good power bar first. You can pull with it, squat with it, bench with it, and train the big three without rearranging the entire plan.
Iron plates are boring, which is why they work
Plates need to do two jobs: load the bar and do it consistently enough that training numbers mean something. If one side of the bar is unknowingly heavier, or the total load is far away from what the plates claim, percentage work and progression get messy. That does not mean a budget build needs calibrated competition plates on day one.
Basic iron plates are the right default for a cost-controlled powerlifting garage. The cited budget range for used or basic iron is roughly $0.80–$1.50 per pound, with 300 lb used as a sample starting quantity in the garage-gyms.com build math.[1] York Barbell’s home powerlifting setup guide also treats plates as a core part of the basic home powerlifting setup rather than an accessory tier.[4]
The practical buying order is simple: get enough 45s to cover your current deadlift and squat work with room to progress, then fill in pairs of 25s, 10s, 5s, and 2.5s so jumps are not stupid. Matching plates are nice. Accurate plates are better. A mismatched stack that weighs close to what it says is more useful than a beautiful set that leaves you underloaded six months from now.
A flat bench is the default, not the compromise
For a powerlifting garage, the first bench should be flat. Adjustable benches have their place, but incline settings do not help if the bench is too tall, too narrow, too wobbly, or too light to stay put when you drive into the pad.
The budget example cited earlier uses the Rep FB-5000 at $119, which shows the role the bench is supposed to play in this build: stable, specific, and not overcomplicated.[1] The exact model and price need current verification, but the buying logic holds. Look for a bench that feels planted under leg drive, has a frame suitable for heavy use, and gives you repeatable positioning inside the rack.
Bench features that sound useful can become clutter fast. Wheels are convenient. A grippy pad is useful. A heavy-duty frame is worth paying for. Seven incline positions are not the reason to buy your first bench if the main lift is competition-style bench press.
The platform is where budget, noise, and concrete meet
A deadlift platform is not there to make the garage look serious. It gives the plates a landing surface, protects the slab, defines the pulling area, and cuts down some of the punishment that deadlifts put into a concrete floor. This is the one part of the gym where cheap can be completely acceptable if it matches your lifting and your garage.
| Platform option | Approximate cited cost | Best fit |
|---|---|---|
| Single stall mat | About $80 | Lowest-cost pulling surface when space and money are tight |
| DIY plywood and stall-mat platform | $200–$300 | Better slab protection and a more defined lifting area |
| Pre-built platform | About $600 | Convenience, if the garage has the space and the budget allows it |
Those platform cost tiers come from the garage-gyms.com powerlifting guide, which frames the options as an $80 stall mat, a $200–$300 DIY plywood platform, or a roughly $600 pre-built platform.[1] The right answer depends less on how impressive the platform looks and more on whether you have enough footprint to deadlift safely without blocking the rack, garage door, or walk path.
A stall mat alone is the blunt budget answer. It can work, especially for controlled pulls with iron plates, but it does less to spread force across the floor. A DIY platform takes more space and effort, but the plywood base gives you a more deliberate lifting station. A pre-built platform is easiest to buy and hardest to justify if it steals too much room from the rack or bench setup.
A realistic buying order
If you are building this over a few purchases, do not spread money evenly across everything. Spend first on the pieces that keep you safe and make the main lifts consistent.
- Measure the garage: ceiling height, rack footprint, bar loading space, platform space, garage door path, lights, and storage conflicts.
- Choose the rack: prioritize depth, stability, steel gauge, safeties, hole spacing, and whether it must be bolted down.
- Buy the power bar: get the right shaft diameter, center knurl, and tensile strength before buying specialty bars.
- Add plates: start with enough iron to train your current squat and deadlift, then fill in smaller jumps.
- Add the flat bench: choose stability and frame quality over adjustable features.
- Build or buy the pulling surface: match the platform to the slab, noise tolerance, and available footprint.
That order keeps the build honest. A cheap cable attachment is not useful if the rack is too shallow to squat in. A curl bar is not urgent if the only straight bar in the garage has no center knurl and whips around on squats. A beautiful plate tree is not the priority if deadlifts are landing directly on bare concrete.
What can wait
Good optional upgrades exist. They are just optional. A safety squat bar can be excellent for high-volume squat work, shoulder crankiness, or variation without turning every squat into the same straight-bar pattern. Monolift attachments can reduce walkout demands and make heavy squat setup more efficient. An incline bench adds useful upper-body accessory options. A GHD is valuable if you actually program glute-ham raises and back extensions consistently.
Each one costs more than money. Specialty bars need storage. Monolift attachments add complexity to the rack area. An incline bench often takes more room and may be heavier to move. A GHD eats garage floor space like it pays rent. None of those are bad purchases after the core setup is solid. They are bad first purchases if the rack, bar, bench, plates, and platform are still compromised.
The under-$1,500 build is possible, with conditions
The under-$1,500 powerlifting garage gym is a realistic target in the U.S. market when the build stays focused and uses mid-tier equipment, especially if plates are bought carefully and the platform is DIY or stall-mat based. The cited example adds up because it avoids unnecessary categories: no cardio machine, no cable stack, no adjustable dumbbell set, no specialty machines.[1]
The conditions matter. Verify current prices. Check shipping. Confirm the rack model still exists. Make sure the bar specs have not changed. Do not forget taxes or freight charges on heavy equipment. If your region has expensive shipping or a weak used-plate market, the same build may land above that number. If you find used plates, a local rack deal, or a bench sale, it may land below it.
Where I would not force savings: rack stability, rack depth, bar quality, bench stability, and a basic pulling surface. Those are not luxury specs. They are the parts that let the big three happen repeatedly without the garage fighting you.
A powerlifting garage gym is smaller and simpler than most buyers think. Five pieces can cover years of squat, bench, and deadlift training. The catch is that each piece has to be chosen like it carries part of the training system, because it does: the rack catches misses, the bar sets the feel of the lifts, the plates define the load, the bench supports the unrack, and the platform takes the impact. Measure the garage, verify current prices, and do not save money on the few specs that matter every heavy session.
References
- All You Need For A Big-3 Powerlifting Garage Gym, Garage-Gyms.com
- The Power Rack Sizing Guide Every Home Gym Owner Needs to Read, GXMMAT
- The Ultimate Squat Rack Guide (2026), Garage Gym Reviews
- Best Way to Set Up Your Powerlifting Gym at Home, York Barbell, 2025

Comments
Join the discussion with an anonymous comment.