
No-Equipment Baseball Conditioning for Kids in Small Spaces
A low-noise, no-equipment baseball conditioning circuit that fits a roughly 10x10 ft living-room corner, with age bands for kids 7–14 and a full weekly schedule — so young players can build strength, agility, and power without disturbing the neighbors or scuffing the floor.
- Equipment tier required
- none
- Duration
- 15-25 min
- Difficulty
- beginner
- Target area
- full body
- Space footprint needed
- 10x10 ft
- Noise level
- low
Yes: 15–25 minutes in a roughly 10x10 ft living-room corner can count as real baseball conditioning for a 7–14-year-old. It can build the strength, agility, power, balance, and arm-care habits that support baseball. It is not batting practice, pitching instruction, throwing volume, or a replacement for outdoor play.
That distinction matters. The CDC says children and adolescents ages 6–17 need 60 minutes or more of moderate-to-vigorous physical activity daily, with muscle-strengthening and bone-strengthening activity at least 3 days per week.[1] A living-room baseball conditioning circuit can help fill that weekly strength-and-movement slot. The CDC is not endorsing this routine, and it is not making a baseball-specific claim. It simply gives parents a useful baseline: bodyweight work, done consistently and safely, belongs in a kid’s week.
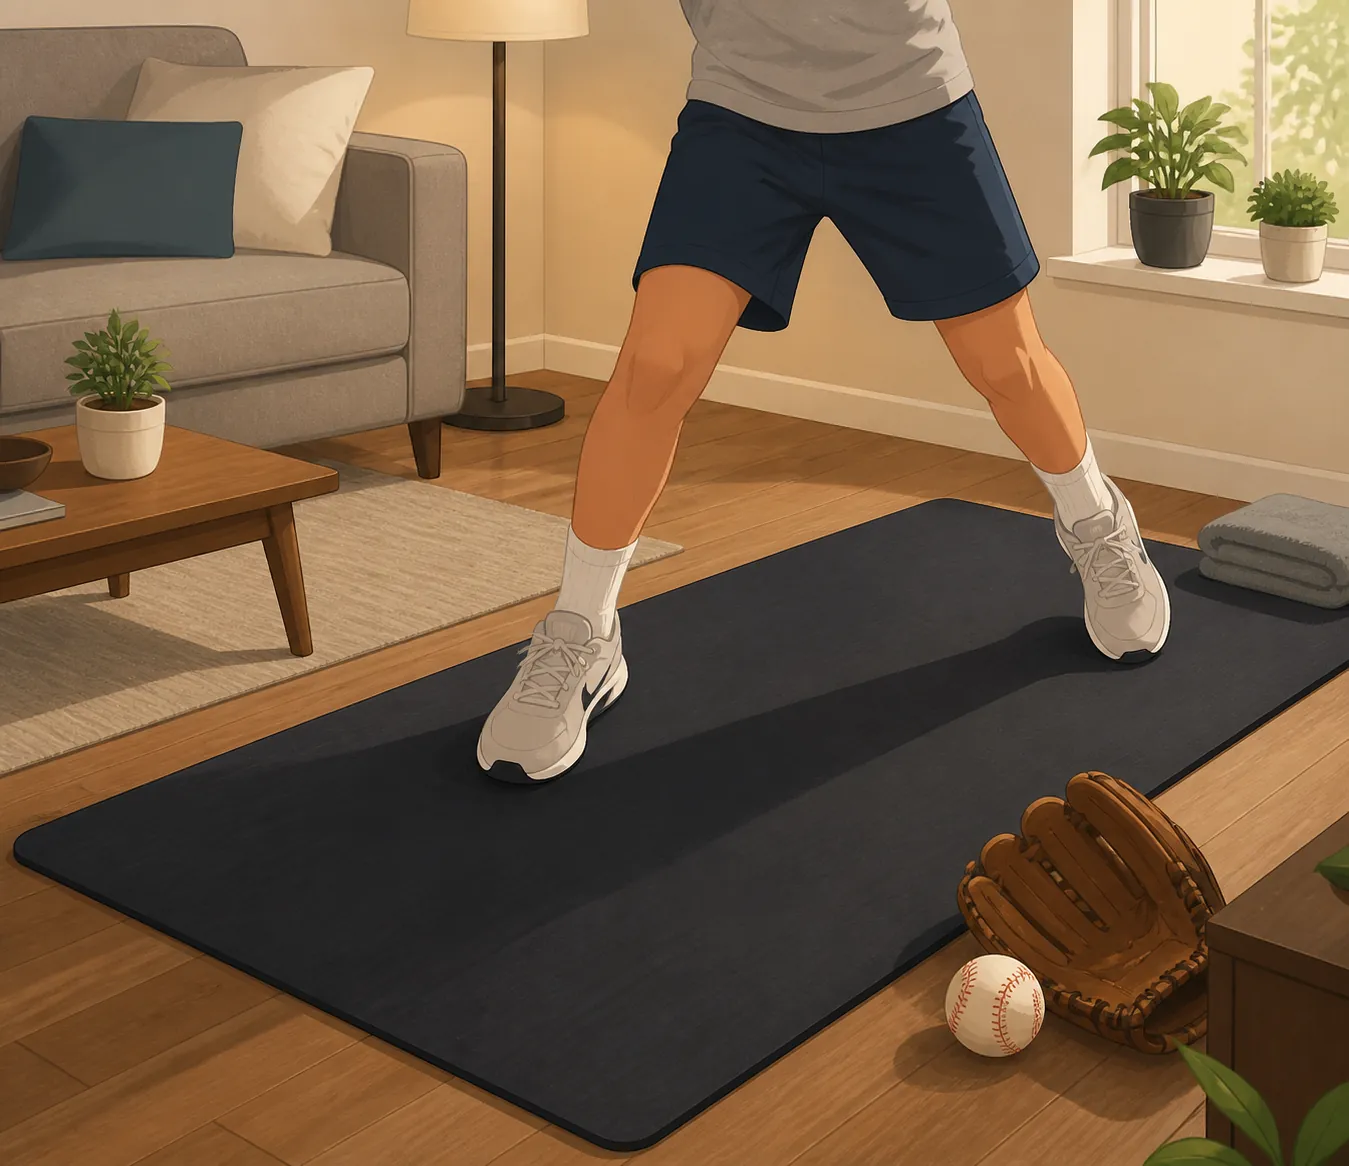
The Apartment Rules Come Before the Drills
In a small apartment, the best drill is the one a child can repeat without sliding, stomping, or turning the downstairs neighbor into part of the coaching staff. Before choosing exercises, set the room up so the session has boundaries.
- Clear a space about 10x10 ft, or smaller if the child can move safely without reaching furniture.
- Use a mat for floor work and for any drill where hands, knees, or feet repeatedly contact the floor.
- Move the coffee table once, not between every drill; the session should feel easy to start.
- Make “quiet feet” a rule: land softly, step instead of hop when form breaks, and stop any drill that turns into thudding.
- Skip jumping on slippery floors, thin rugs, socks-only surfaces, or any floor where the child cannot control the landing.
- Keep balls, bats, and hard throws out of this circuit unless a parent has a safe, separate setup for them.
Tape and household objects can help, but they are optional. DICK’S Sporting Goods Pro Tips describes an at-home shuffle-drop drill that can work in 5–8 ft with two markers, and also describes using tape on the floor as an agility-ladder setup in a hallway or open room.[4] That is the right scale for apartment baseball conditioning: short, controlled, and easy to reset.
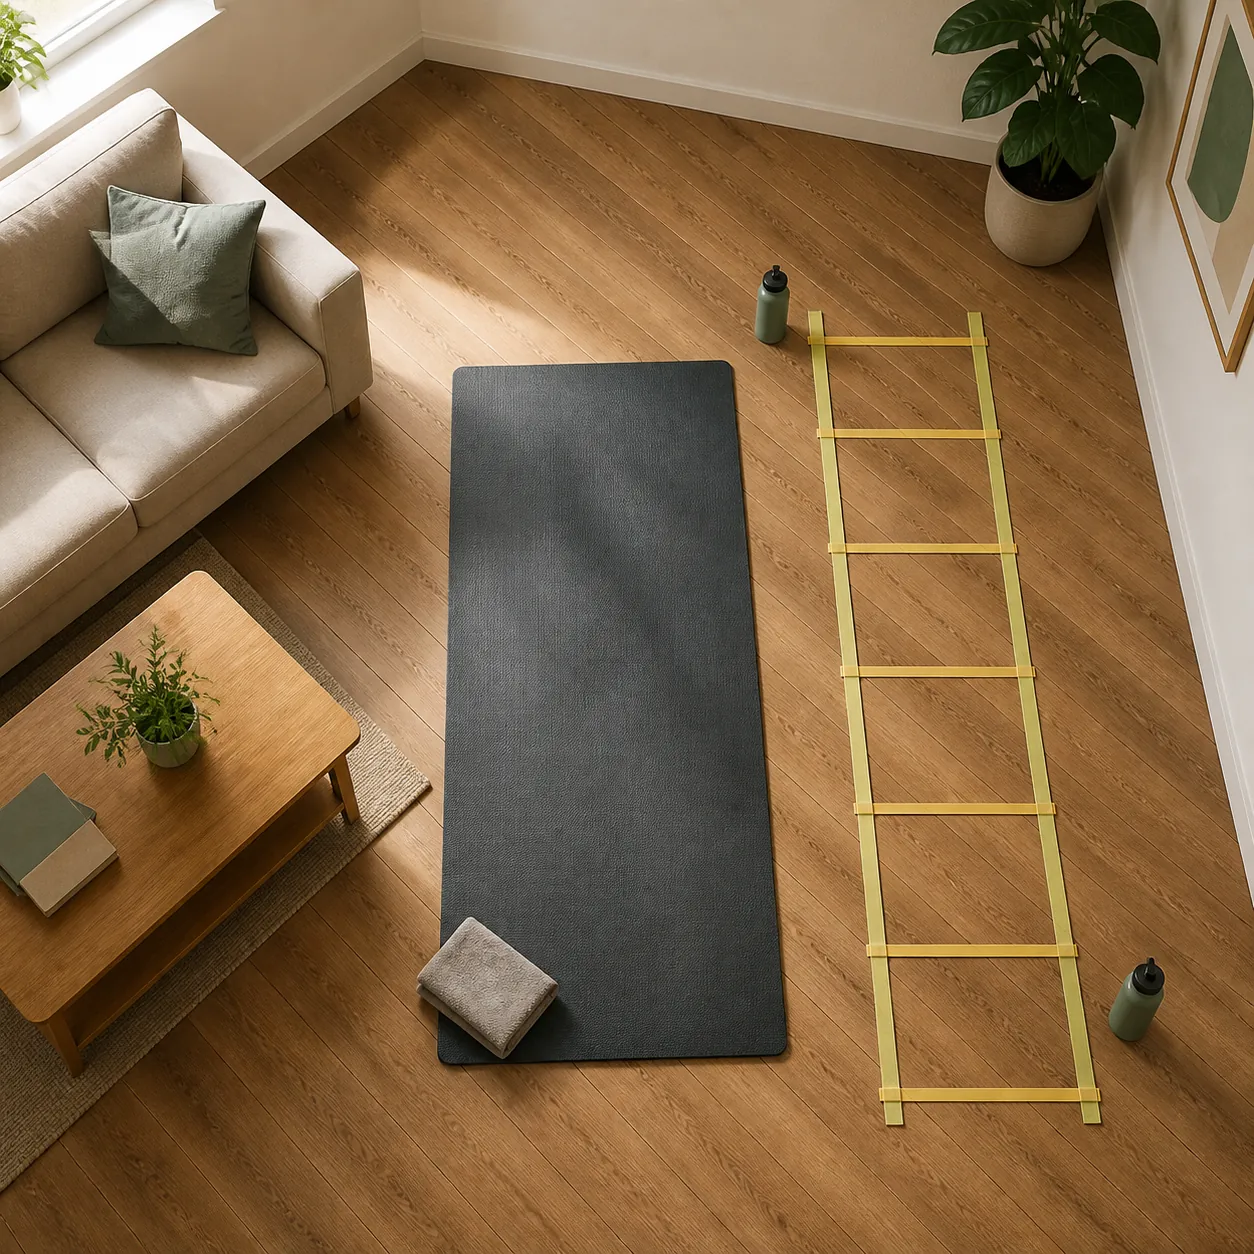
For noise and floor safety, do not trust a drill just because it looks athletic on a video. Use mat-based, low-impact versions first. FitAtHome’s small-space testing format is built around whether home workouts actually fit, repeat, and behave indoors; that same testing mindset is more useful here than pretending every landing has a universal noise number. If you want more low-noise execution ideas, the site’s quiet workday workouts and heat-wave home workout guides use the same practical bias: choose movements that keep the floor, the room, and the next session intact.
Age Bands: What Changes From 7 to 14
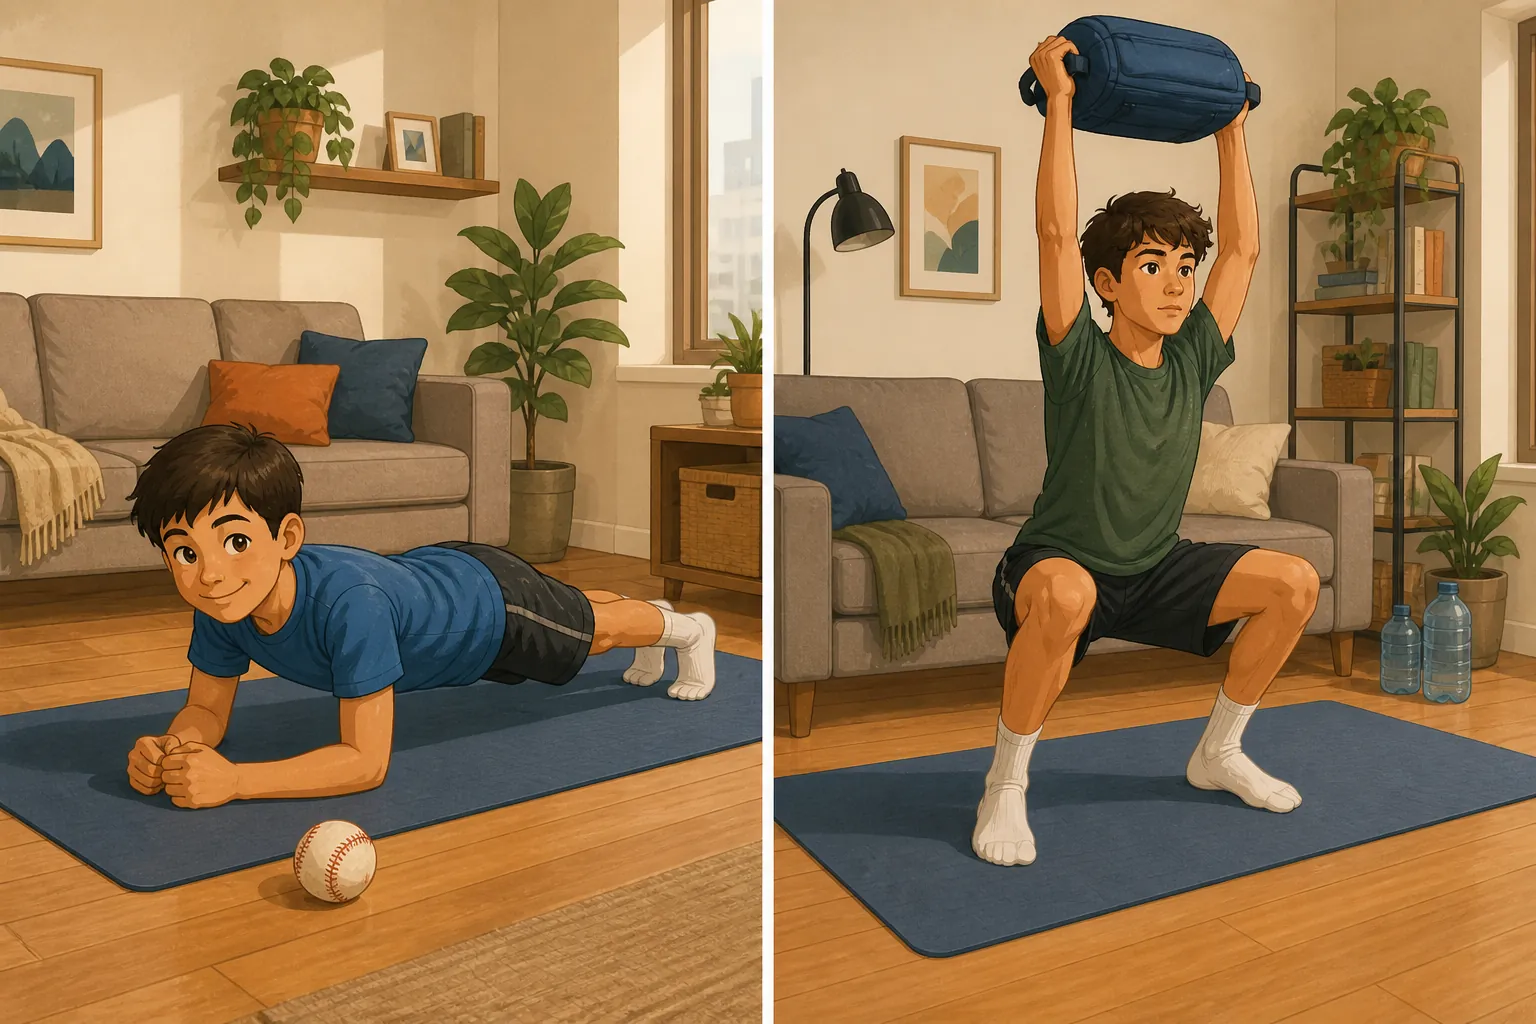
The younger player does not need a mini adult strength program. Princeton Sports and Family Medicine frames ages 7–10 around bodyweight strength, coordination, mobility, balance, and learning movement patterns before external loading.[2] The NSCA’s youth resistance training guidance also supports youth resistance training when it is age-appropriate, supervised, and focused on proper technique rather than adult-style loading.[3]
| Age | Main goal | Loading rule | What parents should watch |
|---|---|---|---|
| 7–10 | Body control, coordination, soft landings, confidence | Bodyweight only | Quiet feet, straight-line plank positions, no rushing through reps |
| 11–14 | More structured strength, lateral control, rotation control, repeatable power | Bodyweight first; light household-item load only if form is already solid | No grinding reps, no max effort, no sloppy twisting under load |
For ages 7–10, the workout should look almost too simple: planks, crawls, glute bridges, squats to a soft target, and short lateral steps. Precision is the point. A child who can brace, balance, stop, and restart under control is building the base that later baseball movements ask for.
For ages 11–14, the session can become a little more structured. A small backpack, a filled water bottle, or another light household item may be used for selected movements if the child already moves well without it. SIXSTAR’s at-home baseball workout examples include bodyweight and household-load movements such as backpack-loaded push-ups, one-leg glute bridges, planks, lateral jumps, and related no-gym options.[5] Relentless Baseball similarly lists youth-friendly movements such as plank variations, glute bridges, lateral work, and band walks, though any injury-reduction claim from that kind of coaching content should be treated cautiously unless tied to independent evidence.[6]
The 15–25 Minute Small-Space Baseball Conditioning Circuit
Run this as a quiet circuit, not a race. The parent’s job is not to count the loudest reps. It is to keep the child moving well enough that the same session can happen again two days later.
| Block | Time | Purpose |
|---|---|---|
| Warm-up and arm-care prep | 4–6 minutes | Wake up hips, trunk, shoulders, and upper back without throwing |
| Strength block | 6–8 minutes | Build body control through legs, core, push, and posterior-chain work |
| Agility block | 3–5 minutes | Practice quick feet, stopping, and changing direction in 5–8 ft |
| Power block | 2–4 minutes | Train controlled explosiveness with low-impact options |
| Cool-down | 2 minutes | Bring the session down and check for soreness or sloppy movement |
Warm-up and Arm-Care Prep
This block happens on the floor or standing on the mat. It should feel smooth, not intense. Early Work Training lists floor-friendly baseball arm-care movements such as Blackburns, prone scarecrows, and rotation work that can be done with a band or light dumbbell; for this no-equipment circuit, use the unloaded versions and treat them as activation, not strength testing.[7]
- Cat-cow to child’s pose: 4 slow rounds to loosen the back and shoulders.
- World’s easiest inchworm: walk hands to plank, pause, walk back; 3–5 reps, no bouncing.
- Prone Blackburn hold: lie face down, lift arms slightly in a Y or T shape, hold 3 seconds, lower; 5–8 reps.
- Prone scarecrow: elbows bent like goalposts, gently lift hands and elbows, then lower; 5–8 reps.
- Standing hip turns: hands on hips, rotate one knee out and in; 5 each side.
For a 7–10-year-old, make the arm-care reps tiny and neat. For an 11–14-year-old, add a longer pause, not a heavier object. If the child shrugs, cranes the neck, or complains of shoulder pain, skip the movement and use general mobility only.
Strength Block
Choose 4 movements. Do 2 rounds. Rest just long enough for form to come back. A younger child can work for about 20 seconds per move; an older child can work for about 30 seconds if the reps still look controlled.
| Movement | Ages 7–10 | Ages 11–14 | Parent cue |
|---|---|---|---|
| Squat to couch or chair edge | Bodyweight, slow down, stand tall | Bodyweight or light backpack held to chest | Knees track over toes; no dropping onto the seat |
| Glute bridge | Two feet, pause at the top | Single-leg bridge if hips stay level | Ribs down, squeeze glutes, do not arch the back |
| Incline push-up | Hands on couch or sturdy surface | Lower incline or light backpack only if reps are clean | Straight line from shoulders to heels |
| Bear crawl hold or crawl | Hold 10–15 seconds or crawl 2–3 quiet steps | Crawl forward and back in a short lane | Knees hover low; feet stay quiet |
| Side plank from knees | Short holds on each side | Full side plank if stable | Hips stacked; no twisting toward the floor |
The living-room version of strength training is not about making the exercise look harder. It is about removing the wiggle: fewer knee caves, fewer collapsed push-ups, fewer loud landings when the child gets tired.
Agility Block
Baseball asks a kid to start, stop, shuffle, recover, and reorient. You do not need a field to practice those pieces. You need a short lane, a quiet surface, and a rule that every rep ends under control.
- Tape-ladder step-in: make 4–6 tape boxes or imaginary boxes beside the mat; step both feet into each box and back out, quietly.
- Shuffle-and-freeze: shuffle 2–3 steps right, freeze in an athletic stance, then return left.
- Drop-step without the drop: start sideways, open the hip, step back at a diagonal, freeze, and reset.
- Marker touch: place two water bottles 5–8 ft apart, shuffle to one, touch near it without bending the back, and shuffle back.
For ages 7–10, use 10–15 second bursts and praise the clean stop more than the fast shuffle. For ages 11–14, use 15–25 second bursts and ask for a sharper first step, but keep the same quiet-foot standard. If the child starts stomping, shorten the distance or switch to step-and-freeze work.
This same small-space system also works across sports. The football version in quiet at-home football conditioning drills and the no-hoop version in basketball drills you can do at home use the same basic idea: narrow the movement, protect the floor, and train the stop as much as the start.
Power Block Without Thudding
Power does not have to mean jumping loudly. In an apartment, the better choice is often a fast intent followed by a quiet finish.
| Movement | Quiet version | Use it when |
|---|---|---|
| Squat-to-reach | Fast stand from a squat, reach tall, lower slowly | Jumping would be too loud or landing is inconsistent |
| Lateral push-off step | Push from one foot to the other without leaving the floor much | The child needs side-to-side power without hops |
| Split-stance switch step | Step-switch feet quietly instead of jumping | The child can coordinate arms and legs without stomping |
| Rotational wall-free turn | Athletic stance, rotate hips and trunk, stop under control | There is no safe space for medicine balls, bats, or throws |
Do 2 rounds of 3–5 clean reps per side. That may sound low, but power work gets messy quickly when a child is tired. A good rep is quick, balanced, and quiet. A bad rep is louder, looser, and usually not worth repeating.
Cool-Down
Finish with two minutes that make tomorrow easier: kneeling hip flexor stretch, child’s pose breathing, and a gentle forearm or wrist stretch. Ask one useful question: “Did anything hurt, or did anything just feel hard?” Hard is normal. Pain changes the plan.
A Weekly Schedule That Does Not Treat Every Day the Same
The circuit fits best as 2–3 structured conditioning days inside a larger active week. The CDC’s weekly guideline includes muscle- and bone-strengthening activity at least 3 days per week, but that third day does not have to be this exact circuit if the child also has practice, recess, active play, or another appropriate strengthening activity.[1]
| Day | Plan | How it should feel |
|---|---|---|
| Monday | Full circuit, 15–25 minutes | Main conditioning day |
| Tuesday | Light mobility, arm-care prep, or easy walk/play | No fatigue goal |
| Wednesday | Full circuit, slightly shorter if there was practice | Clean movement over volume |
| Thursday | Skill-adjacent day: glove work without hard throws, balance, light mobility | Quiet and easy |
| Friday | Optional full circuit or half circuit | Use only if the child is moving well |
| Saturday | Practice, game, outdoor play, or family activity | Let baseball and play carry the day |
| Sunday | Rest, walk, stretch, or nothing structured | Recovery counts |
If the child has a game the next day, remove the power block and keep the session to warm-up, light strength, and mobility. If the child had a long practice, do not “make up” missed conditioning with extra rounds at night. Small-space training works because it is repeatable, not because one session becomes a punishment.
How to Progress Without Adding Equipment
For the first two weeks, keep the exercises easy enough that the child finishes with good form. Then progress one variable at a time.
- Add a pause: hold the top of a glute bridge or the bottom of a squat for 2 seconds.
- Add a little range: squat slightly deeper only if knees, feet, and balance stay controlled.
- Add a direction change: shuffle, freeze, then drop-step before resetting.
- Add time: move from 20 seconds to 25 or 30 seconds for older kids with clean form.
- Add light household load only for ages 11–14, and only after the bodyweight version looks stable.
Do not progress by adding impact first. Side-to-side lateral jumps appear in baseball workout catalogs, but in an apartment they are a later option, not the default.[5] If a lateral jump is quiet, controlled, and pain-free, an older child may use a few low hops. If it sounds like a ceiling complaint waiting to happen, use lateral push-off steps instead.
When the Routine Is Too Loud, Too Hard, or Too Easy
| What you see | Change this first |
|---|---|
| Feet slap the floor during agility | Shorten the distance and require a freeze after every shuffle |
| Push-ups collapse at the hips | Raise the hands to a couch or wall |
| Squats turn into dropping onto furniture | Use a slower lower and stop before the seat |
| The child rushes every drill | Use fewer reps and make the pause part of the score |
| The session feels too easy for an older child | Add pauses, longer intervals, or a light backpack to selected strength moves |
| The child complains of pain | Stop that movement and switch to gentle mobility; do not train through pain |
There is no need to turn the living room into a gym. A mat is enough for the base circuit. Tape, mini-bands, or a light backpack can be useful add-ons later, but they are not required for a $0 session. If a family does add bands, keep them in the “helps the setup” category, not the “makes it real training” category.
A parent does not need a yard, a net, a garage, or a gym membership to give a 7–14-year-old useful baseball conditioning at home. The routine works when it stays age-appropriate, quiet enough to repeat, and simple enough that the child can move well before doing more.
References
- Child Activity: An Overview, CDC
- Strength Training for Baseball: What's Age-Appropriate, and What Actually Works?, Princeton Sports and Family Medicine
- Youth Resistance Training, NSCA
- At-Home Training for Baseball & Softball, DICK'S Sporting Goods Pro Tips
- Baseball Workouts at Home, SIXSTAR
- Workouts for Youth Baseball Players, Relentless Baseball
- Five Crucial Arm Strength Exercises for Baseball Players, Early Work Training
What a small equipment investment adds
We don't have a build tagged to this exact tier yet. Browse all builds.
How often should you repeat this?
See our recovery and rest reference for citation-anchored rest-interval guidance.
Spot something off?
Tell us if a movement, tier assumption, or duration didn't match your experience.