What’s Missing from Most At-Home Cardio Guides
You find a list of 15 bodyweight exercises, try them for two weeks, and notice your heart rate doesn’t climb as much as it used to. You’re not bored—you’re stuck. The problem isn’t the exercises. It’s that the list doesn’t tell you how to progress.
The U.S. Department of Health and Human Services recommends adults get at least 150 minutes of moderate or 75 minutes of vigorous aerobic activity each week. That’s a volume target, not a training plan. It tells you how much but not how. The typical article lists 10–20 moves and calls it a workout. Two weeks later you’re doing the same jumping jacks at the same pace, and the system hasn’t given you a ramp.
What’s missing is structure: a way to measure effort, a way to increase it, and a clear ladder from “just starting” to “can handle a real sweat session.” That’s what this guide builds. No equipment required—just your body, a timer, and two calibration tools.
Two Tools to Replace the Gym’s Equipment

In a gym you have treadmills that show heart rate and coaches who tell you to push harder. At home you have yourself and a clock, and that’s enough if you use two well-established tools: Rate of Perceived Exertion (RPE) and the talk test.
RPE is a 1–10 scale. For home cardio you’ll work in the 3–7 range. The talk test anchors each level:
- RPE 1–3: easy conversation, can sing along to music
- RPE 3–5: can talk but need pauses between sentences
- RPE 5–7: can only puff out a few words
- RPE 7–10: cannot talk at all
These zones are standard. Nike, SELF, and Medical News Today use the same talk-test correspondence. If you can’t describe how hard you’re working, you can’t progress. The test is simple: ask yourself mid-move whether you can speak a full sentence. If yes, pick up the pace. If no, ease off.
I recommend aiming for an RPE of 3–7 during bodyweight cardio, as Medical News Today suggests. The second tool is the work-to-rest ratio, which I’ll build into a progression ladder.
Level 1: 30/30 – Beginner
Beginner doesn’t mean easy. It means your body hasn’t learned to handle sustained intensity yet. Start with 30 seconds of work followed by 30 seconds of rest. That 1:1 ratio gives you enough recovery to maintain good form and enough work to raise your heart rate.
Target RPE 3–5. You should be able to talk with brief pauses. If you can chat easily, you’re under RPE 3—speed up the movement. If you can’t get a sentence out without gasping, you’re over RPE 5—slow down or modify the range of motion.
Try this sample circuit. Each exercise is paired with its typical RPE so you can calibrate:
- Marching in place – RPE 3–4. Take quick, light steps. To raise RPE, lift your knees higher or increase speed.
- Standing oblique crunch – RPE 3–4. Bend sideways at the waist, reaching one hand toward your knee. Control the movement.
- Toe taps – RPE 4–5. Stand in front of a step or low object and alternate tapping your toes on it. Increase speed to raise RPE.
- Arm circles with a squat pulse – RPE 4–5. Small circles while holding a shallow squat. Increase circle speed and squat depth for more intensity.
Perform each move for 30 seconds, then rest 30 seconds. Repeat the circuit 2–3 times. Total time: 8–12 minutes. That’s enough to get your heart rate up without overwhelming your coordination.
If you want an even shorter starting point, the 7-Minute Workout for Complete Beginners uses the same RPE calibration in a condensed format—good for testing the waters before committing to longer circuits.
Level 2: 40/20 – Intermediate
Once the beginner circuit feels manageable—you can complete three rounds at RPE 3–5 without breaking form—change the ratio. Intermediate means 40 seconds of work followed by 20 seconds of rest. The work period is longer and the rest shorter, so intensity must rise.
Dial your RPE to 5–6. At this level you can only puff out a few words before needing a breath. If you can still hold a short conversation, push harder. If you’re completely breathless, back off to RPE 5 and focus on moving at a steady pace.
Sample intermediate circuit:
- Jumping jacks – RPE 5–6. Land softly. Increase speed or range of motion to push toward RPE 6.
- Squat to front kick – RPE 5–6. Step into a squat, then kick one leg forward. Controlled explosion; don’t fling your leg.
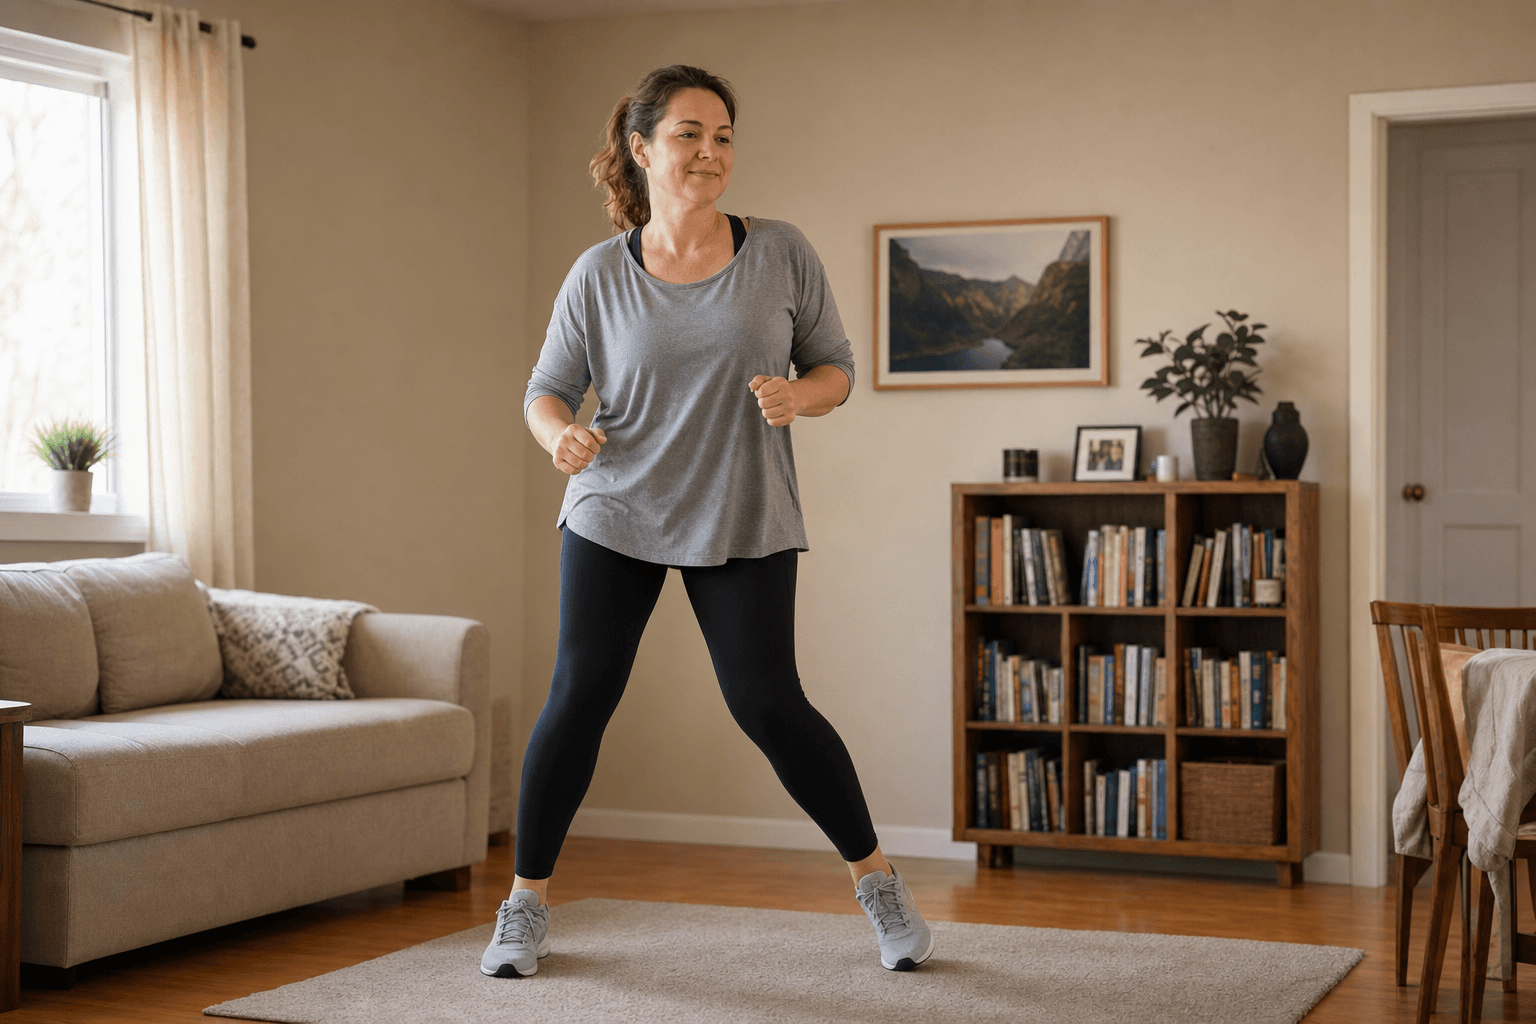
- Lateral shuffles – RPE 5–6. Shuffle side to side, staying low. Use short, quick steps.
- High knees – RPE 5–6. Drive your knees toward your chest. Light on your feet; avoid slamming your heels.
Perform each move for 40 seconds, rest 20 seconds. Complete the circuit 2–3 times. Total time: 8–12 minutes. If you can’t finish the third round at target RPE, stay at beginner for another week.
Level 3: 50/10 – Advanced
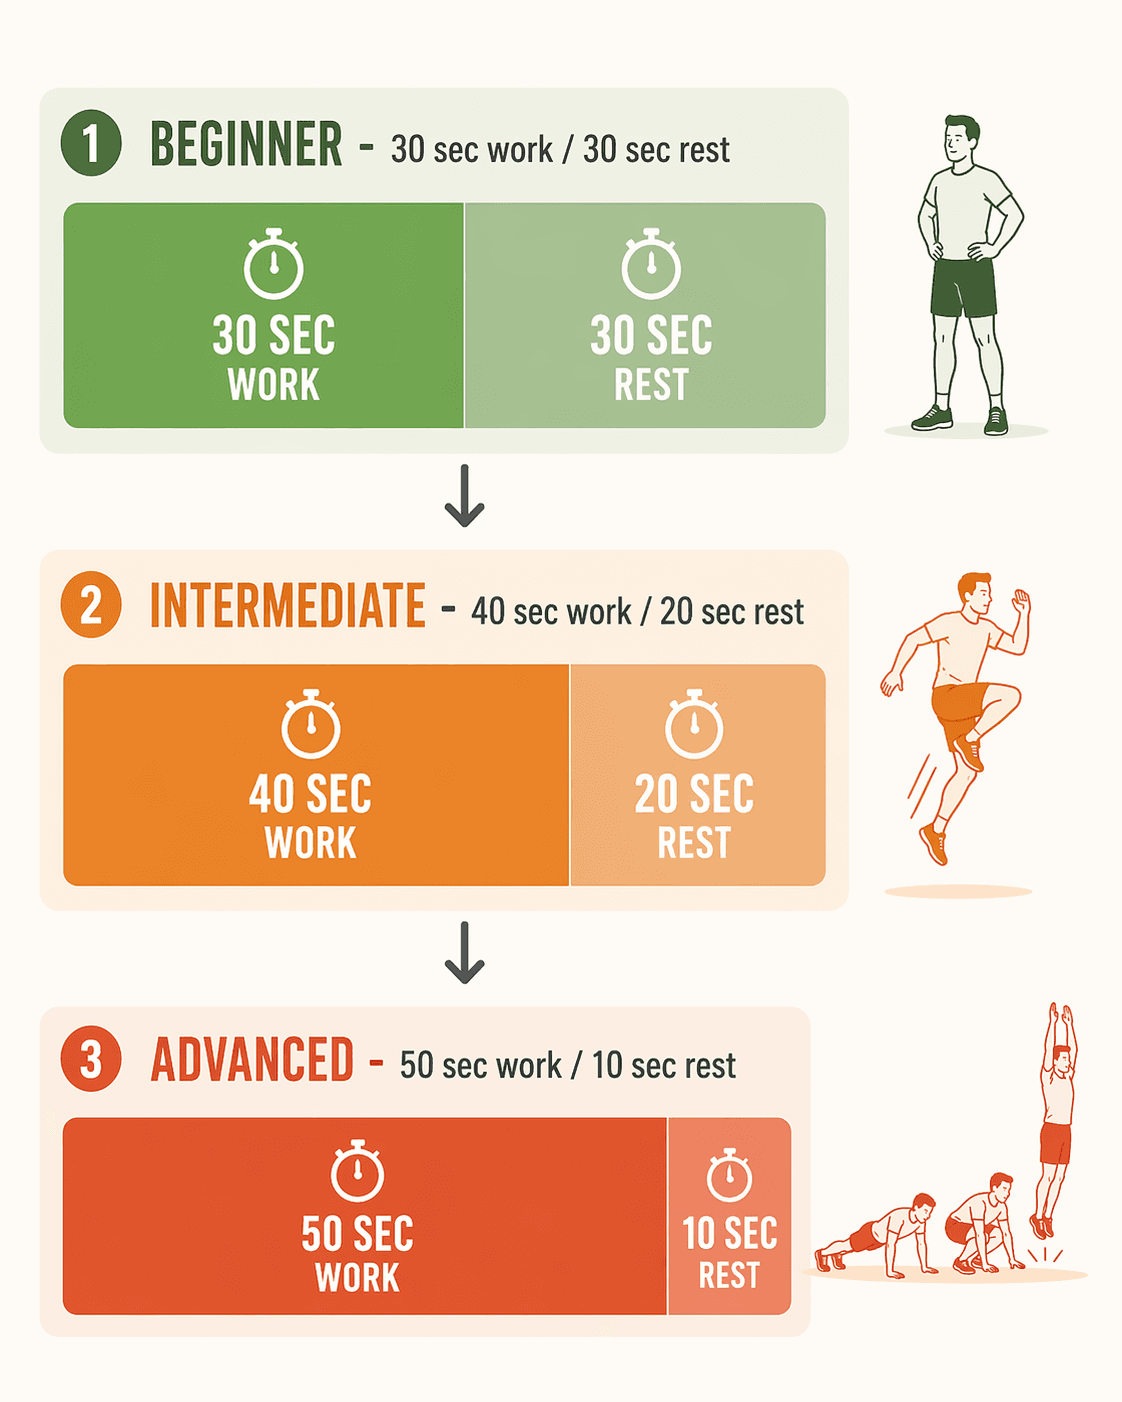
The top rung is 50 seconds of work, 10 seconds of rest—a 5:1 work-to-rest ratio. Do not rush here. You should only attempt advanced after you can complete three rounds of the intermediate circuit without needing extra rest or dropping below RPE 5.
Target RPE 6–7. At this intensity you can only get out a word or two. The movements are explosive, and your heart rate will climb quickly. Form is everything.
Sample advanced circuit:
- Burpees – RPE 6–7. Move as one fluid motion. If you cannot maintain a neutral back on the push-up portion, reduce range of motion or step out instead of jumping.
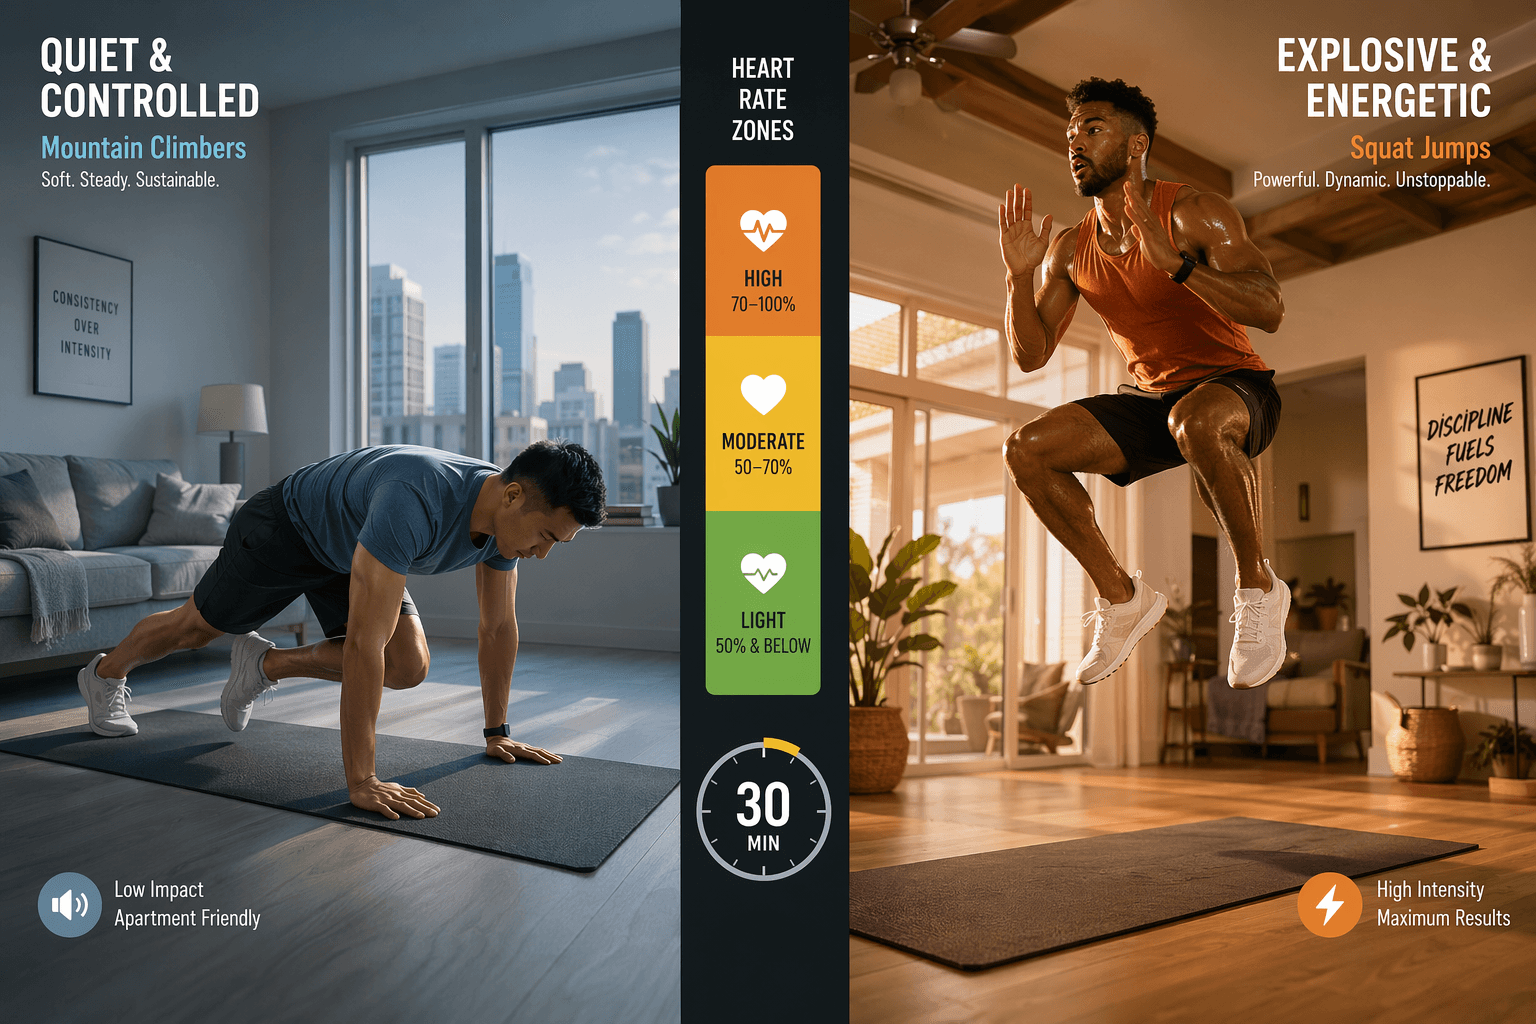
- Mountain climbers – RPE 6–7. Drive your knees toward your chest at a fast pace. Keep your shoulders over your wrists and your core braced.
- Squat jumps – RPE 6–7. Land softly. If landing feels jarring, reduce jump height or do bodyweight squats at the same cadence.
- Plank jacks – RPE 6–7. From a high plank, jump your feet out and in. Keep your hips level; don’t let your lower back sag.
Perform each move for 50 seconds, rest 10 seconds. Complete 2 rounds—three only if you can keep RPE 6–7 the whole time. Total time: 8 minutes. This is dense. If you feel dizzy or nauseous, stop and walk it off. Next time reduce the work to 40 seconds.
Once you own the advanced circuit, you can add lower-body strength work on your lower-intensity days. The same progression principle—adjust work-to-rest ratios and RPE zones—carries over to any movement pattern.
What This System Does and Doesn’t Prove
The 30/30 → 40/20 → 50/10 ladder is a practical framework adapted from interval training principles. It uses the same structure SELF recommends in their no-equipment workout, and it’s grounded in the general aerobic adaptation principle that manipulating work duration and rest drives cardiorespiratory improvements.
But I want to be clear about what this framework does not come with:
- These exact ratios (30/30, 40/20, 50/10) have not been validated in a published, bodyweight-specific study. They are a sensible progression scheme derived from interval training practice, not a research-backed prescription.
- The claim that bodyweight HIIT produces comparable aerobic improvements to steady-state cardio often cites a PMC study that showed an 18% increase in VO₂max across all groups. That study used cycle ergometers, not bodyweight exercises. The principle—that high-intensity intervals can drive similar adaptations to steady-state—is sound, but the mode differs. I cannot guarantee identical results from burpees.
None of that makes the system less useful. RPE calibration and progressive overload are the mechanisms that drive adaptation, whether you’re on a bike or on a yoga mat. Use the ladder as a guide, adjust based on how your body responds, and don’t assume one level fits every week.
How to Use This Template with Any Exercise
The real value of this guide is that you can transplant the progression logic to any set of bodyweight moves. Here’s the template:
- Pick 4–6 bodyweight exercises you can perform safely.
- Decide your current level: beginner (30/30), intermediate (40/20), or advanced (50/10).
- During each work interval, check your RPE against the talk test. Stay within the zone for your level.
- When you can complete three rounds at the correct RPE without losing form, move up one level.
That’s it. You don’t need new exercises to progress—you need a new ratio and a higher RPE target.
If you’re unsure which format fits your space and noise constraints, read the Complete Guide to Cardio at Home: A Constraint-Based Framework first. That article helps you decide between quiet, small-space, or full-intensity options, and then you come back here to build your progression on top of that choice.
The system works because it gives you a way to measure and increase effort, not just a list of moves. Pick a ratio, pick your RPE, and go.

Comments
Join the discussion with an anonymous comment.