
Groin Injury Recovery Exercises You Can Do at Home
A four-phase, criteria-gated groin strain rehab plan runnable at home with a mat, ball, band, and chair: pain-free mobility, isometrics, progressive loading, then high-speed strength, all held to a 2/10 pain ceiling with a 24-48 hour symptom check between sessions. Red-flag guidance covers when home rehab is no longer appropriate.
- Equipment tier required
- $0-100
- Duration
- 20 min
- Difficulty
- beginner
- Target area
- Adductors
- Space footprint needed
- Small (mat + chair)
- Noise level
- Low (no jumping)
This guide is general education, not a diagnosis or a substitute for care from a licensed clinician. Groin injury recovery exercises at home are only reasonable when the injury behaves like a mild-to-moderate adductor strain: you can walk carefully, symptoms are local and monitorable, and loading the area does not create sharp or escalating pain.
Do not start this routine if the problem may be something other than a strain. Get medical help if you notice a groin bulge or symptoms that change with coughing or straining, cannot bear weight, suspect a complete tear, have severe bruising or a visible defect, or have pain that is not improving after about two weeks. Pain close to the pelvis is not a place to guess bravely.
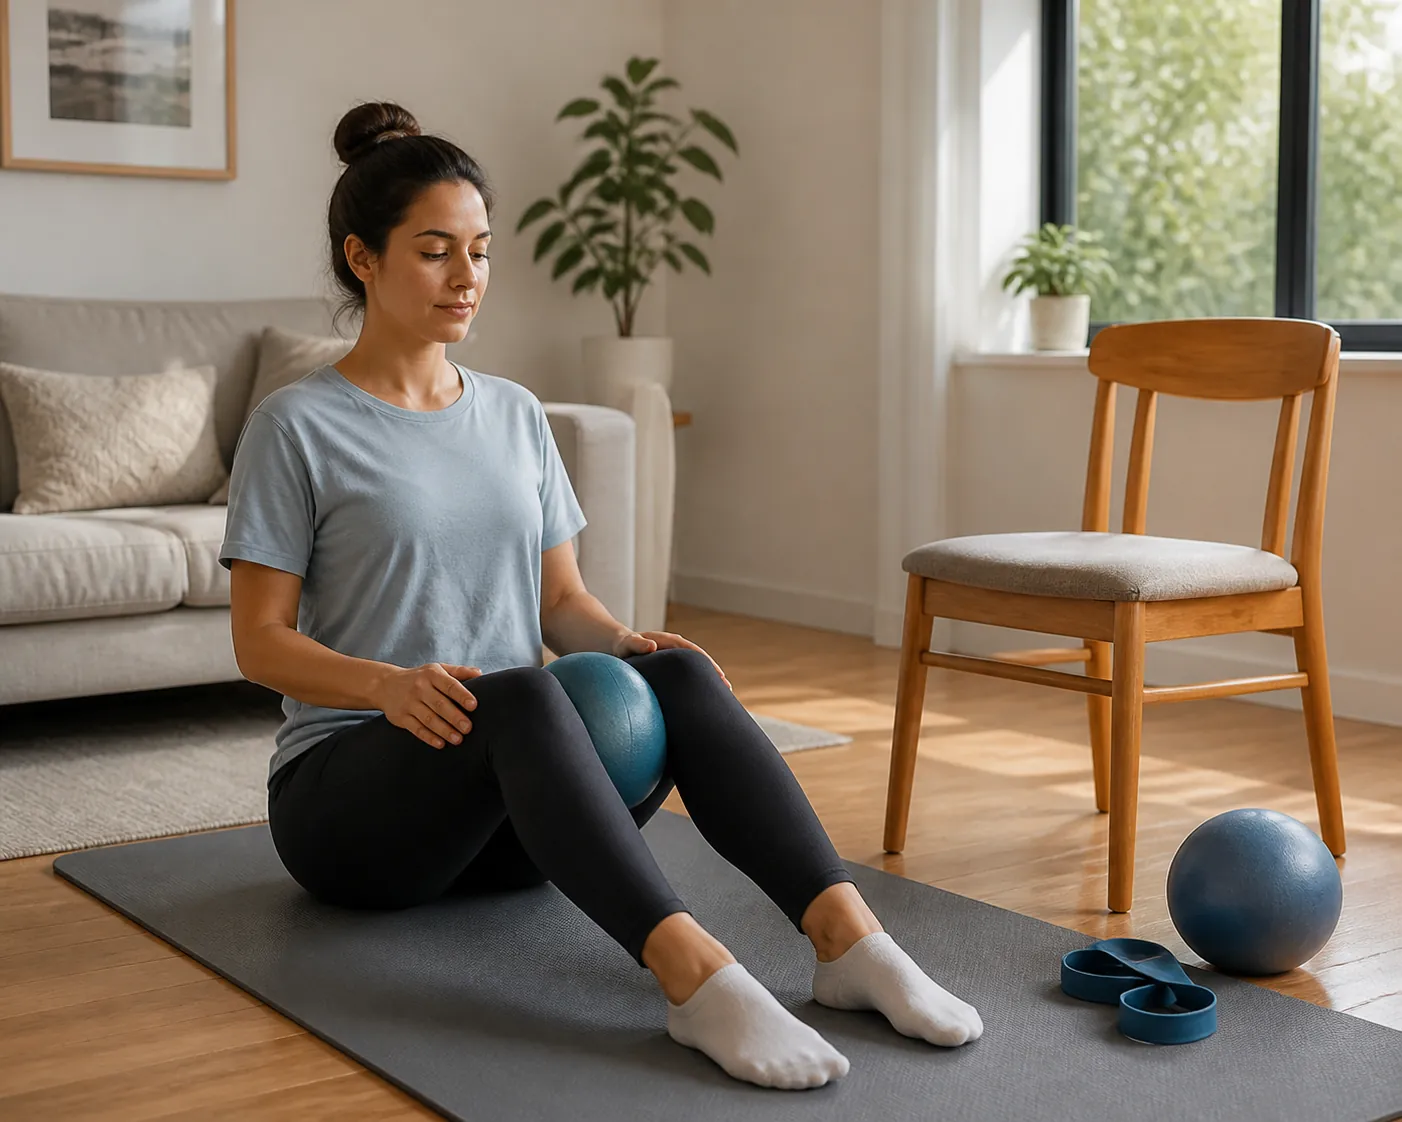
The rule that decides every exercise
Use a 0-to-10 pain scale. During any exercise in this plan, groin pain should stay at or below 2/10. Then wait and check the response over the next 24–48 hours before advancing. The Aspetar criteria-based adductor protocol used a 2/10 “pain-controlled repetition maximum” ceiling, and current adductor load-management guidance uses the same idea: symptoms during exercise are only half the test; the delayed response matters too. [1][2]
That means a session can feel acceptable while you are on the mat and still be too much if the next day brings more limping, sharper pain getting out of bed, or a squeeze test that feels worse than before. If that happens, do not add the next exercise. Drop the range, reduce the band tension, shorten the hold, or return to the previous phase for one or two sessions.
- Green light: discomfort is 0–2/10 during the exercise and is no worse over the next 24–48 hours.
- Yellow light: pain reaches 3/10, your movement changes, or the groin feels more guarded later that day. Make the exercise easier.
- Red light: sharp pain, catching, a sudden increase, inability to walk normally afterward, or symptoms that keep worsening. Stop the home progression and get assessed.
After the first 24–48 hours, gentle exercise is often preferred over complete rest when symptoms allow it, but that does not mean stretching aggressively or testing a sprint. Airedale MSK’s groin strain guidance includes gentle early movement and home-appropriate exercises such as ball squeezes and a chair-supported Copenhagen variation, while still treating pain response as the limiter. [3]
If you are still sorting out the first day or two after the injury, start with the site’s soft-tissue injury recovery at home guide before loading the groin. This article begins once walking and gentle movement are possible without a pain spike.
Why this plan loads the adductors instead of chasing a stretch
Adductor-related pain is a major groin problem in multidirectional sports, and acute injuries often involve the adductor longus. Thorborg and colleagues report that many acute adductor longus injuries resolve in 1–3 weeks when managed properly, but they also note that squeeze and eccentric strength deficits around 20% can persist in athletes with groin pain. [2]
That is why the center of this routine is controlled strengthening, not passive waiting and hard stretching. Thorborg’s clinical concepts paper cites the Hölmich active-training study, where active exercise was far more likely than passive treatment to lead to pain-free return to sport, with an odds ratio of about 12.7. [2]
The practical lesson is not that every sore groin needs a maximal strength program. It is that the adductors need graded exposure: first to comfortable motion, then to low-threat tension, then to harder strength work, and only later to speed. Early aggressive stretching can irritate a freshly strained adductor, so stretching stays gentle and late rather than becoming the first thing you do on the floor. [6]
What you need
- A mat or carpeted floor.
- A soft ball, rolled towel, or firm pillow for squeezing.
- One resistance band.
- A sturdy chair that will not slide.
The original Serner protocol was designed around minimal equipment, and the home versions used by rehab educators keep the same spirit: enough resistance to progress, not a room full of machines. [1][4][5]
The four-phase home progression
Run the strength sessions about three times per week on nonconsecutive days, matching the alternate-day rhythm used in the criteria-based Aspetar protocol. [1] On the days between, you can walk or do unrelated training only if it does not change your gait or worsen the 24–48 hour response. If you need a broader model for spacing home sessions, use the site’s workout load and recovery at home guide.
| Phase | Main job | Home exercises | Move on only if |
|---|---|---|---|
| 1 | Restore pain-free motion and basic confidence | Supported walking, heel slides, bent-knee fallouts, very gentle squeeze check | Daily movement is easier, squeeze check is pain-free or ≤2/10, and symptoms do not worsen over 24–48 hours |
| 2 | Add low-threat adductor tension | Ball or pillow squeeze isometrics, side-lying adduction, light band adduction at a chair | You complete 2–3 sessions without a delayed symptom increase |
| 3 | Build range, strength, and control | Longer-lever squeezes, stronger band adduction, side-lying adduction progressions, supported lateral squat or slide | You tolerate harder adductor work and wider positions without limping or next-day flare |
| 4 | Prepare for high load and controlled speed | Chair-based Copenhagen adduction, faster band work, small lateral step-and-stick drills | High-load work stays ≤2/10 and the next 24–48 hours remain settled |
This is an adaptation, not a guarantee. Serner’s prospective cohort followed 81 male athletes with acute adductor injuries, mostly from soccer and futsal, so the evidence is strongest for that population and should be applied more cautiously to women, older adults, and casual exercisers. [1]
Phase 1: pain-free mobility before strengthening
Phase 1 is not a workout. It is a screen for whether the groin can tolerate calm motion. Stay in this phase until walking around the home is not getting worse and the injured side no longer feels as if it needs guarding with every step.
1. Supported walking
Walk slowly on a flat surface for 2–5 minutes. Keep the steps short enough that you do not limp or swing the leg outward to avoid the groin. If you cannot walk without compensation, this phase is not ready for more exercise yet.
2. Heel slides
Lie on your back with both legs straight. Slide the heel of the injured side toward your hip, then slide it back out. Keep the knee pointing toward the ceiling rather than letting the leg fall wide.
- Do 2 sets of 8–12 slow reps.
- Stop the set if the groin grabs, pinches, or climbs above 2/10.
- Rest 30–60 seconds between sets.
3. Bent-knee fallouts
Lie on your back with knees bent and feet flat. Let the injured-side knee drift only a few inches outward, then bring it back to center. This is a small motion, not a butterfly stretch.
- Do 2 sets of 6–10 reps.
- Use a range that feels easy to reverse.
- Do not hold the outward position.
4. Gentle squeeze check
Place a pillow or soft ball between your knees while lying on your back with knees bent. Squeeze at about 20–30% effort for 3–5 seconds, then fully relax. This is a check, not the full isometric exercise yet.
- Do 5 gentle squeezes.
- If pain is 0–2/10 and does not increase later, Phase 2 may be reasonable at the next session.
- If the squeeze is sharp or clearly worse on the injured side, stay with mobility and consider getting assessed.
Phase 2: isometrics and light band resistance
Phase 2 introduces real adductor loading without asking the injured tissue to move quickly. Ball-squeeze isometrics are a common entry point in home adductor rehab, with 20–60 second holds and 3–5 sets often used as a starting range when symptoms allow. [4][5]
1. Supine ball or pillow squeeze
Lie on your back with knees bent and feet flat. Put the ball or pillow between your knees. Squeeze gradually until you feel the inner thighs working, hold, then relax fully before the next hold.
- Start with 3 sets of 20-second holds.
- Rest 40–60 seconds between holds.
- Use about 30–50% effort at first, not a max squeeze.
- Progress toward 4–5 sets of 30–60-second holds only if the 24–48 hour response stays calm.
If the bent-knee version is easy for several sessions, move the ball lower between the knees or between the ankles to lengthen the lever. Do not make that change on the same day you add band resistance.
2. Side-lying hip adduction
Lie on the injured side. Bend the top leg and place that foot on the floor in front of you. Keep the bottom leg straight, then lift it a few inches from the floor and lower it slowly. Side-lying adduction is a standard home strengthening option for the adductors. [7]
- Do 2–3 sets of 8–12 reps.
- Use a 2-second lift and 2–3-second lower.
- Rest 60 seconds between sets.
- Keep the lift small if a higher lift pulls at the groin.
3. Standing band adduction at a chair
Anchor a light resistance band to a fixed point near ankle height. Stand sideways to the anchor and hold the back of a chair for balance. Attach the band to the ankle of the injured side, then pull the leg inward across the body a short distance. Return slowly.
- Do 2 sets of 8–10 reps at first.
- Use a light band and a range you can control without trunk leaning.
- Move for 2 seconds inward and 3 seconds back.
- If the band makes you limp afterward, the band is too heavy or the range is too large.
Phase 2 ends when you can complete two or three alternate-day sessions with no pain above 2/10, no worse walking afterward, and no next-day increase in squeeze tenderness. That is a better gate than simply deciding that a week has passed.
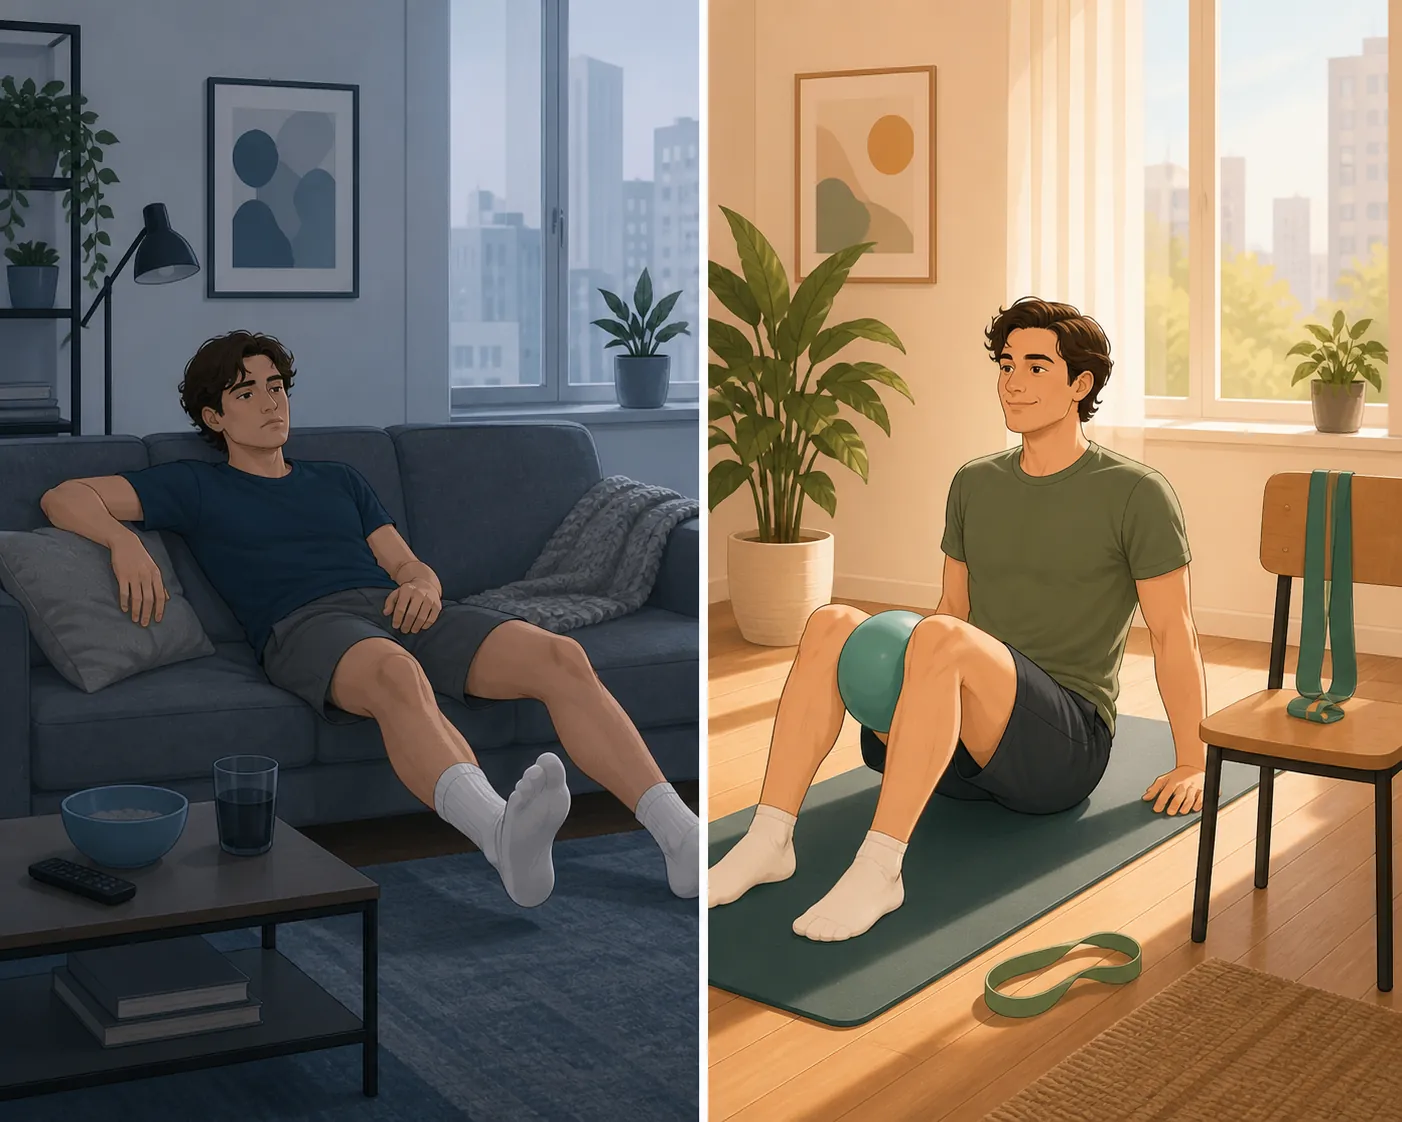
Phase 3: progressive loading
Phase 3 is where many home routines go wrong. The groin may feel much better during normal walking, but multidirectional sports ask for harder adductor work than walking does. This phase widens the range and increases resistance while keeping tempo slow enough that you can still notice a bad signal.
1. Longer-lever squeeze
Lie on your back and place the ball or pillow closer to the ankles instead of between the knees. The farther the squeeze is from the hips, the harder the adductors work, so treat this as a progression even if the movement looks almost the same.
- Do 3–4 sets of 20–45-second holds.
- Rest 60 seconds between holds.
- Keep effort moderate at first, then build only if the next-day squeeze check is unchanged.
2. Stronger band adduction
Use the same chair-supported setup as Phase 2, but increase one variable at a time: slightly more band tension, slightly more range, or one additional set. Do not change all three in the same session.
- Do 3 sets of 10–15 reps.
- Use a 2-second inward pull and 3-second return.
- Rest 60–90 seconds between sets.
- Stop the set if you need to twist the trunk or grip the chair hard to finish the reps.
3. Side-lying adduction progression
Once the basic side-lying lift is easy, add a pause at the top or a slower lower. A small ankle weight is not necessary; tempo is usually enough at home.
- Do 3 sets of 10–15 reps.
- Hold the top for 1–2 seconds.
- Lower for 3–4 seconds.
- Keep the pelvis still; rolling backward usually means the set is done.
4. Supported lateral squat or slide
Stand with feet wider than hip-width and hold a chair or countertop. Shift a small amount of weight toward the injured side by bending that knee, then return to center. Keep the movement shallow at first. If you have a smooth floor and a towel, the non-injured foot can slide out and back, but only if the standing leg remains controlled.
- Do 2–3 sets of 6–10 reps per side.
- Use a 3-second lower or shift, then return smoothly.
- Rest 60–90 seconds between sets.
- Keep range smaller than your confidence. You can earn more width later.
Move to Phase 4 only after Phase 3 feels almost boring: no limp, no next-day increase, controlled lateral motion, and adductor work that feels like effort rather than threat. If you are mainly looking for calendar expectations, use the separate adductor strain recovery timeline rather than using time alone to skip the strength gates.
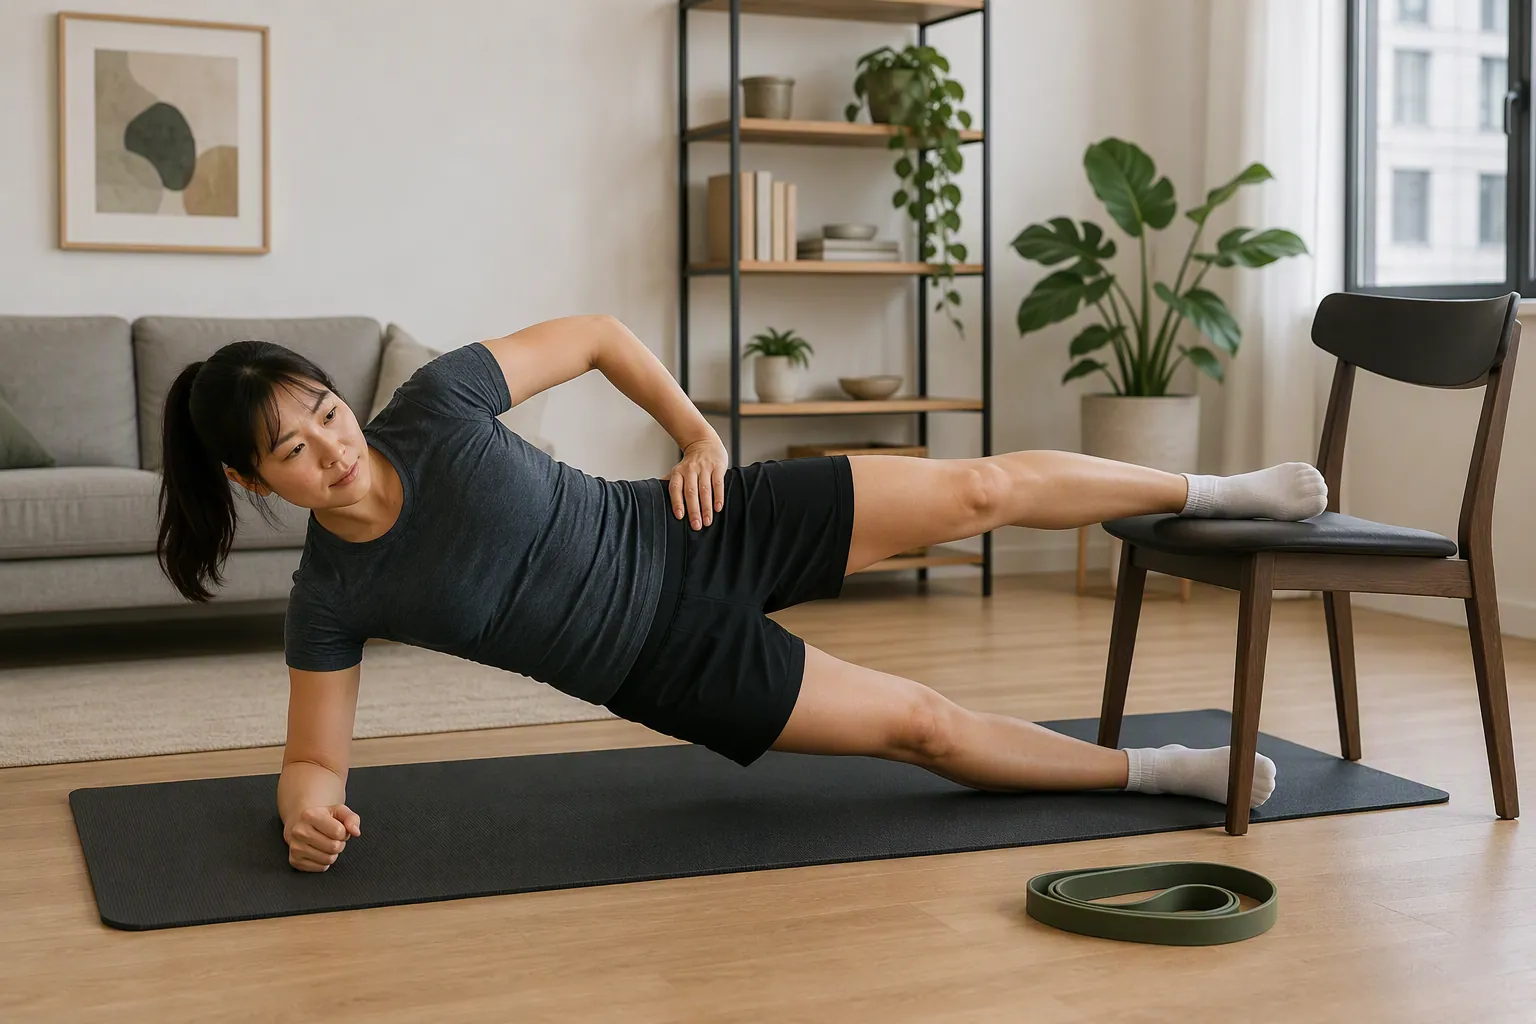
Phase 4: high-load and controlled speed
Phase 4 is not the first day you feel better. It is the phase for someone who can already tolerate isometrics, band work, side-lying adduction, and lateral strength without a delayed flare. The goal is to expose the adductors to higher force and a little more speed before you return to sprinting, cutting, skating, or hard tennis direction changes.
1. Chair-based Copenhagen adduction
Place a sturdy chair beside your mat. Lie on your side with the top leg resting across the chair seat. Start with the bottom knee bent on the floor for assistance. Press the top leg down into the chair and lift the hips slightly, then lower under control. Copenhagen adduction variations are included in adductor rehab progressions because they load the adductors much harder than squeezes or light bands. [1][3][4]
- Entry version: 2–3 sets of 5–8 controlled reps, bottom knee assisting on the floor.
- Hold version: 2–3 sets of 5–10-second holds.
- Rest 90–120 seconds between sets.
- Stop if the chair slides, your trunk twists, or the groin pain jumps above 2/10.
Do not begin with the hardest long-lever Copenhagen, where the lower leg is also lifted and both legs stay straight. Earn that only after the assisted chair version stays calm for multiple sessions and the following day still feels normal.
2. Faster band adduction
Return to the standing band setup. Use a lighter band than your slow strength version. Pull inward with a quicker but still controlled motion, then return slowly. Speed should come from clean intent, not from yanking the hip across the body.
- Do 2–3 sets of 6–10 reps.
- Pull inward in about 1 second.
- Return over 2–3 seconds.
- Rest 60–90 seconds between sets.
3. Small lateral step-and-stick
Stand on a non-slippery floor. Take a small side step, land softly, and hold the landing for 2 seconds. Start with short steps. This is not a jumping drill at first; it is a control drill that asks the groin to help decelerate the body.
- Do 2 sets of 5–8 steps each direction.
- Keep the landing quiet and balanced.
- Increase step distance before you increase speed.
- Skip this drill if space is tight or the floor is slick.
Phase 4 does not clear you for full sport by itself. It tells you whether the adductor is tolerating higher loads at home. Sprinting, cutting, skating, and competitive play add fatigue, reaction, and contact; those deserve a separate return-to-sport progression or a clinician’s eye if symptoms have been stubborn.
How to adjust the plan when symptoms talk back
| What happens | What to change next session |
|---|---|
| Pain is 0–2/10 during exercise and unchanged over 24–48 hours | Repeat once or progress one small variable: hold time, reps, range, or resistance |
| Pain reaches 3/10 but settles quickly | Reduce range or resistance; keep the same phase |
| Pain is sharp, causes guarding, or changes your gait | Stop that exercise and return to the last pain-controlled option |
| The next day is worse | Do not progress; reduce total sets by about one-third to one-half and reassess |
| Two weeks pass with little or no improvement | Stop treating it as a simple home-rehab problem and get assessed |
The easiest mistake is adding load because the exercise itself feels fine. A more useful question is whether the groin still trusts that load tomorrow. If the answer is no, the plan is not failing; it is giving you the brake you need.
What not to do early
- Do not force long groin stretches in the first painful days.
- Do not test the injury with a sprint, hard kick, slide, skate push, or deep lateral lunge.
- Do not use painkillers or warmups to hide a pain response and then load harder.
- Do not advance phases because the calendar says so. Advance because the exercise and the delayed response both pass.
- Do not keep repeating a home plan if walking, coughing, straining, or daily activities are becoming more painful.
If you have used the site’s hamstring strain recovery exercises at home or calf strain recovery exercises at home guides, the pattern should feel familiar: start with tolerable motion, add controlled tension, progress the lever and load, then reintroduce speed. The groin version is less forgiving of bravado because the area is easy to irritate and hard to ignore once it is angry.
Active, criteria-gated groin rehab is a better home default than passive rest-and-stretching for a suspected mild-to-moderate adductor strain. It remains a home default only while the injury respects the rules: pain stays at or below 2/10, the 24–48 hour response stays settled, and any sign that this is not a simple strain gets treated as a reason to stop guessing.
References
- Return to Sport After Criteria-Based Rehabilitation of Acute Adductor Injuries in Male Athletes: A Prospective Cohort Study, 2020.
- Current Clinical Concepts: Exercise and Load Management of Adductor Strains, Adductor Ruptures, and Long-Standing Adductor-Related Groin Pain, 2023.
- Groin strain, Airedale MSK.
- Groin Pain Rehab, E3 Rehab.
- Adductor Strain Rehab, E3 Rehab.
- Prehab Your Groin, ThePrehabGuys.
- Groin Strengthening Exercises, PhysioAdvisor.
What a small equipment investment adds
Cable Machine Alternatives That Save Space and Money
Compare the best cable machine alternatives for home gyms – from resistance bands and pulley systems to suspension trainers and compact digital units – and find the right option for your space and budget.
Small Treadmill Buying Guide: 7 Critical Specs to Check Before You Buy
A cross-category spec primer for apartment and small-space dwellers comparing walking pads, ultra-compact folding treadmills, and full-size folding treadmills. Learn the concrete thresholds for motor HP, deck length, noise, warranty, and subscription lock-in so you can compare apples to apples.
How to Practice Basketball at Home Without Noise Complaints
Learn how to run a full basketball workout in a small apartment without noise complaints. This guide covers no-dribble handling drills, wall form shooting, and silent ball options that let you train without disturbing neighbors.
How often should you repeat this?
See our recovery and rest reference for citation-anchored rest-interval guidance.
Spot something off?
Tell us if a movement, tier assumption, or duration didn't match your experience.