
Can You Really Train for Grand Teton at Home?
A 12–16 week home training plan for Grand Teton summit aspirants with no gym or mountain access — stairwell step-ups, loaded-pack carries, and zone 2 incline cardio — plus Exum's 1,000-feet-per-hour benchmark to test readiness before you book.
- Equipment tier required
- none
- Duration
- 90 min
- Difficulty
- intermediate
- Target area
- legs
- Space footprint needed
- small
- Noise level
- low
“Grand Teton hike training at home” can mean two very different things. If you mean general day hiking in Grand Teton National Park, the park has more than 250 miles of hiking trails, and many of those goals are non-technical hikes where ordinary hiking fitness applies.[1] Here, the target is the harder interpretation: training at home for a Grand Teton summit attempt, usually via the Owen-Spalding route, when you do not live near mountains and cannot casually collect vertical feet on weekends.
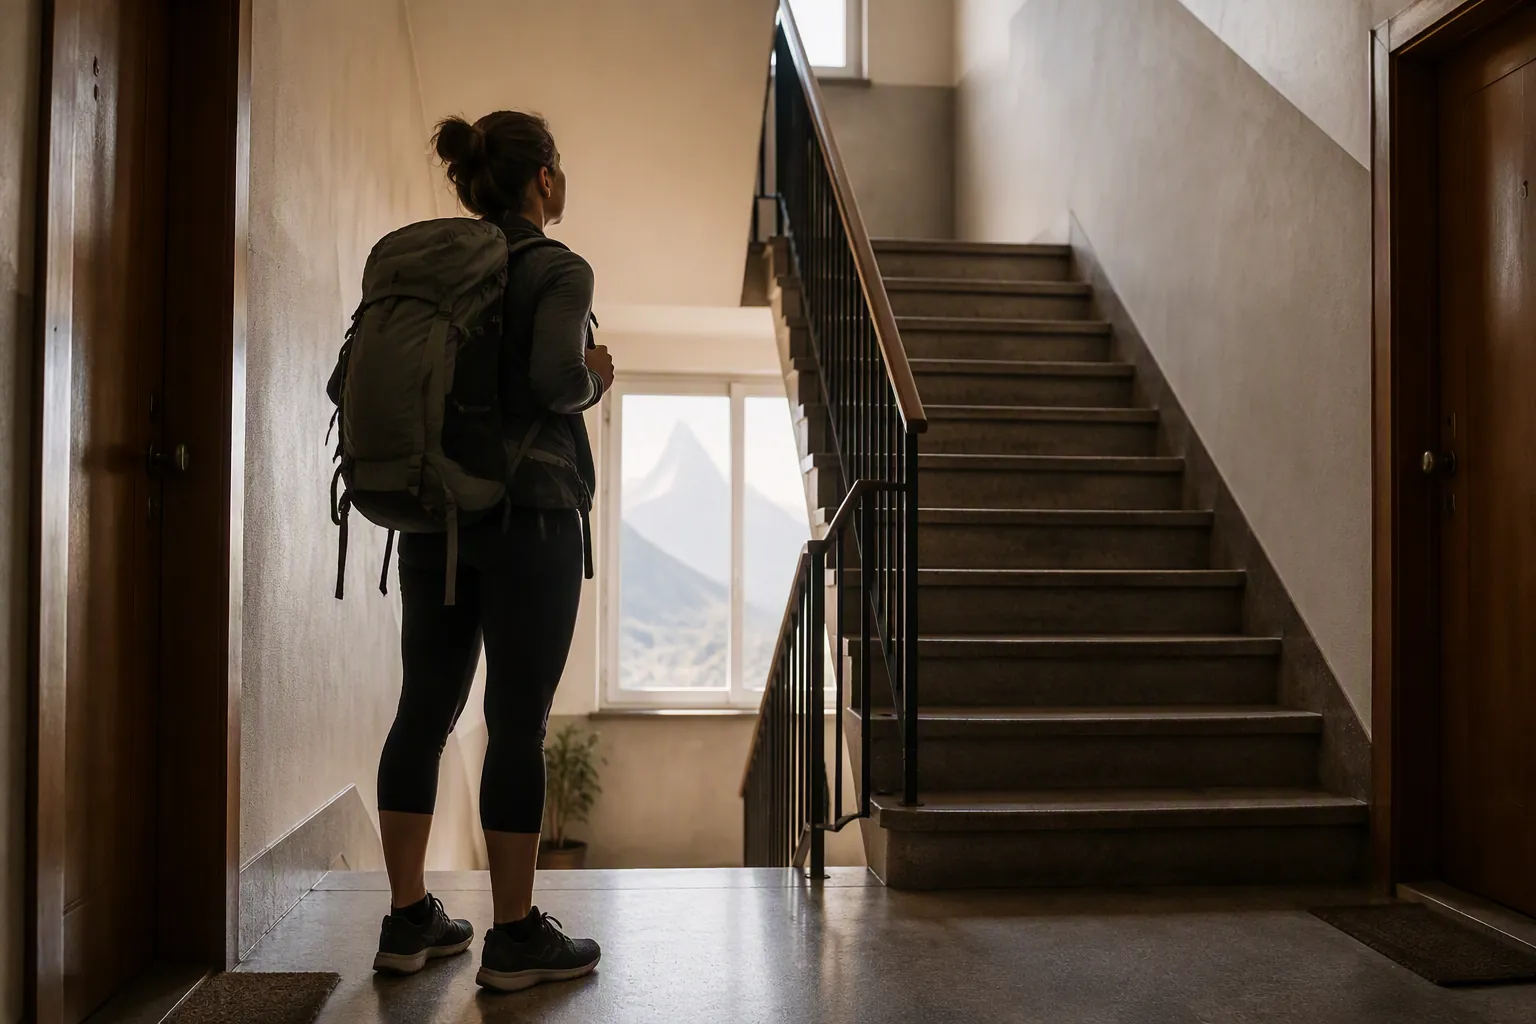
The short answer is yes for the fitness engine, with limits that matter. You can build a credible climbing base from a stairwell, an 8-inch step, a loadable backpack, and some patient zone 2 cardio. You cannot home-train your way into altitude acclimatization, and you cannot replace technical climbing instruction with step-ups.
The numbers are big enough that they should be dealt with early. Exum Mountain Guides describes its two-day Grand Teton program as roughly 7 miles with about 5,000 feet of gain on Day 1, then about 2 miles and 2,000 feet of gain to the summit on Day 2, moving between about 6,800 and 13,770 feet.[2] Jans gives the trailhead-to-summit climb as 7 miles with 7,043 feet of vertical gain and lists the summit at 13,775 feet.[3] The exact route total varies by source and itinerary, but the useful home-training fact is not subtle: this is a steep, loaded, high-output objective, not a long flat walk with a pretty finish.
The most useful booking checkpoint is Exum’s own readiness measure: being able to climb 1,000 vertical feet per hour for at least 2 hours, while carrying the appropriate load.[2] That is not a laboratory-validated guarantee that you will summit. It is a guide-service benchmark, and it is much more useful than asking whether you “feel fit” after a few hard leg circuits.
What home training has to reproduce
A home plan does not need to imitate the mountain scenery. It needs to imitate the work: repeated uphill stepping, enough aerobic time to keep moving for hours, some load on your back, and enough leg and trunk durability that the downhill and the second day do not wreck you.
That is why stair work is not a gimmick here. Exum’s training page explicitly points gym users toward the StairMaster as the primary machine for Grand Teton preparation.[2] For people without a gym, the same idea becomes apartment stairwell repeats, step-ups on a stable platform, loaded carries, and incline walking when a treadmill or compact stepper is available.
Think in vertical feet per hour, not mileage. Mileage is easy to understand, but it flatters flatland training. A five-mile neighborhood walk can be useful aerobic work; it still may not prepare your calves, quads, hips, and breathing for gaining 1,000 feet in an hour with a pack. The plan below keeps ordinary cardio in the mix, but the summit-specific scorecard is vertical gain.
- Loaded stepping: stairwell repeats, step-ups, or a StairMaster-style machine.
- Aerobic base: mostly easy-to-moderate zone 2 work, long enough to make sustained climbing feel normal.
- Strength support: enough leg, hip, calf, and trunk work to tolerate the stepping volume.
- Recovery tracking: because a plan that looks perfect on paper and leaves your knees angry by Week 5 is not a plan.
If you are starting from a more ordinary hiking goal, the shorter 8-week home hiking prep program is the better entry point. This plan is the longer, summit-specific version: more vertical tracking, more loaded stepping, and a specific readiness test before you spend money on guiding, permits, travel, and gear.
The equipment list is deliberately boring
You do not need a full gym to make this work. You need a way to step up, a way to carry load, and a way to do steady cardio without turning your home into a construction site.
- Apartment stairwell or safe indoor stairs.
- Stable 8-inch step, box, or platform. REI’s hiking-training plan uses an 8-inch step as its simple equipment standard.[5]
- Backpack that can be loaded gradually with water bottles, books, rice bags, or other stable weight.
- Optional incline treadmill, StairMaster, compact stepper, or similar cardio machine.
- Optional heart-rate monitor, used as a rough guide rather than a sacred instrument.
If noise or floor space is the limiting factor, choose the quietest repeatable tool. A stairwell used at reasonable hours is often better than jumpy conditioning in a thin-walled apartment. If you are considering buying a machine, use a constraints-first approach before you buy; the constraint-based home cardio system and the 3-year home cardio equipment cost comparison are better places to think through treadmills, steppers, and long-term cost.
A realistic 12–16 week home progression
Six-week hiking plans exist, and they can be useful for a shorter, less demanding objective; PureGym, for example, publishes a 6-week hiking workout plan.[10] REI’s general hiking schedule is 8 weeks.[5] For a Grand Teton summit attempt from a flat home base, 12–16 weeks is the more honest range, especially if you are not already doing regular loaded uphill work. Evoke Endurance’s Exum Grand Teton plan is built as a 16-week progression, with 5 planned workout days but an expectation that many people will complete 3–4, ideally including 2 strength and 2 aerobic days as the longer aerobic sessions build.[4]
That 3–4 session reality matters. A perfect five-day week that collapses whenever work runs late is less useful than a repeatable four-session week that you can do before work, after dinner, or in a stairwell without annoying everyone in the building.
| Phase | Main job | Typical weekly structure | Progression target |
|---|---|---|---|
| Weeks 1–4 | Build the base and make stepping tolerable | 2 aerobic sessions, 1–2 strength sessions, 1 short unloaded or lightly loaded step session | Finish sessions feeling like you could repeat them, not like you won a stairwell duel |
| Weeks 5–8 | Add loaded stepping and longer aerobic time | 2 aerobic sessions, 1–2 strength sessions, 1 loaded step/stair session | Increase vertical feet gradually while keeping knees, calves, and Achilles quiet |
| Weeks 9–12 | Make the work more summit-specific | 1 long vertical session, 1 zone 2 session, 1 strength session, 1 shorter loaded step session | Practice sustained climbing rhythm and pack carriage |
| Weeks 13–15 | Rehearse the readiness test | 1 Exum-style vertical benchmark session, 1–2 easy aerobic sessions, 1 reduced strength session | Approach 1,000 vertical feet per hour for 2+ hours if recovery is good |
| Week 16 or travel week | Back off and arrive fresh | Short easy sessions only, mobility, walking, light stairs | Keep the engine warm without adding soreness |
The table is the full flow, but two parts deserve more attention because they are where home plans usually get silly: counting vertical feet and progressing loaded stepping.
Weeks 1–4: earn the right to add load
Start with repeatable work. If your first week is heroic, the second week often becomes “my knee feels weird” week. Use 30–45 minute zone 2 sessions, basic strength work, and short stepping sessions that let you learn your stairwell or step without racing it.
Zone 2 does not need to be mystical. OAT frames hiking preparation around roughly 180 minutes per week of zone 2, with zone 2 around 60–70% of max heart rate and 60–70% of cardio time spent there.[7] If you do not trust your watch, use the talk test: breathing is elevated, but you can still speak in short sentences. For a no-equipment version, use the beginner zone 2 cardio routine. If you do use a heart-rate tracker, treat it as a trend tool and check the caveats in how accurate wearable fitness trackers are.
Strength training in this plan is support work, not the main event. Squats, split squats, calf raises, step-downs, hinges, and trunk work help you absorb more stepping. They do not replace the specific practice of climbing under load. If you need exercise menus, use the home leg workout routines by equipment tier or the no-equipment leg workouts matched to your goal rather than turning this Grand Teton plan into an exercise encyclopedia.
Weeks 5–8: add pack weight without making every session a test
Adventure Alan summarizes loaded-carriage research by Knapik and colleagues showing that adding one loaded-pack day can double the training effect compared with aerobic plus resistance training alone, and it also emphasizes aerobic fitness as a strong correlate for load carriage.[6] That is good support for loaded training, not permission to throw every heavy object in your apartment into a backpack on Week 5.
Use conservative pack loads first. Adventure Alan’s flatlander guidance points to 10–15% of body weight for pack training.[6] For many people, that is enough to change the session completely. The backpack should sit securely, the load should not bounce, and your stepping should still look like climbing rather than a bent-over negotiation.
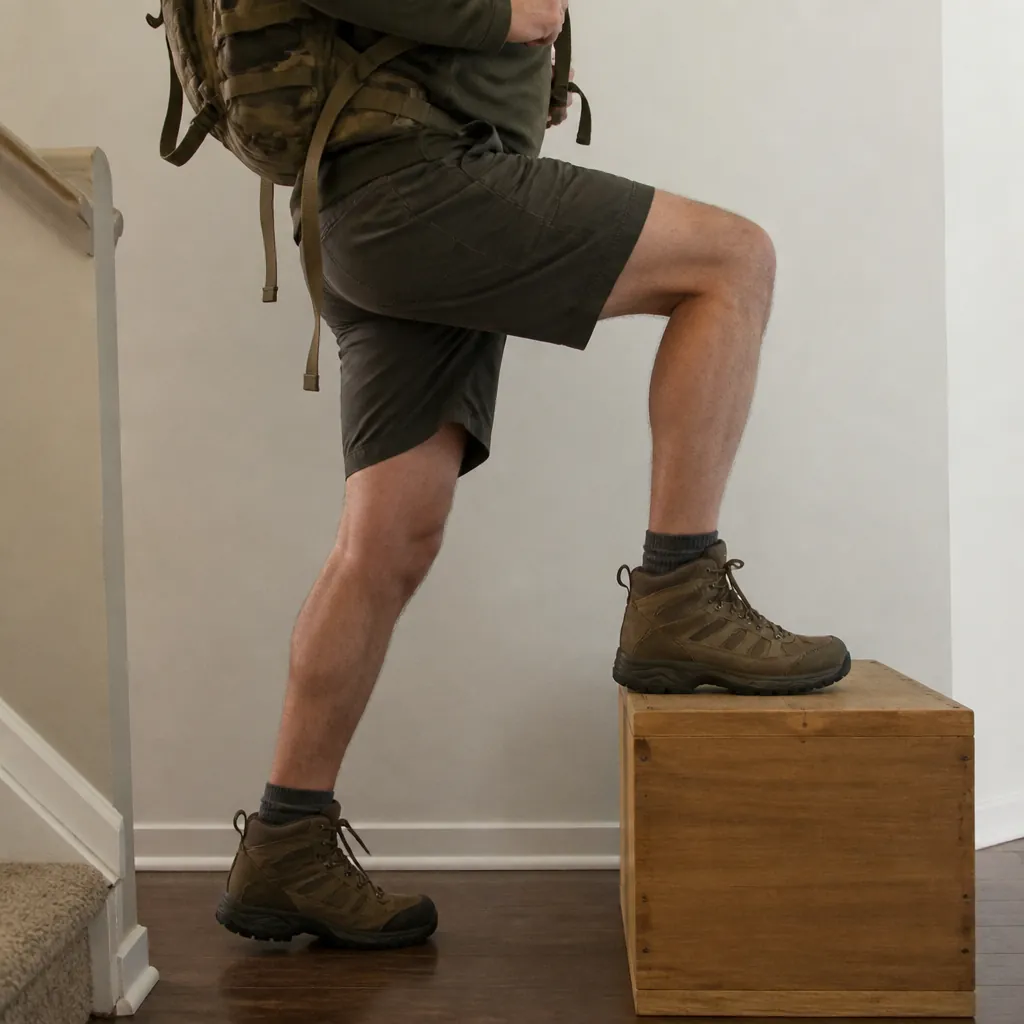
Progress one variable at a time: duration, vertical feet, pack weight, or pace. Do not increase all four because one Tuesday felt easy. The cleanest pattern is to keep the pack light while you extend session time, then add a little load after the time feels routine. If a loaded stair session leaves your knees sore for two days, the next progression is not more grit; it is less load, fewer descents, or a return to step-ups where you control the lowering.
- Good loaded step session: steady breathing, quiet feet, smooth knee tracking, no need to yank on the railing, normal walking the next day.
- Bad loaded step session: racing early, stomping descents, back rounding under the pack, knee or Achilles pain that changes your gait.
- Apartment-friendly rule: climb with intent, descend with control, and avoid turning shared stairs into a cardio class.
Weeks 9–12: build the long vertical session
By this point, one weekly session should begin to resemble the job you are training for: sustained uphill work with a pack. It can be stairwell repeats, step-ups, a StairMaster, an incline treadmill, or a mix. Adventure Alan specifically names stairwells and no-handrail incline treadmill work as flatlander substitutes.[6] The “no-handrail” detail is not about toughness; hanging off rails changes the workload and flatters the numbers.
MTI’s Teton Grand Traverse plan is not a first-timer Grand Teton home plan, but it is useful as an advanced vertical-volume reference: its weekly vertical work progresses from 3,000 to 7,000 feet per week.[8] Here, that is an upper-bound comparison, not a demand that every apartment-based climber must copy. If you are building toward 3,000–5,000 quality vertical feet per week at home and recovering well, you are doing real work.
A Minnesota climber in GearJunkie’s Grand Teton piece prepared from about 970 feet of elevation using home workouts and an incline trainer.[9] That story is encouraging if you live somewhere flat. It is not proof that any incline-trainer plan will work, and it is not proof that altitude will be kind. Treat it as permission to train seriously from an unromantic location, not as a shortcut.
How to count vertical feet at home without fooling yourself
Vertical-foot tracking is useful because Exum’s benchmark is stated in vertical feet per hour.[2] It is also easy to make fake-precise. A StairMaster number depends on calibration. A stairwell calculation depends on actual riser height. A step-up calculation depends on whether you count clean reps and use the full height every time. The goal is a consistent estimate good enough to guide training, not a surveyor’s report.
| Training tool | How to estimate vertical gain | What to watch |
|---|---|---|
| Stairwell | Number of upward steps × riser height in inches ÷ 12 | Count only the uphill work. Descending adds stress, not vertical gain. |
| Step-ups | Reps × step height in inches ÷ 12 | Use the same step height and full foot placement. An 8-inch step gives about 0.67 vertical feet per rep. |
| Incline treadmill | Speed × time × grade can estimate vertical gain | Machine grade and belt behavior vary. Do not treat the display as mountain truth. |
| StairMaster or stepper | Use machine vertical data if available, or estimate from step count and step height | OAT uses conversion estimates, including an 8-inch step assumption for StairMaster-style calculations.[7] |
For step-ups, the math is plain. If your platform is 8 inches high, each complete step-up is about two-thirds of a vertical foot. About 750 clean step-ups equals roughly 500 vertical feet; about 1,500 equals roughly 1,000 vertical feet. Those are not magical workouts. They are workload estimates, and they become useful when you track how long they take, how much load you carried, and how your legs feel the next day.
For stairwells, measure once and then stop obsessing. If one flight has 16 steps and each riser is 7 inches, each uphill flight is about 9.3 vertical feet. Ten uphill flights are about 93 feet. One hundred uphill flights are about 930 feet. If you take the elevator down, walk down slowly, or use a different descent strategy, keep your counting consistent and note the knee cost. Downhill stress is real, even when your vertical-gain log does not reward it.
For incline treadmills, the clean formula is distance traveled × grade. A hypothetical 3 mph walk at 10% grade for 1 hour produces about 1,584 feet of vertical gain on paper. That can be useful for planning, but it does not load your calves, hips, feet, and balance the same way as stepping, and it usually does not include downhill pounding. Use it for aerobic base and some climbing specificity; do not let it be your only summit rehearsal.
If you want a separate way to think through stairs-to-elevation conversion for hiking legs, the home workouts for closed hiking trails piece covers the broader frame. For Grand Teton, keep returning to the same question: can you sustain the vertical rate with a pack, repeatedly, while recovering well?
A weekly template that survives real life
Use this as the default week once you are past the first few base-building weeks. If you only complete three sessions, keep the long vertical session, one zone 2 session, and one strength session. If you complete four, add the second strength or second aerobic day. Five is nice; three or four done consistently is better than five planned and resented.
| Session | What you do | Home version | Main limit |
|---|---|---|---|
| Long vertical session | 60–150 minutes of uphill-focused work, progressing over the plan | Stairwell repeats, step-ups, StairMaster, incline treadmill, or mixed stations | Stop increasing if joints stay sore or form degrades |
| Zone 2 aerobic session | 30–75 minutes easy-to-moderate steady work | Incline walk, brisk walk, low-impact cardio, quiet indoor cardio circuit | Keep it truly aerobic, not a secret interval workout |
| Strength session | Legs, hips, calves, trunk, and controlled step-downs | Split squats, hinges, calf raises, carries, planks, slow step-downs | Support the climb; do not chase soreness |
| Short loaded step session | 20–45 minutes of pack practice or vertical intervals | Step-ups or stairs with light-to-moderate pack | Use this to practice rhythm, not to prove readiness every week |
| Optional easy recovery | Walking, mobility, gentle cycling, or easy stairs | Whatever keeps you moving without adding fatigue | If you need the rest day, take the rest day |
The long vertical session should grow slowly. A useful early target might be 30–45 minutes of easy step-ups or stairs. Later, that may become 90 minutes of mixed stairwell and step-up work with a light pack. Near the readiness phase, it becomes a controlled attempt to hold a measurable vertical rate. The difference is not just duration; it is whether you can keep moving without turning the session into a form-collapse contest.
The strength session should make you more durable for the vertical work. It should not be so crushing that your next stair session becomes a limp. Keep eccentric work, calf work, and single-leg work in the plan, but dose them like support beams. A few months of boring durability beats one spectacular workout that costs you a week.
Recovery is not a personality trait; it is data. If your resting heart rate, sleep, mood, or legs are trending the wrong direction, back off before the plan starts negotiating through pain. The heart-rate tracker recovery guide can help you use trends without pretending your watch is a coach.
The readiness test before you book
Exum’s “good measure” is the cleanest pre-booking fitness test available in these materials: climb 1,000 vertical feet per hour for 2 or more hours.[2] For a home-based climber, the best version is not the one with the prettiest machine display. It is the one that most honestly combines vertical gain, load carriage, and sustained movement.
- Choose the test tool you can measure consistently: stairwell, step-ups, StairMaster, incline treadmill, or a mix with clear vertical estimates.
- Use the pack load you have built toward in training, not a surprise heavy pack.
- Warm up for 10–15 minutes with easy movement.
- Climb for 2 hours, aiming for about 2,000 total vertical feet.
- Track vertical gain, heart-rate effort or talk-test effort, pack load, pain, and how you feel the next day.
Passing looks like controlled work, not a desperate finish. You should be able to keep the rate near 1,000 feet per hour, maintain decent posture, eat and drink as needed, avoid leaning heavily on rails, and recover normally over the next day or two. If the only way you hit the number is by abusing the handrail, stumbling through step-ups, or limping afterward, you have useful information: extend the plan.
Use the result as a booking signal, not a summit guarantee. Fitness is one responsibility. Weather, route conditions, altitude response, technical movement, pacing, and guide judgment are separate responsibilities.
| Test result | What it means | Booking decision |
|---|---|---|
| You hold about 1,000 ft/hour for 2+ hours with pack load and recover well | Your home-built climbing fitness is credible enough to continue planning | Reasonable to book from a fitness standpoint, while still planning altitude and skills |
| You can hit the rate for 60–90 minutes but fade badly | The engine is developing, but the duration is not there yet | Add 4–6 weeks and build the long vertical session |
| You hit the number only on an incline treadmill with no pack or no stepping | Aerobic fitness may be good, but transfer is uncertain | Add loaded stair or step-up work before treating the test as passed |
| Knee, Achilles, back, or foot pain changes your gait | The limiting factor is durability, not motivation | Back off, fix the loading progression, and consider qualified medical or coaching input |
| You cannot get close to the rate after consistent training | The current timeline is too aggressive | Extend the plan rather than hoping the mountain will be easier |
The three problems you must keep separate
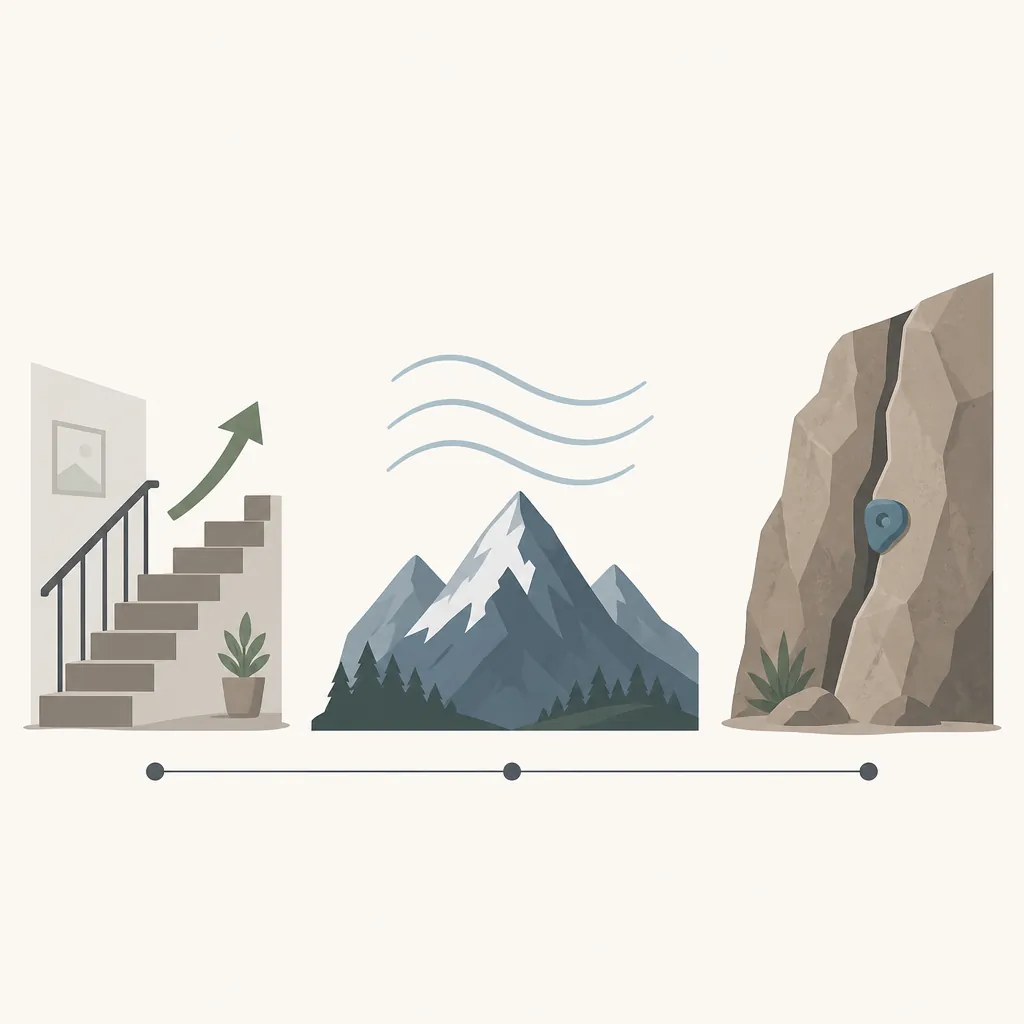
Grand Teton summit preparation gets muddy when fitness, altitude, and climbing skill are treated as one heroic blob. They are separate problems.
- Fitness: home training can address this well if you reproduce loaded stepping, build aerobic time, and test vertical feet per hour.
- Altitude: home training cannot reliably solve this. Adventure Alan recommends allowing 4–5 or more days for acclimatization and notes that aerobic fitness has no proven correlation with altitude-sickness risk.[6]
- Technical climbing: the Owen-Spalding route is commonly discussed as 5.4 climbing terrain, and that requires qualified instruction, guide support, or prior climbing competence, not just stronger legs.[3]
That separation is not pessimism. It is how the plan stays honest. A stairwell can make you much better at climbing. It cannot teach rope systems, route-finding judgment, exposure management, or how your body will respond above 13,000 feet.
So the home-training answer is conditional and useful: if you can sustain Exum’s 1,000 vertical feet per hour measure for 2 or more hours in a loaded-stepping context, tolerate the weekly workload, and recover well, you have a credible fitness signal before booking. If you cannot, the honest answer is to extend the plan. Home training can build the engine; altitude needs time; 5.4 mountain movement needs qualified instruction.
References
- Hike, National Park Service
- Grand Teton Training, Exum Mountain Guides
- How to Climb the Grand Teton Unguided, blog.jans.com
- Exum Grand Teton Training Plan, Evoke Endurance
- How to Train for Hiking, REI Expert Advice
- How to Train for Hiking & Backpacking Endurance, Adventure Alan
- How to Train for Hiking Without Mountains, Outdoor Adventure Training, February 8, 2025
- Plan Focus: Teton Grand Traverse Training Plan, MTI
- Climb the Tetons, GearJunkie
- The Best 6-Week Hiking Workout Plan, PureGym
What a small equipment investment adds
We don't have a build tagged to this exact tier yet. Browse all builds.
How often should you repeat this?
See our recovery and rest reference for citation-anchored rest-interval guidance.
Spot something off?
Tell us if a movement, tier assumption, or duration didn't match your experience.