
Low-Impact Workout for Knee Pain You Can Do at Home
A complete, tiered low-impact workout routine for knee pain that you can follow at home with no equipment — warm-up, beginner through advanced circuits, cool-down stretches, and clear progression criteria included.
- Duration
- 30 min
This low impact workout for knee pain at home is for adults with mild to moderate, managed knee discomfort who have been cleared to exercise. It is not for a new injury, unexplained symptoms, or a knee that is locking, giving way, sharply painful, newly swollen, or getting worse. If any of those are happening, stop here and check with a healthcare provider before using a workout routine.
Before choosing beginner, intermediate, or advanced, do two quick checks. They are not a diagnosis. They are just a way to keep today’s session matched to the knee you actually brought into the room.
Choose Your Level Before You Start
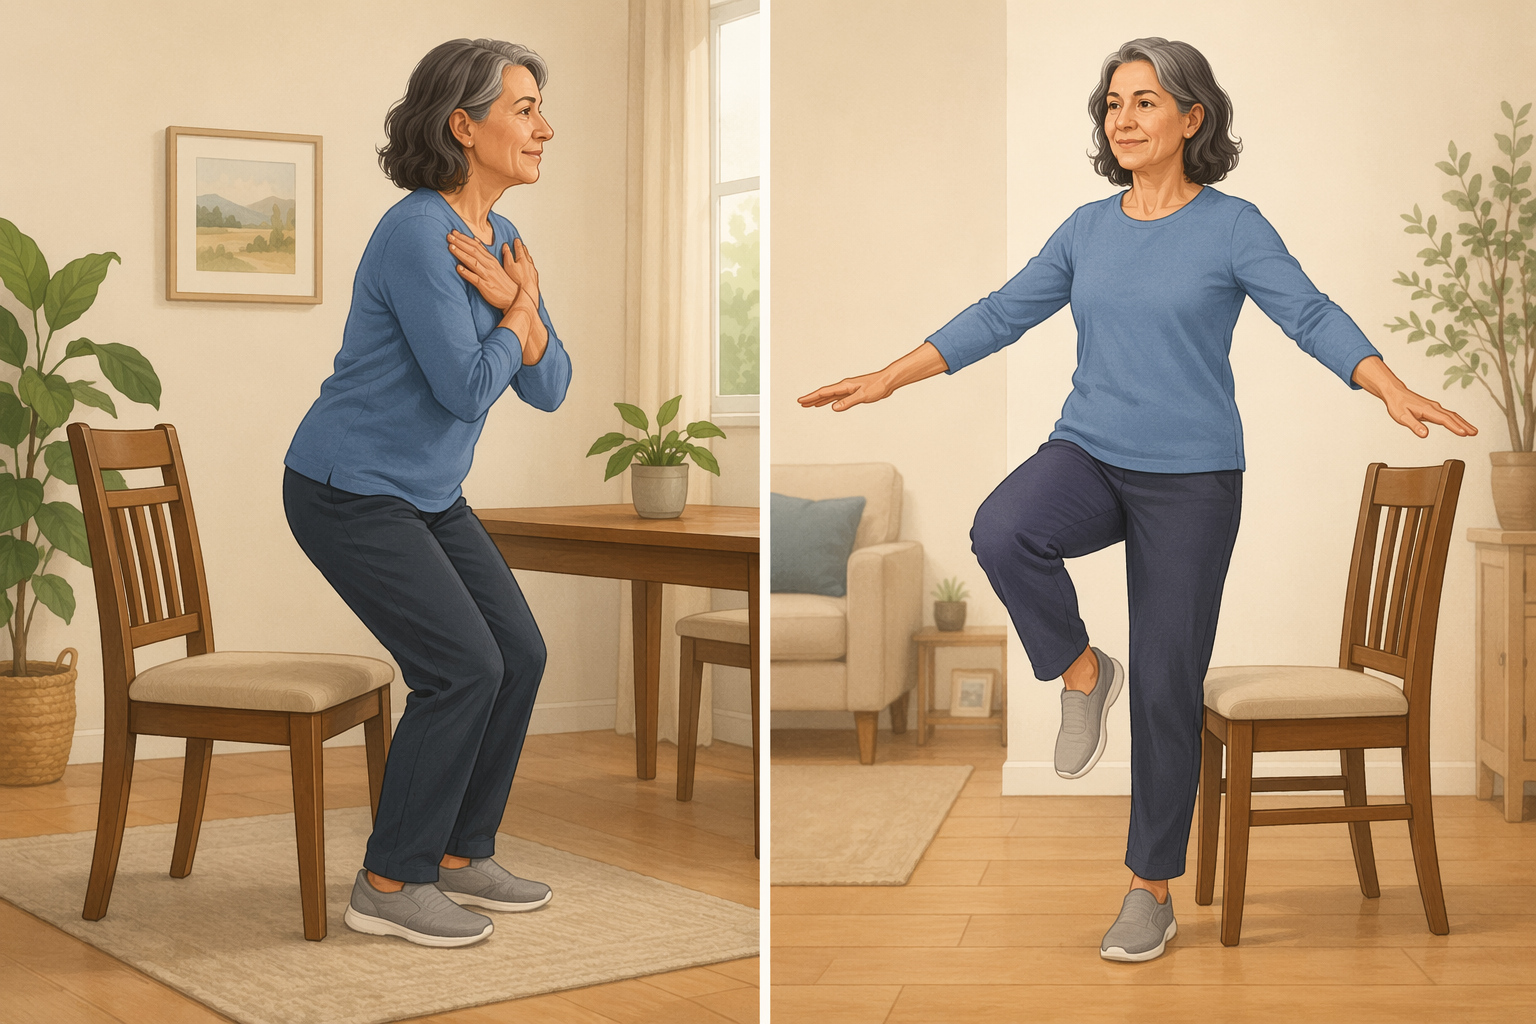
First, do a sit-to-stand check: sit on a sturdy chair, cross your arms or keep your hands off the chair, stand up fully, then sit back down with control. See whether you can complete 10 repetitions without using your hands, losing control, or increasing knee pain. The sit-to-stand is commonly used as a simple way to gauge lower-body function and progression readiness in knee-strengthening plans.[1]
Second, do a single-leg balance check. Stand near a wall, counter, or chair so you can catch yourself. Lift one foot and see whether you can balance for 10 seconds on each side without gripping support or feeling unstable. Use the less confident side to choose your level.
| If today’s checks feel like this | Start here |
|---|---|
| You cannot complete 10 sit-to-stands without hands, or balance feels shaky on either leg | Beginner |
| You can complete 10 sit-to-stands and balance 10 seconds per side, but squats or stairs still feel uncertain | Intermediate |
| You can complete both checks smoothly and have been exercising without symptom flare-ups | Advanced |
During the workout, use a 0–10 pain scale. NHS inform describes 0–3 as minimal pain, 4–5 as acceptable, and 6–10 as excessive for knee exercises.[2] For this routine, mild discomfort that stays in the 0–3 range is usually a sign to slow down and monitor. A 4–5 means reduce the range of motion, use the easier version, or stop the exercise for the day. A 6 or higher, sharp pain, swelling, locking, giving way, or symptoms that worsen after the session means stop and seek medical guidance.
The Whole Session at a Glance
| Part | What you do | Time |
|---|---|---|
| Warm-up | Marching, ankle circles, hip hinges, gentle knee bends | 5 minutes |
| Main circuit | Beginner, intermediate, or advanced tier | 15–25 minutes |
| Cool-down | Easy walking in place, calf stretch, hamstring stretch, quad or hip-flexor stretch | 5 minutes |
| Frequency | Repeat 2–3 times per week, with at least one day between strength sessions | Weekly |
| Progression | Change only one variable per week: reps, sets, range of motion, or exercise level | Weekly |
A short warm-up and cool-down are included because physical therapy guidance from HSS recommends warming up before knee-strengthening work and cooling down afterward.[3] AAOS also frames knee conditioning around gradually improving strength and flexibility rather than jumping straight into harder work.[4] That does not mean five minutes magically fixes knee pain. It means the first few minutes should make the session less abrupt.
Five-Minute Warm-Up
Move at an easy pace. You are looking for warmth and smoother motion, not a cardio test.
- March in place for 60 seconds. Keep steps small if the knee feels stiff.
- Do ankle circles for 30 seconds each direction, then switch feet.
- Do slow hip hinges for 60 seconds: soften the knees, send the hips back, then stand tall.
- Do gentle knee bends for 60 seconds. Bend only as far as you can keep the pain scale low.
- Finish with 60 seconds of easy marching or side-to-side weight shifts.
If the warm-up increases pain instead of easing stiffness, do not push into the circuit. Try a smaller range of motion once. If symptoms still climb, end the session.
Beginner Circuit: When You Want the Safest Place to Start
Use this tier if the sit-to-stand check was hard, balance felt uncertain, or you have not trained your legs in a while. Do 2 rounds. Rest 30–60 seconds between exercises. The full circuit should take about 15 minutes.
| Exercise | How much | Knee-friendly cue |
|---|---|---|
| Quad set | 2 x 10 per side | Tighten the thigh with the leg straight; hold 3 seconds, then relax. |
| Glute bridge | 2 x 10 | Push through the heels and lift the hips without arching the low back. |
| Seated knee extension | 2 x 10 per side | Straighten the knee slowly, pause, then lower with control. |
| Standing calf raise | 2 x 10 | Hold a wall or chair; rise and lower without bouncing. |
| March in place | 2 x 10 per side | Lift each foot only as high as feels steady. |
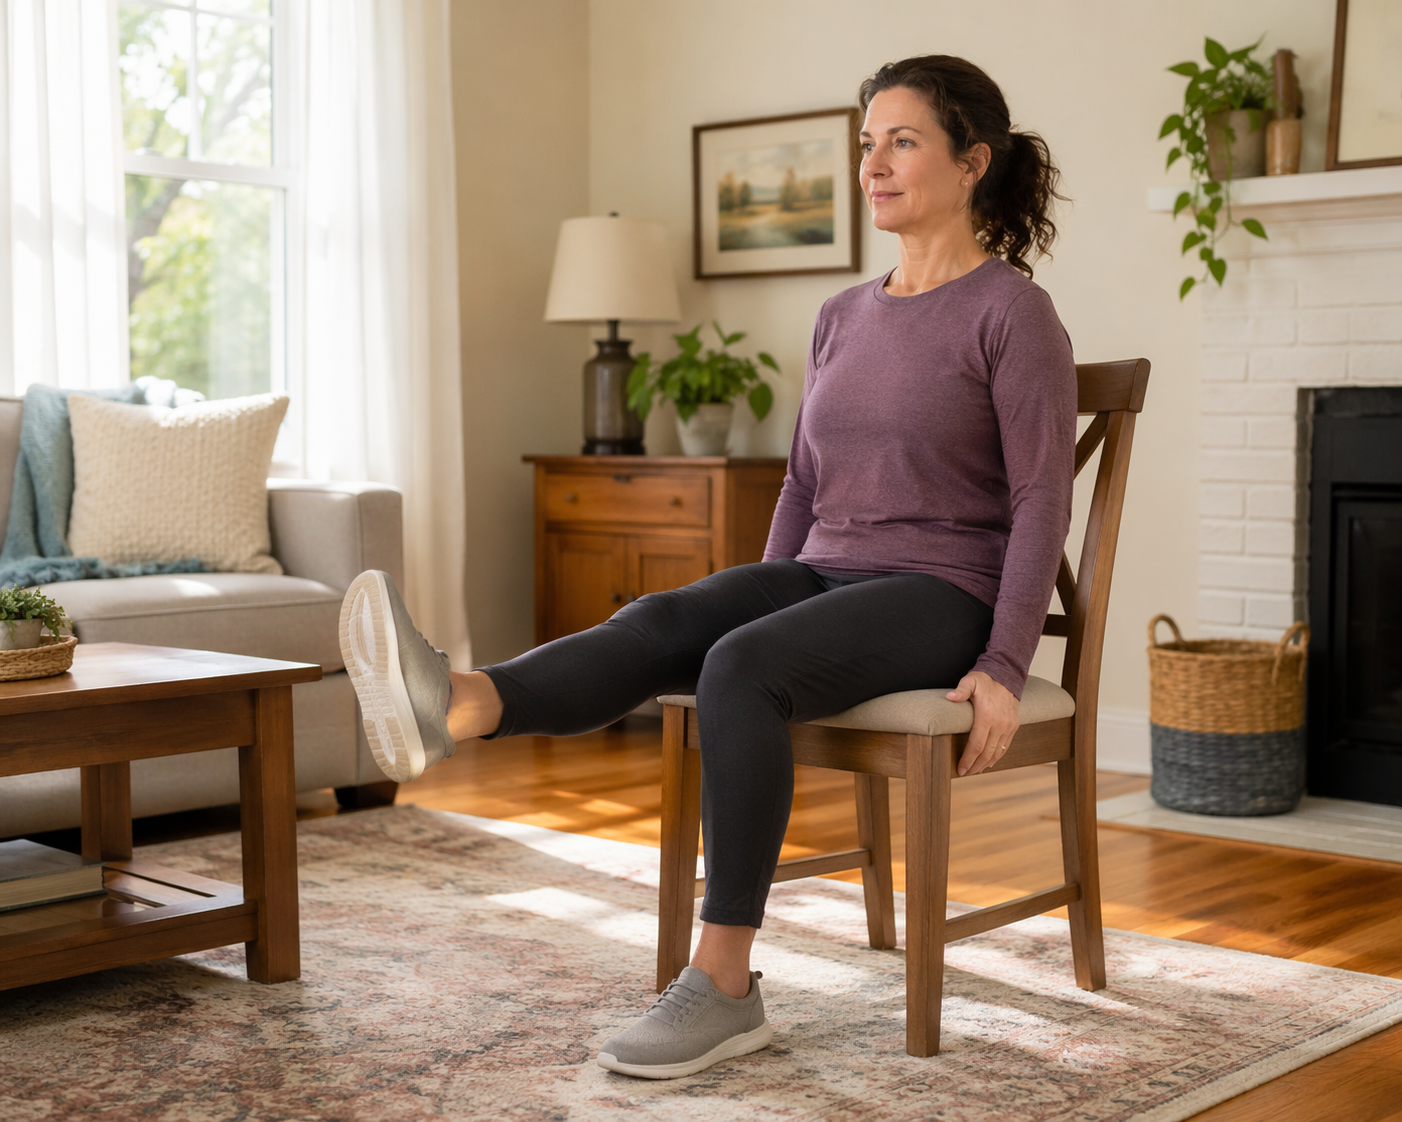
For quad sets, sit or lie with one leg straight. Tighten the front of the thigh as if you are gently pressing the back of the knee toward the floor. Nothing dramatic has to happen visually. The point is to wake up the quadriceps without asking the knee to bend under load.
For the glute bridge, lie on your back with knees bent and feet on the floor. If the knees complain, move the feet a little farther from the hips or make the lift smaller. If the hamstrings cramp, reset, press through the whole foot, and think about lifting from the hips rather than yanking with the legs.
For seated knee extensions, use the chair as your built-in control station. Straighten one leg until the knee is as extended as comfortable, pause briefly, then lower slowly. Stop short of full extension if the last few degrees cause a pinch or sharp feeling.
For calf raises and marching, the support surface is not cheating. It is how you keep the session about strength instead of a surprise balance test. Light fingertips on a wall or chair are fine.
Intermediate Circuit: More Standing Work, Still Controlled
Use this tier if you passed both starting checks but still want a conservative workout. Do 3 rounds. Rest 30–60 seconds between exercises. Expect about 20 minutes.
| Exercise | How much | Knee-friendly cue |
|---|---|---|
| Mini squat | 3 x 10–12 | Sit the hips back slightly and keep the bend shallow. |
| Standing hamstring curl | 3 x 10–12 per side | Bend the knee behind you without tipping the torso forward. |
| Low step-up | 3 x 10 per side | Use the lowest stable step available; drive through the whole foot. |
| Side-lying leg raise | 3 x 10–12 per side | Keep the top leg long and lift without rolling the hips back. |
| March with arm drive | 3 x 20 total steps | Stay tall and keep the foot strike quiet. |
The mini squat should feel like practicing the first part of sitting down, not proving how low you can go. A smaller squat that stays calm in the knee is better than a deeper squat you have to negotiate with on every repetition.
For step-ups, choose a stair or low platform that does not force a big knee bend. Step up, stand tall, then step down slowly. If going down is the uncomfortable part, hold a rail or counter and make the descent smaller and slower. If that still raises symptoms, replace step-ups with the beginner march for today.
AAOS knee-conditioning guidance emphasizes strengthening the muscle groups around the knee, including the quadriceps, hamstrings, abductors, adductors, and glutes.[4] This is why the circuit does not use only knee-bending moves. The hip and calf work help share the job instead of asking the sore joint to be the whole story.
Advanced Circuit: Harder, But Not Reckless
Use this tier only if the intermediate circuit feels controlled and your knee feels no worse later that day or the next morning. Do 3 rounds. Rest 45–75 seconds between exercises. Expect about 25 minutes.
| Exercise | How much | Knee-friendly cue |
|---|---|---|
| Bodyweight squat | 3 x 8–12 | Use a comfortable depth; keep the descent slow. |
| Reverse lunge | 3 x 8–10 per side | Step backward, keep the front foot planted, and use a short range if needed. |
| Step-up with knee drive | 3 x 8–10 per side | Stand tall before lifting the opposite knee; do not rush the top. |
| Glute bridge march | 3 x 8–12 total marches | Keep hips level as one foot lifts. |
| Controlled march finisher | 3 x 30 seconds | Move briskly without pounding or twisting. |
Reverse lunges are included because many people tolerate stepping backward better than stepping forward, but they are still a bigger ask than a squat. Make the step short at first. If the front knee feels pressured, reduce depth or return to mini squats.
For the bridge march, the work should show up in the hips and trunk, not as a tug in the knee. Lift one foot just an inch or two, set it down, then switch. If the hips drop side to side, use regular glute bridges and build more control before trying the march again.
Cool Down for Five Minutes
After the circuit, spend a few minutes bringing the knee out of workout mode. HSS includes stretching after strengthening work in its knee exercise guidance, and AAOS includes flexibility alongside strengthening in its knee conditioning program.[3][4]
- Walk slowly in place for 60 seconds.
- Calf stretch: place hands on a wall, step one foot back, keep the heel down, and hold 20–30 seconds per side.
- Hamstring stretch: sit near the front of a chair, extend one leg, hinge slightly forward, and hold 20–30 seconds per side.
- Quad or hip-flexor stretch: stand near support and use a gentle standing quad stretch if comfortable, or use a small split stance and tuck the pelvis slightly to stretch the front of the hip.
- Finish with 3–5 slow breaths while standing evenly on both feet.
Keep stretches mild. A cool-down is not the time to force range of motion from a joint that already told you it is sensitive.
How Often to Do This Workout
Do this routine 2–3 times per week, with at least one rest day between sessions. HSS and AAOS knee-strengthening guidance both support regular strengthening rather than daily hard effort, and NHS inform also uses repeated weekly practice for knee exercises.[2][3][4]
On non-strength days, easy walking, gentle mobility, or another joint-friendly activity can be enough. If you want cardio that is easier to scale than walking on hills or hard pavement, an exercise bike can be a useful next option; this beginner exercise bike guide is a better place to start than guessing at resistance settings.
Progress Without Jumping Too Fast
Stay at your current tier until the session feels controlled during the workout and your knee feels no worse later that day or the next morning. If soreness lingers, swelling appears, stairs feel worse, or your pain score rises compared with normal, repeat the easier version next time or take an extra rest day.
Change only one variable per week. That might mean adding 1–2 reps per set, adding one round, using a slightly deeper range of motion, or moving one exercise to the next tier. Do not add reps, depth, speed, and a harder variation all at once. If something flares, you will not know which change caused the problem.
| If this happens | What to do next session |
|---|---|
| Pain stays 0–3 during exercise and feels normal later | Repeat once more, then consider a small progression. |
| Pain reaches 4–5 but settles quickly when you reduce the range | Stay at the same tier and use the smaller range. |
| Pain reaches 6–10, feels sharp, or changes your walking | Stop the exercise and seek healthcare guidance if symptoms persist. |
| The workout feels easy but balance is still shaky | Progress reps or control first, not exercise difficulty. |
| You feel stronger for two weeks with no symptom increase | Try the next tier for one round, then reassess. |
A useful progression test is boring in the best way: you finish, you can walk normally, and tomorrow’s knee is not asking why you did that. That is the signal to build.
When to Repeat, Regress, or Move On
Repeat the same tier if you are still thinking hard about form, balance, or pain monitoring. Regress if you are changing your gait, bracing through every rep, or needing more support than usual. Move up only when the current level feels almost too manageable and your knee response stays calm after the session.
If you master the advanced tier and want more leg training, move to a broader progression like the progressive at-home leg workout system. If your knees feel stable and you want a full-body plan rather than a knee-focused routine, the 12-week at-home bodyweight workout plan is the cleaner next step.
If you want to add equipment later for low-impact cardio, compare options by joint load, footprint, and how you will actually use them. This low-impact exercise equipment comparison can help you decide whether a bike, elliptical, or another option fits your space and tolerance.
References
- Knee Strengthening Exercises: A Simple 4-Week Guide. BodySpec.
- Exercises for knee muscle and joint problems. NHS inform.
- Stretches and Exercises to Strengthen Your Knees. HSS.
- Knee Conditioning Program. AAOS OrthoInfo.
What a small equipment investment adds
We don't have a build tagged to this exact tier yet. Browse all builds.
How often should you repeat this?
How Whoop and Oura Ring track recovery for home workouts
For home exercisers deciding between WHOOP and Oura Ring, the better sleep and recovery tracker depends on training style: WHOOP's strength-aware tracking fits dumbbell and grip-heavy sessions, while Oura's sleep-first scoring suits yoga and indoor cycling. The verdict hinges on how each builds its daily recovery score, their home-workout tracking gaps, and who pays for hardware versus subscription.
Spot something off?
Tell us if a movement, tier assumption, or duration didn't match your experience.