
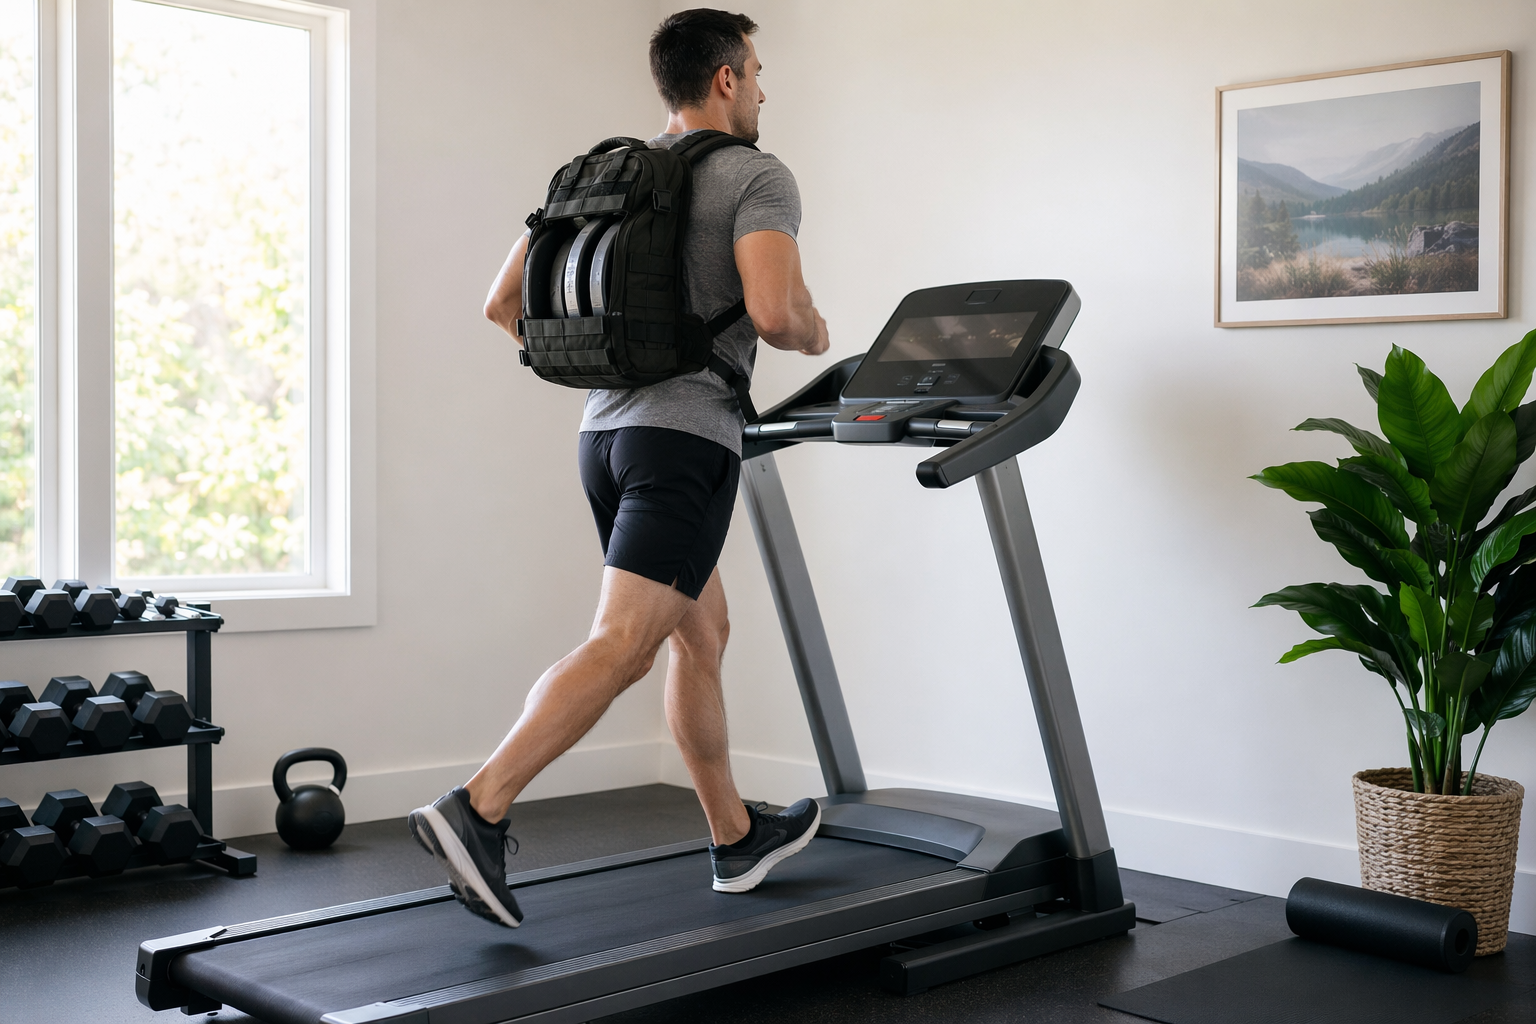
A rucking workout at home on a treadmill starts before the belt moves. Put 10–20 pounds in a pack, cinch it so the load rides high between your shoulder blades, clip the safety key to your clothing, set the treadmill around 2.5–3.0 mph, use a low incline, and walk for 15–20 minutes. Those beginner numbers line up with common starting guidance: about 10% of body weight, a 17–20 minute mile pace, and a short first session rather than a heroic one. [1][2]
That setup is what makes treadmill rucking useful. It is not just walking indoors with a backpack. The treadmill lets you separate the variables that outdoor routes mix together: pack weight, belt speed, incline, and time. If your knees, calves, or low back complain, you can tell which dial you turned. If a session feels too easy, you can make the next one slightly harder without guessing whether the hill, the pace, or the extra weight did the work.
Your First Treadmill Ruck Settings
For the first session, use settings boring enough that you can finish with clean posture. The point is to establish a repeatable baseline, not to prove that a treadmill can punish you.
| Variable | Beginner starting point | What it changes |
|---|---|---|
| Pack weight | 10–20 lb, or about 10% of body weight | Increases load through feet, hips, trunk, and shoulders |
| Speed | 2.5–3.0 mph | Raises breathing demand and stride turnover |
| Incline | 1–4% | Adds uphill work without forcing a run |
| Duration | 15–20 minutes for the first session | Builds tissue tolerance and aerobic volume |
| Frequency | 2 sessions per week to start | Gives your feet, calves, knees, hips, and back time to adapt |
Cleveland Clinic’s beginner guidance includes starting with roughly 10% of body weight and increasing weight, distance, or frequency by no more than about 10% per week. Healthline gives similar beginner loading guidance, and GORUCK’s training plans commonly use gradual weight increases rather than sudden jumps. [1][2][3]
If you are smaller, detrained, returning from injury, or new to treadmill walking, start below 10% of body weight. If you already walk briskly for 45–60 minutes and lift regularly, 15–20 pounds may still be enough for the first week because the moving belt changes the consequence of a stumble. The treadmill does not care that the load felt manageable in your hallway.
Set Up the Room Like the Workout Depends on It
Outdoor rucking has curbs, uneven ground, and weather. Treadmill rucking has a motorized belt, a wall behind you, and a pack that shifts your center of mass. That trade is still worth making, but only if the room is set up for a loaded walk rather than ordinary cardio.
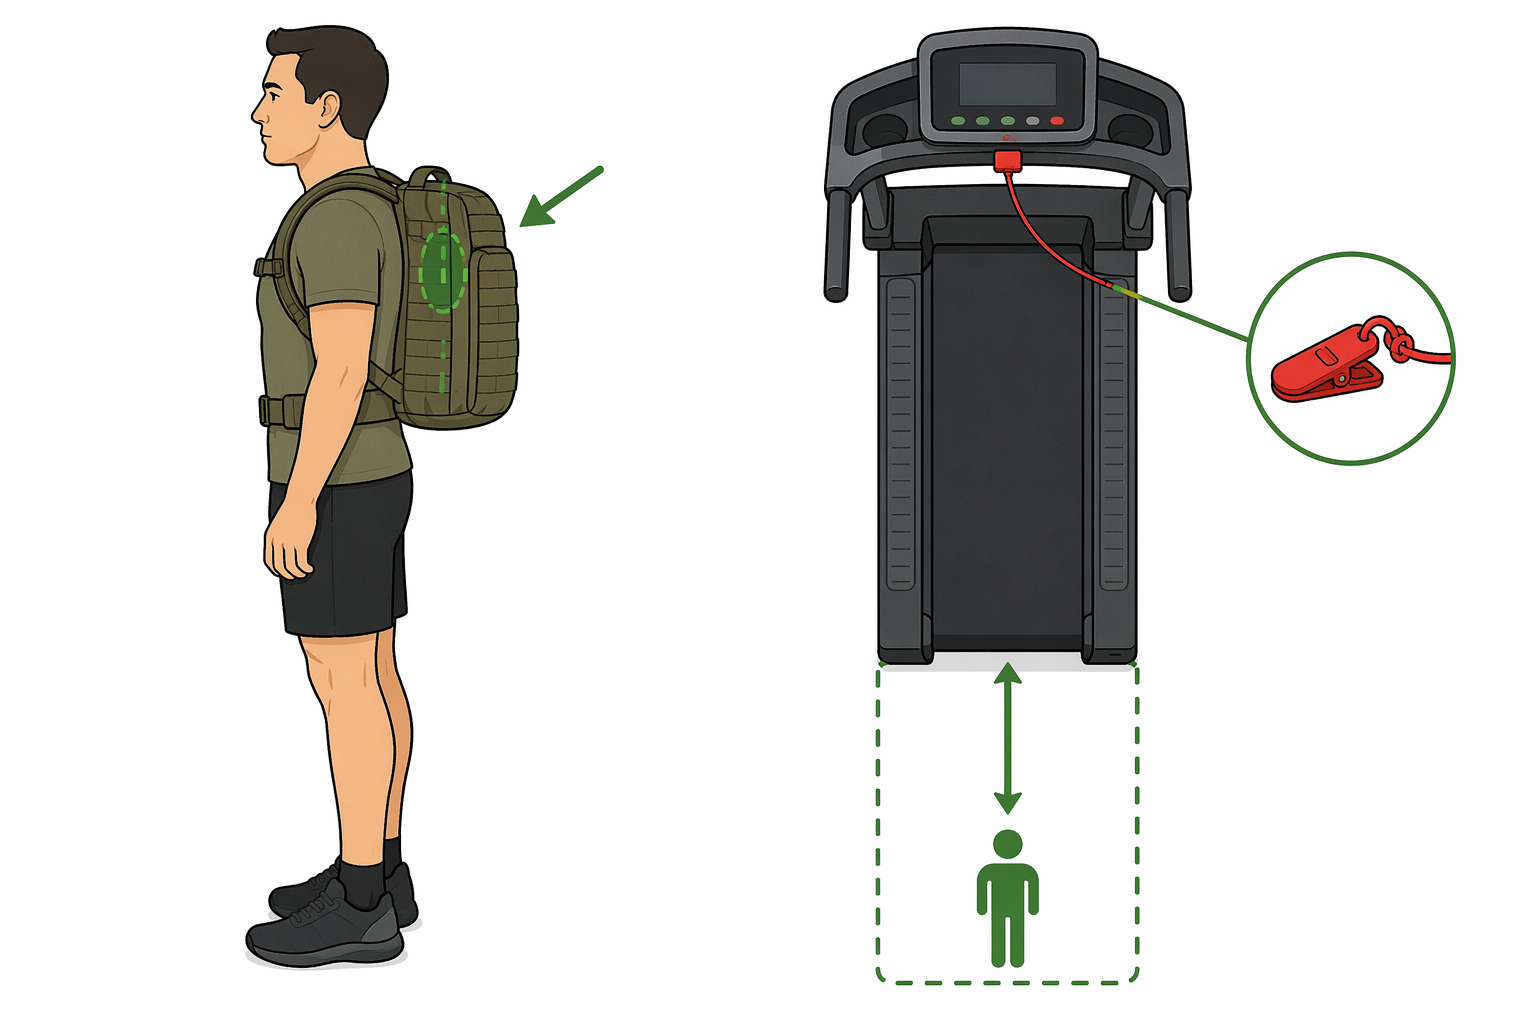
- Clip the safety key to your clothing before you start. With a loaded pack, you have less margin to recover from a missed step.
- Leave clear space behind the treadmill. Garage Gym Revisited recommends at least 6.5 feet of rear clearance, which matters more when extra load can pull you backward. [4]
- Check the treadmill’s listed user weight limit, then include your body weight plus the pack. TreadmillReviews.com notes that treadmill weight limits and motor capacity matter when adding load. [5]
- Look for a continuous-duty motor rating before using heavy packs often. A general practical target is 2.5+ CHP, but that is a synthesis guideline, not proof that every model will tolerate rucking.
- Use a pack that holds weight high and snug. Cleveland Clinic notes that the weight should sit high on the back; a sagging school backpack can turn the workout into a low-back tug-of-war. [1]
A dedicated ruck is nice, not mandatory. A sturdy backpack can work for light loads if the weight is stable, padded, and high. Wrap plates or dense objects in towels so they do not bounce. Avoid loose dumbbells unless they are secured well enough that they cannot swing, jab, or shift toward one side.
Walking pads deserve extra caution. Many are built for light walking, lower speeds, shorter decks, and lower user-weight limits. If you are deciding between a compact treadmill and a walking pad, the difference is not cosmetic; deck length, motor rating, rails, and weight capacity all affect whether rucking is sensible. See Foldable Treadmill or Walking Pad — What's the Difference? before loading a small machine.
The Four Dials: Weight, Speed, Incline, and Time
The best reason to ruck on a treadmill is not convenience; it is dose control. Each variable stresses the body differently, and beginners get into trouble when they raise all of them because the last workout felt good.
Pack weight is the bluntest tool. Add weight and every step asks more from your feet, calves, knees, hips, trunk, and shoulders. It also changes balance. That is why a 5-pound increase can feel minor in your hands but very different after 30 minutes on a belt.
Speed changes stride rhythm and breathing demand. At 2.5–3.0 mph, most beginners can keep a walking gait without reaching or bouncing. At faster speeds, some people start overstriding, gripping the rails, or leaning forward from the waist. Those are signs to slow down before adding incline.
Incline is the cleanest way to make a treadmill ruck feel more like purposeful work without running. A 1–4% incline is enough for early sessions. Later, short intervals at 8–12% can simulate steep uphill work while avoiding the eccentric downhill loading that often causes post-hike soreness. That is an advantage indoors, but also a limitation: treadmill rucking does not fully reproduce downhill braking or uneven terrain.
Duration builds the habit and the connective-tissue tolerance. A longer ruck can be easier to recover from than a heavier one, but only if your feet and posture hold up. If hot spots, numbness, or low-back tightness appear, stop early and fix the setup before chasing the plan.
A 6-Week Beginner Treadmill Rucking Plan
This plan is a practical synthesis of the beginner loading ranges above, Cleveland Clinic’s 10% progression rule, Healthline’s 10% body-weight starting point, and GORUCK-style gradual load progressions. It is not a direct reproduction of one published protocol. [1][2][3]
Use it as a decision path, not a dare. If a week feels like a big jump, repeat the previous week. If your treadmill’s weight limit, motor rating, deck size, or room clearance is marginal, progress duration and frequency before pack weight.
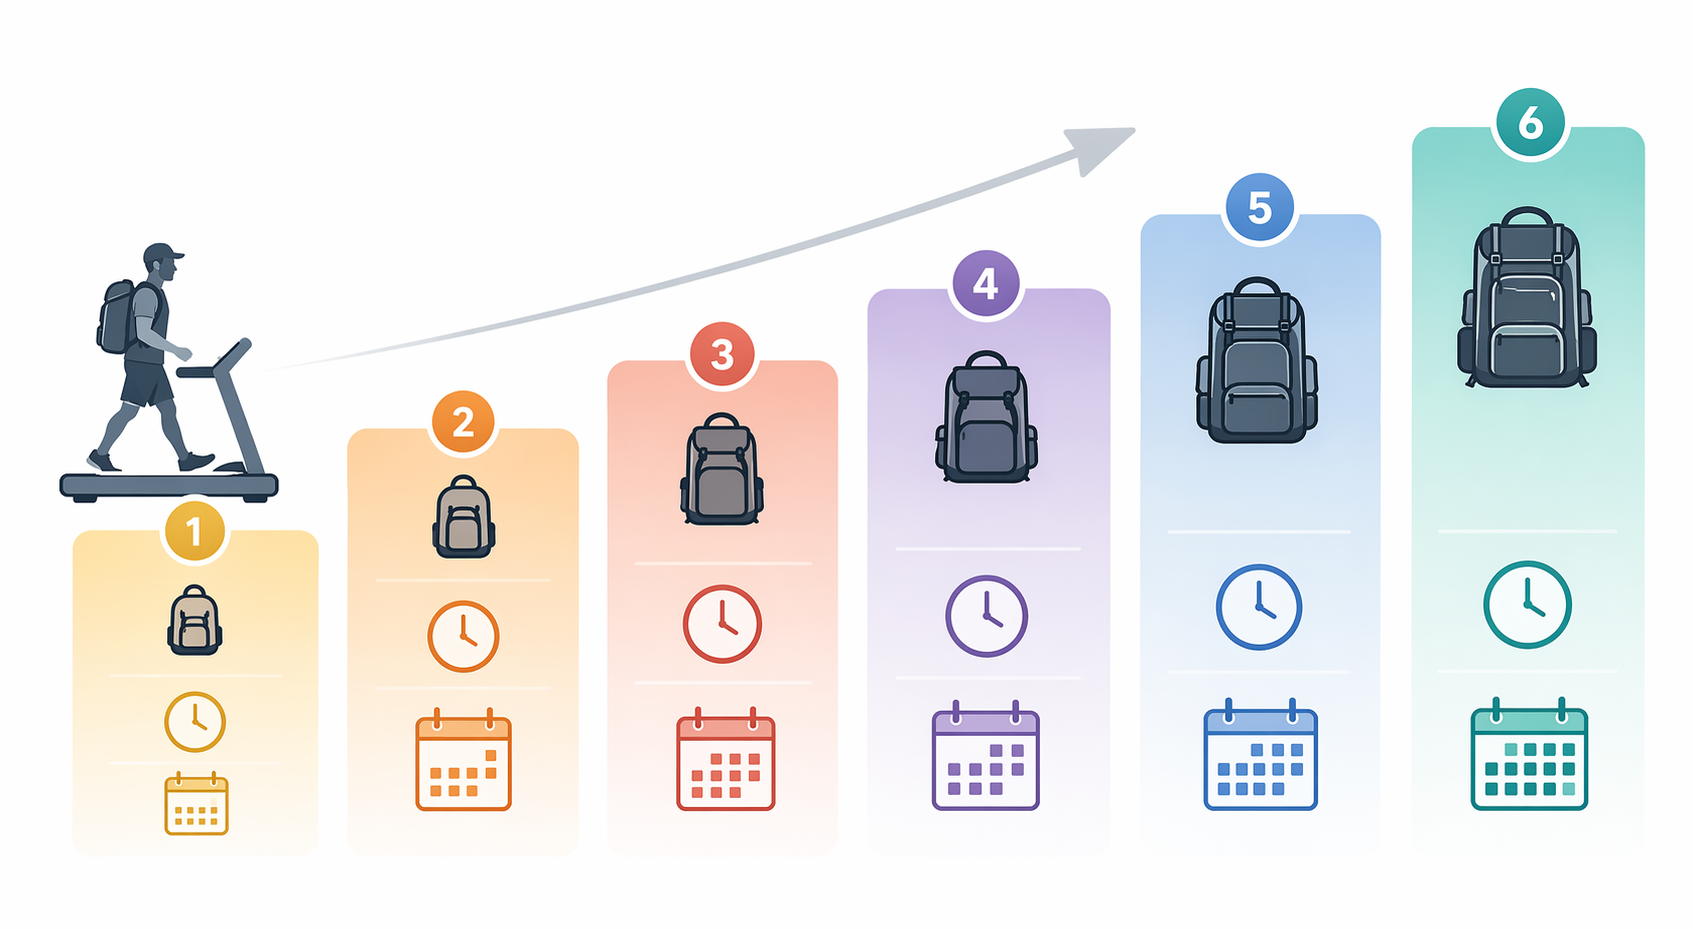
| Week | Sessions | Pack | Speed | Incline | Time | Progression focus |
|---|---|---|---|---|---|---|
| 1 | 2 | 10–20 lb, or less if needed | 2.5–3.0 mph | 1% | 15–20 min | Learn pack fit, belt feel, and posture |
| 2 | 2 | Same as week 1 | 2.5–3.0 mph | 1–2% | 20–25 min | Add a little time, not weight |
| 3 | 2–3 | Same load, or +5 lb only if week 2 felt easy | 2.6–3.0 mph | 2% | 25–30 min | Add either one session or a small load increase |
| 4 | 3 | 15–25 lb | 2.6–3.1 mph | 2–3% | 30–35 min | Make the routine consistent |
| 5 | 3 | 20–30 lb | 2.7–3.2 mph | 3–4% | 35–45 min | Extend one session while keeping others moderate |
| 6 | 3–4 | 20–40 lb, only if recovery is good | 2.8–3.3 mph | 3–5% | 40–60 min | Choose more frequency, more time, or more load—not all three |
Week 1 is mostly a fit test. You are checking whether the pack stays high, whether your shoes handle the belt, whether your shoulders relax, and whether you can step off safely. The session should end with the sense that you could have done more.
Weeks 2 and 3 are where restraint matters. Adding five minutes is usually cleaner than adding weight. If you add a third session in week 3, do not also raise the pack and incline. The body often accepts the first loaded walks easily, then complains after repetition accumulates.
Weeks 4 through 6 turn the workout into training. You can begin to separate session roles: one shorter incline day, one steady moderate day, and one longer easy day. That is more useful than making every workout heavier and steeper just because the table moved forward.
When to Hold the Same Week
- Your foot, knee, hip, or low-back discomfort changes your gait.
- You have hot spots, blisters, numb toes, or shoulder tingling.
- You need to hold the rails to maintain pace.
- Your pack slides, bounces, or pulls you backward.
- Your recovery is worse two sessions in a row.
Holding steady is still training. A repeated week gives your tissues another exposure to the same load, which is often exactly what a new rucker needs.
What About Calories?
Rucking burns more energy than unloaded walking because you are moving your body and an external load. BodySpec’s January 2026 discussion of the Pandolf equation estimates that a 180-pound person carrying 35 pounds at 3.5 mph on flat treadmill grade burns about 500 calories per hour. The same source frames treadmill terrain as a terrain factor of 1.0 in that model. [6]
For a more intense steady-state example, BodySpec and GORUCK-style assumptions put a 180-pound person with a 30-pound pack at 3.5 mph and 5% incline around 400–500 calories in 30 minutes. Treat that as an estimate, not a promise. Body composition, treadmill calibration, handrail use, stride mechanics, pack distribution, and the equation itself all affect the result. [3][6]
Calories can be motivating, but they are not the best steering wheel. If the calorie number pushes you to add incline, weight, and duration in the same week, it has stopped being useful. Use it to understand why the workout feels productive, then go back to the variables you can control.
Intermediate Options After the 6-Week Plan
Once you can ruck for 45–60 minutes with stable posture and predictable recovery, the next step is not automatically a heavier pack. Choose the option that matches what you want to improve.
| Goal | Treadmill ruck format | How to progress |
|---|---|---|
| Aerobic base | 45–75 minutes at an easy conversational effort | Add 5–10 minutes to one session, then hold |
| Uphill strength endurance | 6–10 rounds of 1 minute at 6–10% incline with 1–2 easy minutes between | Raise incline before raising pack weight |
| Time-efficient conditioning | 25–35 minutes with alternating moderate and steep incline blocks | Add one interval before increasing speed |
| Load tolerance | Flat or low-incline walk with a slightly heavier pack | Add weight only if gait and recovery stay clean |
The military-origin ladder workout is the most famous treadmill version: 4 mph, starting at 0% incline, increasing by 1% each minute up to 10%, then stepping back down to 0% for 20 minutes total. InsideHook attributes the protocol to a military training forum and presents it as a hard treadmill ruck template. [7]
Useful, yes. Proven as a universal benchmark, no. The original physiological testing data is not available, and 4 mph with a pack is too aggressive for many home users. Scale it by pack weight first: try the ladder unloaded, then with 10 pounds, then with your normal ruck load only if you can keep your hands off the rails and your stride under control.
Adding Strength Without Turning the Room Into an Obstacle Course
Ruck-plus-calisthenics sessions can work well at home because the pack becomes both cardio load and strength load. GORUCK includes calisthenics combinations in its workout plans, and Hyperwear also describes ruck workout variations that pair loaded walking with bodyweight-style work. [3][8]
Keep the treadmill portion simple when you add strength. For example, a hypothetical small-space session might use 10 minutes of easy rucking, then three quiet rounds of squats to a chair, incline push-ups, and dead bugs, then another 10 minutes of easy rucking. The exact exercises matter less than the rule: do not step back onto a moving belt while rushed, breathless, or holding loose gear.
Apartment users should also think about noise and floor space. Rucking itself is quieter than running, but pack handling, step-offs, and strength circuits can add thumps. If the treadmill lives in a tight room, plan the surrounding layout before adding transitions; How to Build a Home Gym in Under 50 Square Feet is a better place to solve the room puzzle than during a loaded workout.
Choosing a Treadmill for Rucking at Home
If you already own a treadmill, start by reading its manual. Look for maximum user weight, motor rating, deck dimensions, incline range, and warranty exclusions. Add your body weight and pack weight before comparing that number with the listed limit. A treadmill rated for a 300-pound user is not automatically comfortable with a 280-pound combined rucking load, especially if the motor is light-duty or the deck is short.
For shopping, favor a stable frame, usable incline, a belt long enough for your loaded stride, side rails you can reach in an emergency without using them as handles, and a continuous-duty motor suitable for regular walking under load. If you need a compact model, start with Small-Space Treadmills That Actually Let You Run at Home and be stricter than the marketing copy about weight capacity.
If your only option is a walking pad, keep loads light, speeds conservative, and sessions short unless the manufacturer clearly supports your combined weight and intended use. For many small apartments, a compact treadmill is a safer rucking tool than a minimal under-desk pad; for others, a walking pad may be better kept for unloaded steps while strength work happens separately. The comparison in How to Choose Between a Mini Stepper and a Walking Pad can help if space is the main constraint.
Form Checks During the Walk
- Stand tall enough that the pack rests on your back instead of dragging your shoulders down.
- Keep the load high between the shoulder blades, not sagging toward the low back.
- Use a shorter, steady stride rather than reaching forward for speed.
- Let your arms swing naturally unless the pack design prevents it.
- Step to the side rails only after slowing the belt; do not jump off under load.
- Stop if you start using the handrails to make the workload possible.
The handrail point is worth being fussy about. Holding on changes the workload and hides poor settings. If you need the rails because the incline is too steep or the speed is too high, the workout is already telling you what to adjust.
A Simple Way to Pick Today’s Session
Before each workout, choose one job for the day. A base day keeps the pack light or moderate and lets time do the work. An incline day keeps the session shorter and raises the treadmill grade. A load day keeps incline low and tests a slightly heavier pack. Mixing all three is how a reasonable plan becomes a recovery problem.
| If last session felt... | Do this next | Avoid this |
|---|---|---|
| Easy, with normal recovery | Add a small amount of time or incline | Adding weight, speed, and incline together |
| Muscularly hard but controlled | Repeat the same settings | Assuming soreness means you need more intensity |
| Breathless or sloppy | Lower speed or incline | Keeping the settings and grabbing the rails |
| Painful or uneven | Stop progressing and fix pack, shoes, or load | Walking through altered gait |
A good first rucking workout at home on a treadmill can be as plain as 15–20 minutes, 10–20 pounds, 2.5–3.0 mph, and 1% incline. The next six weeks are mostly an exercise in patience: repeat clean work, change one variable at a time, and respect the machine as much as the workout. Done that way, a home treadmill becomes a precise rucking tool instead of a moving belt with a backpack problem.
References
- Should You Add Rucking to Your Workouts? — Cleveland Clinic, Jan 2024
- Rucking for Exercise Can Boost Strength, Stamina, and Power — Healthline, May 2022
- Free Rucking Workout Plans | Beginner to Advanced Training Program — GORUCK, Jan 2023
- Rucking On A Treadmill: Why…and (Maybe)...Why Not — Garage Gym Revisited
- Can You Use Your Treadmill For Rucking? — TreadmillReviews.com
- Rucking Calorie Calculator: Burn vs. Walking & Running — BodySpec, Jan 2026
- How to Do a Rucking Workout on a Treadmill — InsideHook
- 7 Weighted Rucking Workout Ideas — Hyperwear


Comments
Join the discussion with an anonymous comment.