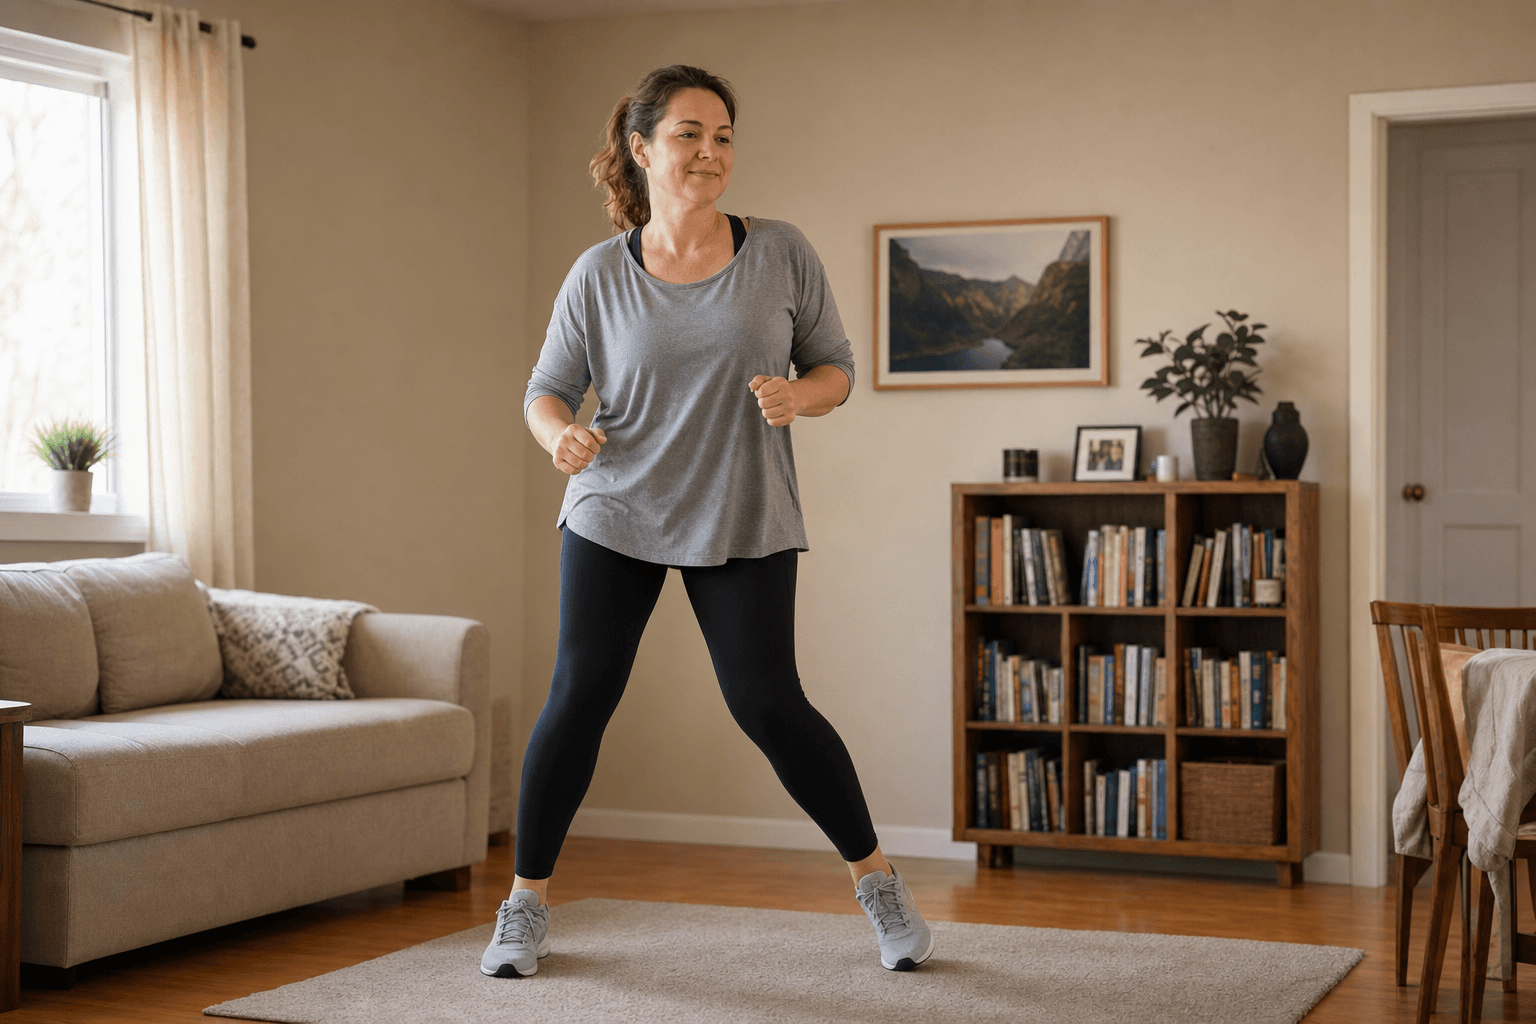
If you want to start leg workouts at home this week, you do not need a rack of weights, a long list of exercises, or a perfect workout room. You need enough clear floor space to squat and step, usually about 6 by 6 feet, plus a wall or chair nearby if balance feels uncertain.[1] This plan gives you eight weeks of no-equipment lower-body training, built for 2–3 sessions per week with at least one rest day between sessions.
Use it as a route: what to do on Monday, what to repeat later in the week, when to make it harder, and when to stay with the same week because your knees, hips, or balance are not ready for the next step.

The Basic Rules Before Week 1
Train legs 2–3 days per week. Leave at least one rest day between sessions. For most beginners, that means Monday and Thursday, Tuesday and Friday, or Monday, Wednesday, and Saturday if recovery feels good. A 2015 study discussed by Verywell Fit found greater leg mass gains from training legs three times per week than once per week when total load was the same, but that does not mean a brand-new beginner has to force three hard sessions immediately.[2] Two steady sessions done well are better than three sessions done with rushed squats and irritated knees.
For a deeper look at how often to train, use Leg Workout Frequency at Home alongside this plan. Here, the practical rule is simple: never stack beginner leg days back to back, and do not add load until the squat, hinge, bridge, and lunge patterns are controlled.
- Space: clear a small patch of floor where you can squat, step back, and lie down for bridges.
- Support: use a wall, counter, or chair for balance when needed.
- Effort: finish each set feeling like you could do a few more careful reps.
- Progression: make the movement cleaner before making it harder.
- Pain rule: muscle effort is expected; sharp joint pain is a stop sign.
Your 8-Week Home Leg Workout Plan
The whole program uses 3–5 exercises per workout. Healthline’s beginner guidance places that range with 3 sets of 8–12 reps as a useful strength-building structure without unnecessary volume.[3] The first two weeks intentionally stay below that full volume because the first job is not to prove toughness. It is to learn what a controlled rep feels like.
| Weeks | Frequency | Main Work | Sets and Reps | Progression Focus |
|---|---|---|---|---|
| 1–2 | 2 days per week | Bodyweight squat, glute bridge, calf raise, wall sit | 2 sets of 12 reps; wall sit for comfortable time | Learn positions and control |
| 3–4 | 2–3 days per week | Bodyweight squat with pause, glute bridge, calf raise, wall sit | 3 sets of 12 reps | Add volume and pause reps |
| 5–6 | 2–3 days per week | Bodyweight squat, reverse lunge, glute bridge march, calf raise | 3 sets of 10–12 reps | Introduce single-leg control |
| 7–8 | 2–3 days per week | Bodyweight squat, step-up, single-leg glute bridge, calf raise | 3 sets of 8–12 reps | Increase challenge without equipment |
You can run each workout in the same order: warm up, squat pattern, bridge or hinge pattern, lunge or step pattern, calf work, cooldown. If that movement language is new, the simpler beginner leg workout guide explains the basic pattern before you commit to the full eight weeks.
Warm Up for 5 Minutes
Start with movement that makes the first squat feel less stiff. Do 30–45 seconds each of easy marching, hip circles, gentle leg swings while holding a wall, ankle rocks, and slow bodyweight squat practice. The warm-up should not feel like a workout by itself. It should make your hips, knees, and ankles feel more available.
Weeks 1–2: Keep It Almost Boring
Do this workout twice per week:
- Bodyweight squat: 2 sets of 12 reps
- Glute bridge: 2 sets of 12 reps
- Standing calf raise: 2 sets of 12 reps
- Wall sit: 2 comfortable holds
The squat is your main knee-and-hip pattern. Stand with feet about hip- to shoulder-width apart, bend the knees and hips together, and stop at the depth where you can still keep the heels down and chest steady. You do not need to force a deep squat in week one. A controlled half squat teaches more than a collapsed full squat.

The glute bridge lets you train the back side of the hips without asking your balance to do much yet. Lie on your back, bend the knees, keep feet flat, and lift the hips until your body forms a straight line from shoulders to knees. If you feel your lower back working more than your glutes, lower the hips and make the rep smaller.
Calf raises and wall sits are simple, but they are not filler. Calf raises train the lower leg through a pattern you use every time you walk up stairs. Wall sits teach you to tolerate leg effort without bouncing, rushing, or guessing where your knees should go.
Weeks 3–4: Add One Set, Then Add a Pause
If weeks 1–2 feel controlled, move to 3 sets of 12 reps for the squat, glute bridge, and calf raise. Keep the wall sit at 2–3 comfortable holds. This is the first real volume increase, and it is enough. You do not need new exercises every week to make progress.
On the squat, add a one-second pause at the bottom of each rep. The pause removes the little bounce people use to escape the hard part of the movement. It also gives you a quiet moment to check your position: heels down, knees tracking in the same direction as the toes, torso steady, breath under control.
This is still a beginner workout. The difficulty comes from cleaner reps, more total work, and slower control, not from turning the living room into a punishment session.
Weeks 5–6: Bring In the Reverse Lunge
Do this workout 2–3 times per week:
- Bodyweight squat: 3 sets of 10–12 reps
- Reverse lunge: 3 sets of 8–10 reps per side
- Glute bridge march: 3 sets of 10–12 total marches
- Standing calf raise: 3 sets of 12 reps
Reverse lunges arrive before step-ups because they are easier to scale in a small room. Step one foot back, lower only as far as you can control, then push through the front foot to stand. Hold a wall or chair if you wobble. A shorter step and smaller depth are fine at first.
This is also where the glute bridge becomes a glute bridge march. Lift into a bridge, keep the hips as level as you can, and slowly lift one foot, then the other. The goal is not a high knee drive. The goal is to keep the pelvis from rocking side to side. That small anti-wobble demand is what makes it useful before single-leg bridge work.
Weeks 7–8: Step Up Carefully
For the final two weeks, use a low, sturdy surface only if it does not slide, tip, or make you hesitate. A bottom stair is often better than a chair. If you do not have a safe surface, repeat the reverse lunge instead of forcing the step-up.
- Bodyweight squat: 3 sets of 8–12 reps
- Step-up: 3 sets of 8–10 reps per side
- Single-leg glute bridge: 3 sets of 8–10 reps per side
- Standing calf raise: 3 sets of 12 reps
On step-ups, place the whole foot on the surface, lean slightly forward, and stand by driving through the working leg. Try not to spring off the floor leg. Step down slowly. If the knee caves inward or you have to launch yourself up, the surface is too high for now.
The single-leg glute bridge is the hardest bridge variation in this plan. Keep the reps smaller if needed. The useful version is the one where your hips stay mostly level and your lower back does not take over.
How to Know Whether to Move Forward
Progression is not a calendar prize. The week number tells you what to try next, but your reps tell you whether you are ready. Repeat the current week if your form changes sharply from the first set to the last, if you need to rush through the bottom of the squat, or if balance turns every lunge into a recovery drill.
| What You Notice | What to Do |
|---|---|
| Mild muscle soreness that improves as you move | Rest at least one day, then continue as planned |
| Sharp knee, hip, or ankle pain during reps | Stop that exercise and use an easier pattern next session |
| You can finish all sets with steady form | Move to the next week when scheduled |
| You finish reps only by bouncing, twisting, or holding your breath | Repeat the same week before progressing |
| Two sessions per week feel good and recovery is easy | Consider adding a third session with the same exercises |
Certified trainer guidance cited by SELF emphasizes mastering basic squat, hinge, and lunge movements before adding load, including bands.[1] That matters in a home plan because it is tempting to make difficulty look more serious before the body has learned the pattern. A heavier mistake is still a mistake.
If something keeps feeling off, check 8 Common Home Leg Workout Mistakes before adding more exercises. Most beginner problems are not solved by variety. They are solved by fixing depth, tempo, balance, rest, and exercise choice.
What Results to Expect in 8 Weeks
Eight weeks is long enough for many beginners to notice better control, more confidence on stairs, and clearer muscle effort during squats and lunges. Visible changes in strength and muscle volume are plausible within roughly 2–3 months when training is consistent, according to Verywell Fit.[4] That timeline is useful because it is neither instant nor discouragingly distant.
The often-cited beginner range of about 1–2 pounds of lean muscle per month should be treated as a general total-body ceiling, not a promise that your legs alone will add that amount.[4] Nutrition, protein intake, sleep, missed sessions, and starting point all affect what changes show up. The plan can give your legs a clear training signal. It cannot make recovery and food irrelevant.
The first visible result may be less dramatic than a before-and-after photo. Your squat may stop feeling awkward. Your knees may track more predictably. You may stop needing the wall for reverse lunges. Those are not cosmetic results, but they are the foundation that lets later training become more productive.
A Simple Weekly Schedule
For two days per week, use this rhythm:
- Monday: leg workout
- Tuesday: rest or easy walking
- Wednesday: rest, mobility, or upper-body work
- Thursday: leg workout
- Friday through Sunday: rest, walking, or other light activity
For three days per week, use Monday, Wednesday, and Saturday or a similar pattern that keeps a rest day between leg sessions. Keep the same workout for the week instead of inventing a new one each session. Repetition is how you notice whether the squat is actually improving.
After Week 8
After the eighth week, do not treat the plan as finished fitness. Treat it as your base. If you want to stay bodyweight-only, move into Progressive Bodyweight Leg Training. If you want more control over exercise selection, use How to Design Your Own Leg Workout at Home. If your broader goal is conditioning, add a separate low-impact progression such as the 4-Week At-Home Cardio Progression Plan rather than turning every leg workout into cardio.
For now, the next step is small: choose two training days this week, clear the floor, and do week 1 exactly as written. No equipment. No added weight. Just enough repeatable work to start building lower-body strength without making the first two weeks harder than they need to be.
References
- Bodyweight leg exercise guidance, SELF, source link not provided
- Schoenfeld et al. 2015 leg training frequency discussion, Verywell Fit, source link not provided
- Beginner set and rep guidance, Healthline, source link not provided
- Muscle gain timeline guidance, Verywell Fit, source link not provided

Comments
Join the discussion with an anonymous comment.