
Why a Staged Roadmap Beats a One-Time Shopping List
Walk into any home gym content rabbit hole and you will find two extremes. One guide tells you to buy a yoga mat and a set of resistance bands and call it a day. Another insists you need a $3,000 power rack, an Olympic barbell, 500 pounds of bumper plates, and a dedicated room before you can start. Neither serves a beginner who does not yet know what they need, how much they will actually use it, or whether they will still be training six months from now.
A staged roadmap solves that problem. Instead of a static shopping list, it sequences purchases by what a beginner actually needs first, second, and third as their strength and confidence grow. You start with a $100 kit that fits in a closet, add real weights when bodyweight and bands stop challenging you, and graduate to a power rack only after you have proven to yourself that you will use it. Each stage is a complete, usable setup on its own — not a down payment on a future gym you might never build.
This approach is backed by the same logic that strength coaches use for programming: progressive overload. Your muscles adapt to a stimulus, and when that stimulus is no longer enough, you increase it. Your equipment should follow the same curve. The Caliber Strong 3-stage roadmap — resistance bands, then adjustable dumbbells plus a bench, then a power rack and barbell — mirrors exactly how a beginner's strength progresses. Below is the four-stage version we recommend, with concrete price ranges and product examples at each step.
Stage 1: The Starter Kit ($100–$400) — Build the Foundation
The first stage is deliberately minimal. It works in any space — a studio apartment, a shared living room, a bedroom corner — and it teaches fundamental movement patterns before you add load. More importantly, it proves to you that you can be consistent before you invest in heavier, bulkier equipment.
What to Buy
- Resistance bands (set of 3–5 bands with multiple resistance levels, $30–$80). Look for a set that includes light, medium, and heavy bands so you can progress without buying more. Loop bands for lower-body work and a long band with handles for upper-body pulling are the two essential types.
- Yoga or exercise mat ($15–$40). Thickness matters: a 6mm mat is fine for bodyweight work, but if you plan to kneel or lie on hard floors, go up to 10mm.
- Jump rope ($10–$25). The most space-efficient cardio tool available. A speed rope with ball bearings will last longer than a cheap plastic one.
- Optional: a pair of light kettlebells or dumbbells (5–15 lbs, $40–$100) if you want to add load for goblet squats or presses before moving to Stage 2.
With this setup you can perform squats, lunges, rows, presses, pull-aparts, and core work — essentially a full-body routine. Bands provide variable resistance that increases as you stretch them, which means you can still apply progressive overload by moving to a heavier band or increasing reps.
Stage 2: Add Real Weights ($400–$900) — Progressive Overload Begins
At some point — typically after 4 to 8 weeks of consistent training — your heaviest band will feel easy for 15 reps, and bodyweight squats will no longer challenge your legs. That is the signal to move to Stage 2. This is where you introduce actual load that you can measure, increment, and track over time.
What to Buy
- Adjustable dumbbells ($250–$500). A quality pair like the Bowflex SelectTech 552 or a similar dial-system model replaces 15+ sets of individual dumbbells and takes up about as much space as a shoebox. Look for a range of 5–52.5 lbs per hand for most beginners.
- Adjustable bench ($100–$250). A flat-to-incline bench unlocks pressing movements at multiple angles. Prioritize stability over adjustability: a wobbly bench is dangerous under load. The REP FB-3000 flat bench ($150) is a solid budget option.
- Pull-up bar ($30–$110). A doorway-mounted or wall-mounted bar adds upper-body pulling strength — the most common weakness in beginner programs. If you cannot do a full pull-up yet, bands from Stage 1 can assist you.
This combination replicates most of the major movements you would do in a commercial gym: dumbbell bench press, rows, overhead press, goblet squats, lunges, and pull-ups. The adjustable dumbbells let you increase weight in small increments (typically 2.5–5 lbs), which is essential for steady progress.
| Equipment | Estimated Cost | Key Consideration |
|---|---|---|
| Adjustable dumbbells (pair) | $250–$500 | Weight range and increment size; avoid models that jump 10 lbs per setting |
| Adjustable bench | $100–$250 | Weight capacity; look for 600+ lb rating for future-proofing |
| Pull-up bar | $30–$110 | Doorway vs. wall-mount; check door frame width and ceiling clearance |
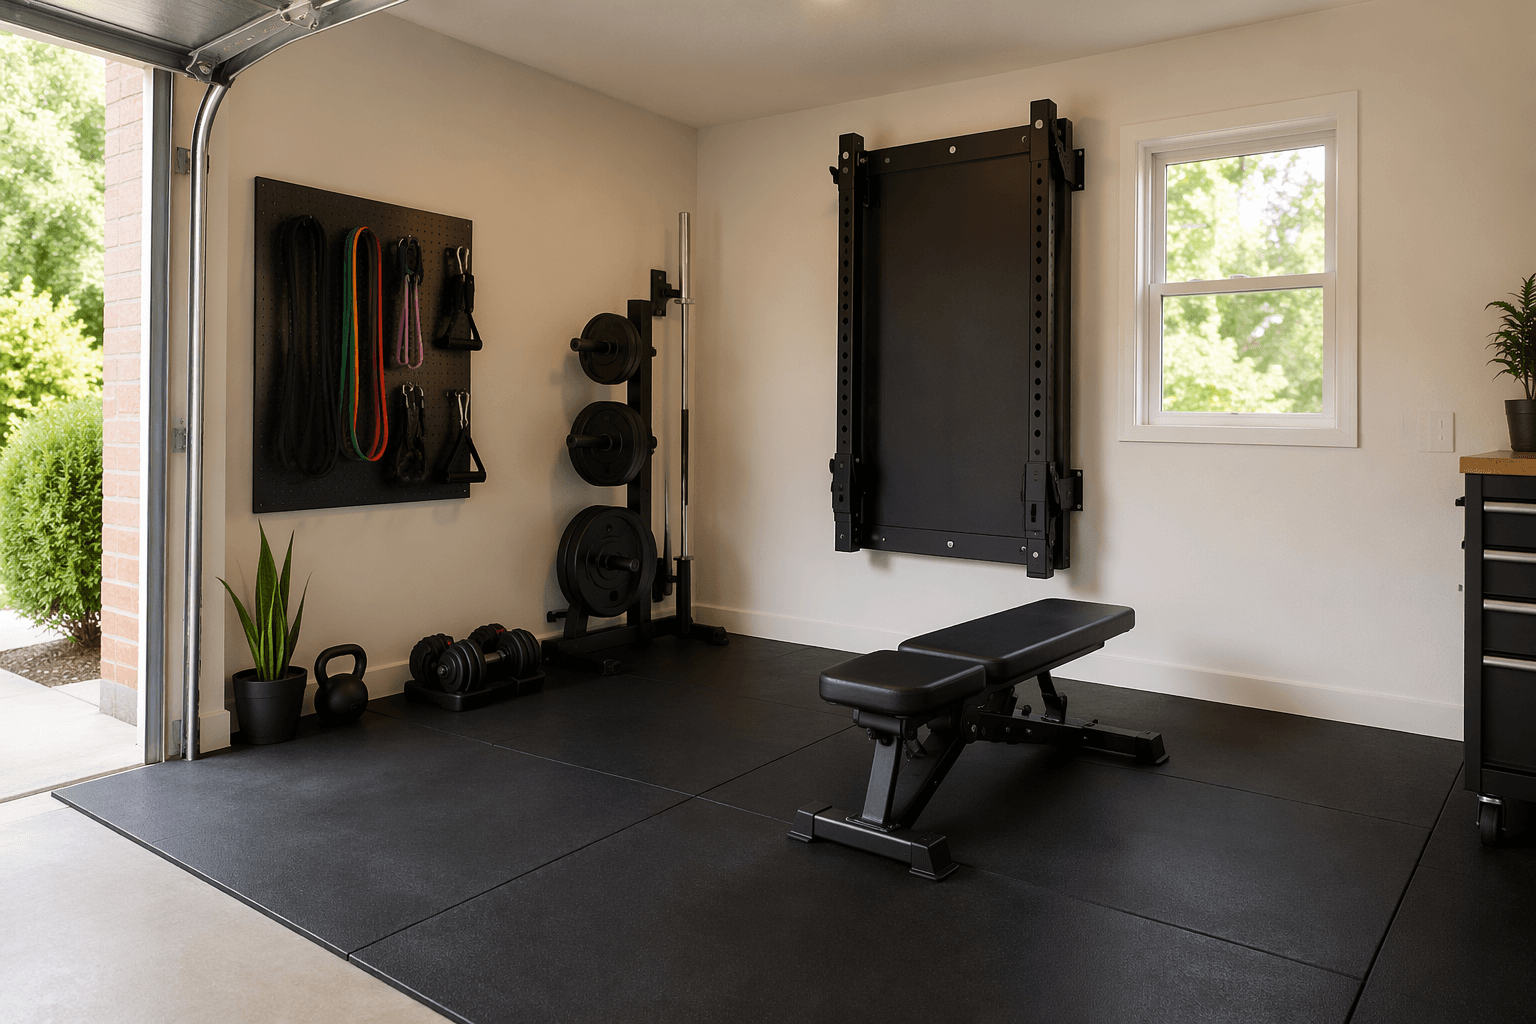
Stage 3: The Power Rack Setup ($900–$2,000) — Unlock Compound Lifts
Stage 3 is where your home gym becomes a serious training space. You add a power rack, an Olympic barbell, and weight plates — the equipment that unlocks the four most effective strength-building exercises: squat, bench press, deadlift, and overhead press. This is the setup that Caliber Strong calls "the best type of home gym setup" for a reason: it gives you the most training stimulus per dollar spent.
What to Buy
- Power rack ($350–$600). The REP PR-1100 ($380) is a popular entry-level rack with a 700-lb weight capacity and a small footprint. If you have the ceiling height, a full-size rack is preferable to a squat stand because it includes safety spotter arms.
- Olympic barbell ($150–$350). A 20 kg (45 lb) bar with a 28–29 mm shaft diameter and dual knurl marks. Avoid cheap bars under $150 — they often have poor tensile strength and will bend under moderate loads.
- Weight plates ($200–$500). Start with 255–300 lbs of iron or bumper plates. Bumper plates are quieter and safer for dropping, but cost more. Iron plates are cheaper and take up less space on the bar.
- Adjustable bench (if not already owned from Stage 2, $100–$250). You need a bench that can handle the weight you plan to bench press. The REP FB-3000 or similar flat bench is sufficient for most beginners.
- Floor protection ($50–$150). Three 4' x 6' horse stall mats from a farm supply store cost about $150 and provide excellent impact absorption. Do not skip this — bare concrete will crack under dropped weights, and thin foam mats will not protect your floor.
A complete Stage 3 build using the REP PR-1100 rack, a basic barbell, and 255 lbs of iron plates totals roughly $1,000 before tax and shipping — well within the $900–$2,000 range. REP Fitness's own $1,000 gym build article outlines this exact configuration as Option 1.
| Component | Budget Pick | Estimated Cost |
|---|---|---|
| Power rack | REP PR-1100 | $380 |
| Barbell | Double Black Diamond Power Bar | $330 |
| Weight plates | 255 lbs iron set | $200–$350 |
| Bench | REP FB-3000 flat bench | $150 |
| Flooring | 3 horse stall mats | $150 |
Stage 4: The Full Gym ($2,000+) — Cable Machine, Cardio, and Finishing Touches
Stage 4 is for lifters who have outgrown the power rack setup and want more variety, isolation work, or dedicated cardio. This is not a required stage — many people train effectively with a power rack and barbell for years. But if you have the budget and the space, adding a cable machine and a cardio machine transforms your home gym into a facility that rivals a commercial club.
What to Buy
- Cable machine or functional trainer ($435–$1,500). The Bells of Steel Cable Tower with Weight Stack starts at $435 and offers a 210-lb weight stack in a compact footprint (31" D x 28.5" W x 80.75" H). It is the single best value cable machine for home use. For a more premium option, the Bowflex Xtreme 2 SE ($1,499) provides 70+ exercises with 210 lbs of resistance (upgradable to 410 lbs) and a 7-year warranty.
- Cardio machine ($500–$2,000+). A rower (Concept2 Model D, $990), an exercise bike (Schwinn IC4, $800), or a budget treadmill (Horizon T101, $700). Choose based on your preferred cardio modality and available floor space.
- Proper rubber flooring ($100–$300). Upgrade from horse stall mats to rolled rubber flooring (3/8" or 1/2" thick) for a seamless, professional look. This is especially important if you plan to drop weights from overhead.
- Storage solutions ($50–$200). A weight plate tree, barbell holder, and dumbbell rack keep your gym organized and safe. Cluttered floors are a tripping hazard.
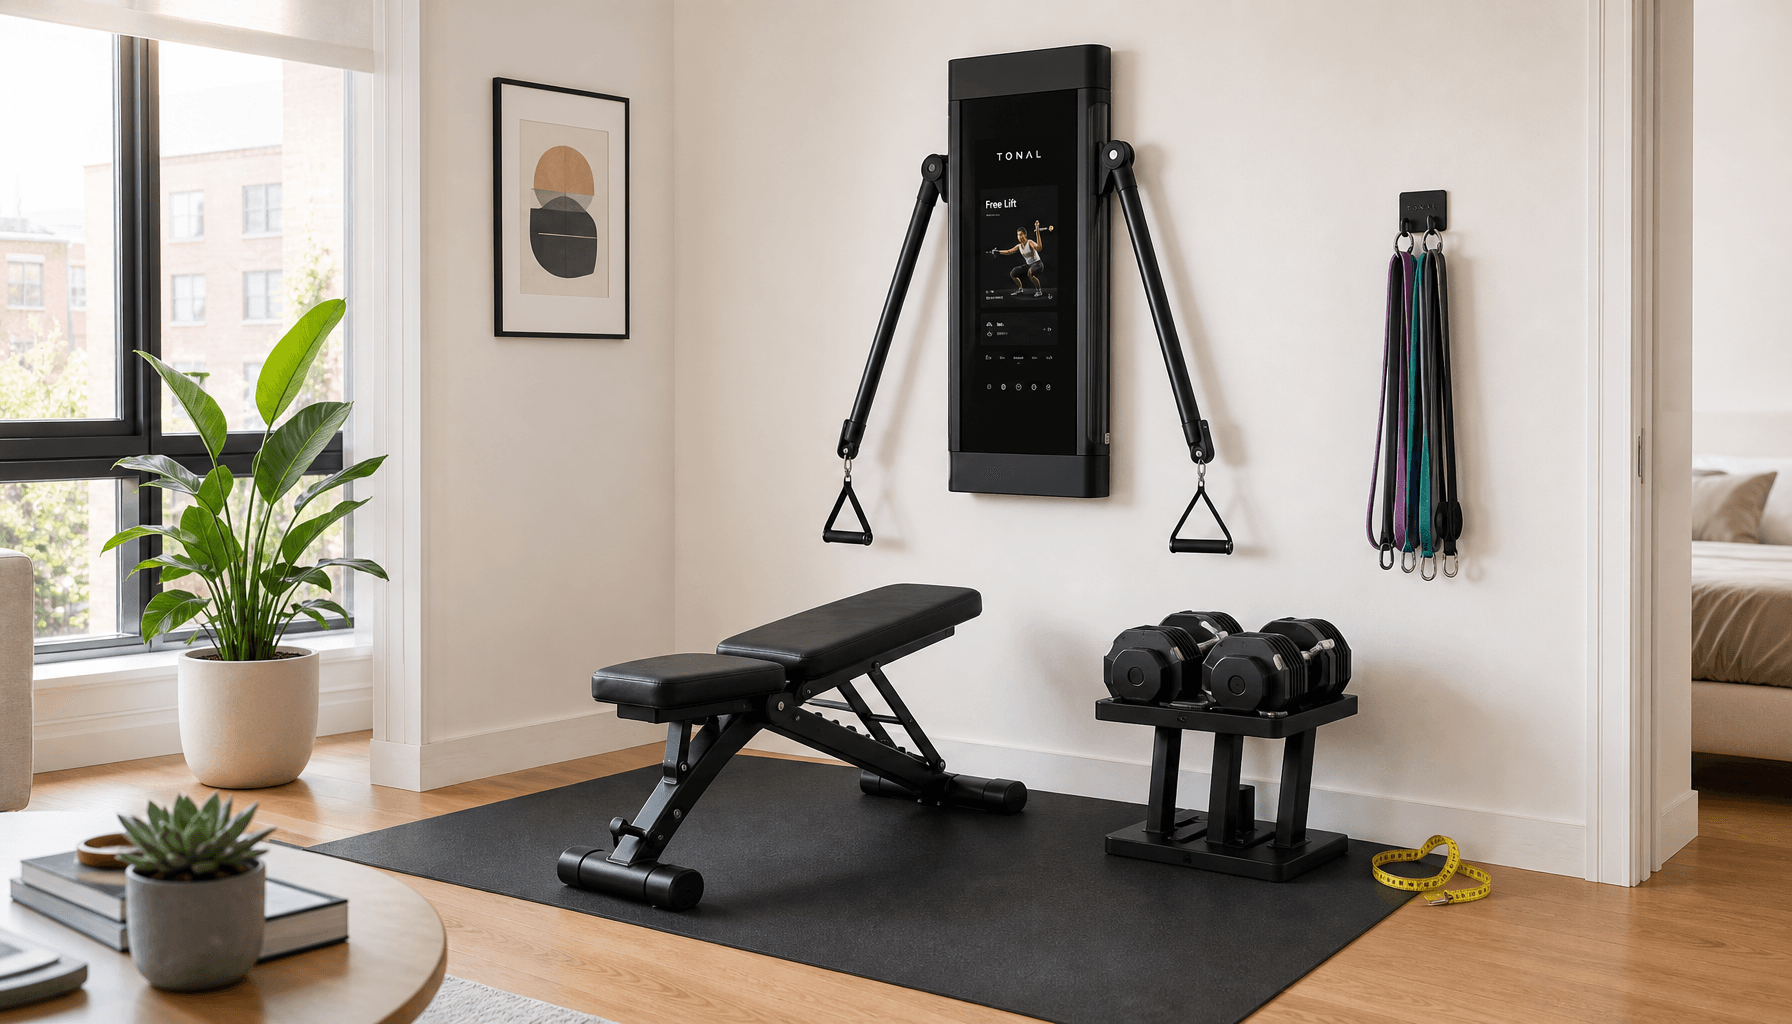
If you are considering an all-in-one machine instead of individual pieces, read the All-in-One Fitness Machine vs. Modular Home Gym cost analysis before deciding. All-in-ones like the Speediance Gym Monster ($3,199) or Tonal 2 ($4,295) save space but lock you into a subscription model that adds $470–$720 per year.
Common Mistakes Beginners Make (And How to Avoid Them)
Even with a staged roadmap, beginners make predictable errors that waste money, waste space, or compromise safety. Here are the most frequent ones and how to sidestep them.
- Overbuying equipment too early. The most common mistake. Beginners buy a power rack, barbell, and 300 lbs of plates before they have ever squatted with a barbell. Then they discover they do not enjoy barbell training, or they lack the mobility to squat to depth, and the equipment sits unused. Follow the stages: prove you will train consistently before you invest in Stage 3.
- Ignoring floor protection. Dropping a 45 lb plate on bare concrete will crack the concrete and damage the plate. Dropping it on thin foam mats will not help. Use 3/8" or thicker rubber flooring — either horse stall mats or rolled rubber — in any area where you will drop weights.
- Overlooking subscription costs for smart gyms. Smart gyms like Tonal ($59.95/month) and many connected fitness machines require ongoing subscriptions that add $470–$720 per year. Over five years, that is $2,350–$3,600 on top of the purchase price. The Garage Gym Reviews team flags this as a key transparency point that beginners often miss.
- Buying a cheap barbell. A barbell under $150 is a false economy. It will likely have low tensile strength (under 150,000 PSI), a thin shaft that flexes under moderate load, and bushings instead of bearings. A quality bar from REP, Rogue, or American Barbell will last a lifetime and retain resale value.
- Not accounting for ceiling height. A standard 84-inch power rack requires at least 90 inches of ceiling clearance. Many basements and finished attics have ceilings lower than 8 feet. Measure before you buy, and if your ceiling is too low, look for a low-ceiling rack or a folding wall-mount model.
For a deeper look at flooring options, read the Rubber vs. Foam Gym Flooring comparison. It covers material differences, cost per square foot, and which type suits different training styles.
Your Next Step: Start With Stage 1, Not a Shopping Spree
The temptation to skip straight to Stage 3 is strong. A power rack and barbell look like a "real" gym. Resistance bands and a jump rope do not. But the staged approach is not about what looks impressive — it is about what keeps you training. A $150 starter kit that you use four times a week is infinitely more valuable than a $3,000 setup that collects dust after two months.
Start with Stage 1. Train consistently for at least four weeks. When your heaviest band feels easy and you are looking forward to your workouts, move to Stage 2. Repeat the process. By the time you reach Stage 3, you will know exactly what you need and why — and you will have saved money by not buying equipment you did not actually need.


Comments
Join the discussion with an anonymous comment.