
The workout ends before the recovery routine starts to feel obvious. The video is still running, your mat is damp, your heart rate is up, and the temptation is to either collapse on the floor or start doing random stretches until you get bored. A post workout recovery routine at home works better when the next move is already decided.
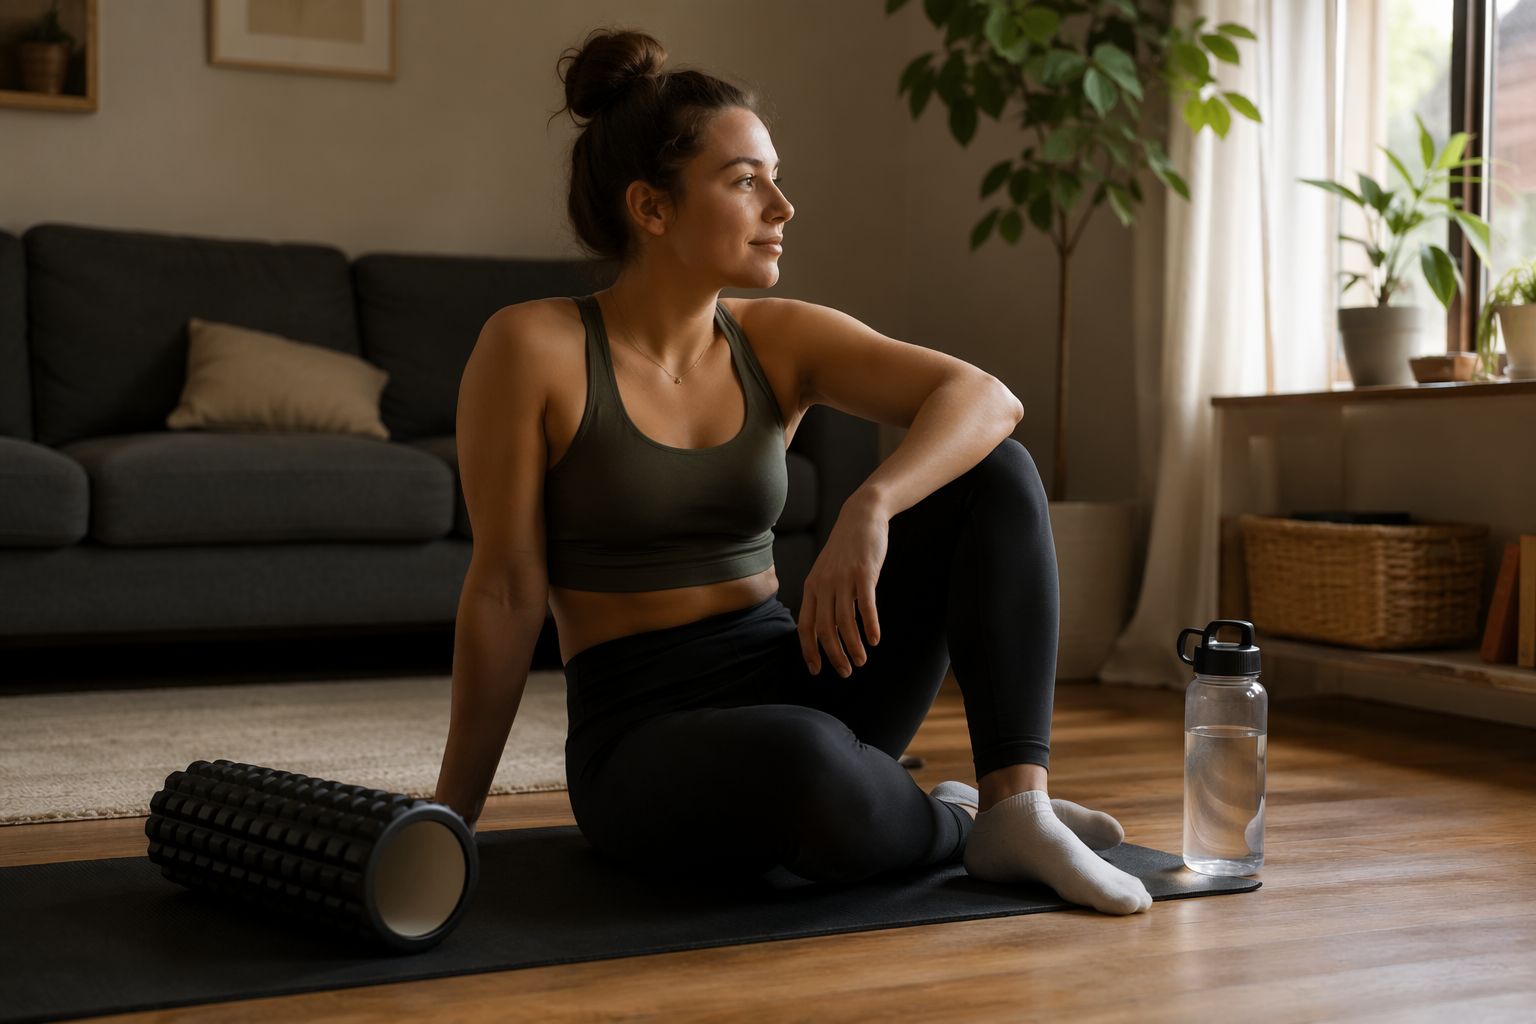
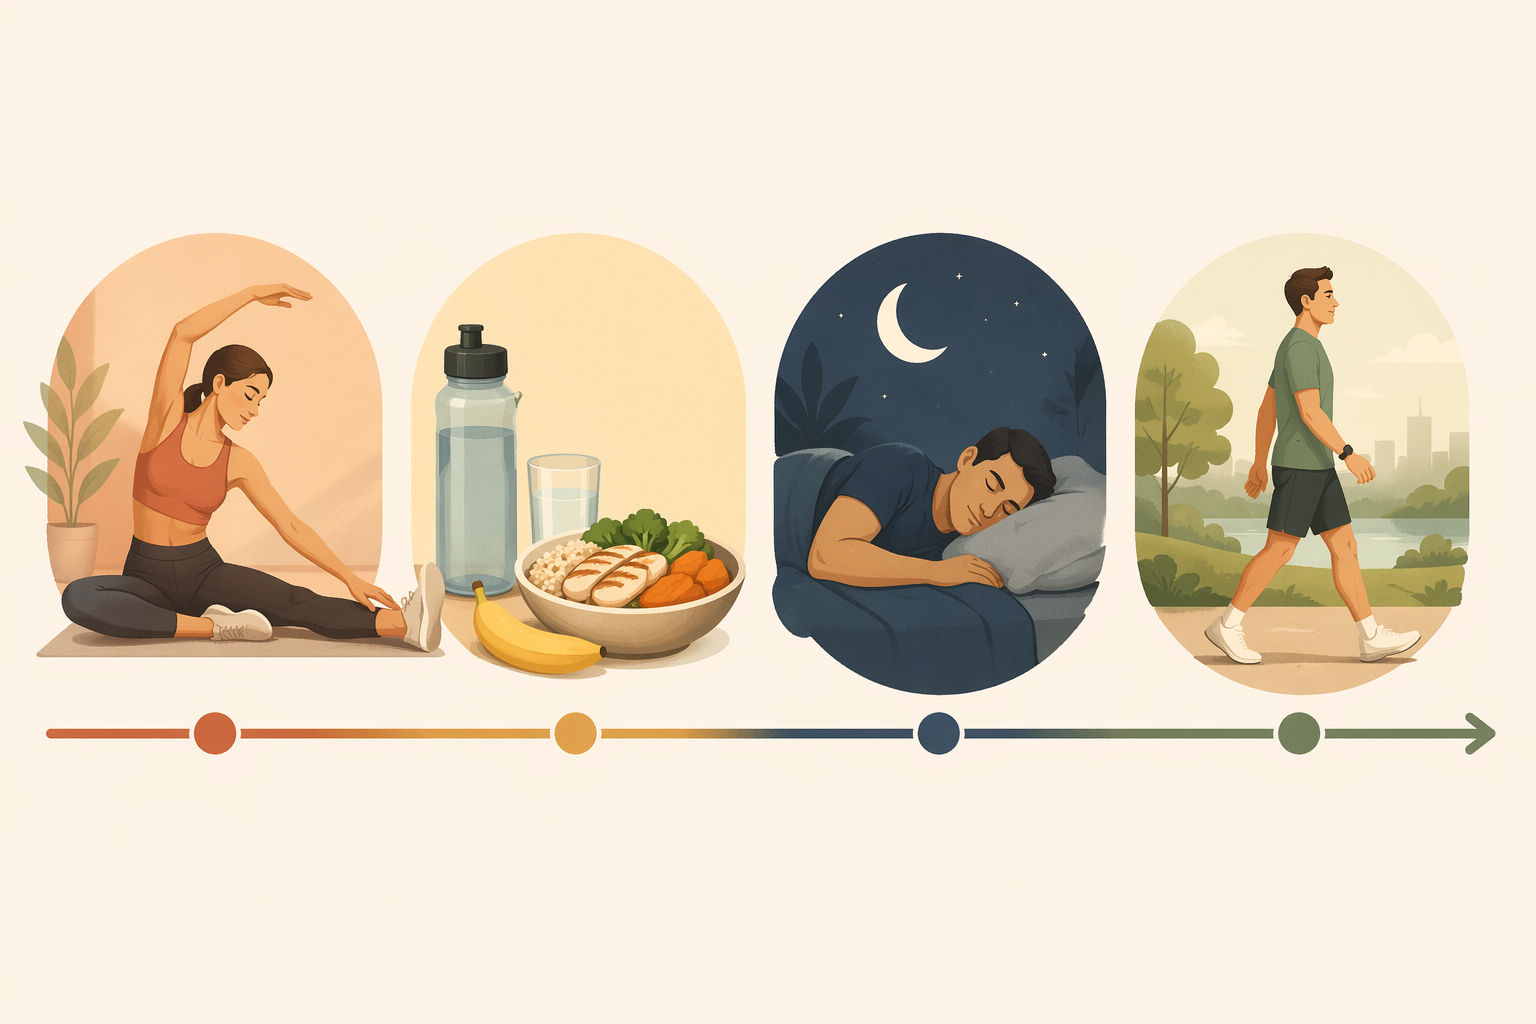
Use this order: cool down first, stretch briefly, drink and eat, sleep, then move lightly the next day. You do not need a recovery room, a cold plunge, or a drawer full of devices. Water, food from the kitchen, a mat, an optional foam roller, and a way to keep the next day’s effort easy are enough.
| When | What to do | How long or how much | Stop when |
|---|---|---|---|
| 0–15 minutes | Light movement, then static stretching for the muscles you trained | 5–10 minutes easy movement; 20–30 seconds per stretch | Your breathing settles and the stretched muscle feels lengthened, not strained |
| 15 minutes–2 hours | Hydrate, then eat protein plus carbs | Water first; electrolytes if sweat was heavy; at least 20g protein as a general minimum | You have replaced fluid and eaten a real snack or meal |
| Overnight | Protect sleep for repair | 7–9 hours | You wake with enough energy to move normally, not prove toughness |
| Next day | Active recovery instead of complete stillness | Easy walking, mobility, yoga, or cycling at conversational effort; roughly 30–60% max heart rate | You feel warmer and looser without turning it into another workout |
0–15 Minutes: Bring the Workout Down Before You Stretch
Do not go straight from your last hard set into a long floor stretch. First, keep moving at a much easier pace for 5–10 minutes. March in place, walk around the room, pedal lightly if you have a bike, or repeat the easiest version of the movement you were already doing. NPR’s Life Kit recovery guidance, citing Dr. Natasha Desai of NYU Langone, places this cool-down before stretching and gives that same 5–10 minute range for gradually lowering intensity after exercise. [1]
At home, this is the part that gets skipped because it looks too simple to count. It counts. Your breathing has time to come down, your heart rate stops dropping abruptly, and you get a clean handoff from training mode to recovery mode. If you did intervals, strength circuits, dance cardio, or a no-equipment session, the first job is not flexibility. The first job is downshifting.
A practical 5-minute version looks like this:
- Minute 1: walk around the room or march in place until you can breathe through your nose some of the time.
- Minute 2: make the movement smaller; shake out your arms and hands if you were doing upper-body work.
- Minute 3: add gentle joint circles for ankles, hips, shoulders, or wrists.
- Minute 4: slow your steps and let your breathing find a steady rhythm.
- Minute 5: check whether you can speak in full sentences before you move to stretching.
After that, stretch the main muscles you just used. Hold each static stretch for 20–30 seconds, which is the hold time NPR’s Life Kit gives in its soreness-reduction routine. [1] For a lower-body workout, that might mean calves, quads, hamstrings, glutes, and hip flexors. For a push-up, plank, or dumbbell session, include chest, lats, shoulders, forearms, and the front of the hips if you spent time bracing on the floor.
Stretching belongs here, but not because it magically erases tomorrow’s soreness. In a 2018 Frontiers in Physiology meta-analysis of 99 studies comparing recovery techniques, stretching showed no significant effect on delayed-onset muscle soreness, with an effect size of g = 0.15. The same paper found a much stronger signal for active recovery, which matters more in the next-day phase. [2] So keep the stretch, but give it the right job: preserving range of motion, noticing what feels tight, and ending the workout with control.
How hard should a stretch feel?
Aim for mild to moderate tension, not a dare. If you have to hold your breath, back off. If the stretch creates sharp pain, tingling, or joint pressure, stop and choose a smaller range. A useful stretch feels like the muscle is being asked to lengthen; it does not feel like the joint is being negotiated with.
A foam roller can sit in this window, but it is optional. Use it for one or two areas that feel dense or overworked, not as a second workout. If you are deciding whether a roller, massage ball, or other tool is worth buying, keep that separate from the basic routine; the essentials are covered in our home fitness recovery tools buyer’s guide.
15 Minutes–2 Hours: Drink First, Then Eat Like Repair Is a Real Task
Once your heart rate has settled and you have stretched what needs stretching, start with water. If the room was hot, the session was long, or your clothes are soaked, add electrolytes or choose food and drink that help replace sodium along with fluid. This does not need to become a supplement ritual; it is just the difference between “I had a sip” and actually replacing what the workout took out.
Food comes next. Cleveland Clinic’s post-workout recovery guidance points to protein after exercise to support muscle growth and repair and gives 20g of protein as a useful target in the recovery window. [3] Treat that as a general minimum for a healthy home exerciser, not as a personalized prescription. Body size, training load, total daily diet, and goals all change the bigger nutrition picture.
Pair the protein with carbohydrates. The protein gives your body material for repair; the carbs help replenish glycogen, the stored carbohydrate your muscles use during training. A bowl of Greek yogurt with fruit, eggs with toast, tofu and rice, a smoothie with milk or soy milk and a banana, or leftovers with a clear protein source all fit the job. The point is not to make the meal look like sports nutrition. The point is to stop drifting through the next two hours underfed.
If you train with bodyweight only, the recovery still depends on what the session demanded. High-rep squats, push-ups, lunges, and planks can create plenty of fatigue even without equipment. For bodyweight-specific recovery notes, use the dedicated guide to recovery after a bodyweight workout at home.
Overnight: Let Sleep Do the Expensive Part for Free
The most boring recovery tool is still the one that is hardest to replace. Cleveland Clinic connects sleep with muscle repair after training, and Healthline’s recovery guidance also places sleep among the main behaviors that support muscle recovery. [3][4] For most adults, the practical target remains 7–9 hours.
This is where a home routine has a quiet advantage. You do not need to commute from a gym, wait for a shower, or turn recovery into an extra appointment. You need to stop letting the workout push dinner late, screens later, and sleep latest. A hard session followed by a chaotic night is not automatically wasted, but it leaves repair competing with everything else you delayed.
Keep the sleep part simple: eat enough, dim the room when you can, set tomorrow’s training clothes somewhere visible if you are training again, and avoid turning bedtime into a second planning session. If you use a watch, ring, or app, let it observe patterns instead of issuing a verdict on your character. For more detail, the guides to fitness tracker recovery scores and tracker rings for recovery are better places to sort out readiness metrics.
The Next Day: Move Easy Enough That It Still Counts as Recovery
The day after a hard home workout is where people tend to split into two unhelpful camps: do nothing at all because they are sore, or train hard again because soreness feels like proof that something is happening. Active recovery sits between those choices. It means easy movement that increases circulation and reduces stiffness without adding a new training stress.
NASM describes active recovery intensity as roughly 30–60% of maximum heart rate and also points to the talk test as a practical guardrail: you should be able to speak comfortably while doing it. [5] For most home exercisers, that is easier to use than a formula. If you cannot finish a sentence, you are no longer recovering; you are sneaking in another workout.
The evidence is stronger here than it is for many popular recovery habits. The 2018 Dupuy et al. meta-analysis found that active recovery had a moderate-to-large effect on reducing delayed-onset muscle soreness compared with passive rest, with Hedges’ g = −0.94. [2] That does not make the paper the final word on every recovery method; it is eight years old as of 2026, and recovery research keeps moving. But it is a useful directional signal: light movement the next day deserves a place in the routine.
Choose the version you will actually keep easy:
- Walk outside or around the house at a pace where conversation is comfortable.
- Do a short yoga or mobility flow without chasing deep end ranges.
- Pedal lightly on a bike if you have one, keeping resistance low.
- Repeat a few bodyweight patterns at low effort: hip hinges, wall push-ups, step-backs, arm circles.
- Use an easy swim or relaxed errands walk if that fits your day better than a formal session.
Duration does not need to be heroic. NASM discusses active recovery bouts in shorter ranges, and other coaching advice often lands closer to 20–30 minutes, so it is safer to think in ranges rather than one perfect number. [5] If you are very sore or new to training, start with 6–10 minutes. If you feel better as you move, extend toward 20–30 minutes. Stop while it still feels easy.
What should improve during active recovery?
Look for warmth, easier movement, and less guarded posture. You are not trying to set a step record or prove that soreness has disappeared. If the movement makes your stride shorter, your joints sharper, or your energy worse, downgrade it. Walk slower, switch to mobility on the floor, or stop.
This is also the phase that keeps weekly training from becoming a cycle of hard session, stiff day, skipped day, guilt session. If you want a deeper version of this piece of the plan, use the active recovery rest day guide.
A Simple At-Home Recovery Flow You Can Reuse
Here is the routine stripped down to the decisions that matter:
- Keep moving for 5–10 minutes after the workout ends.
- Stretch the worked muscles for 20–30 seconds each, using tension rather than pain as the limit.
- Drink water; add electrolytes if the sweat loss was heavy.
- Eat protein plus carbs within the next couple of hours, using 20g protein as a general minimum target.
- Set up the night so 7–9 hours of sleep is possible.
- Move lightly the next day at conversational intensity, around 30–60% max heart rate if you track it.
The routine can follow almost any home workout: a dumbbell session, a bodyweight circuit, a treadmill walk-run, a kettlebell workout, or a class on your phone. If you are building the training side from scratch, pair it with a plan such as the 4-week no-equipment workout plan or the home gym workout plan by equipment tier.
What changes from workout to workout is not the order. It is the dose. A short mobility session may only need a few minutes of cooling down, water, normal dinner, and a walk the next day. A hard lower-body workout may need the full 15-minute immediate window, a more deliberate meal, an earlier bedtime, and very gentle active recovery.
For a broader evidence hierarchy, the home fitness recovery pyramid explains what tends to matter most and what is easier to overvalue. If you want this routine placed into a full week, use the home fitness recovery blueprint. The daily version stays simple: finish the workout, come down gradually, refuel, sleep, and move easily before asking your body for more.
References
- Reduce pain and soreness after a workout, NPR Life Kit, 2025.
- An Evidence-Based Approach for Choosing Post-exercise Recovery Techniques to Reduce Markers of Muscle Damage, Soreness, Fatigue, and Inflammation: A Systematic Review With Meta-Analysis, Frontiers in Physiology, 2018.
- A Post-Workout Recovery Plan for Healthy Muscle Growth, Cleveland Clinic.
- 14 Tips To Maximize Muscle Recovery, Healthline.
- Active Recovery: Benefits & Best Practices, NASM.



Comments
Join the discussion with an anonymous comment.